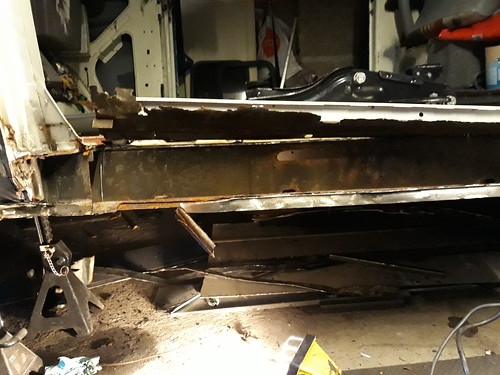
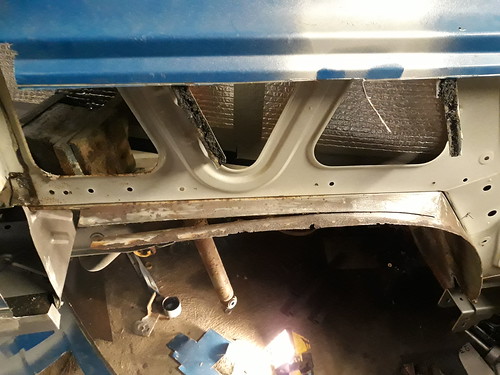
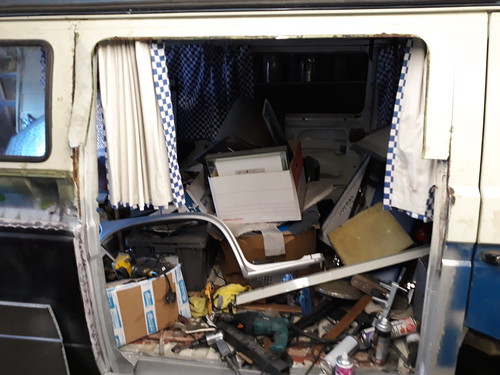
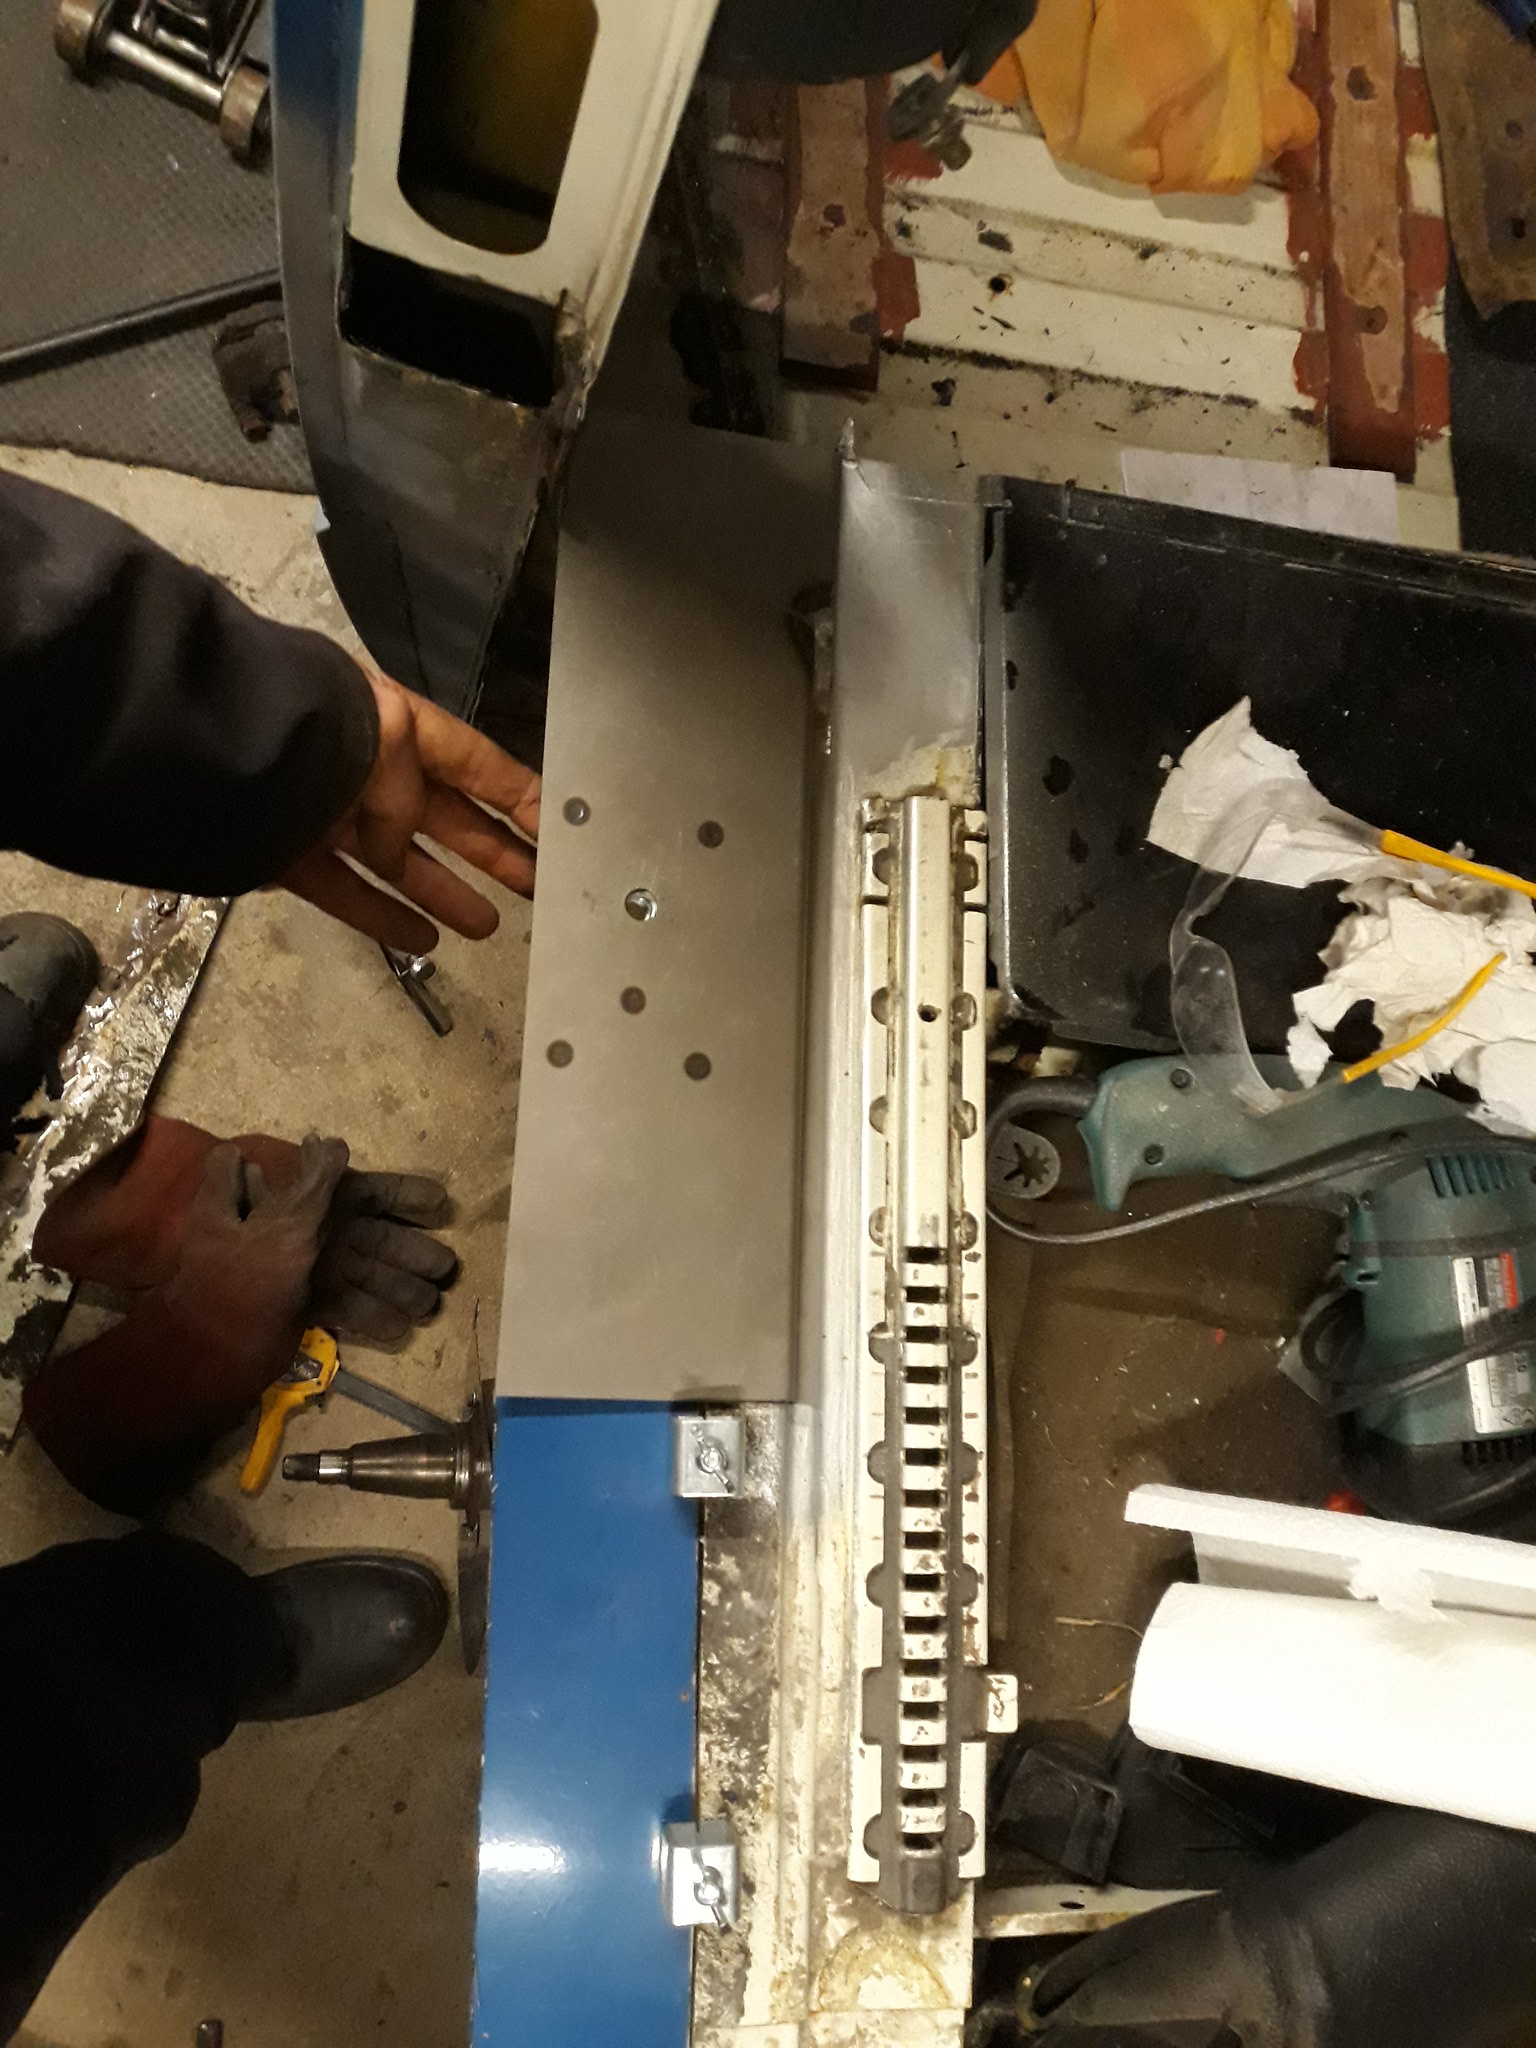
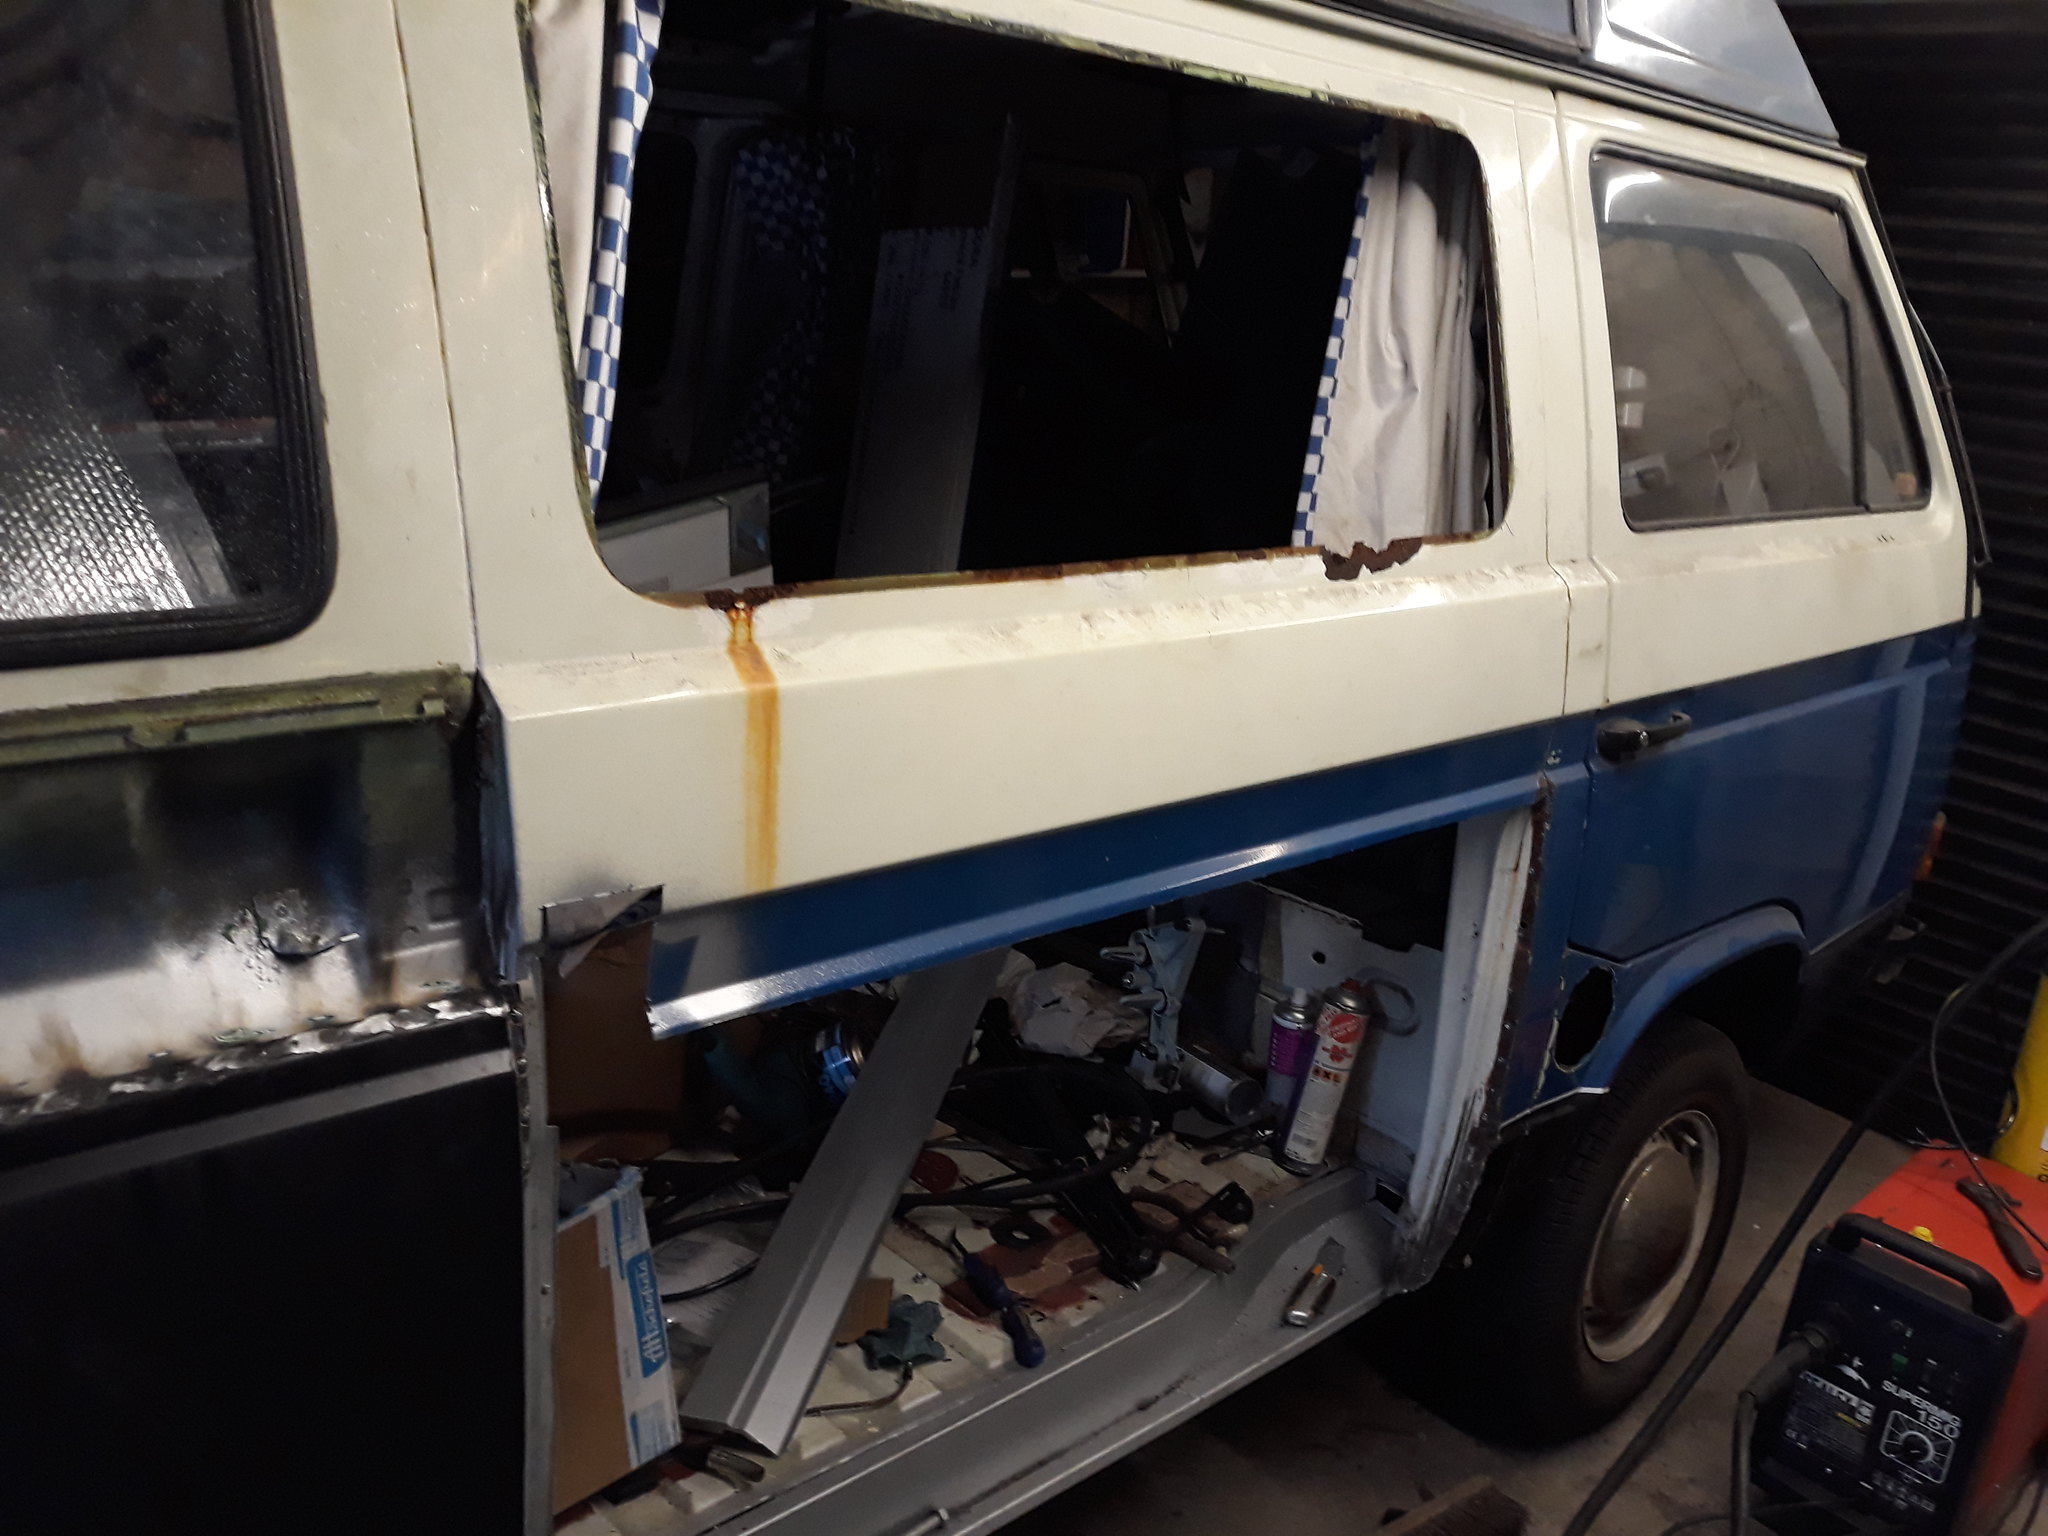
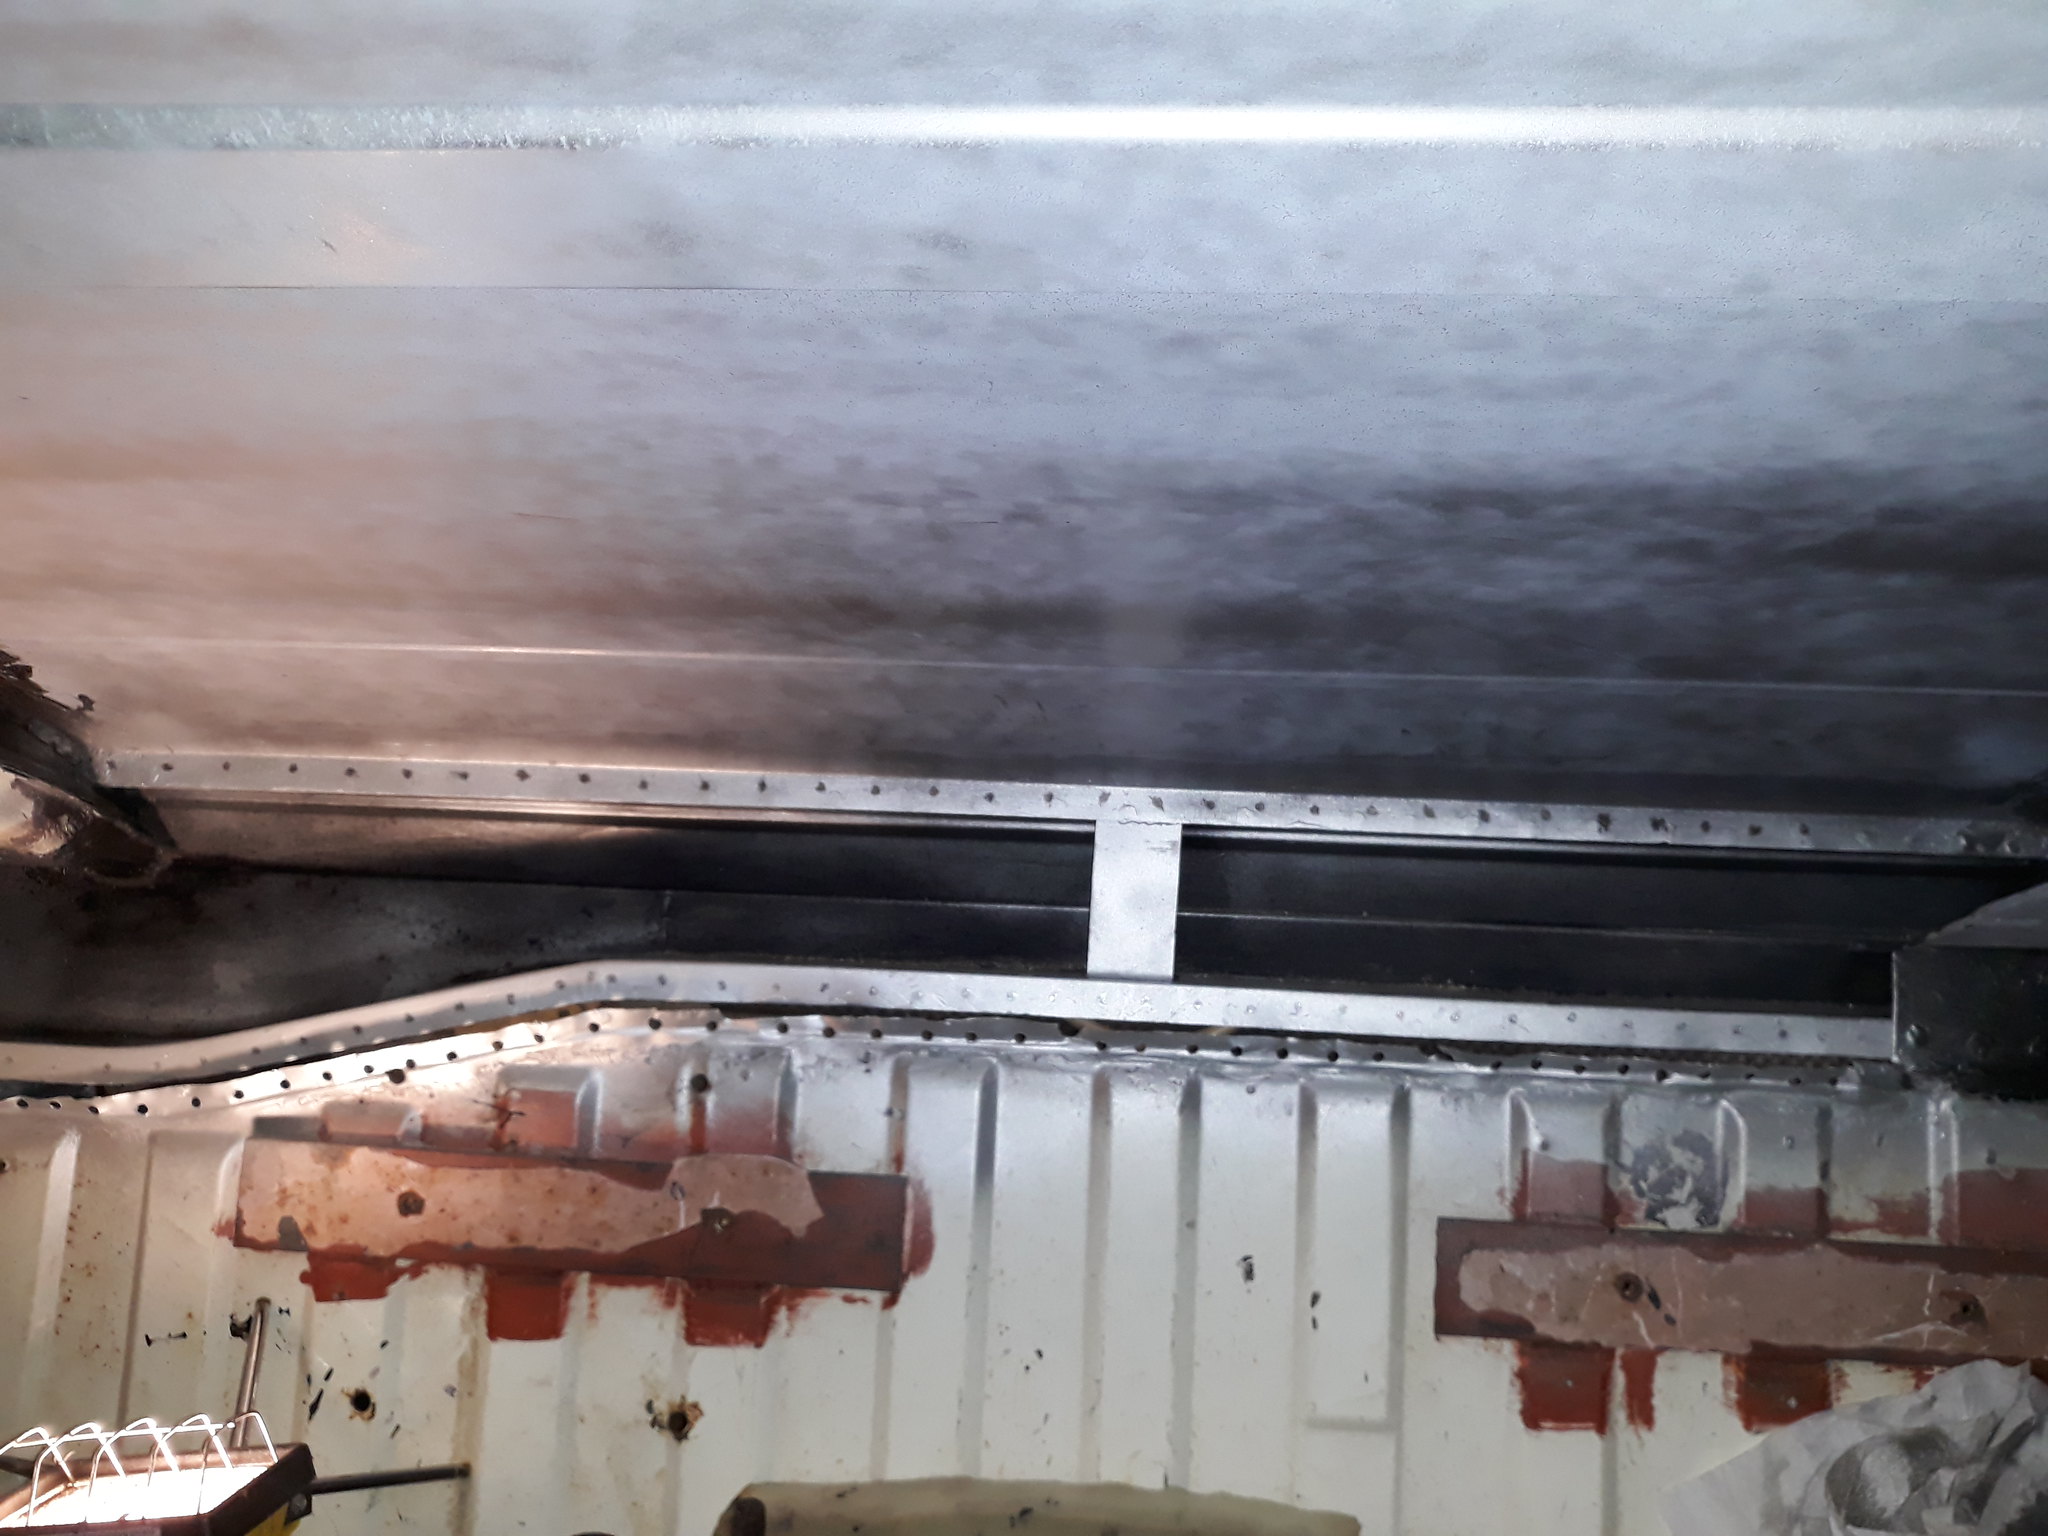
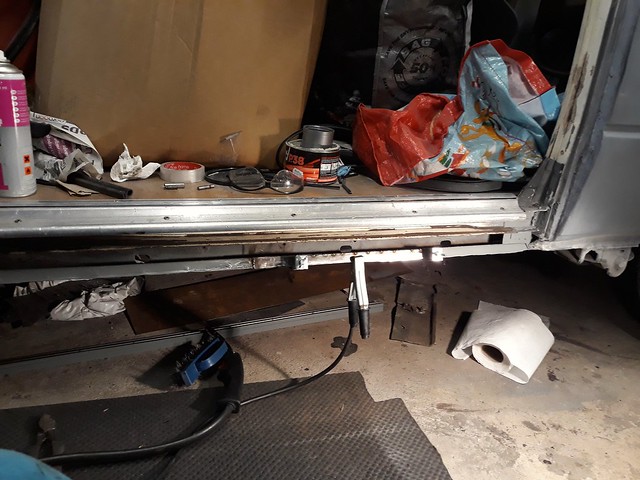
You'll note that just before my front driver side wheelarch replacement I had cut out the whole centre fridge panel behind the driver seat as the seams were very rusty so time to do some work on that. So here is a pic I found of the inner sill being fitted...
 Getting there...
by
Mark Shaw, on Flickr
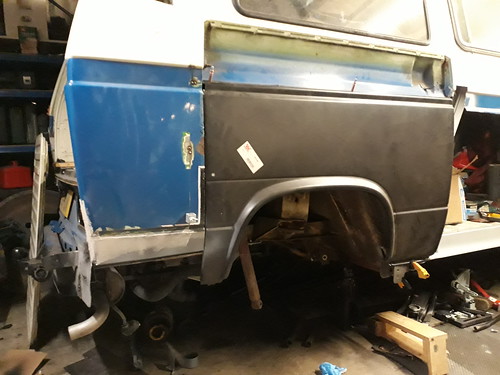
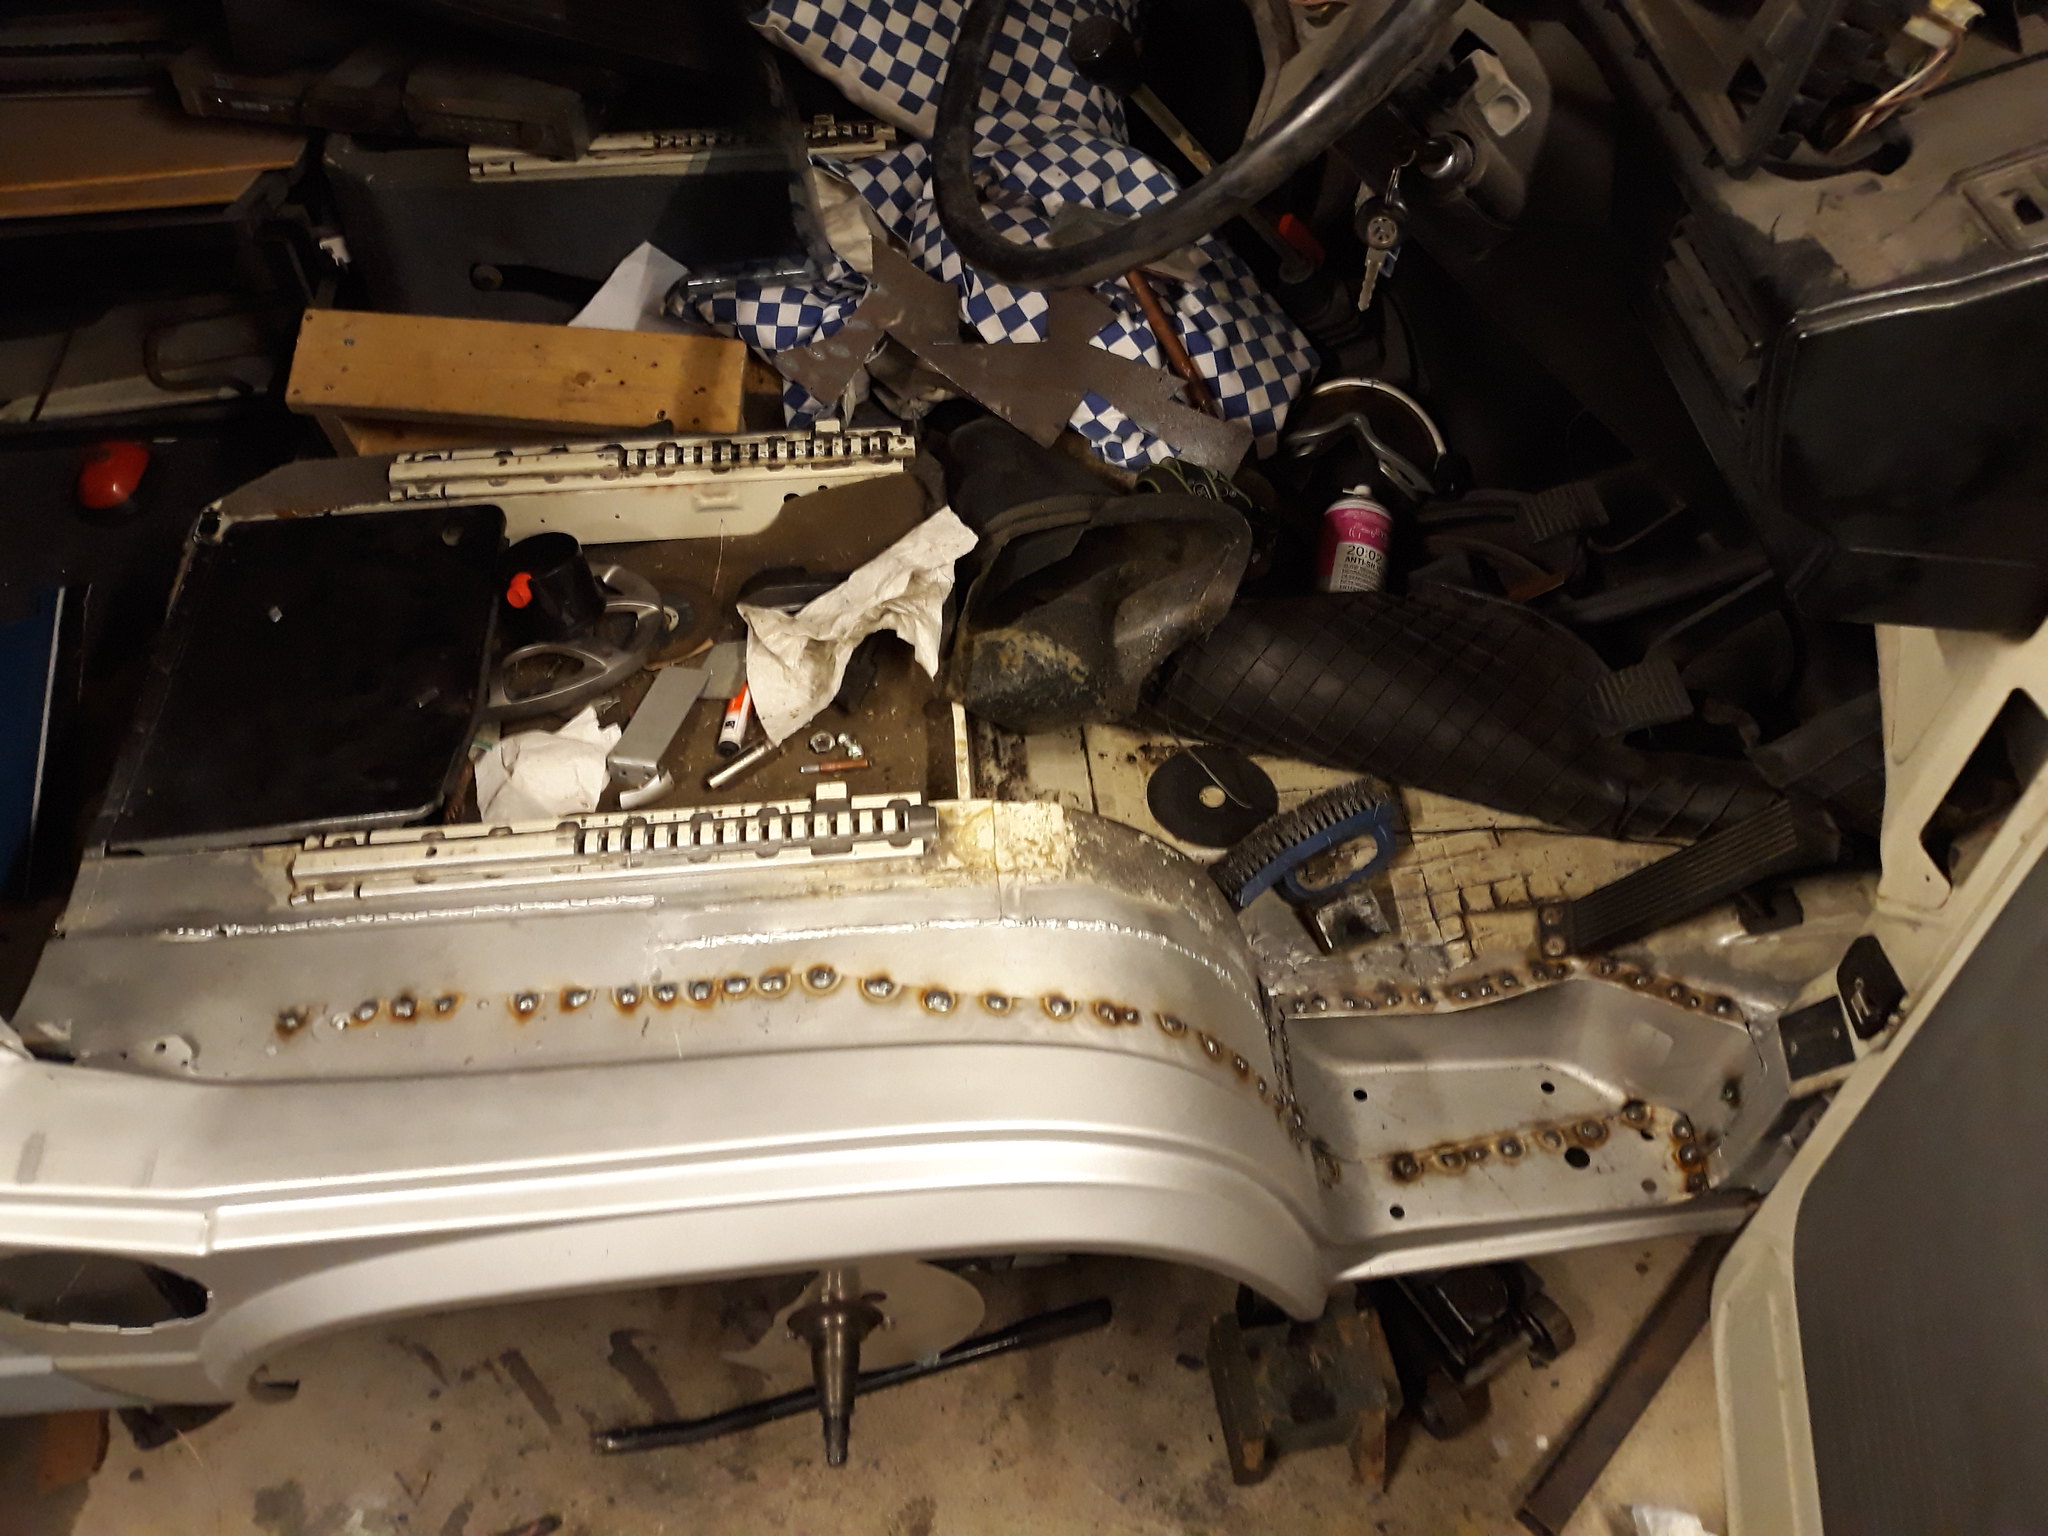
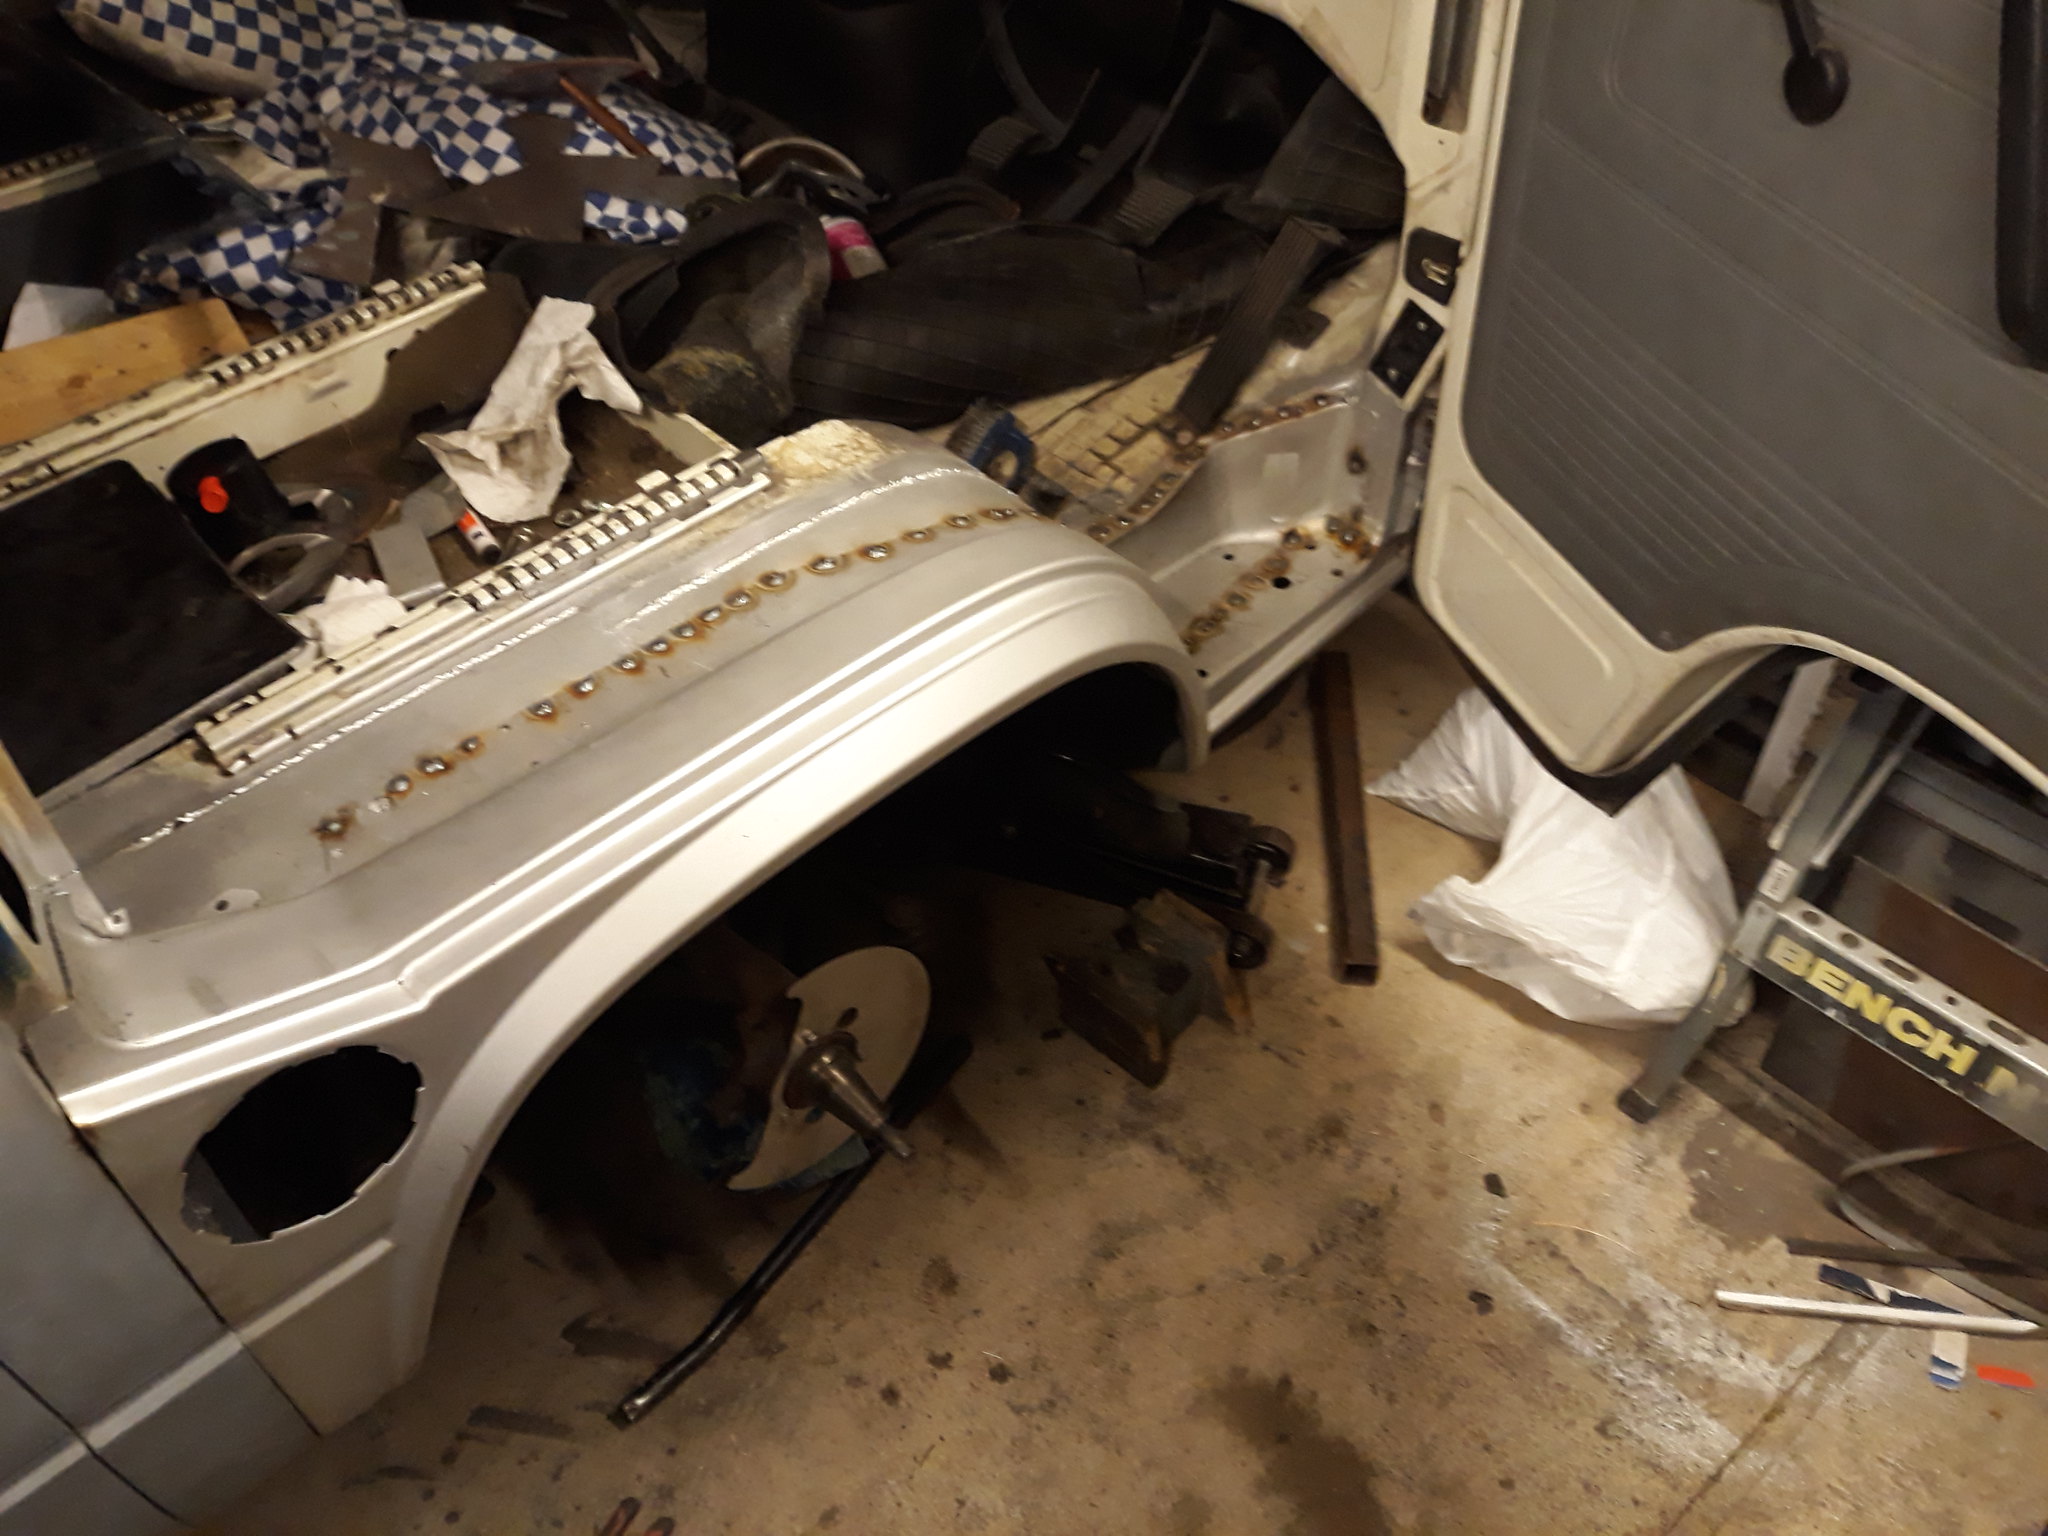
Trial fitted the new centre panel. Didn't take a picture of the outer sill on its own sorry, both panels from Schofields
 Centre panel trial fitting
 by
Mark Shaw, on Flickr
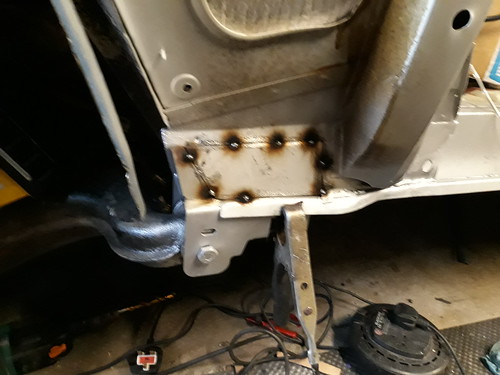
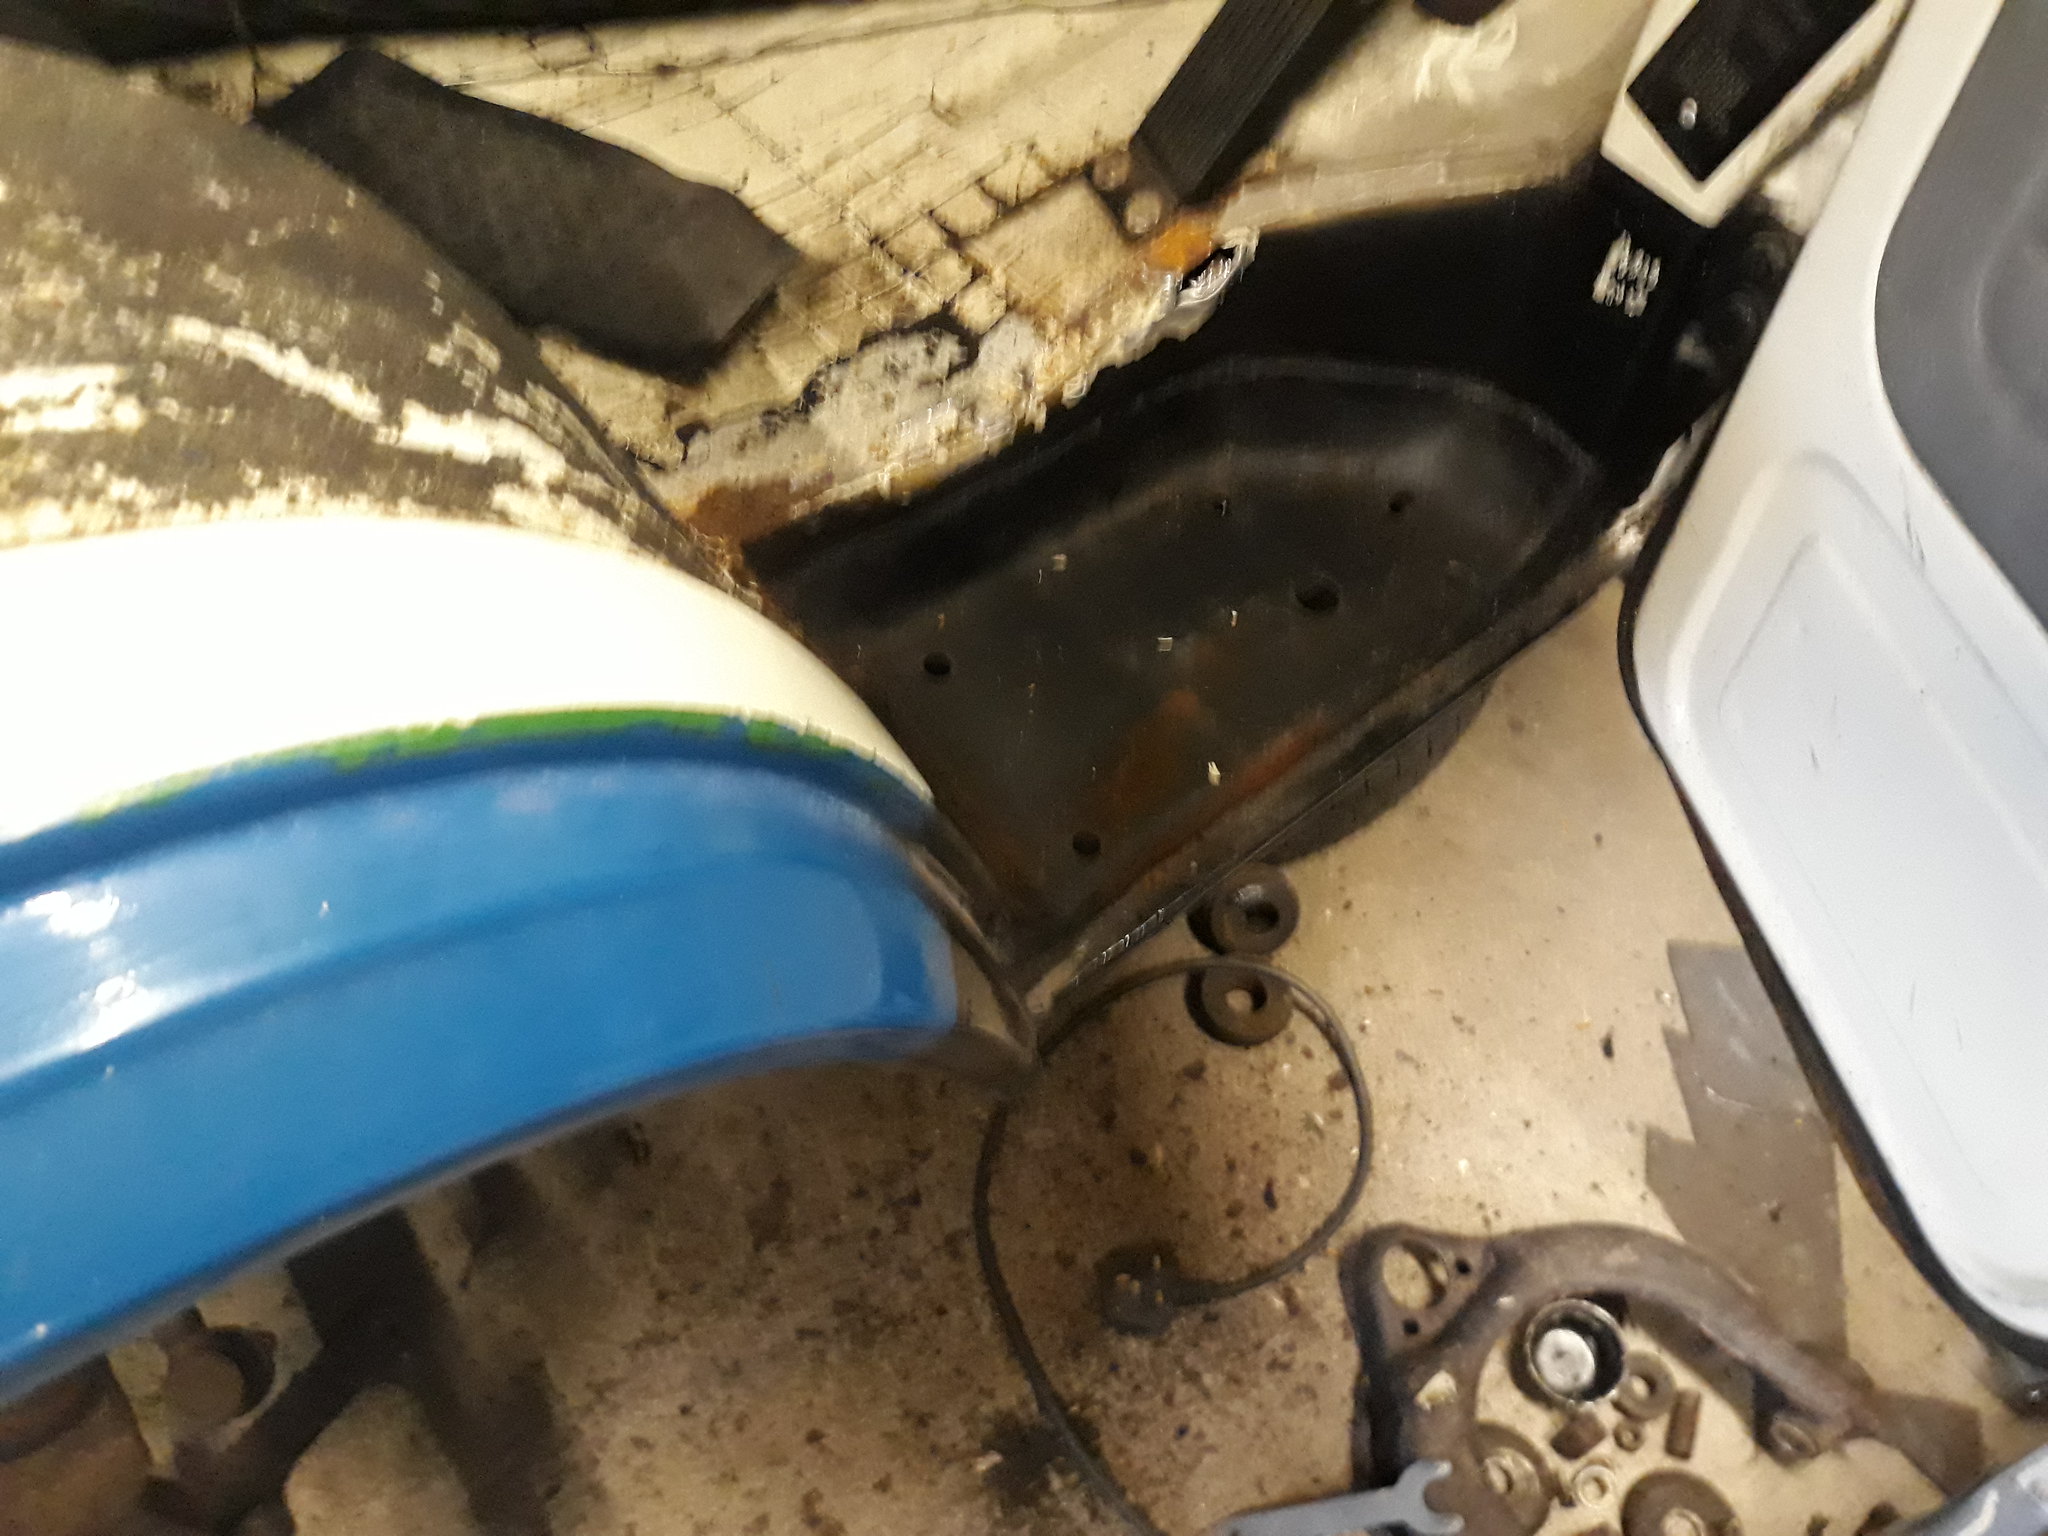
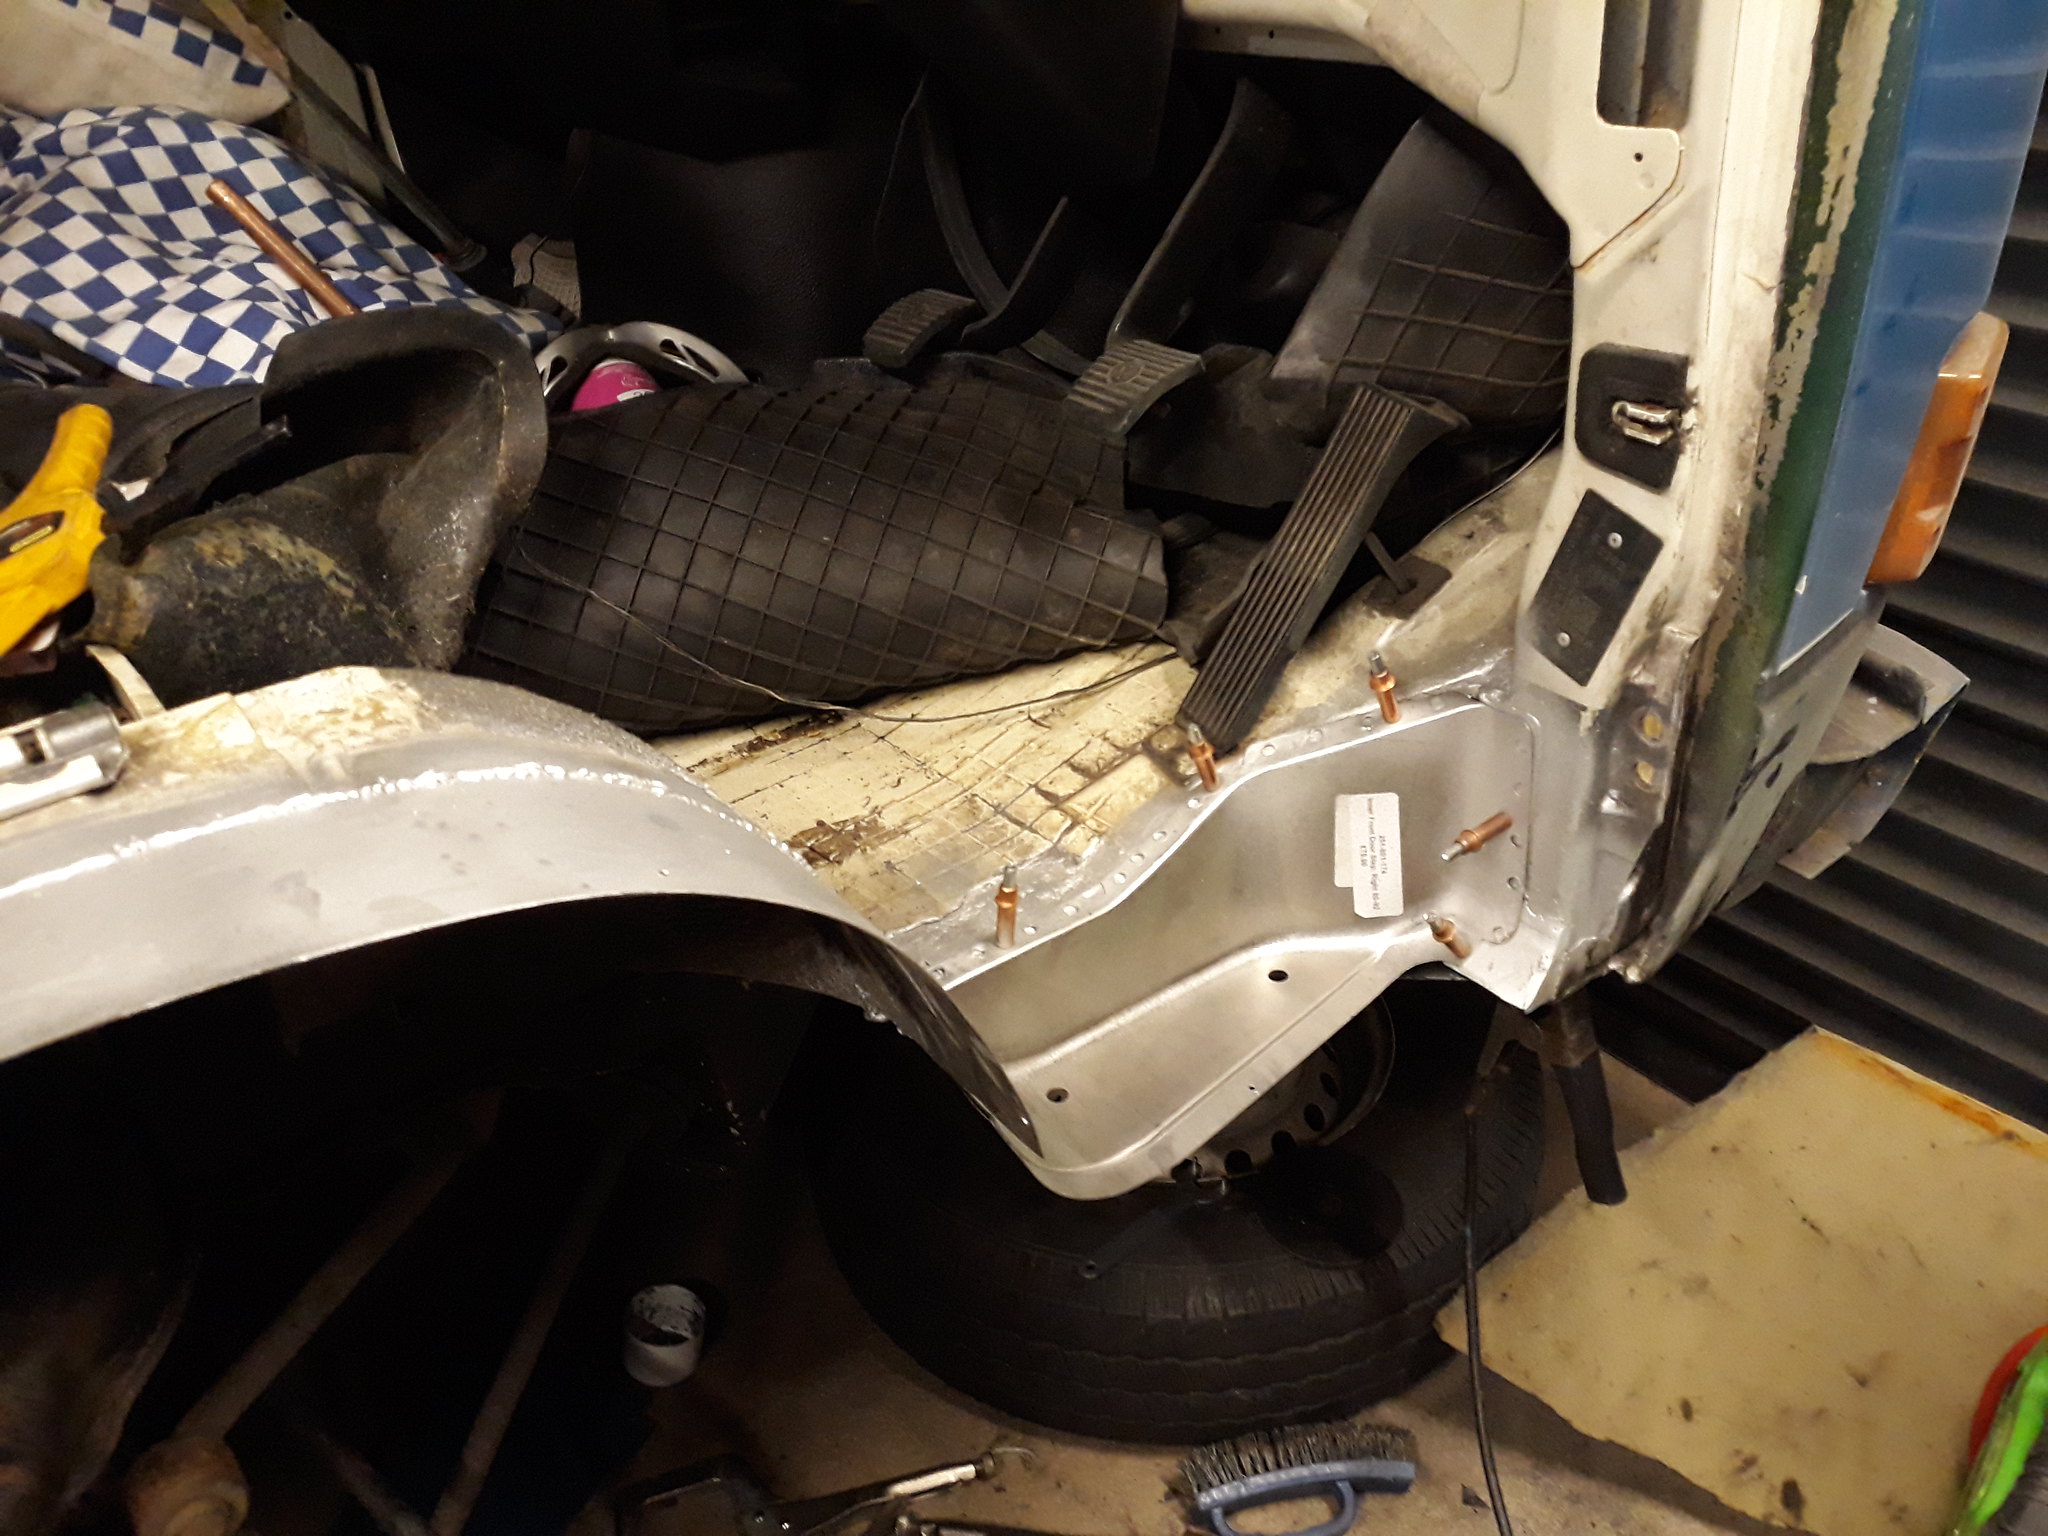
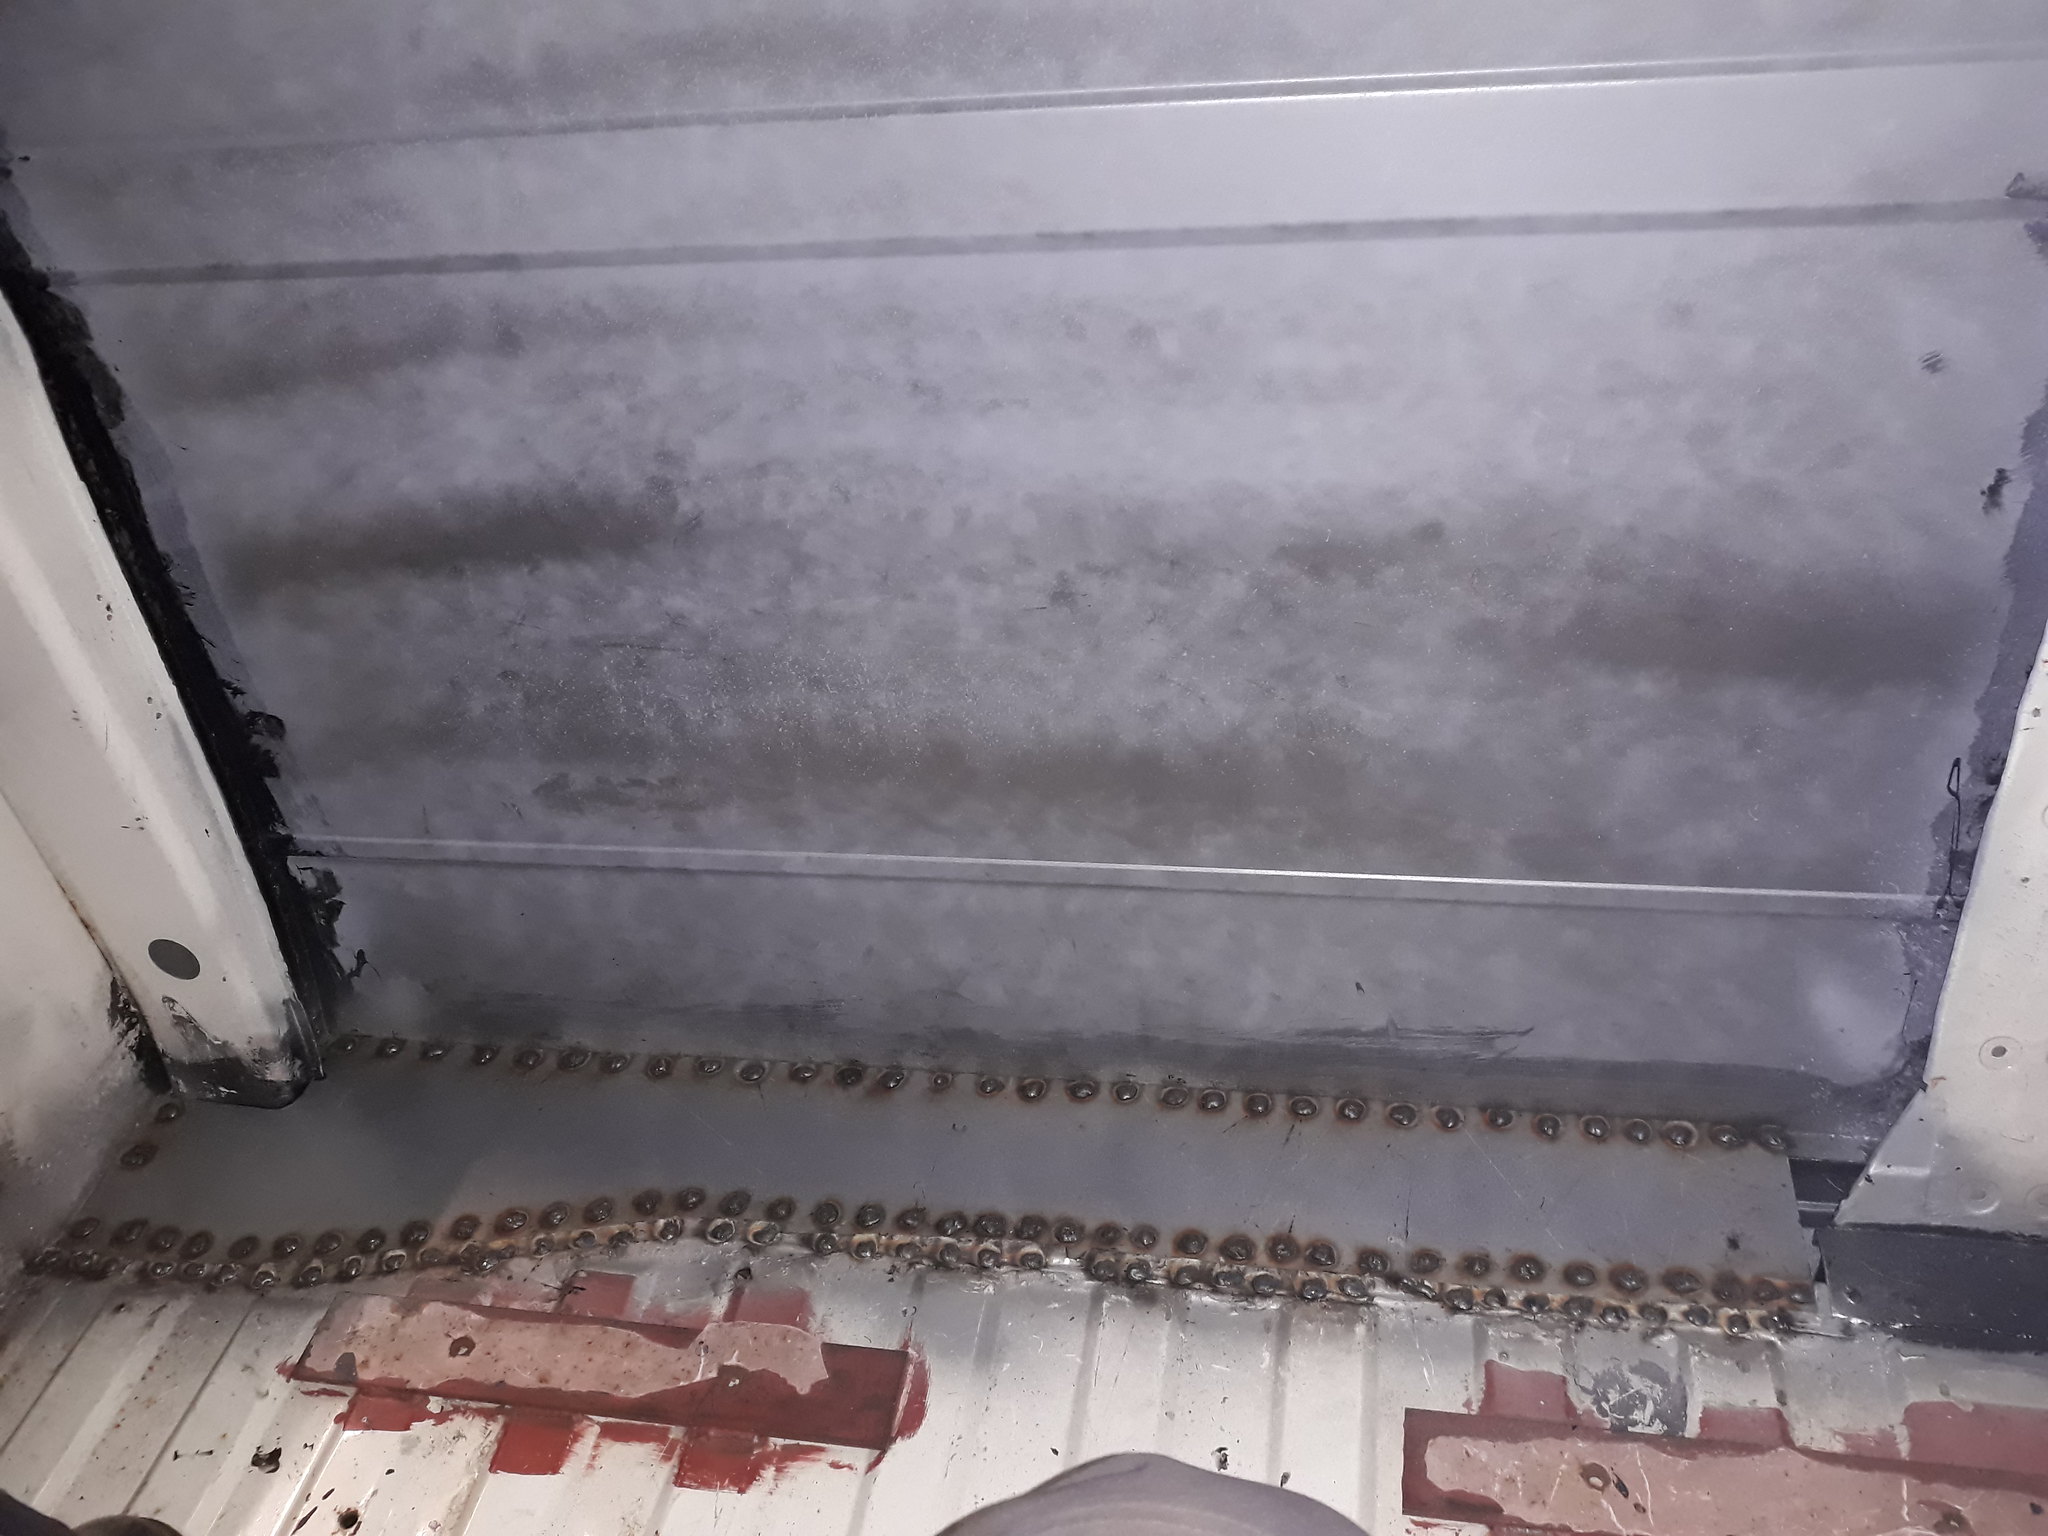
Inside the van the floor joining to the outer sill and centre panel was completely shot so was nice to see it gone. Only problem now is I needed to make a new floor panel
 More resto photos
 by
Mark Shaw, on Flickr
New floor panel made and welded in. Just a tiny patch to make to the right behind the rear wheelarch framework then floor is solid
 More resto photos
 by
Mark Shaw, on Flickr
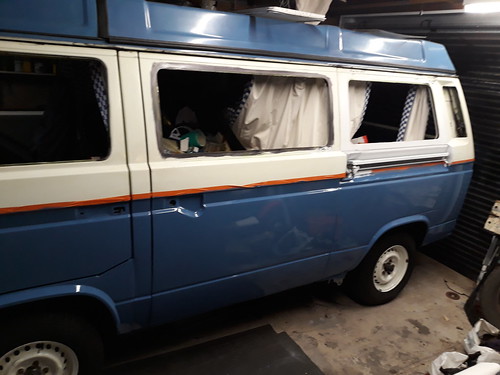
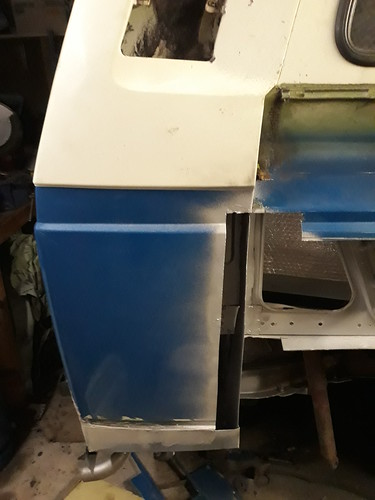
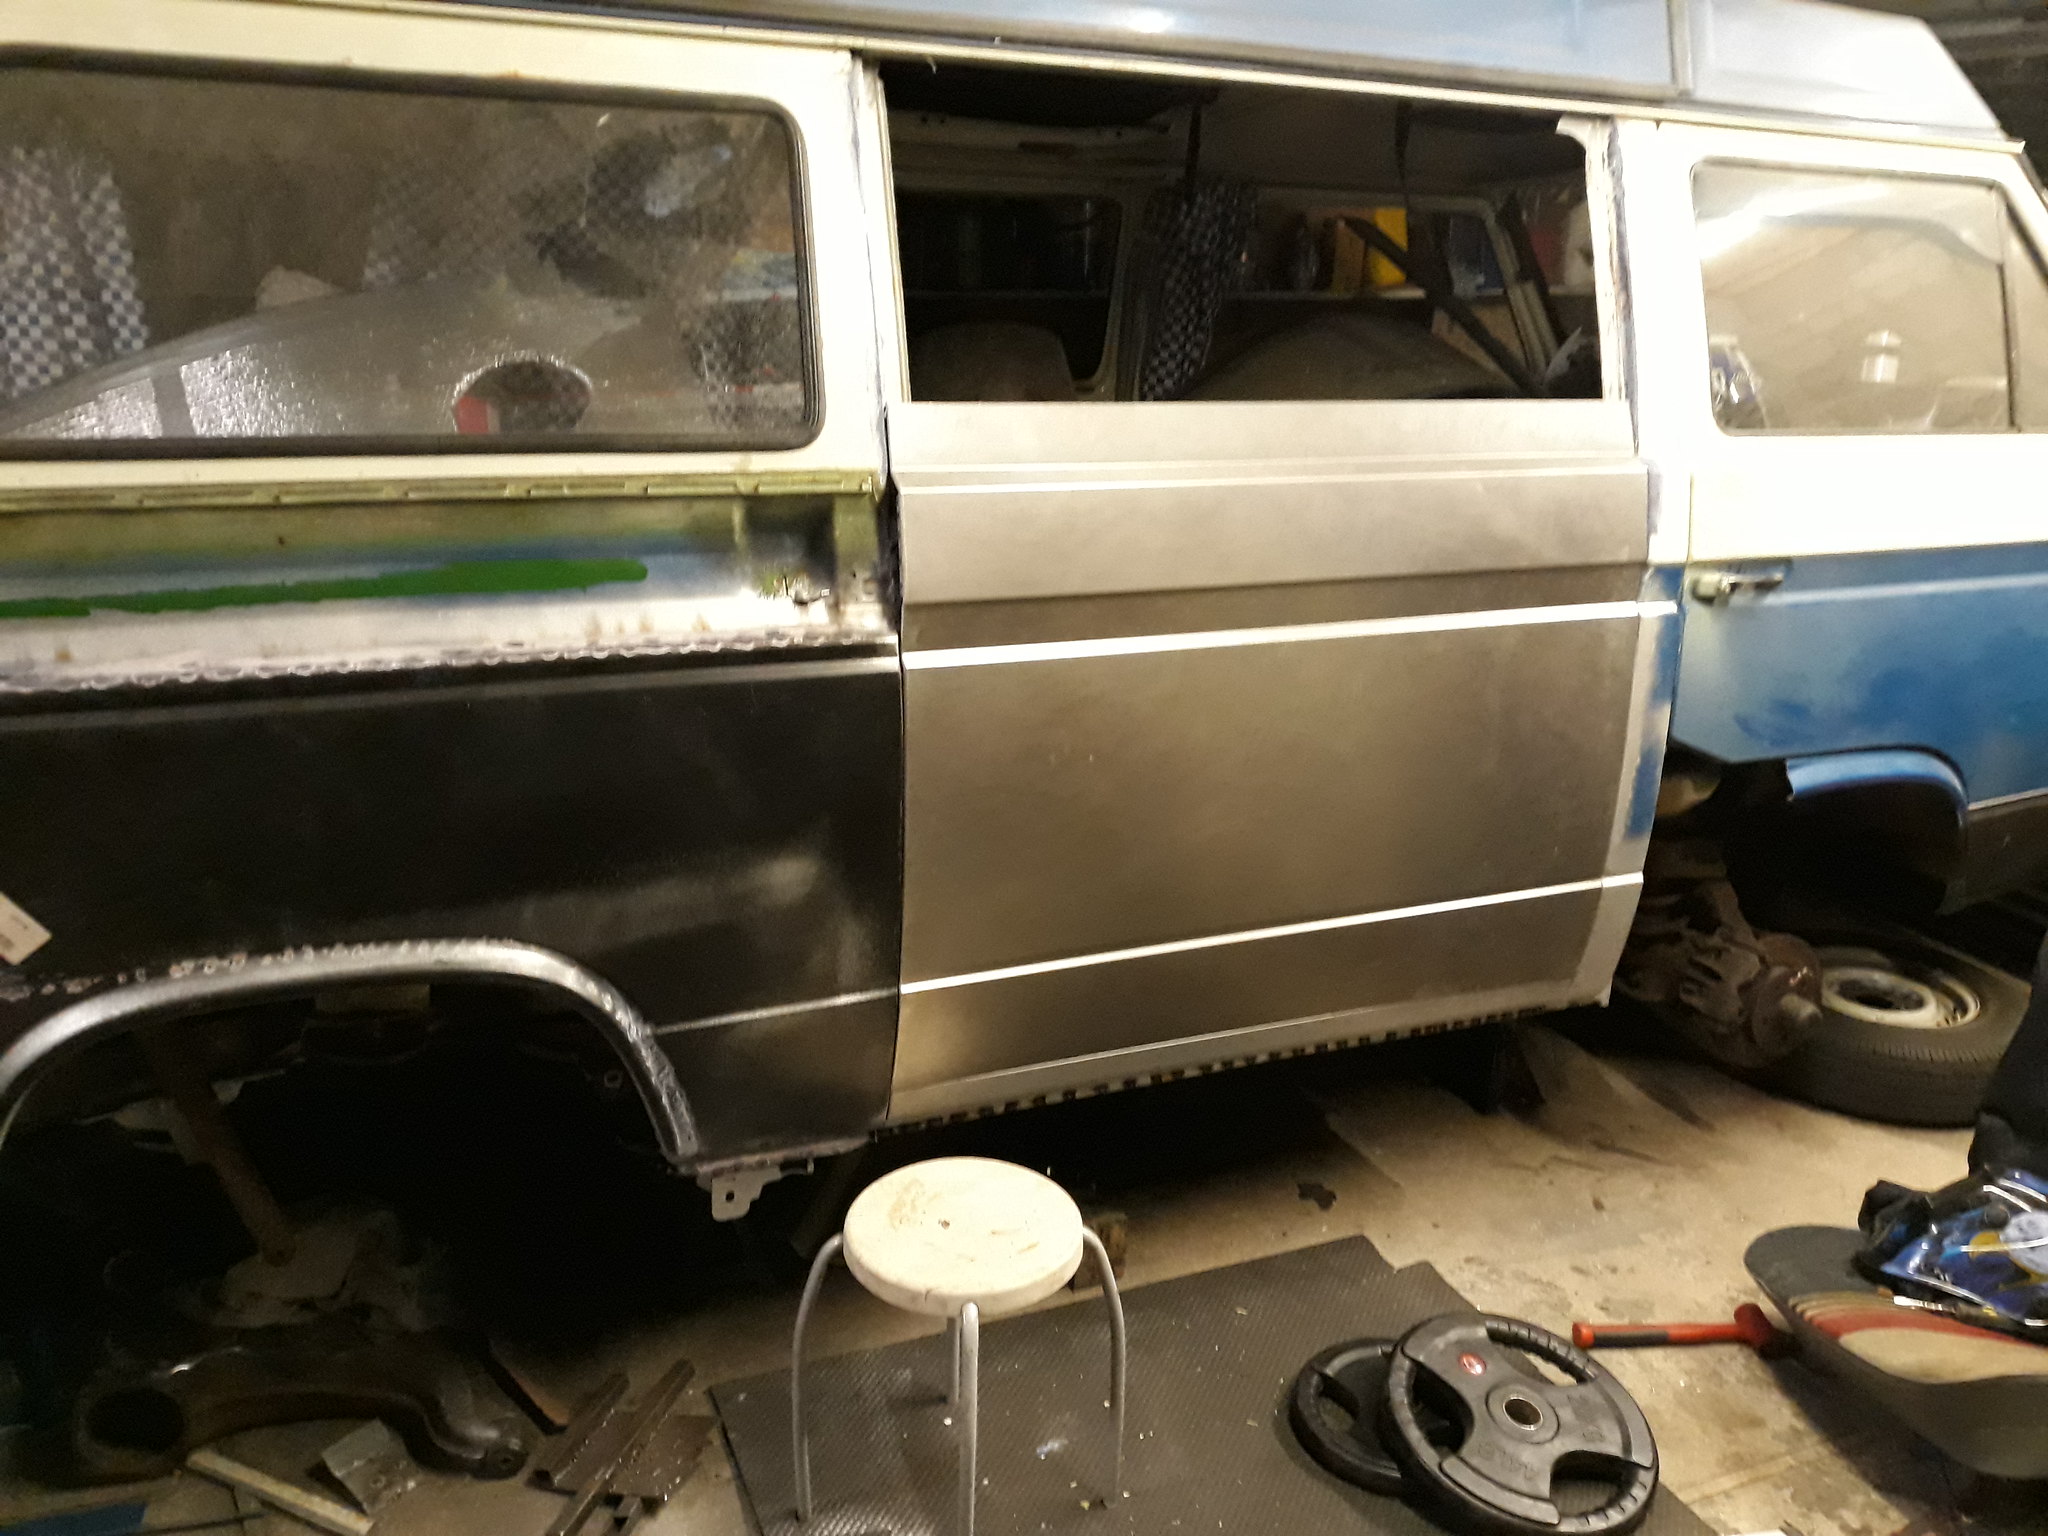
My good lady wanted rid of the window behind the driver seat so we can do some sort of storage so had a panel made by a local metalwork company. They did a great job getting the top swage right. Was expensive though, £83 for 1.2mm zintec panel. Anyway, the centre panel is now welded in and here is the 'former' window panel fitted ready for a seam weld
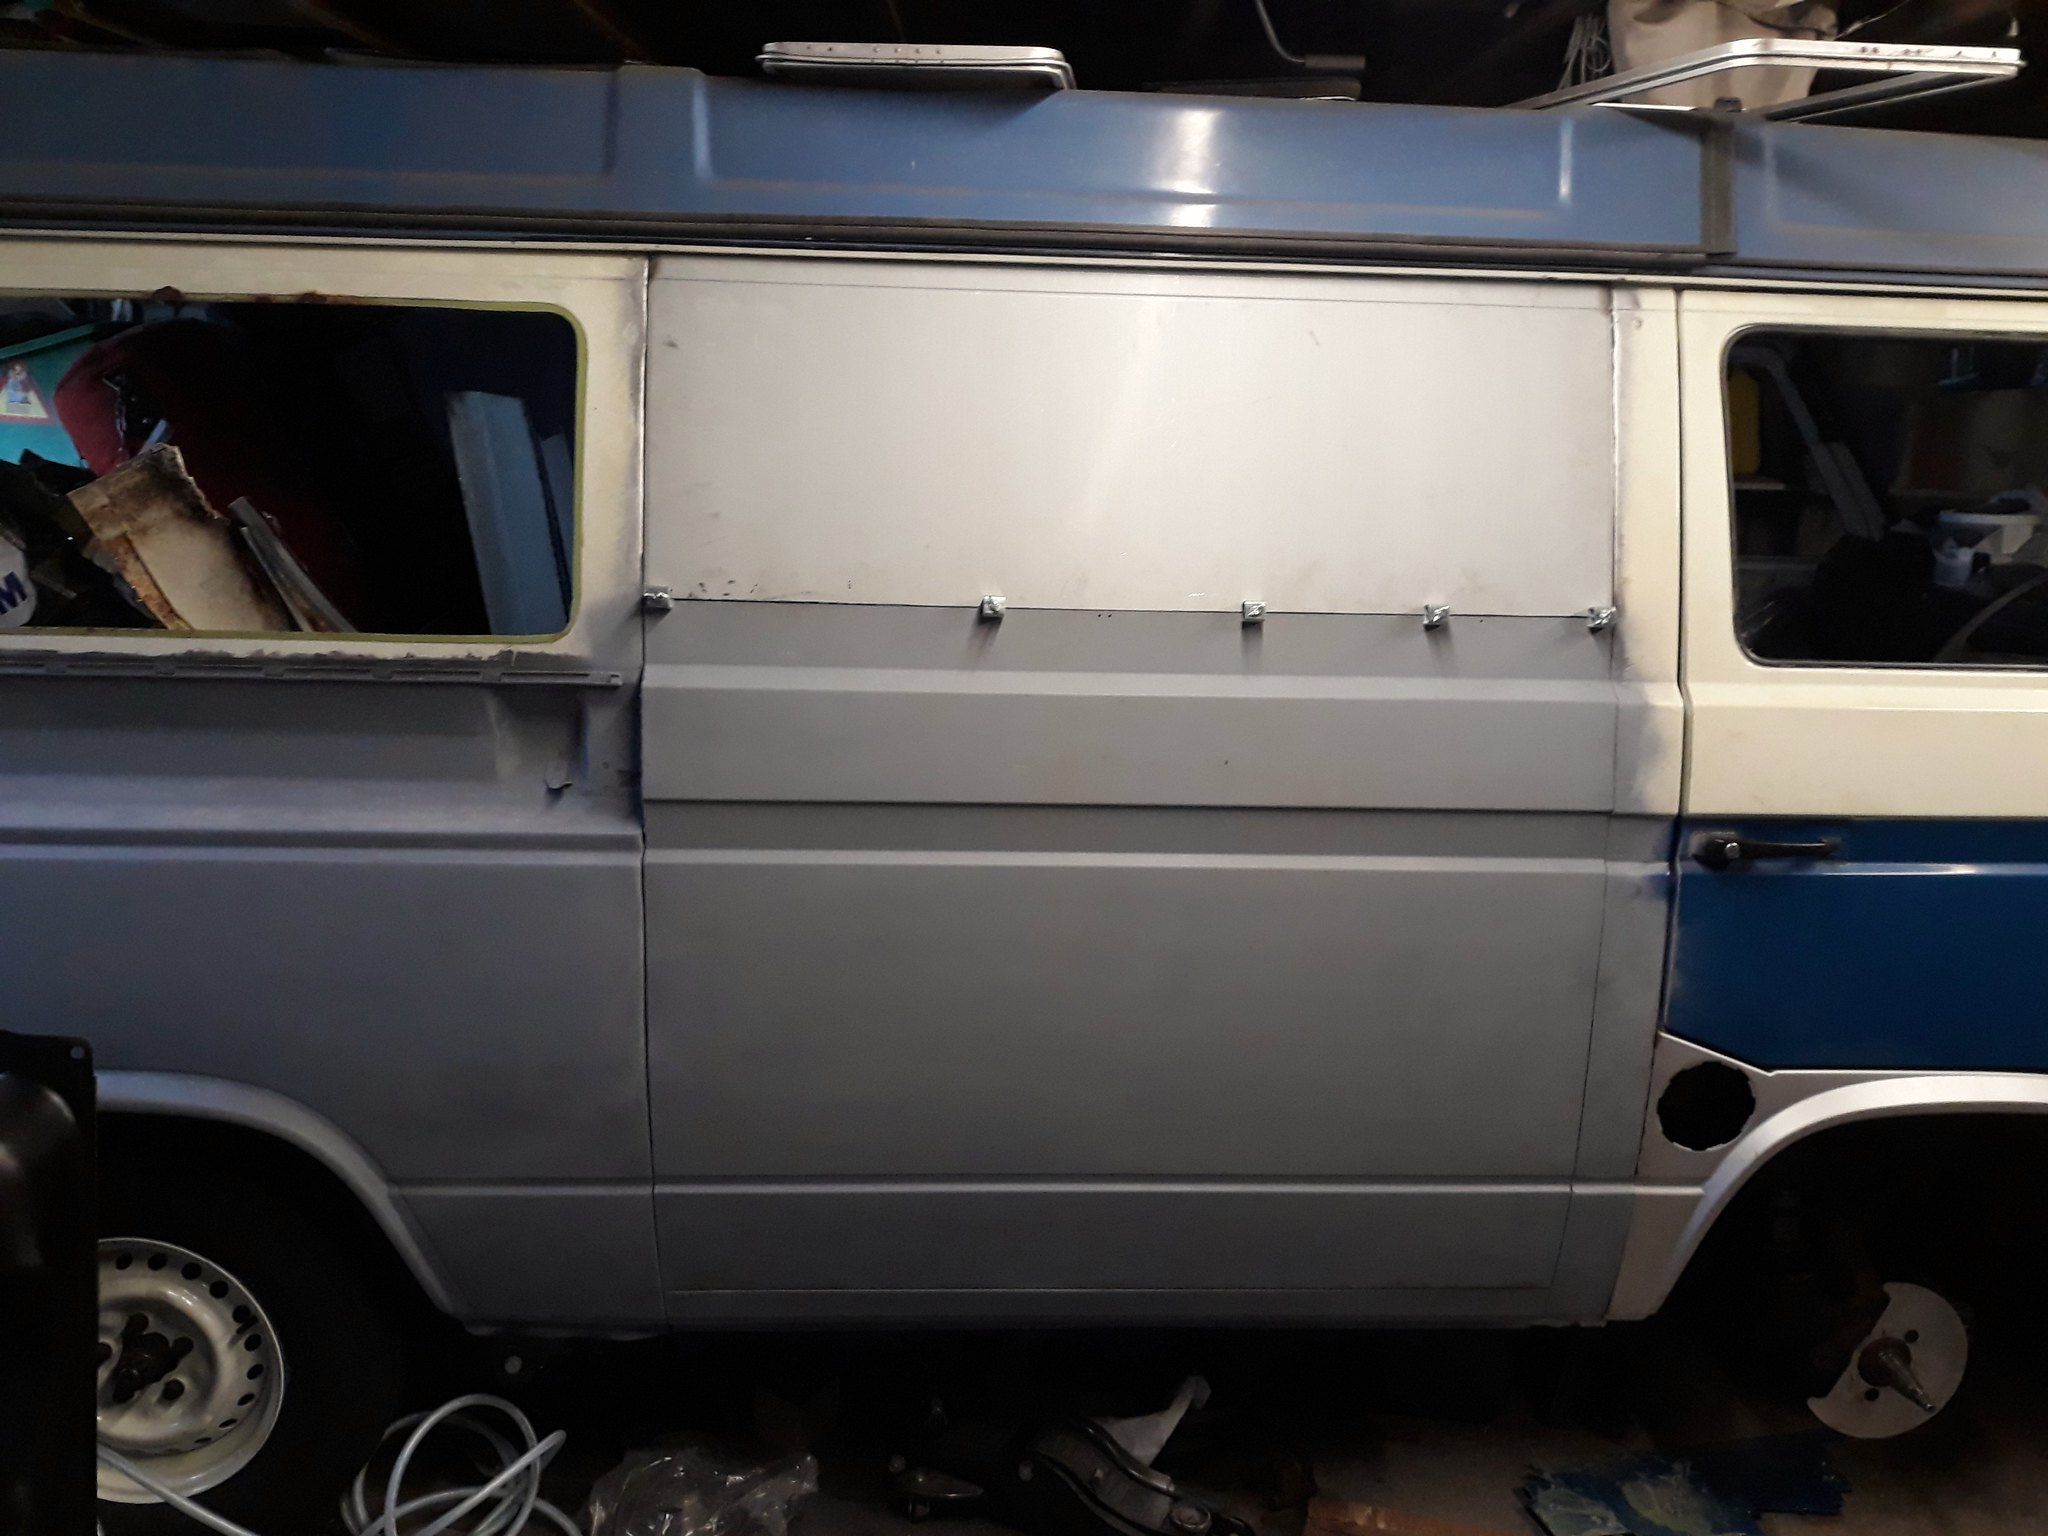 Window delete panel clamped ready for welding.
 by
Mark Shaw, on Flickr
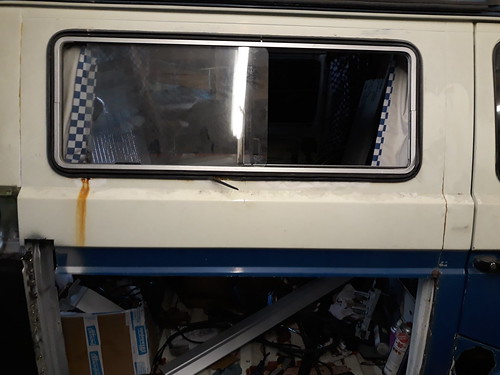
Small repair to the rear window surround where there was a bit of rust
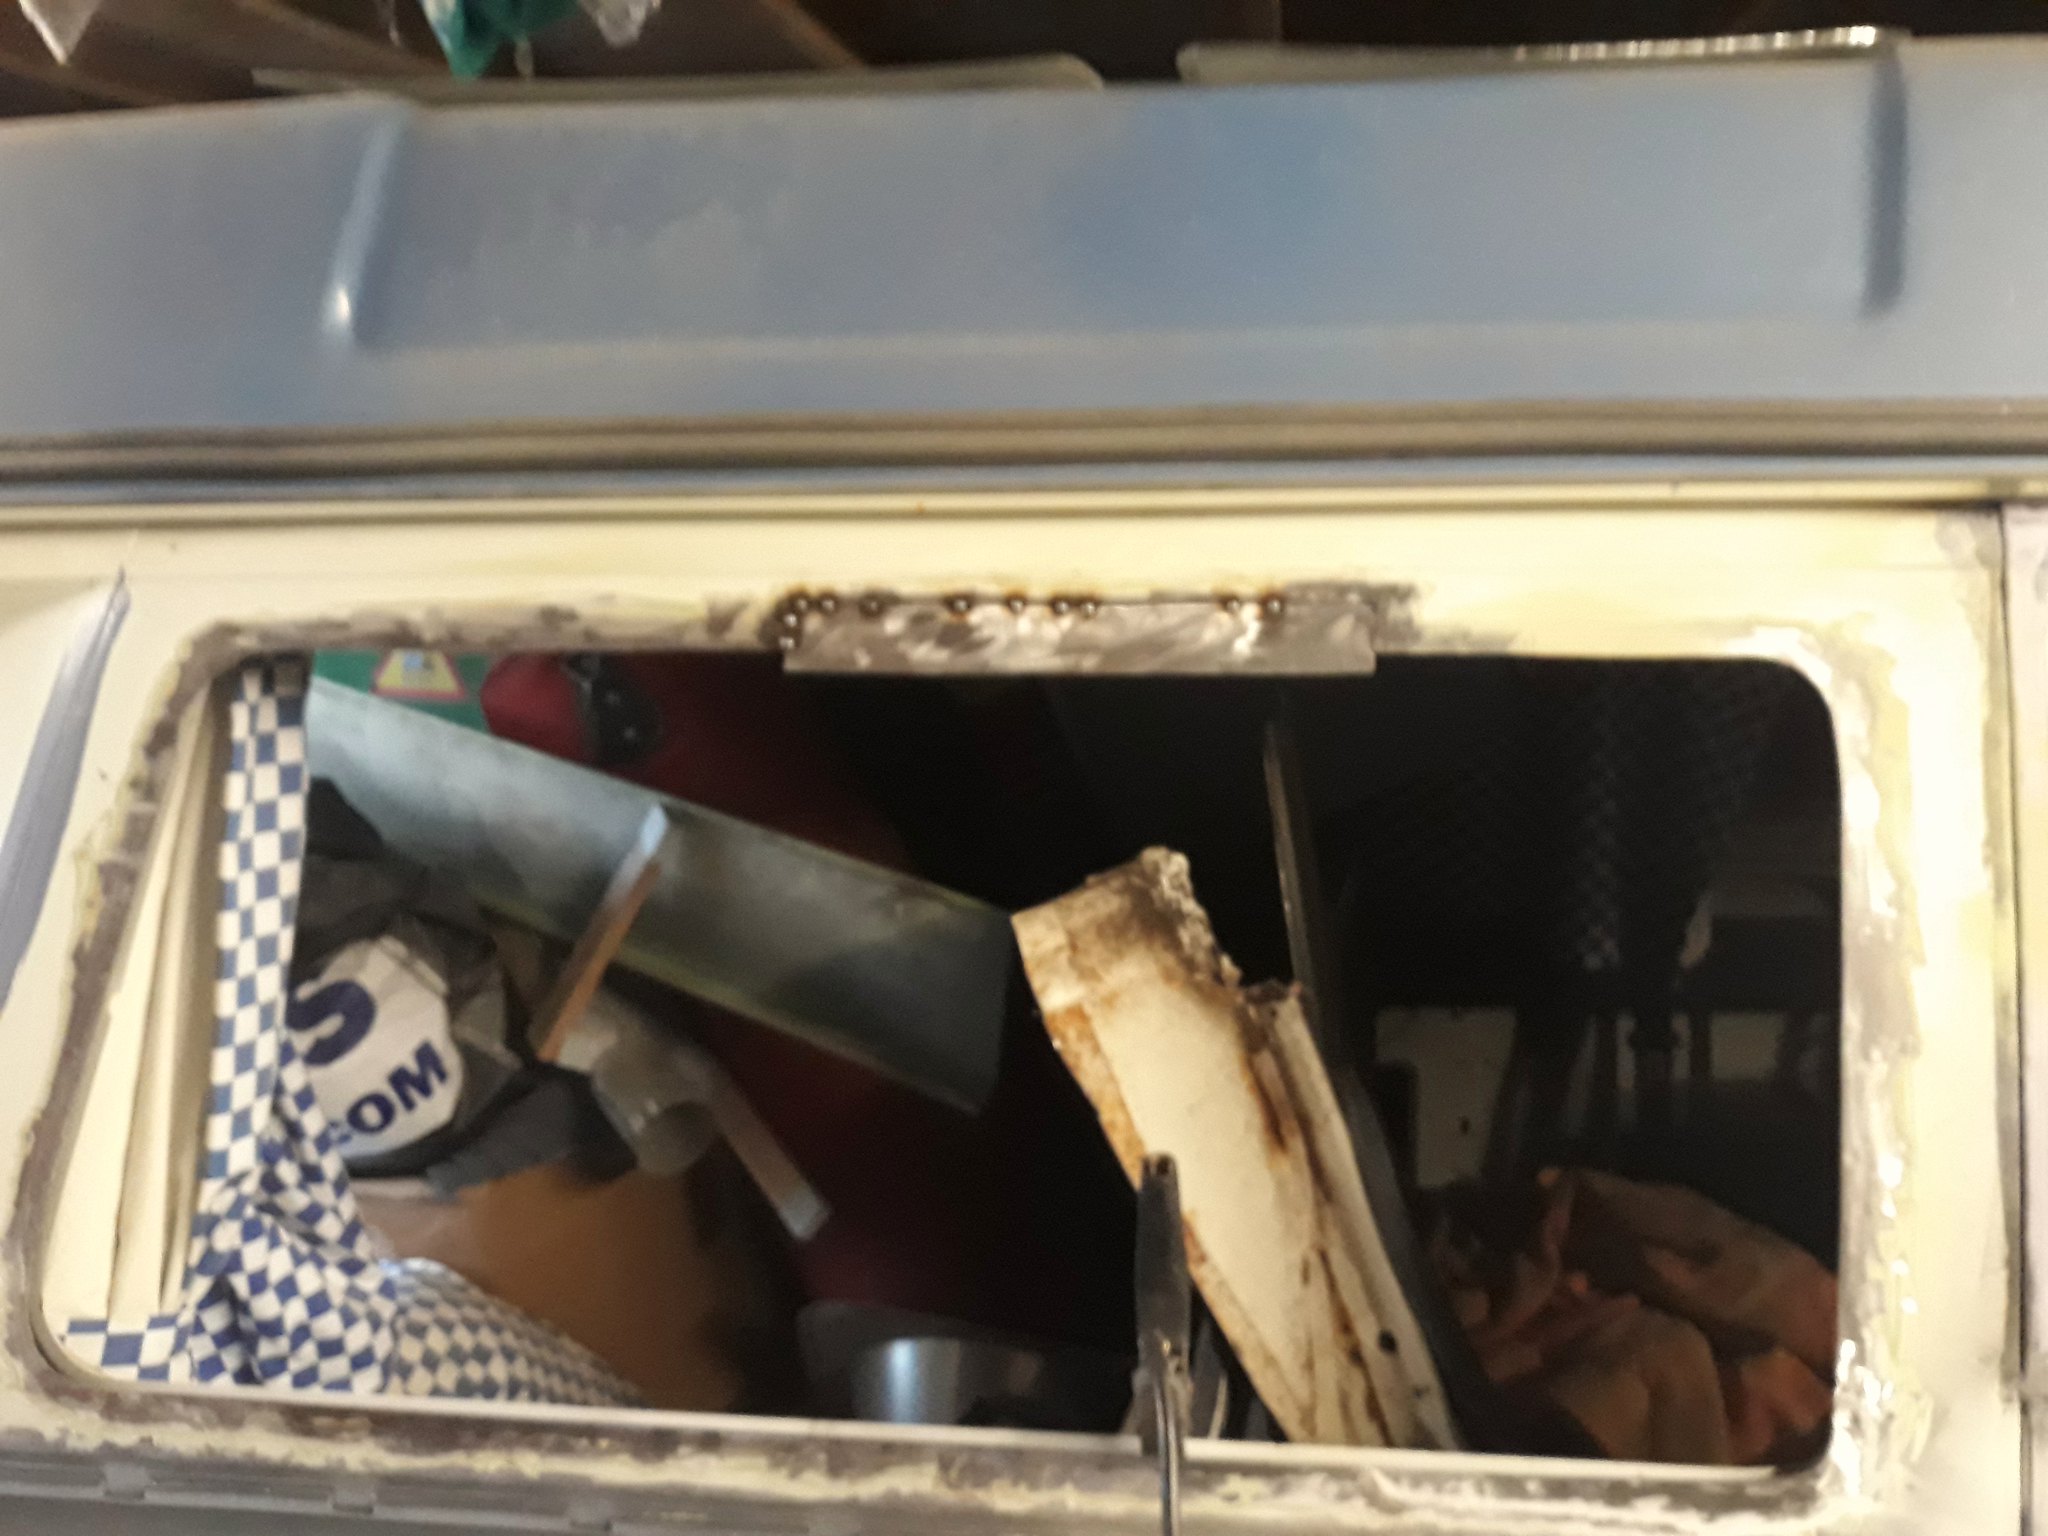 Rear window repair
 by
Mark Shaw, on Flickr
Followed by a little filler and some sanding/primer...
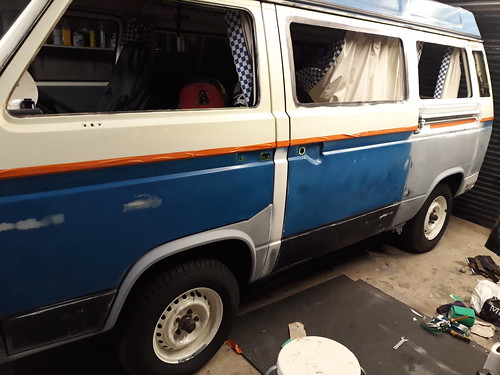
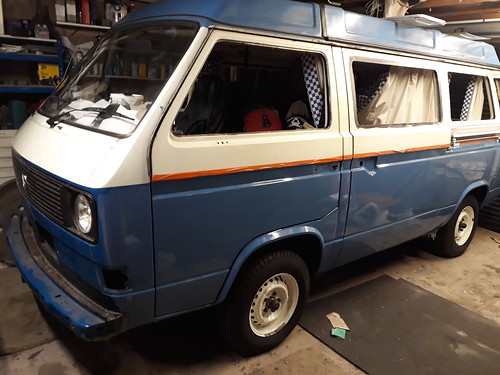
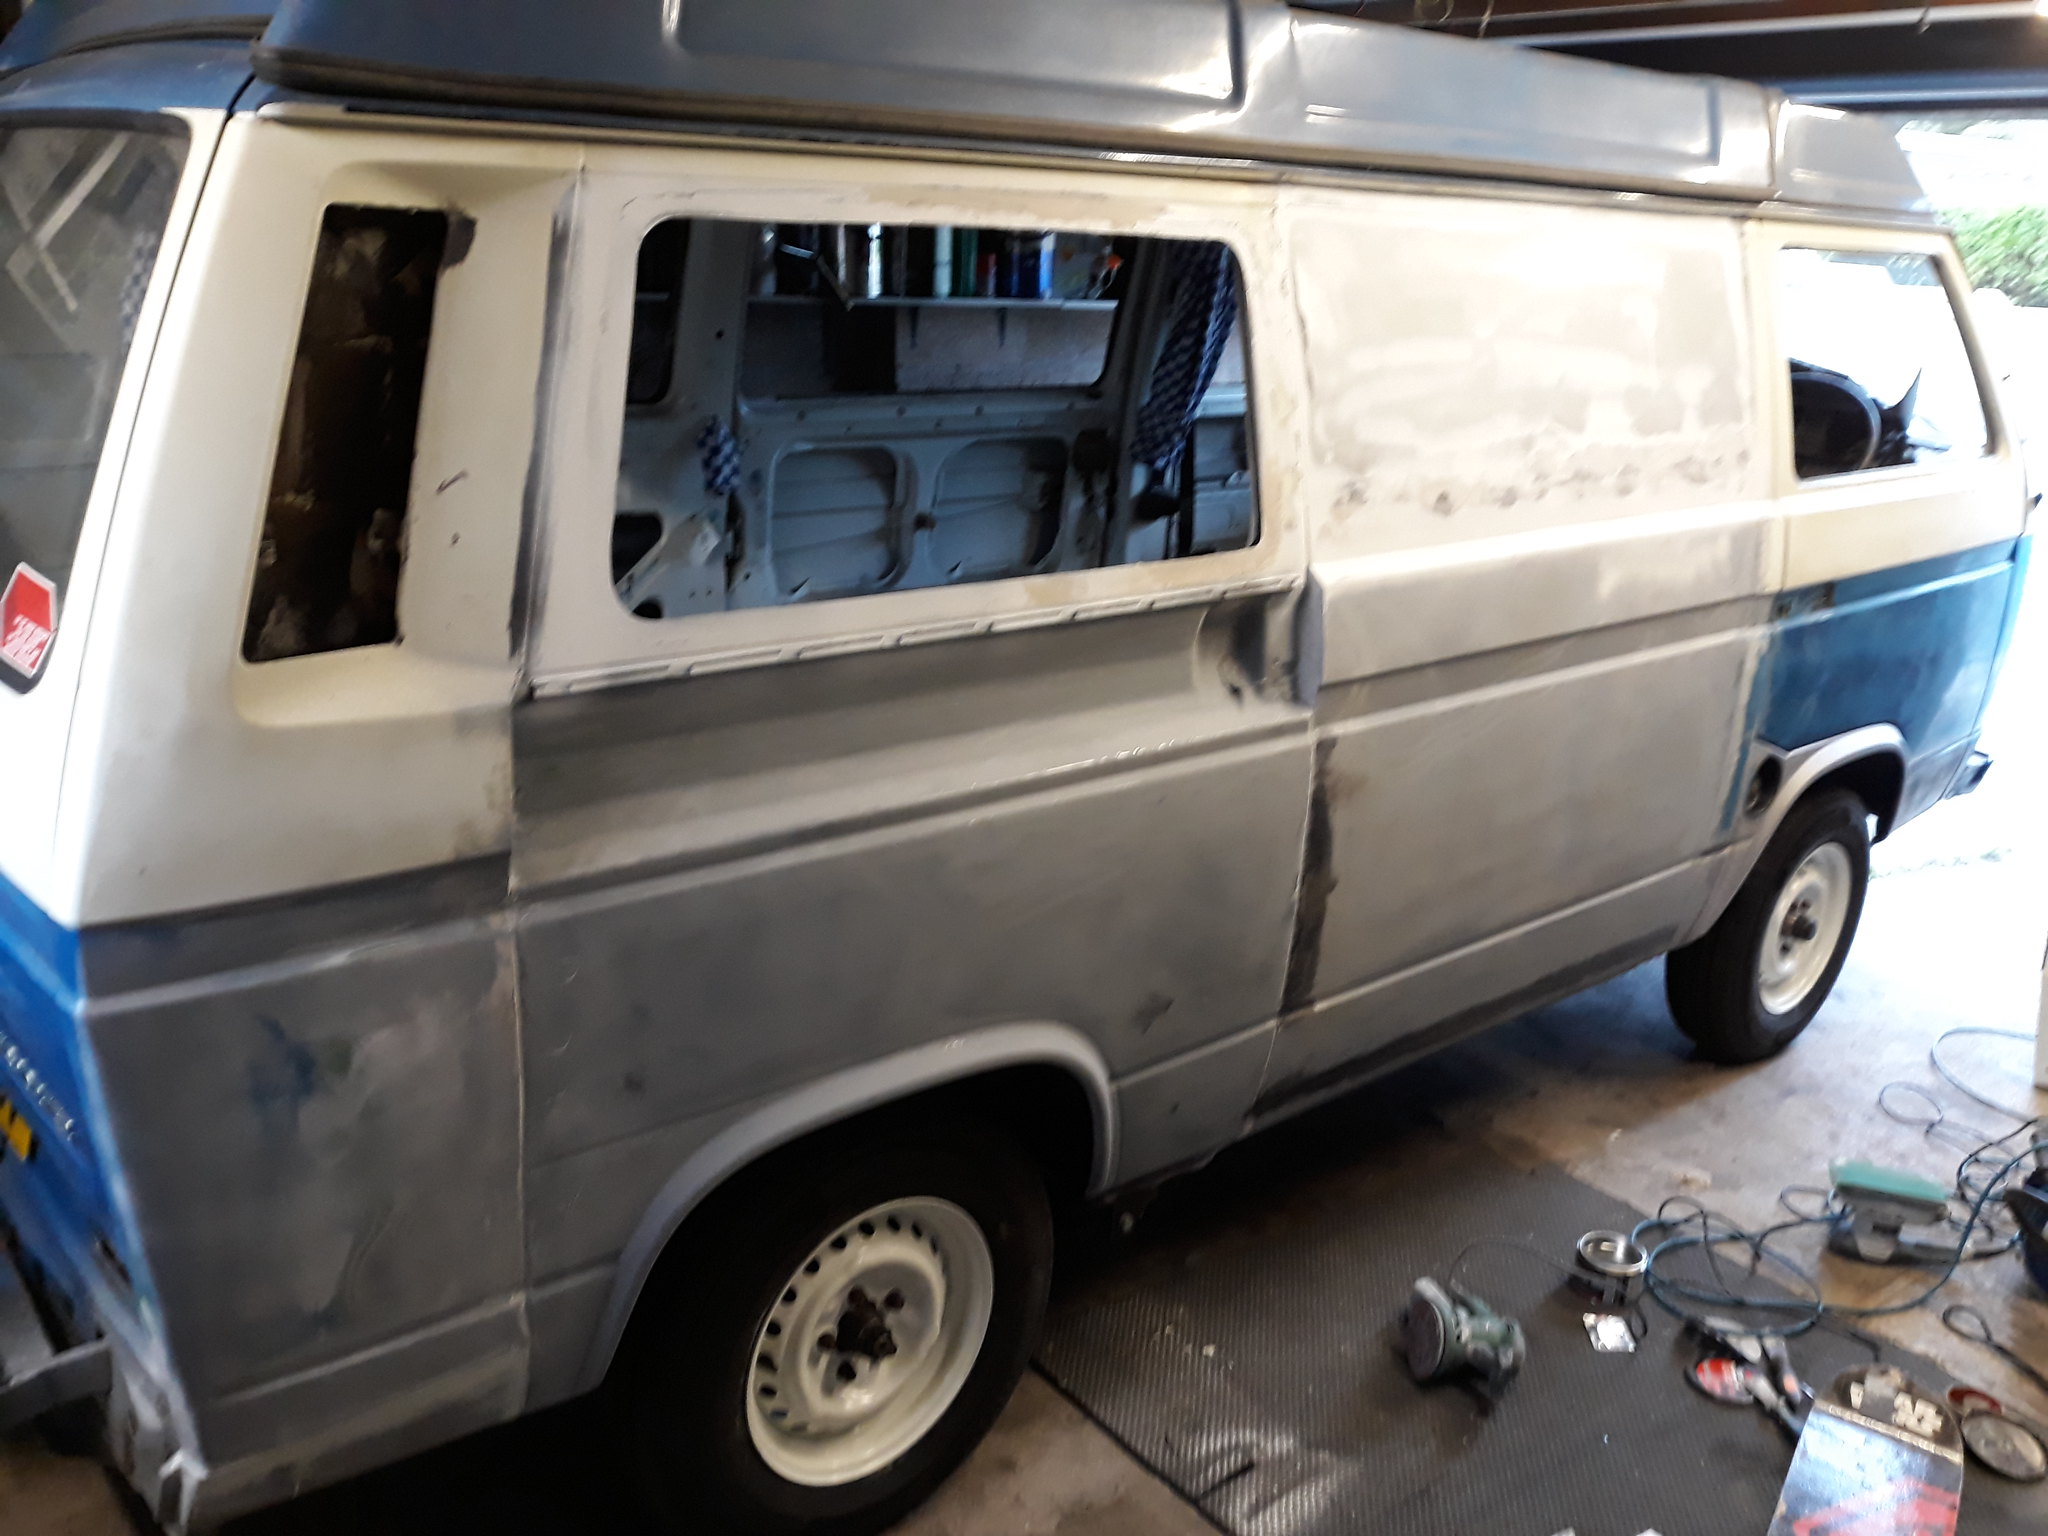 Finally passenger and driver side metalwork done!
 by
Mark Shaw, on Flickr
Nice solid metal now on the driver's side. In comparison, the passenger side which I partly painted last year..
 Finally passenger and driver side metalwork done!
 by
Mark Shaw, on Flickr
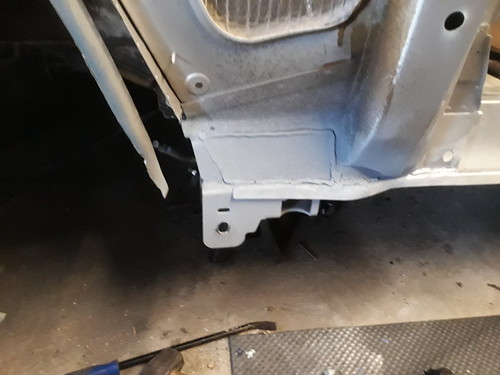
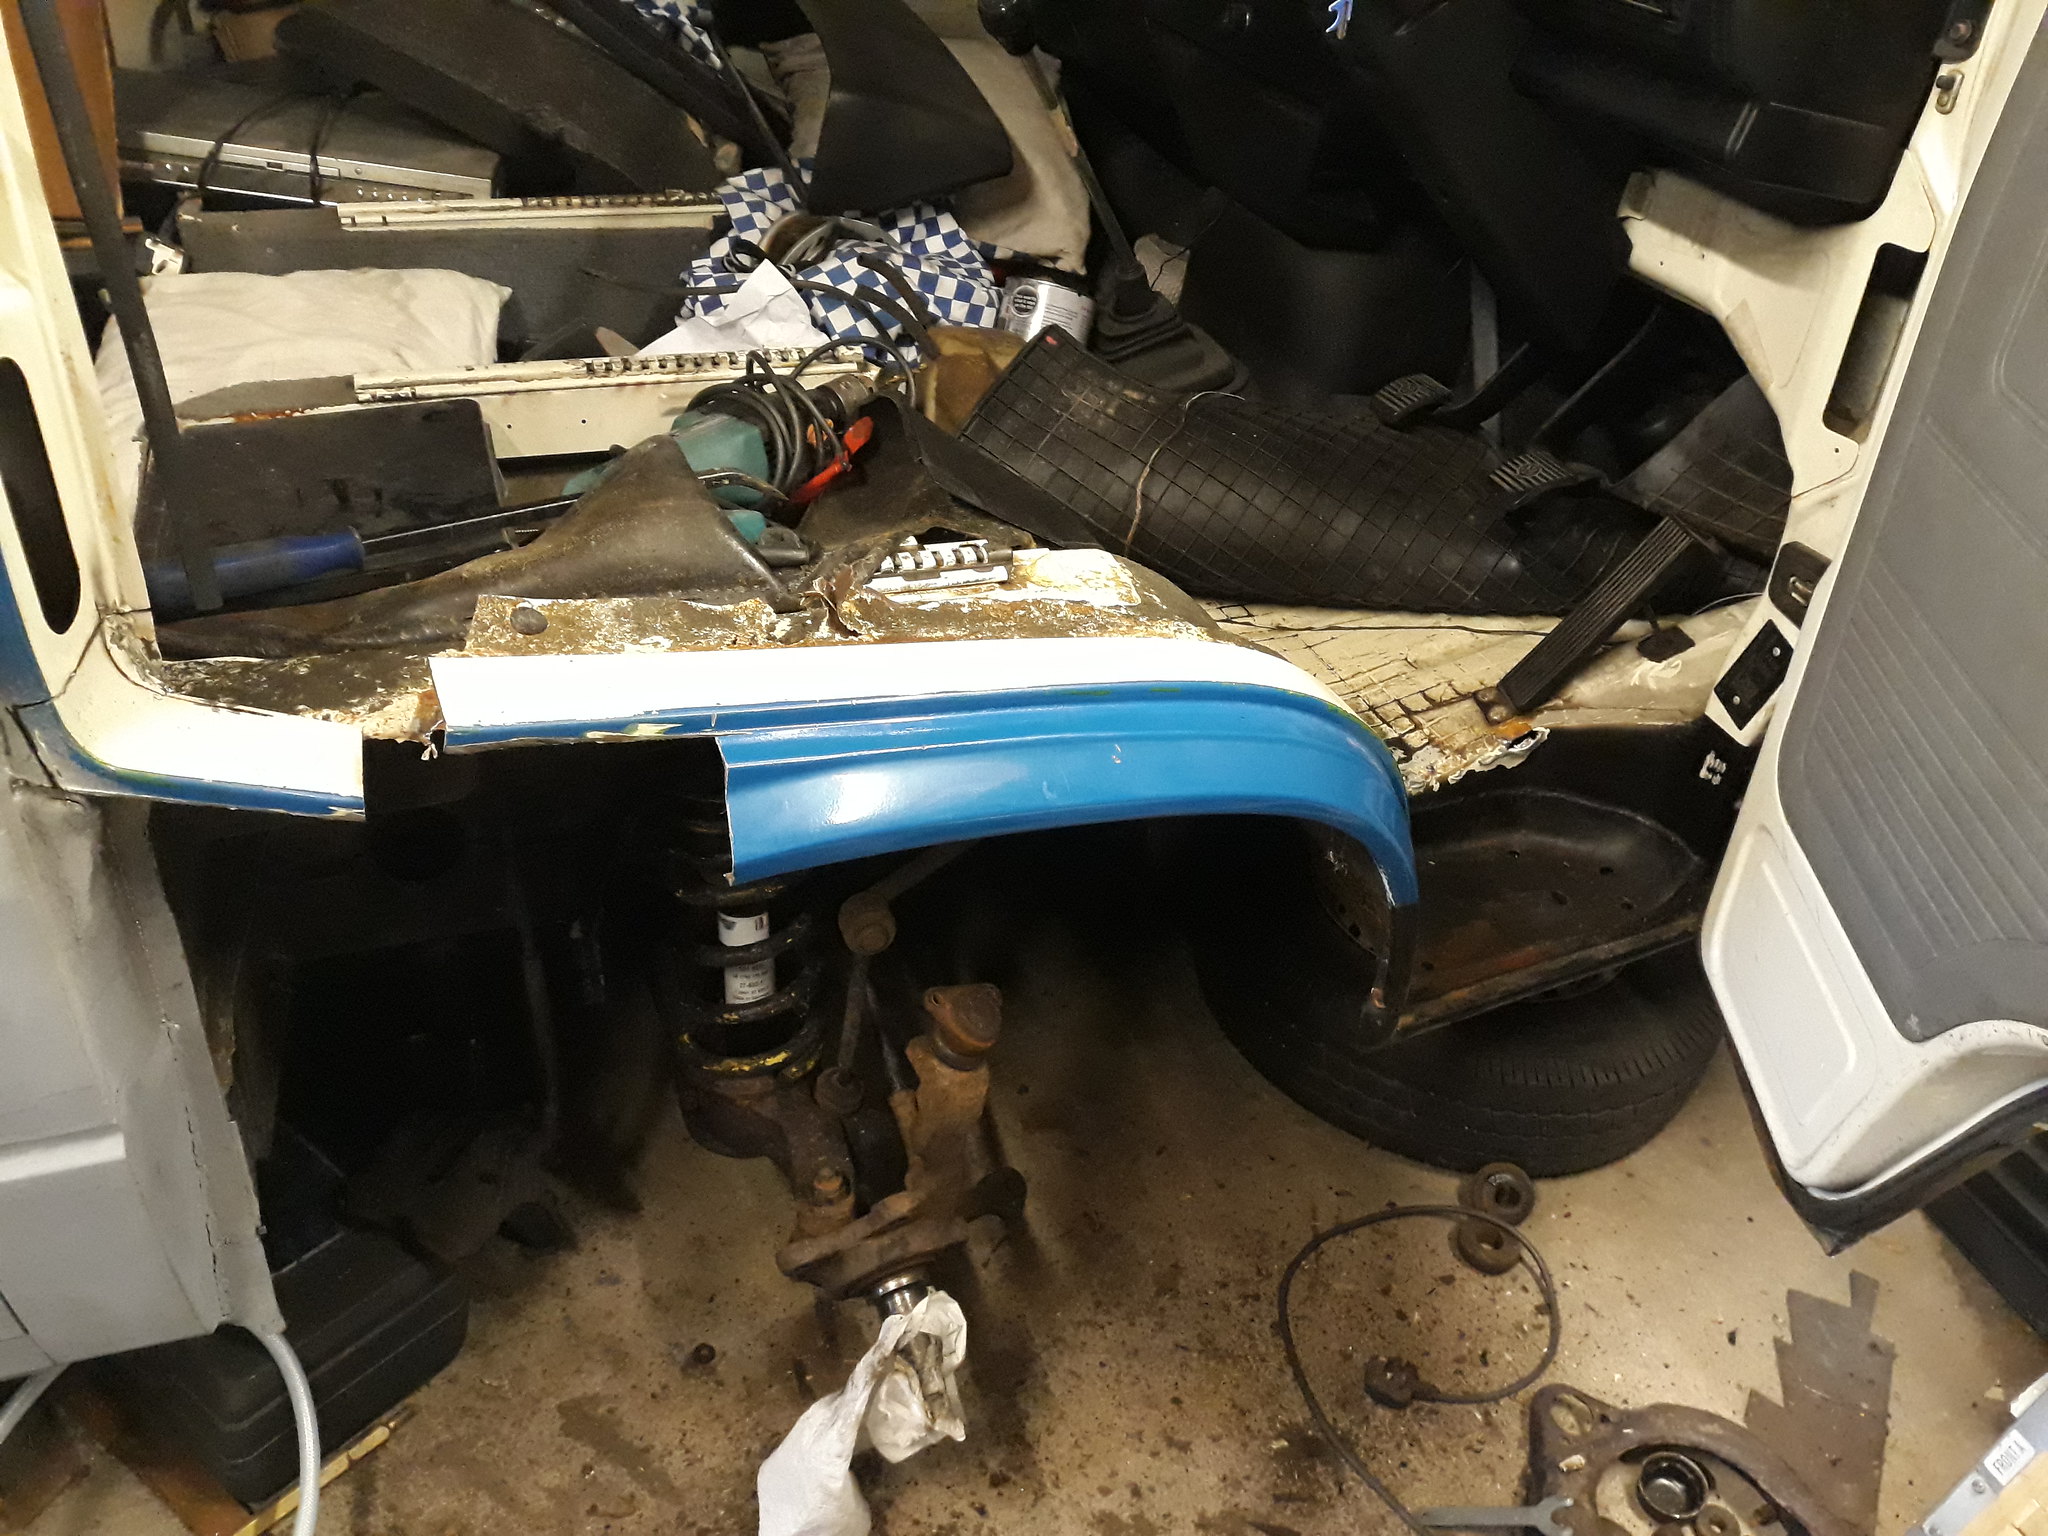
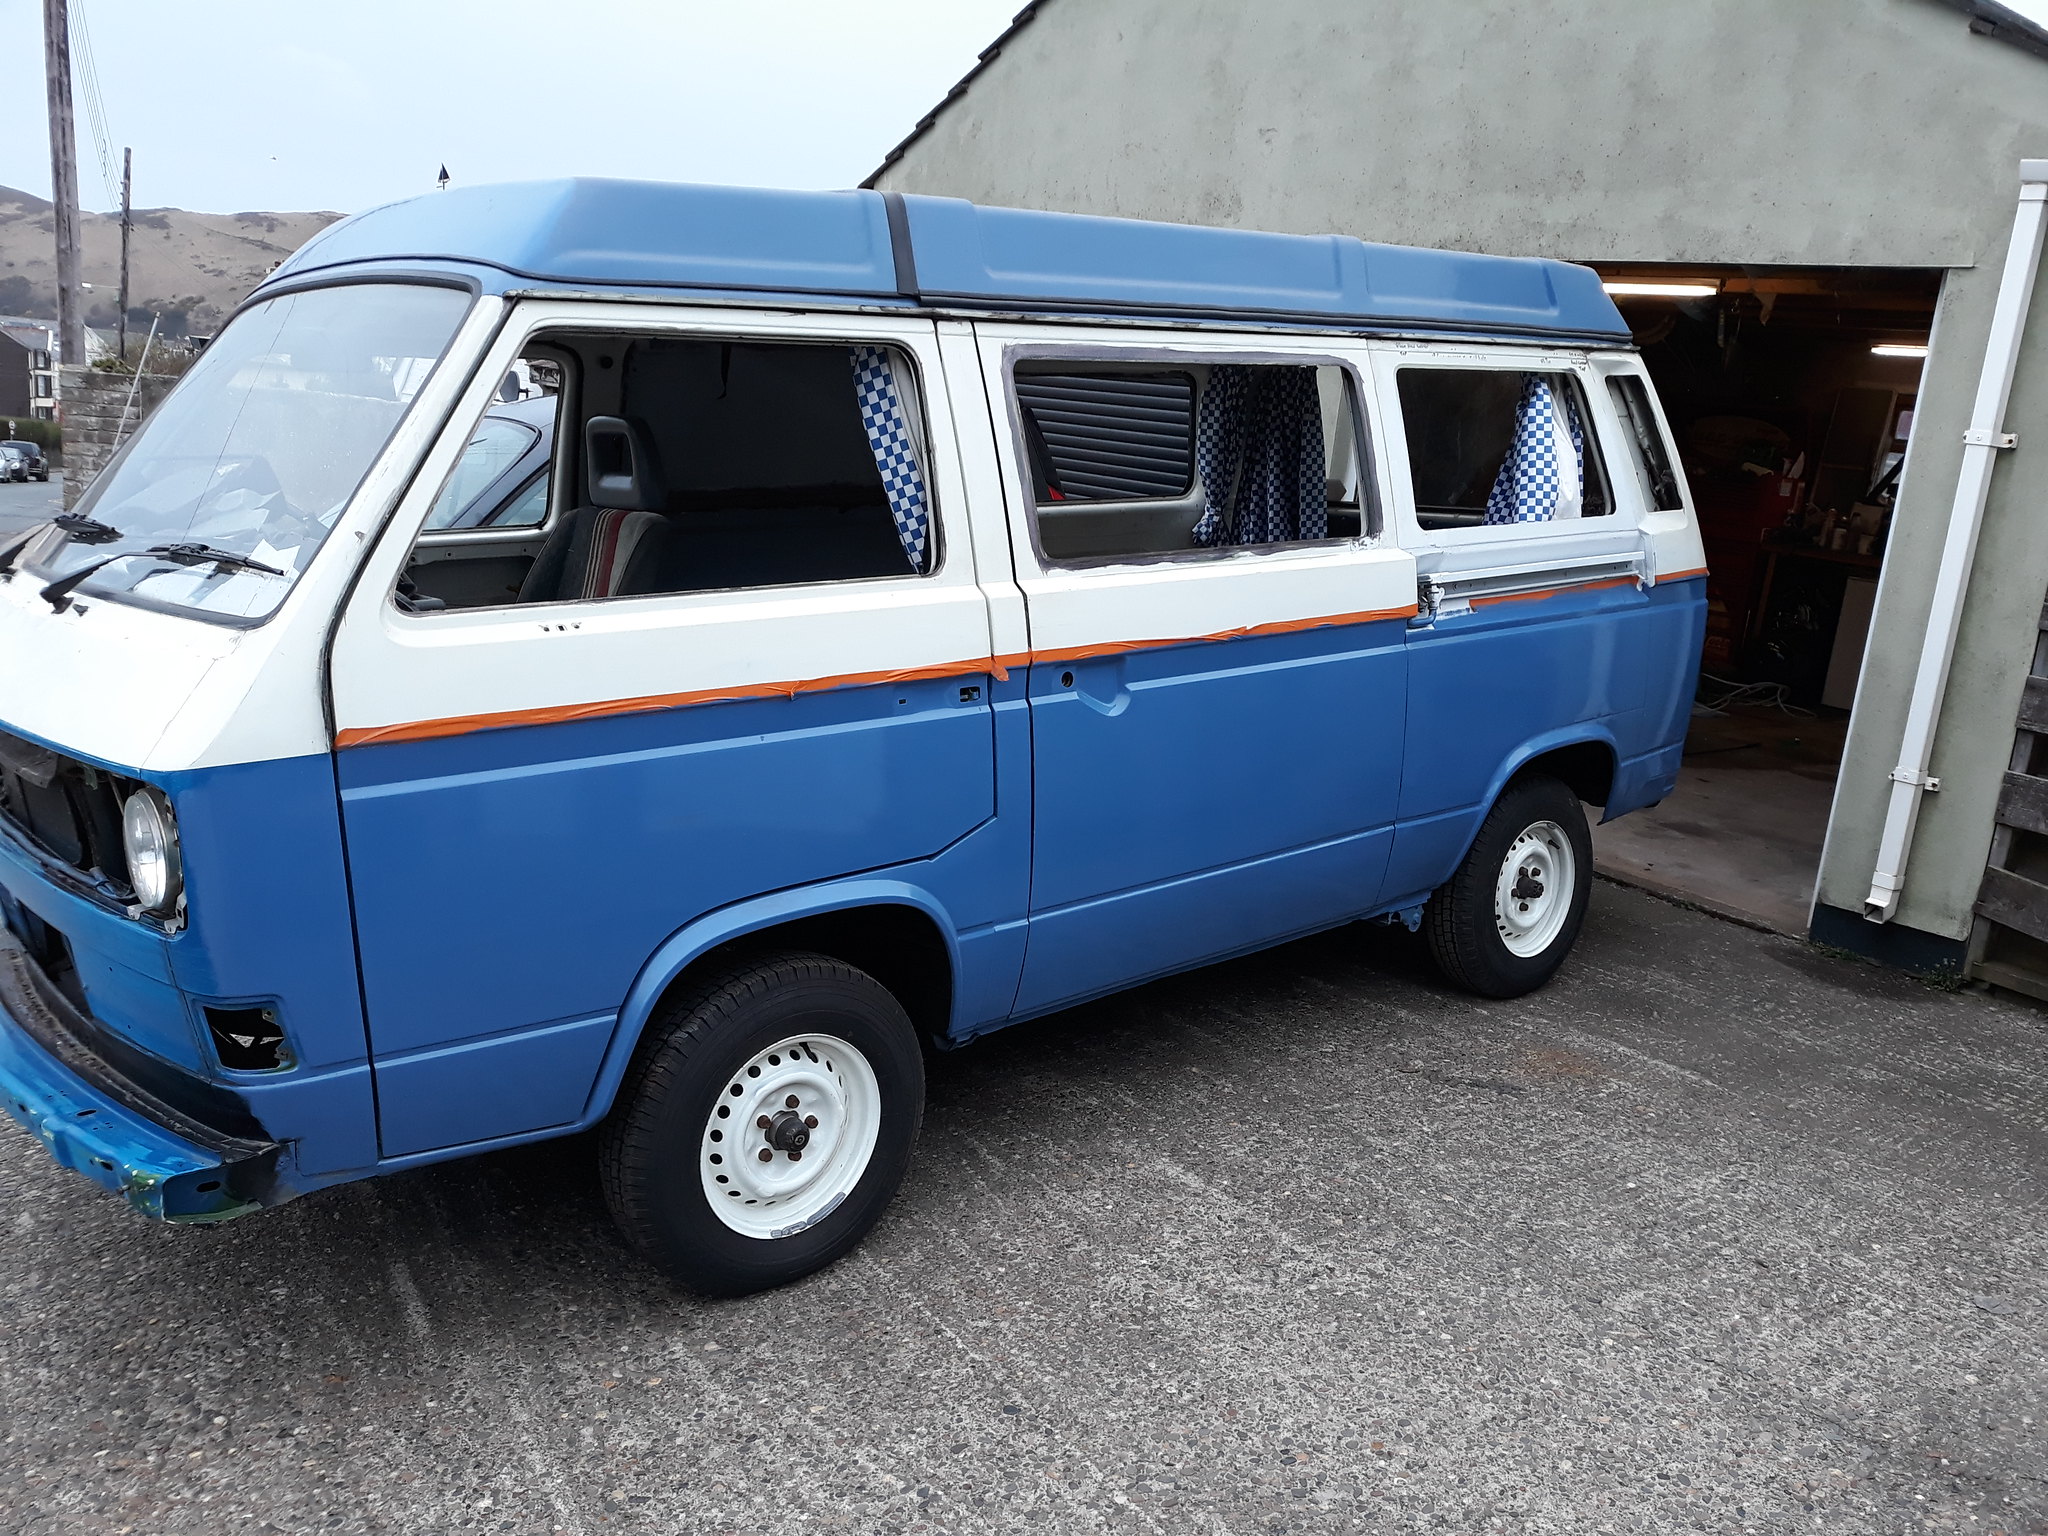
There is a bit of rust on the front above the bumper but will sort that next year. Had the van nearly three years and it has not been used yet so my good lady insisted I just tidy the front as all the main metalwork is now complete
Looking forward to getting all the paint on it. Excited.
1987 VW T25: Subaru EJ20 using RJES parts (If it was meant to go fast it wouldn't be brick shaped!)
 Inner sill repair by Mark Shaw, on Flickr
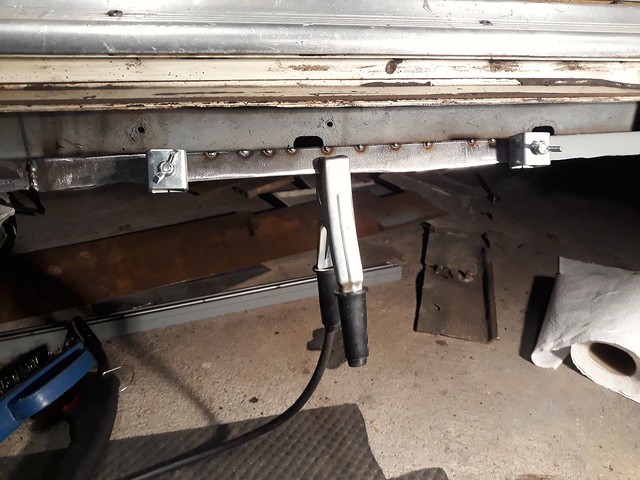 Inner sill repair before fitting new outer sill by Mark Shaw, on Flickr