Page 3 of 4
Re: My T25 restoration
Posted: 26 Apr 2018, 09:04
by mshaw1980
AndreasDahl wrote:Wow! awesome work!
This bus will live on

Thanks pal...and welcome

Re: My T25 restoration
Posted: 02 May 2018, 12:06
by mshaw1980
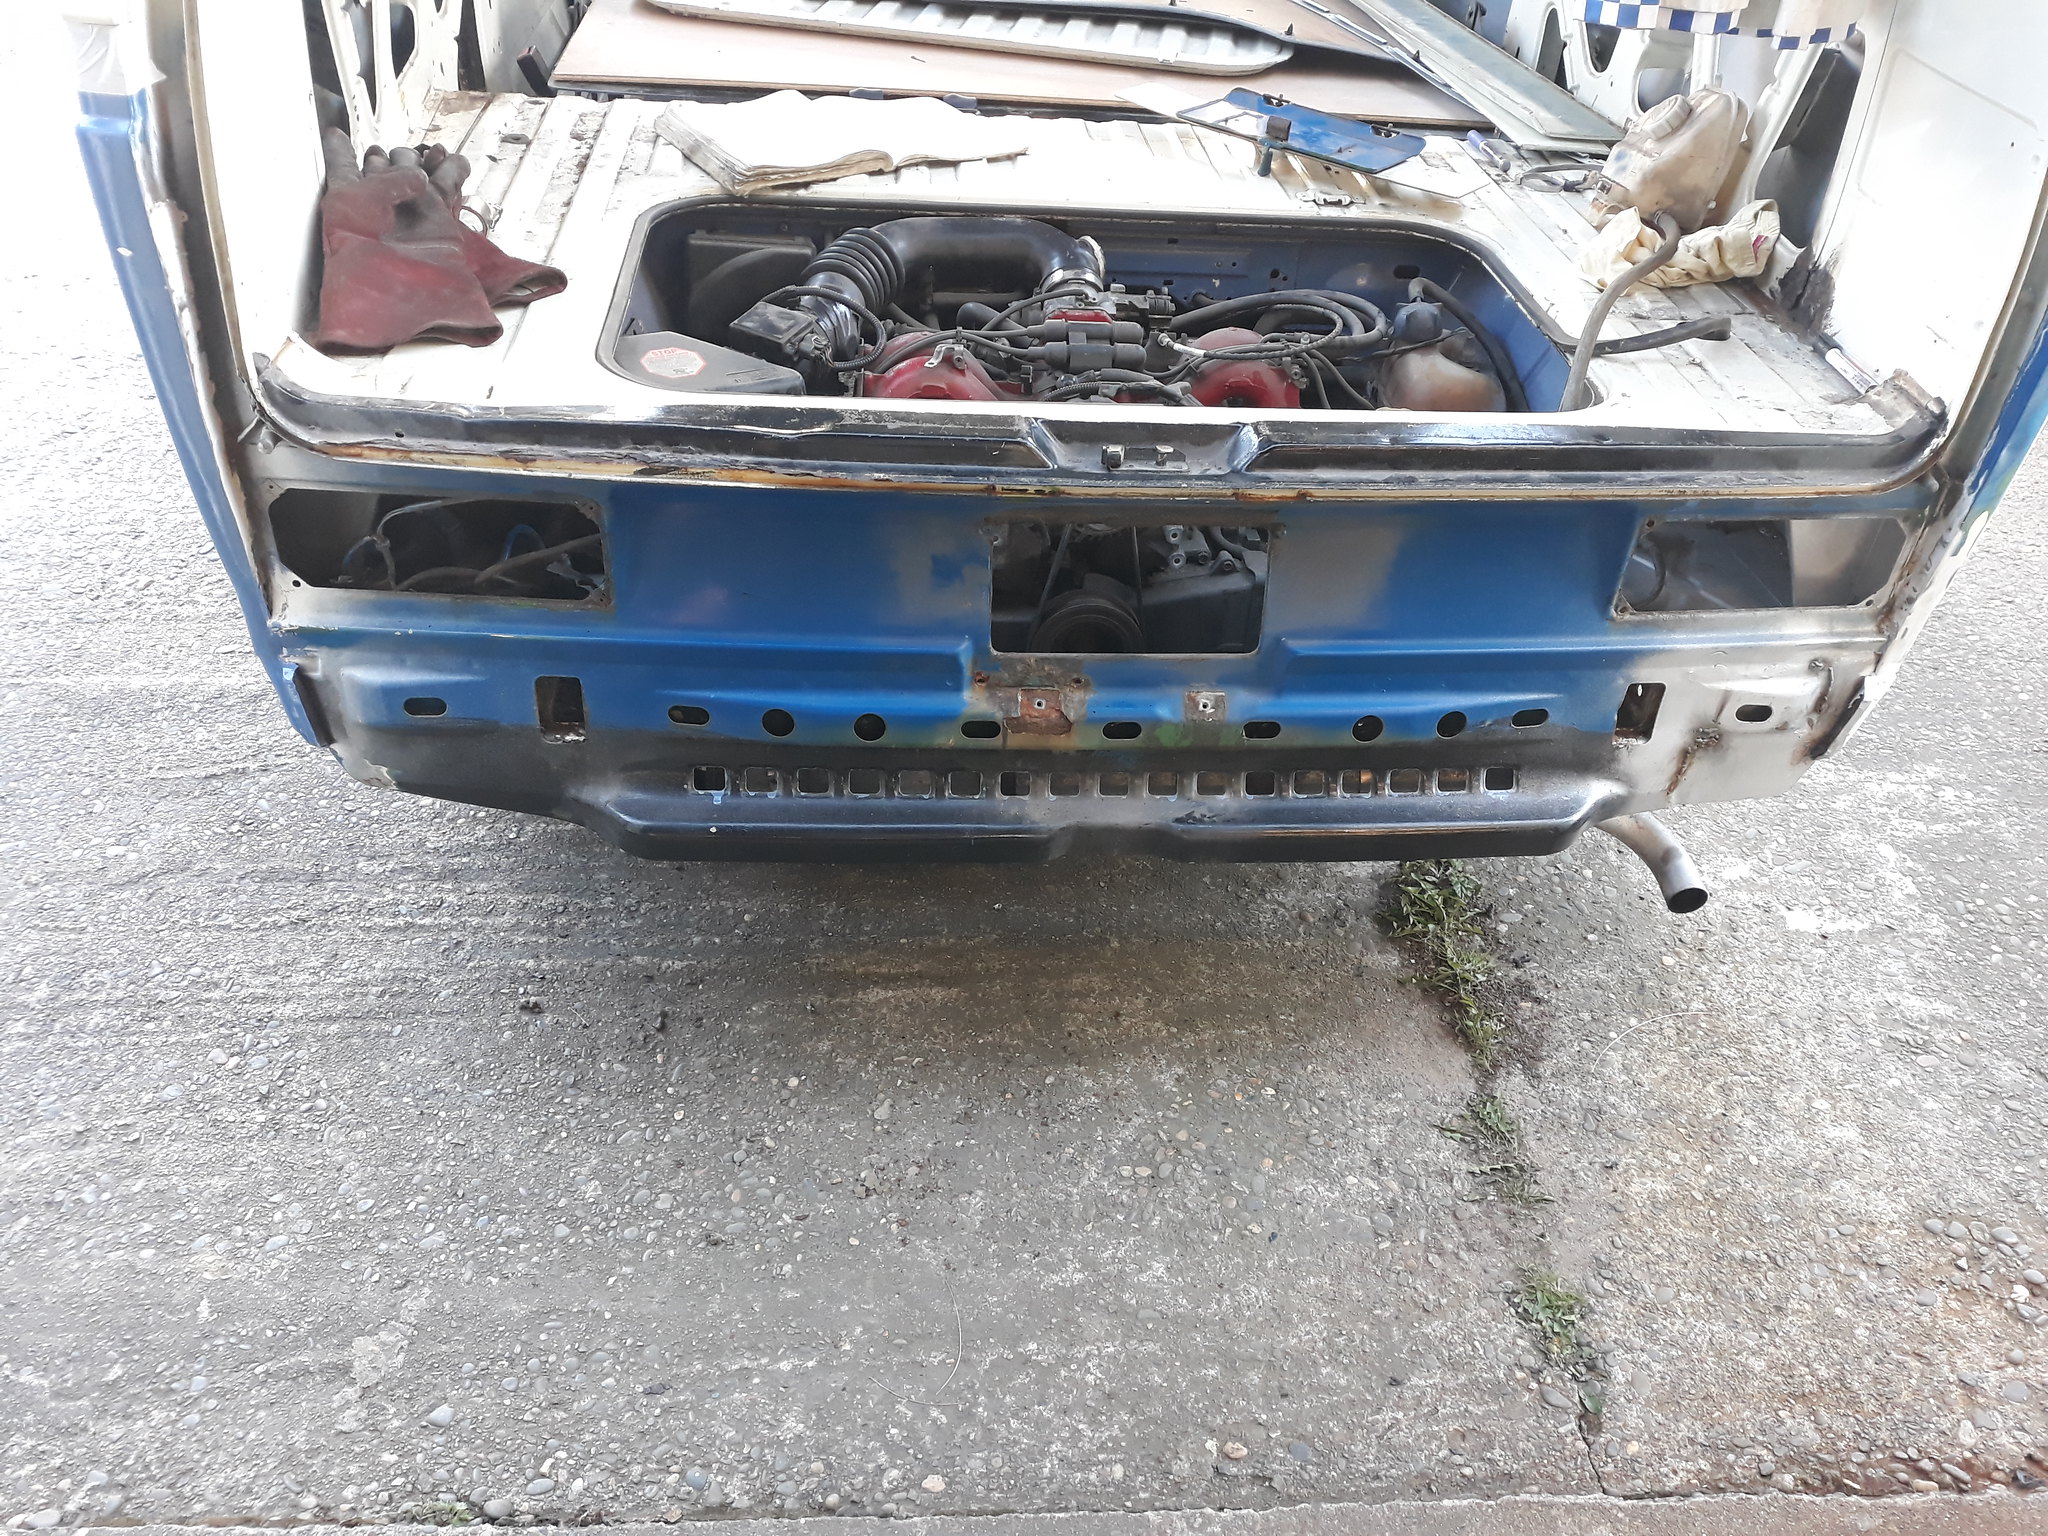
So the front before some rustoleum. As mentioned in a previous post I will replace the front panel under the grill next year. Just want to get the thing through the manx MOT so we can use it this summer:
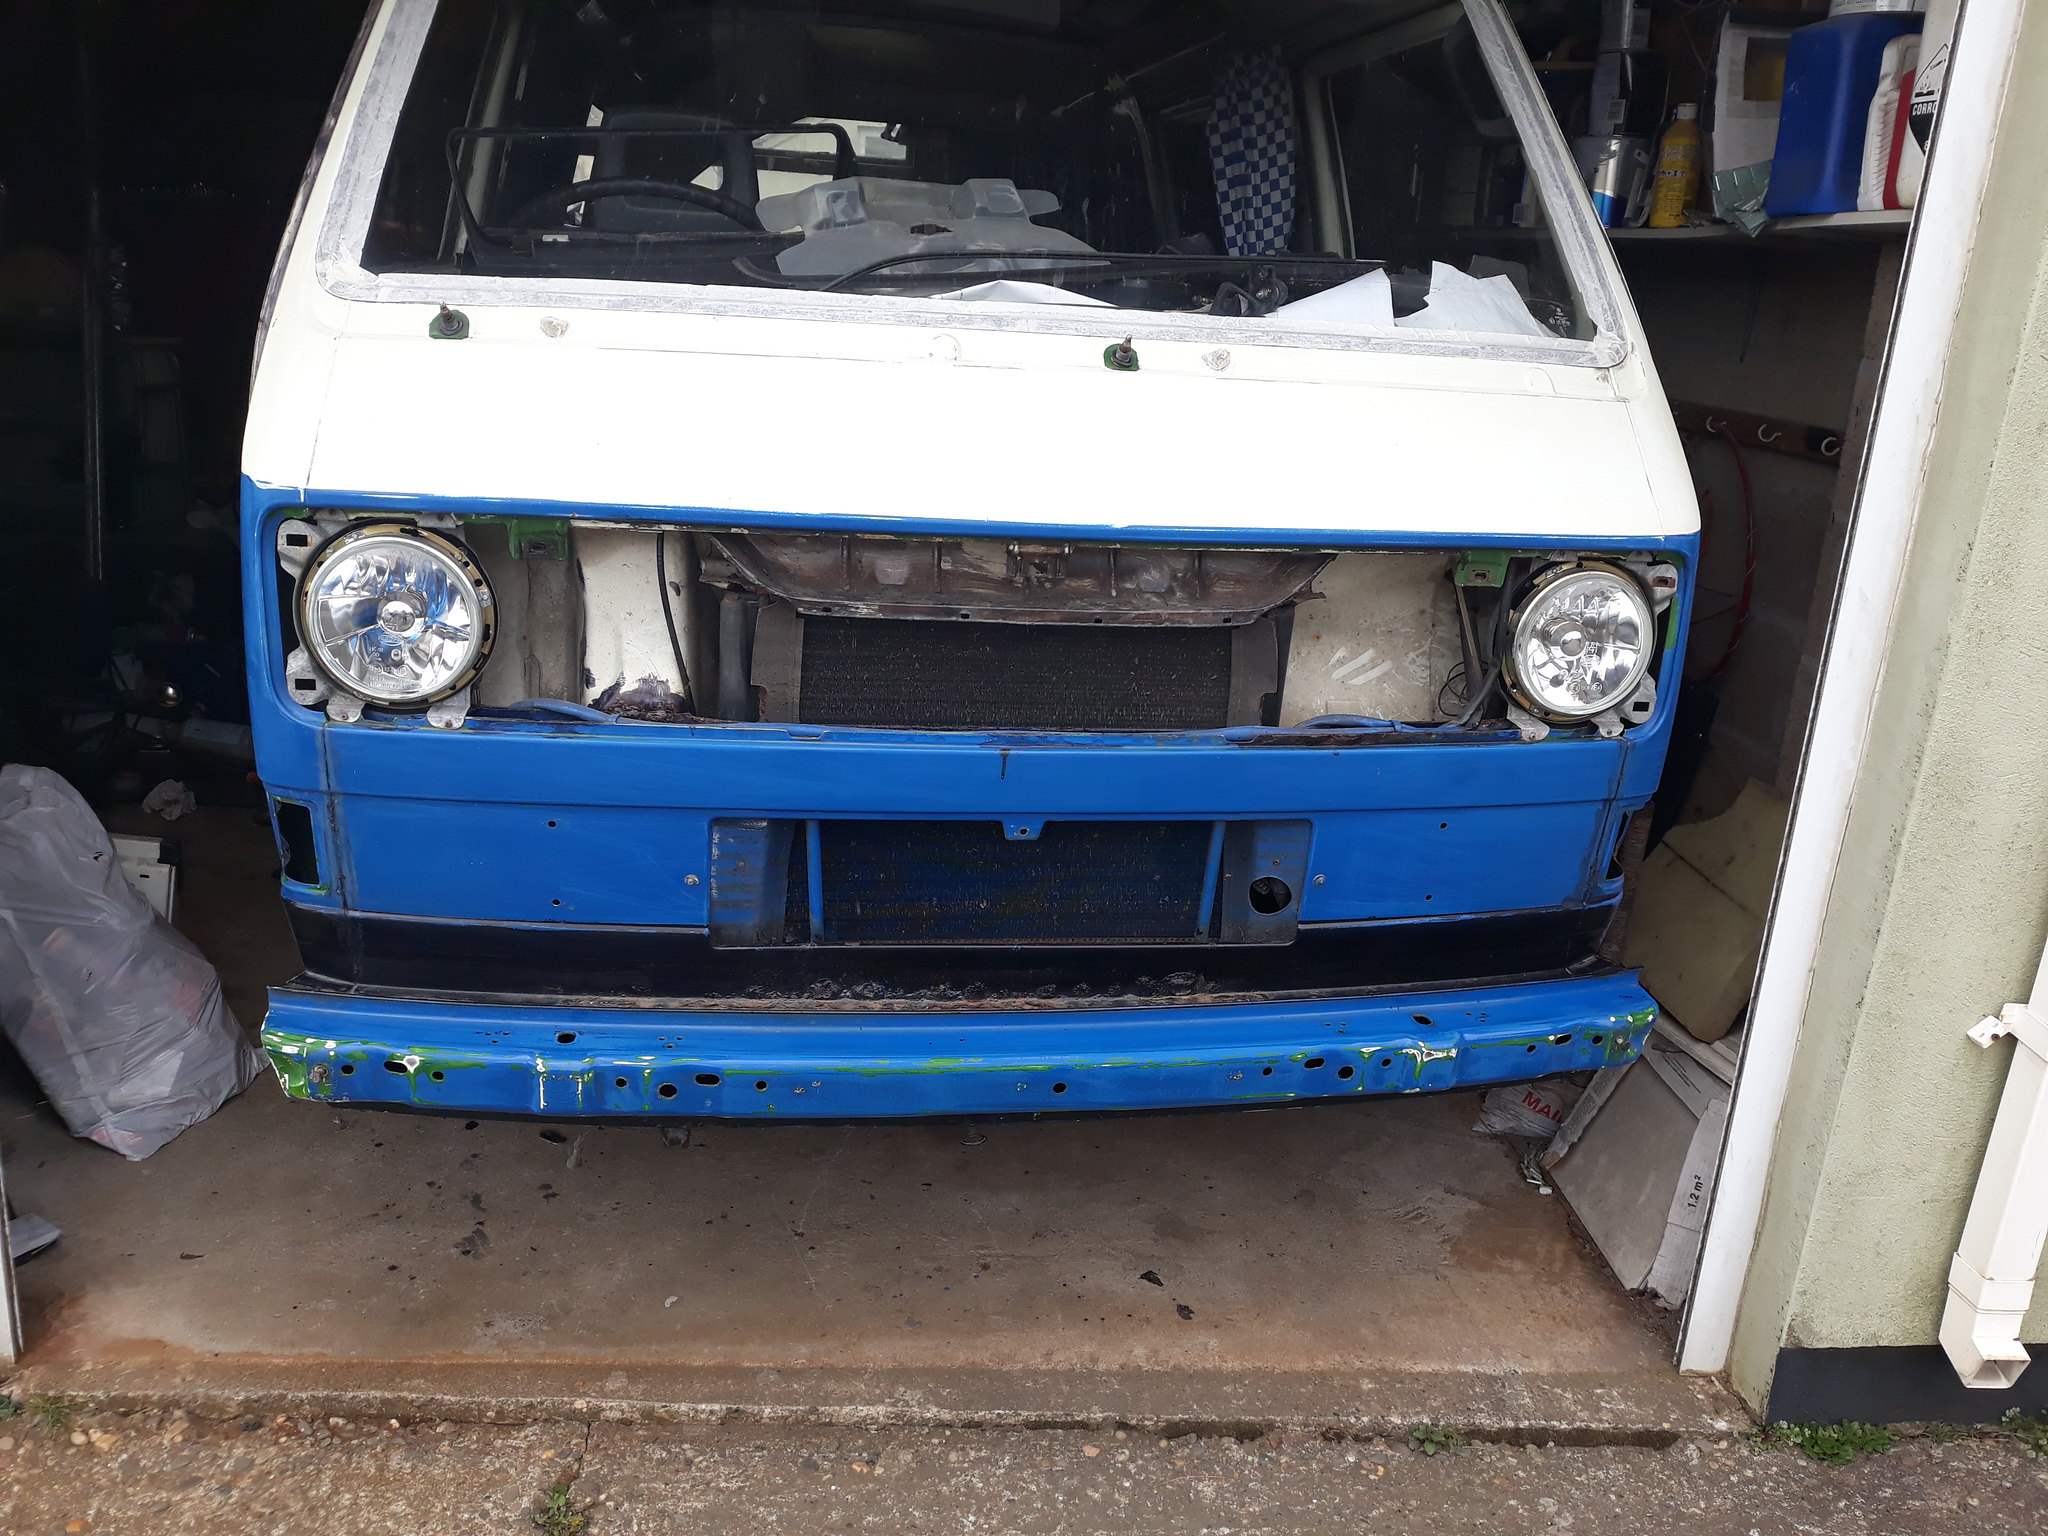 Getting closer now
 by
Mark Shaw, on Flickr
Then the first full coat of rustoleum on 'most' of the van. A bit orange peely but will be flatted back before the second coat. Looks pretty good. What do you reckon??
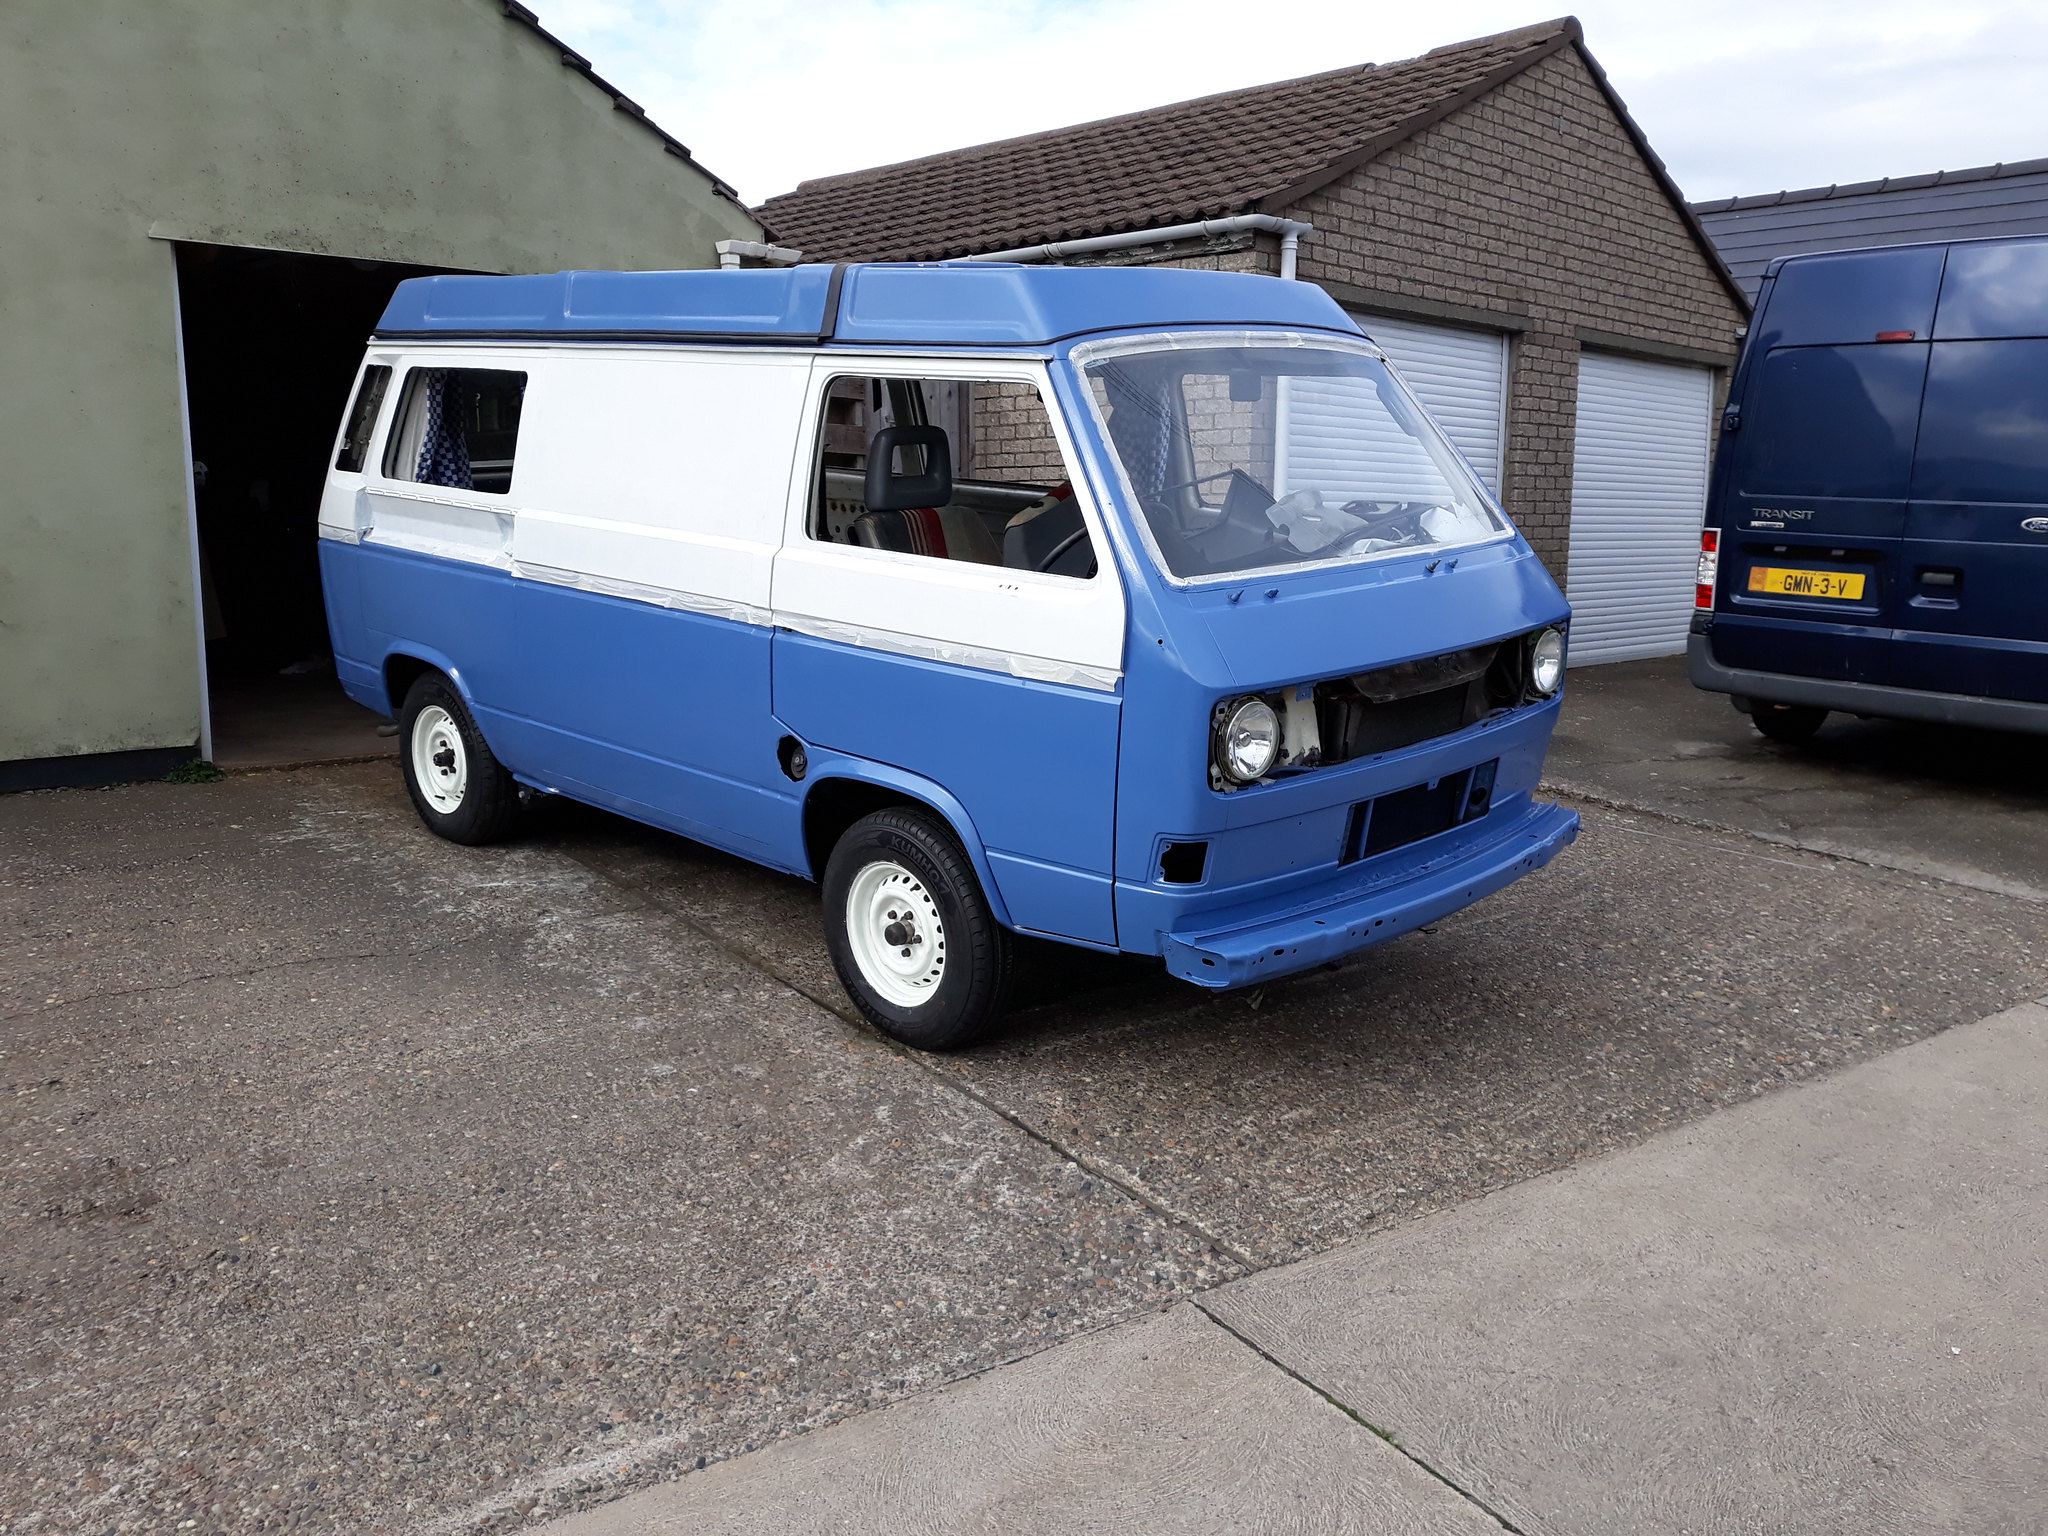 Getting closer now
 by
Mark Shaw, on Flickr
I said 'most' of the van just above. Having to deal with this bit now:
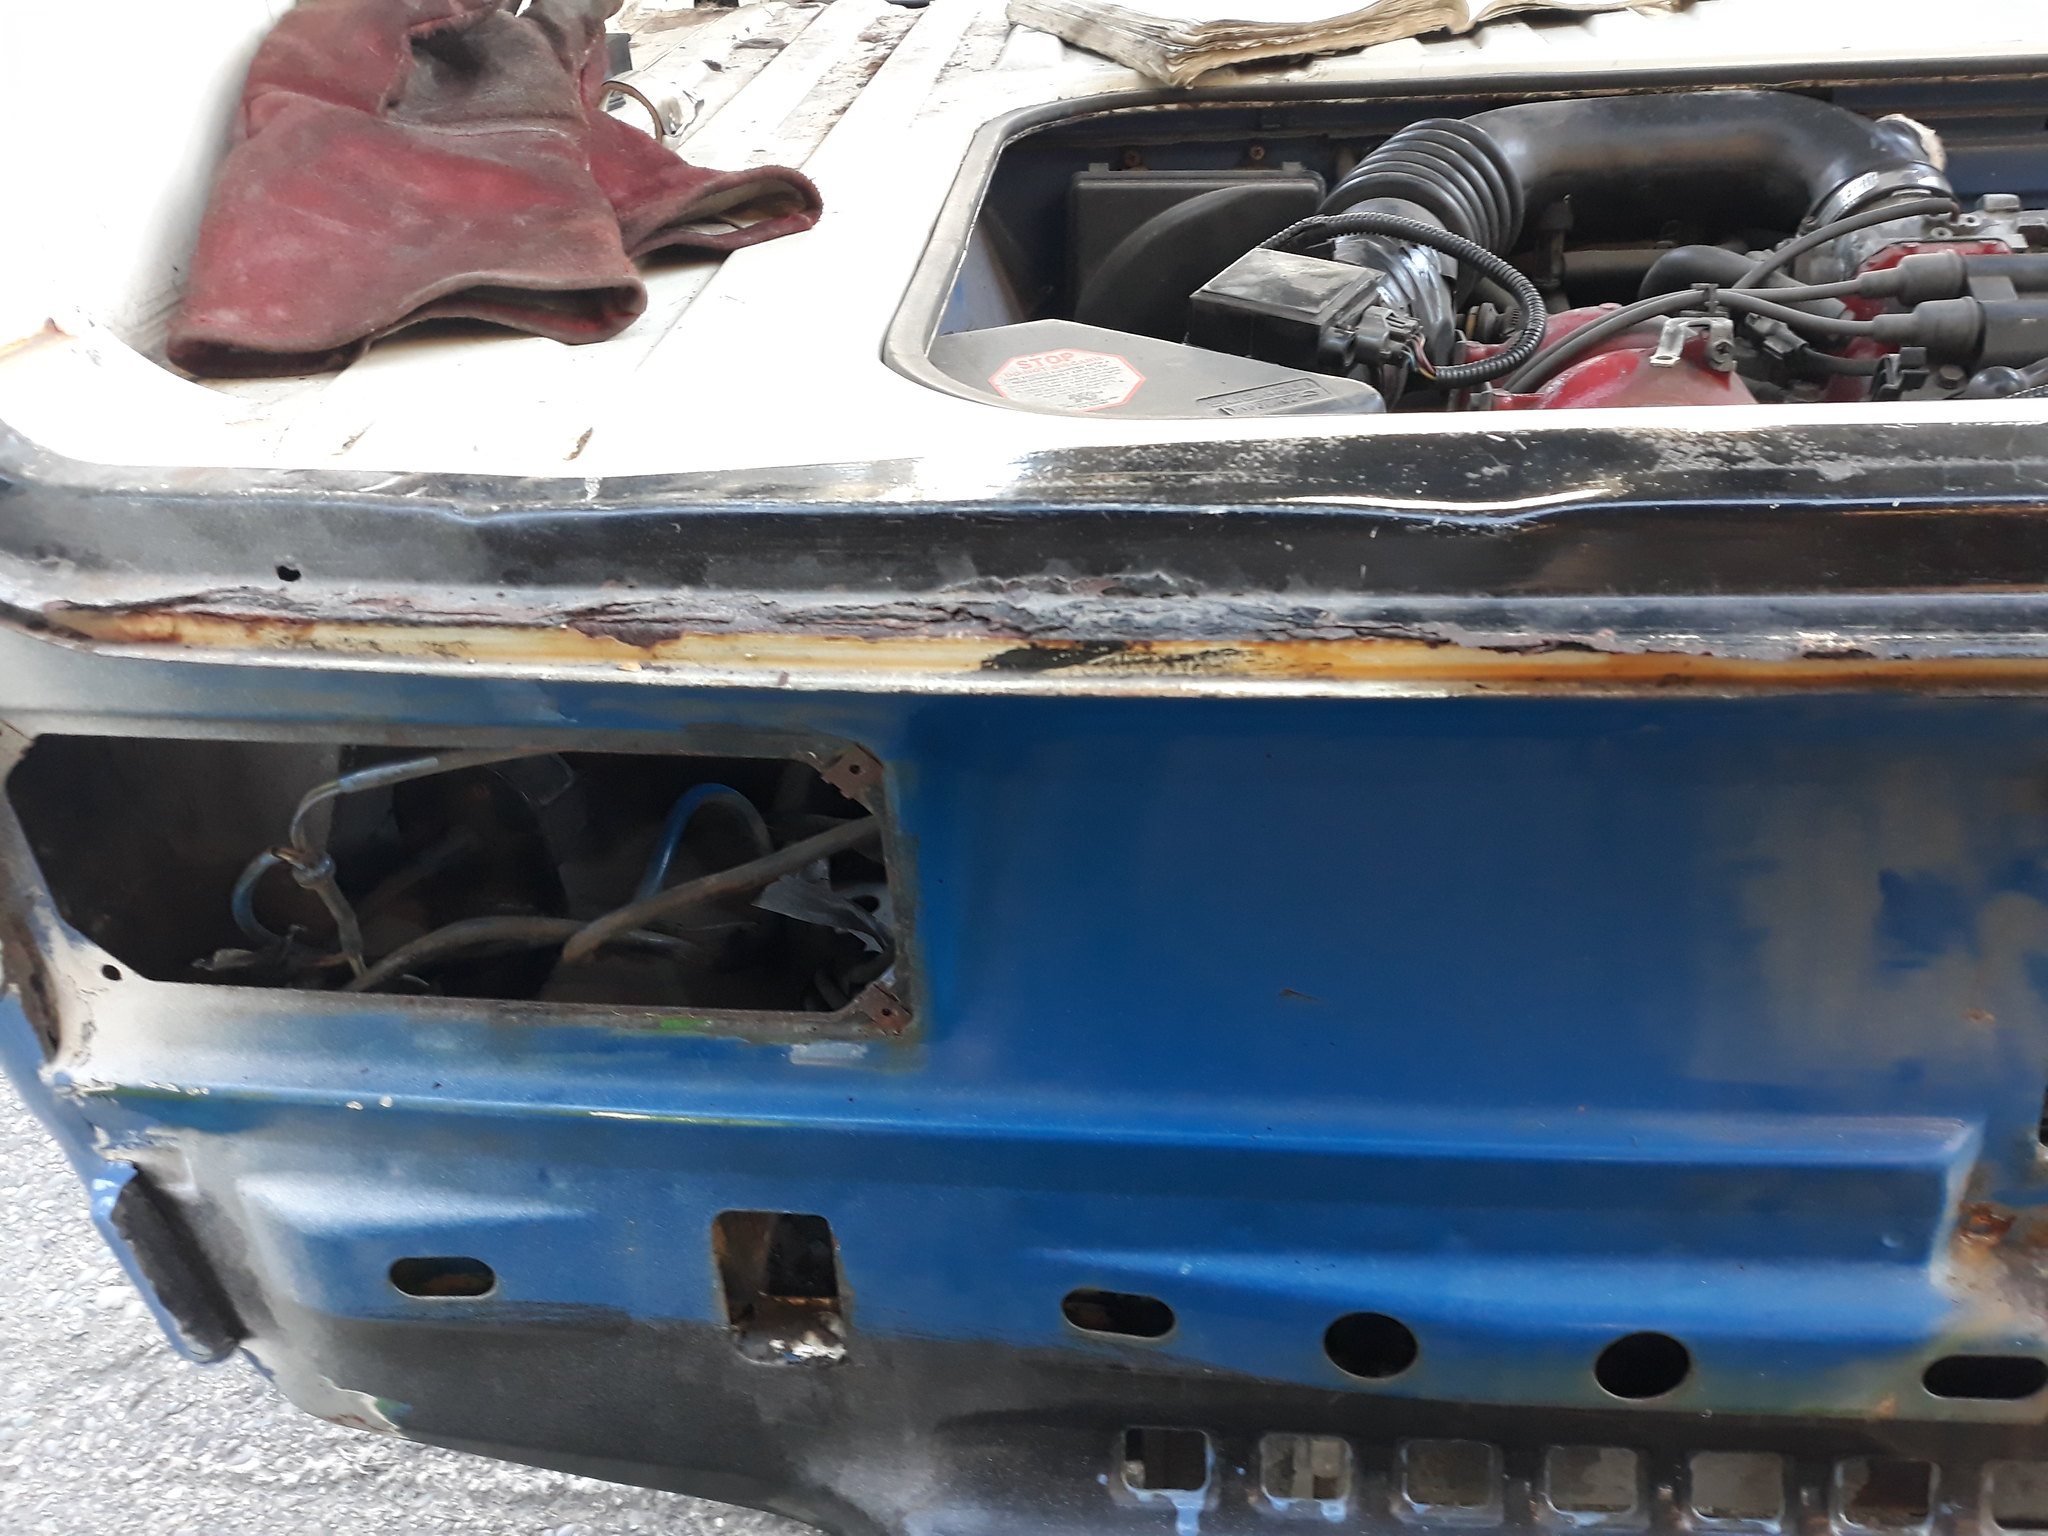 Getting closer now
 by
Mark Shaw, on Flickr
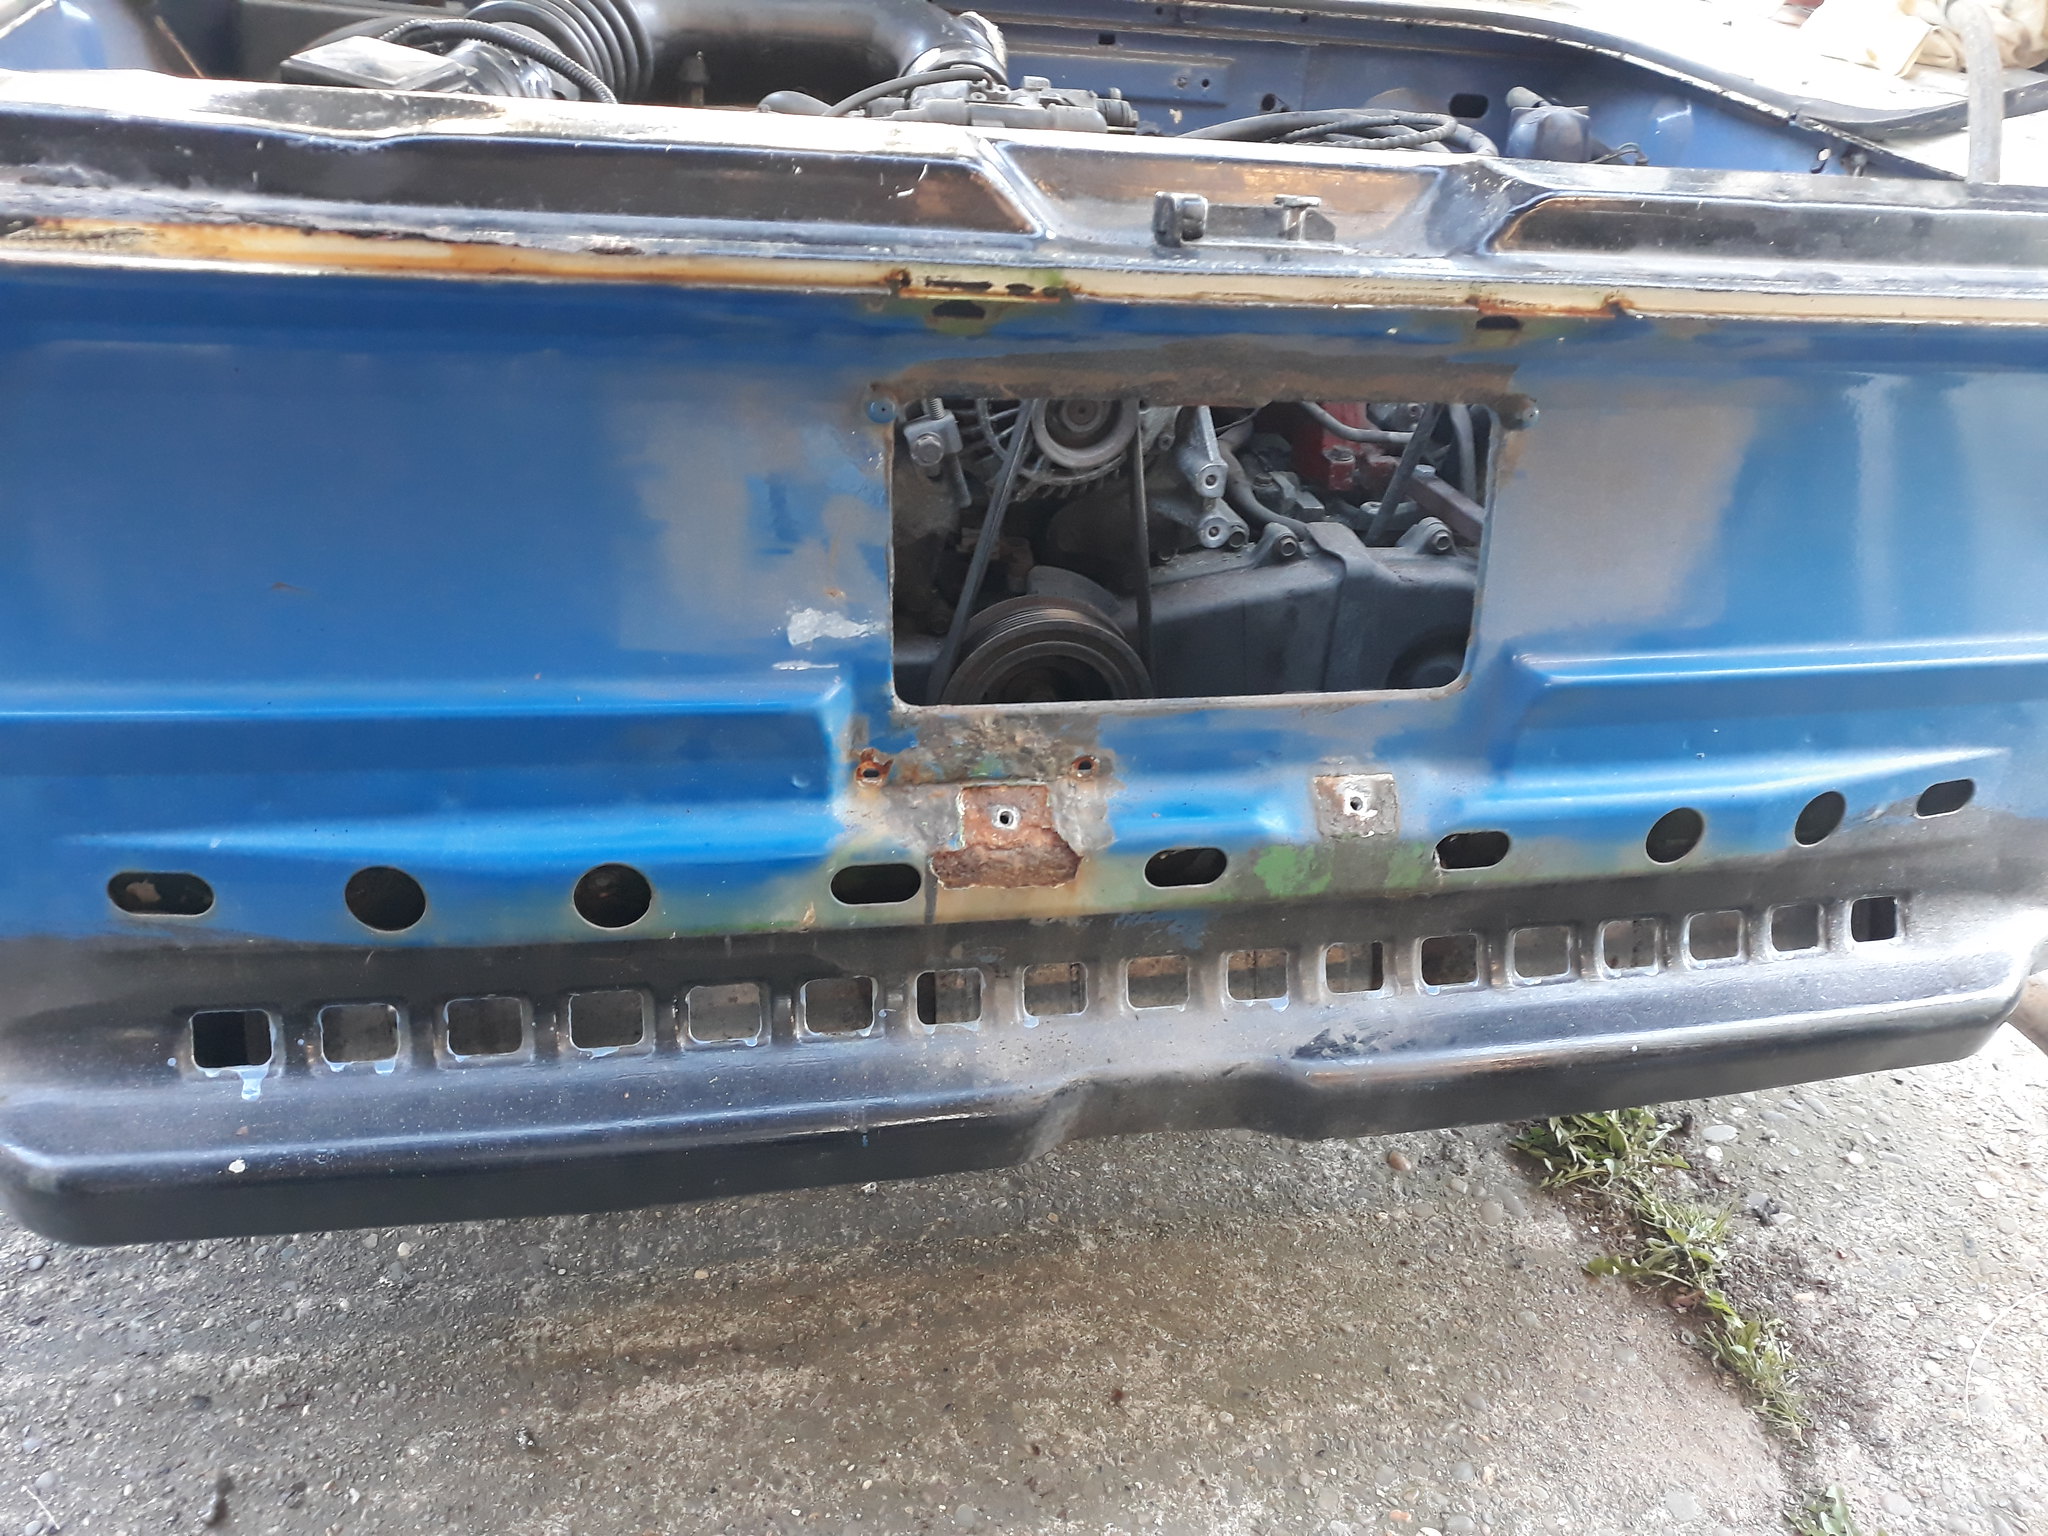 Getting closer now
 by
Mark Shaw, on Flickr
 Getting closer now
 by
Mark Shaw, on Flickr
Need to replace part of the tailgate seal channel and patch where the expansion tank flap goes and then I can rustoleum away

Re: My T25 restoration
Posted: 08 May 2018, 12:10
by mshaw1980
Was getting sick of bodywork so before I do the rear valance and tailgate seal channel I decided to do some interior work. So first a fusebox for the leisure battery (Still need to feed the power cable from under the passenger seat battery box to the fusebox but will do that later this week..
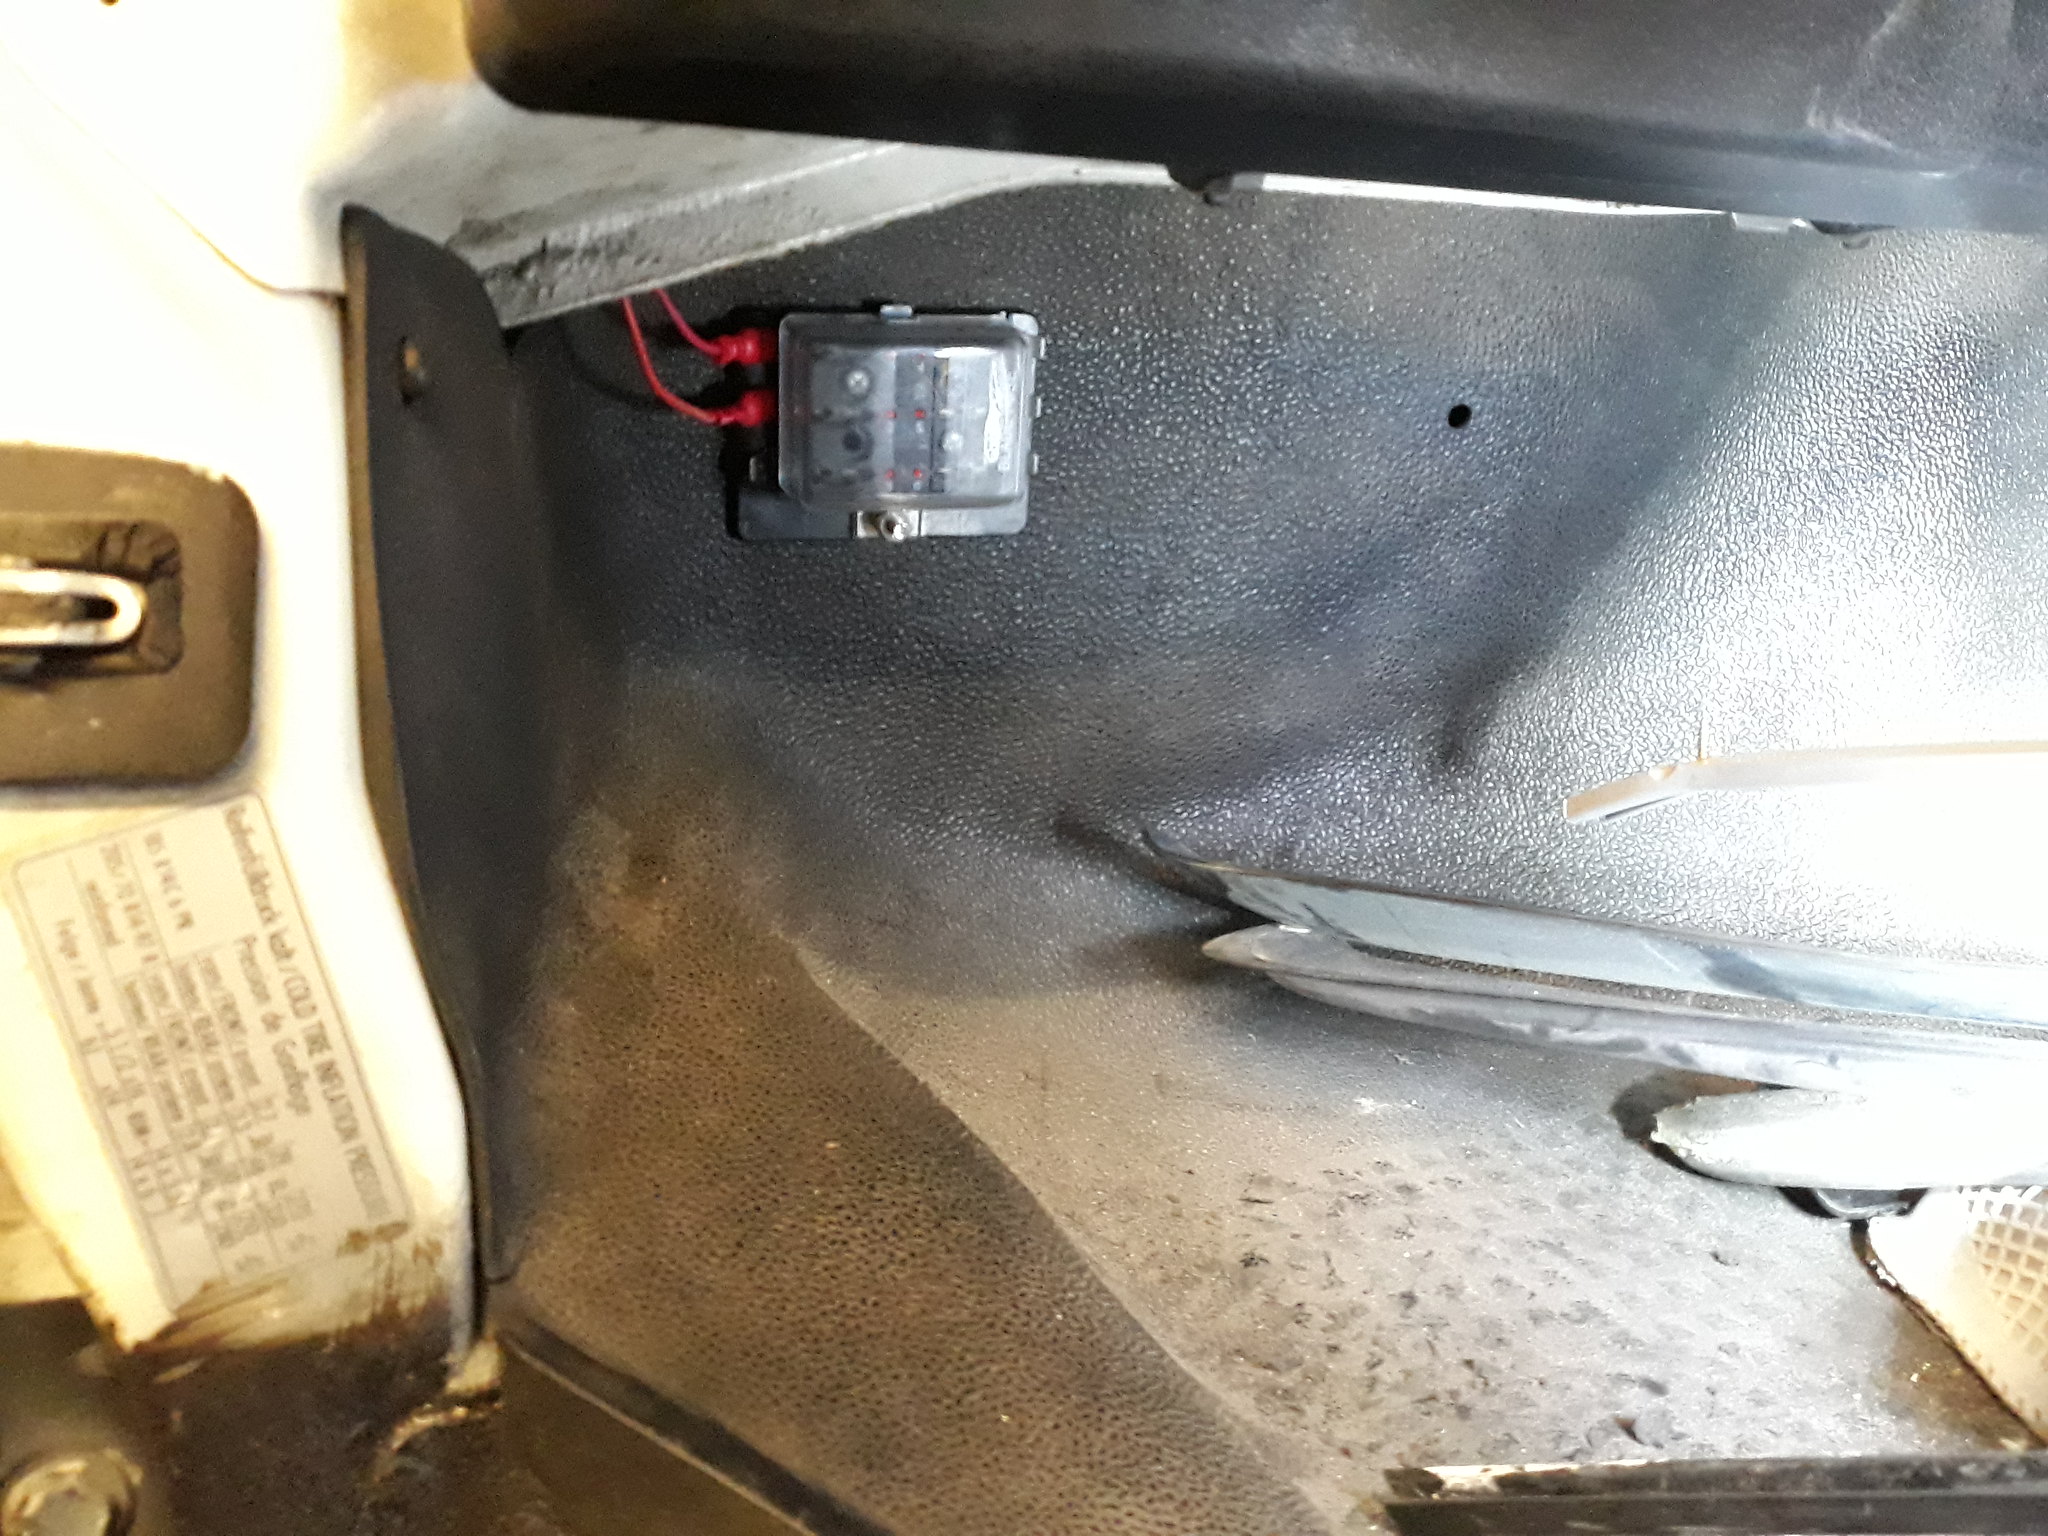 We shall have light....and a comfortable interior, well, the start of
 by
Mark Shaw, on Flickr
Wiring fed from the fusebox along the roof where the interior lighting wires run and then into this ready for LEDS. You will note that there are two wires coming out of the new fusebox. This is because I want the four lights to be on two switches so my good lady can turn her light out and I can leave mine on and read.
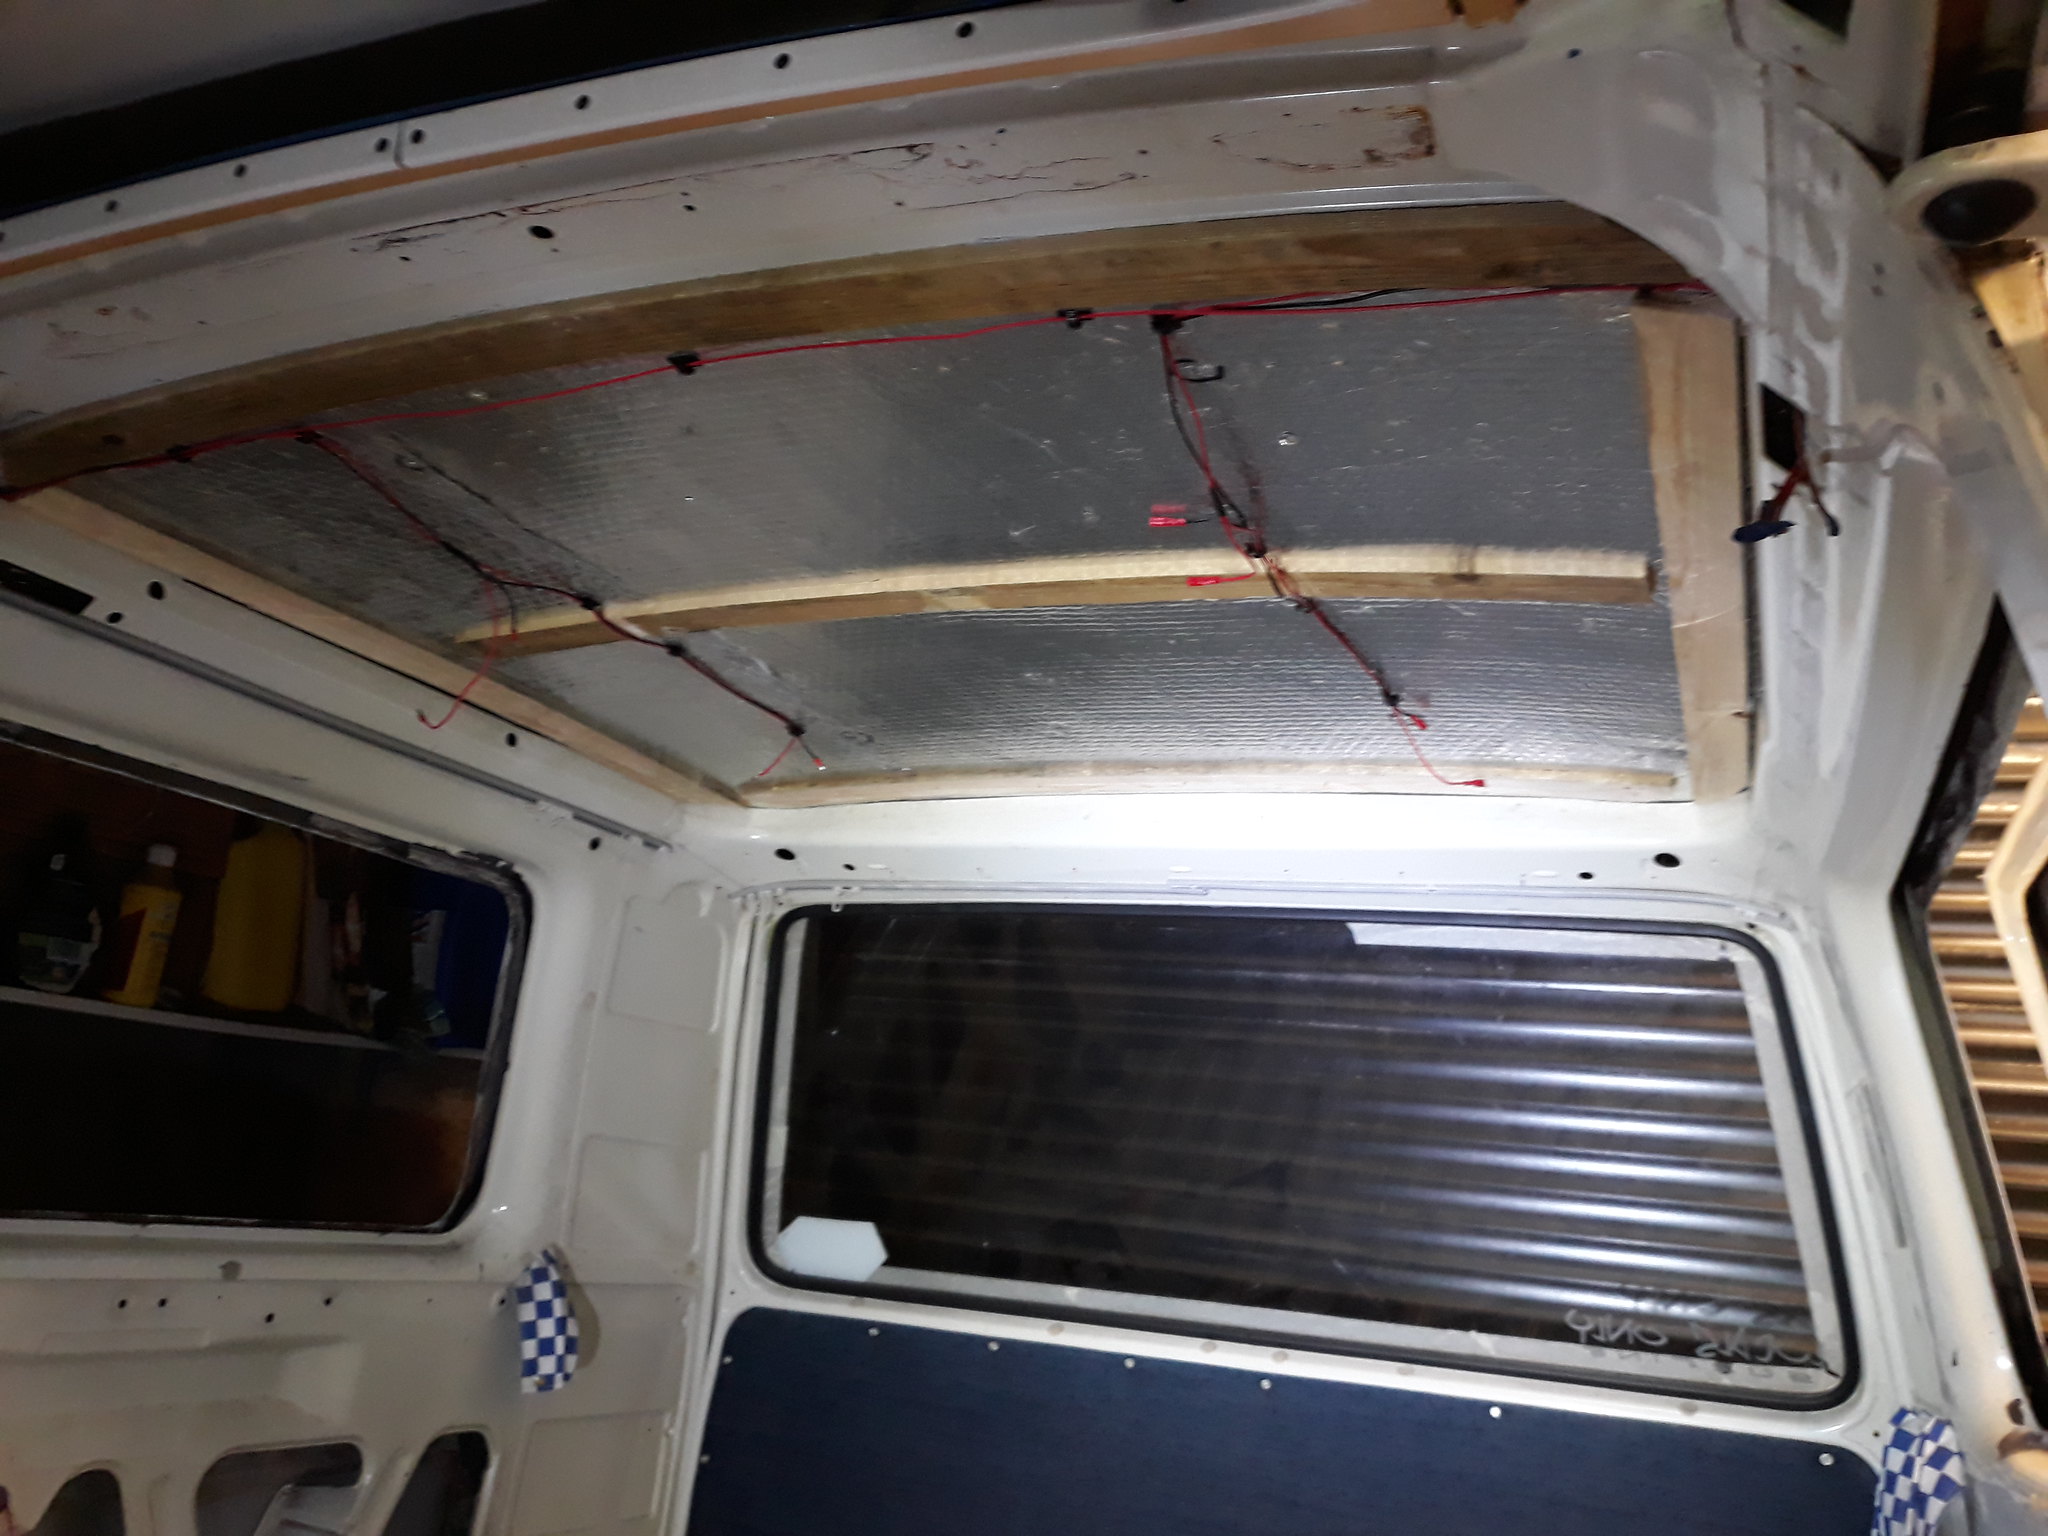 We shall have light....and a comfortable interior, well, the start of
 by
Mark Shaw, on Flickr
Wiring for the switches was fed down to behind the rear quarters...
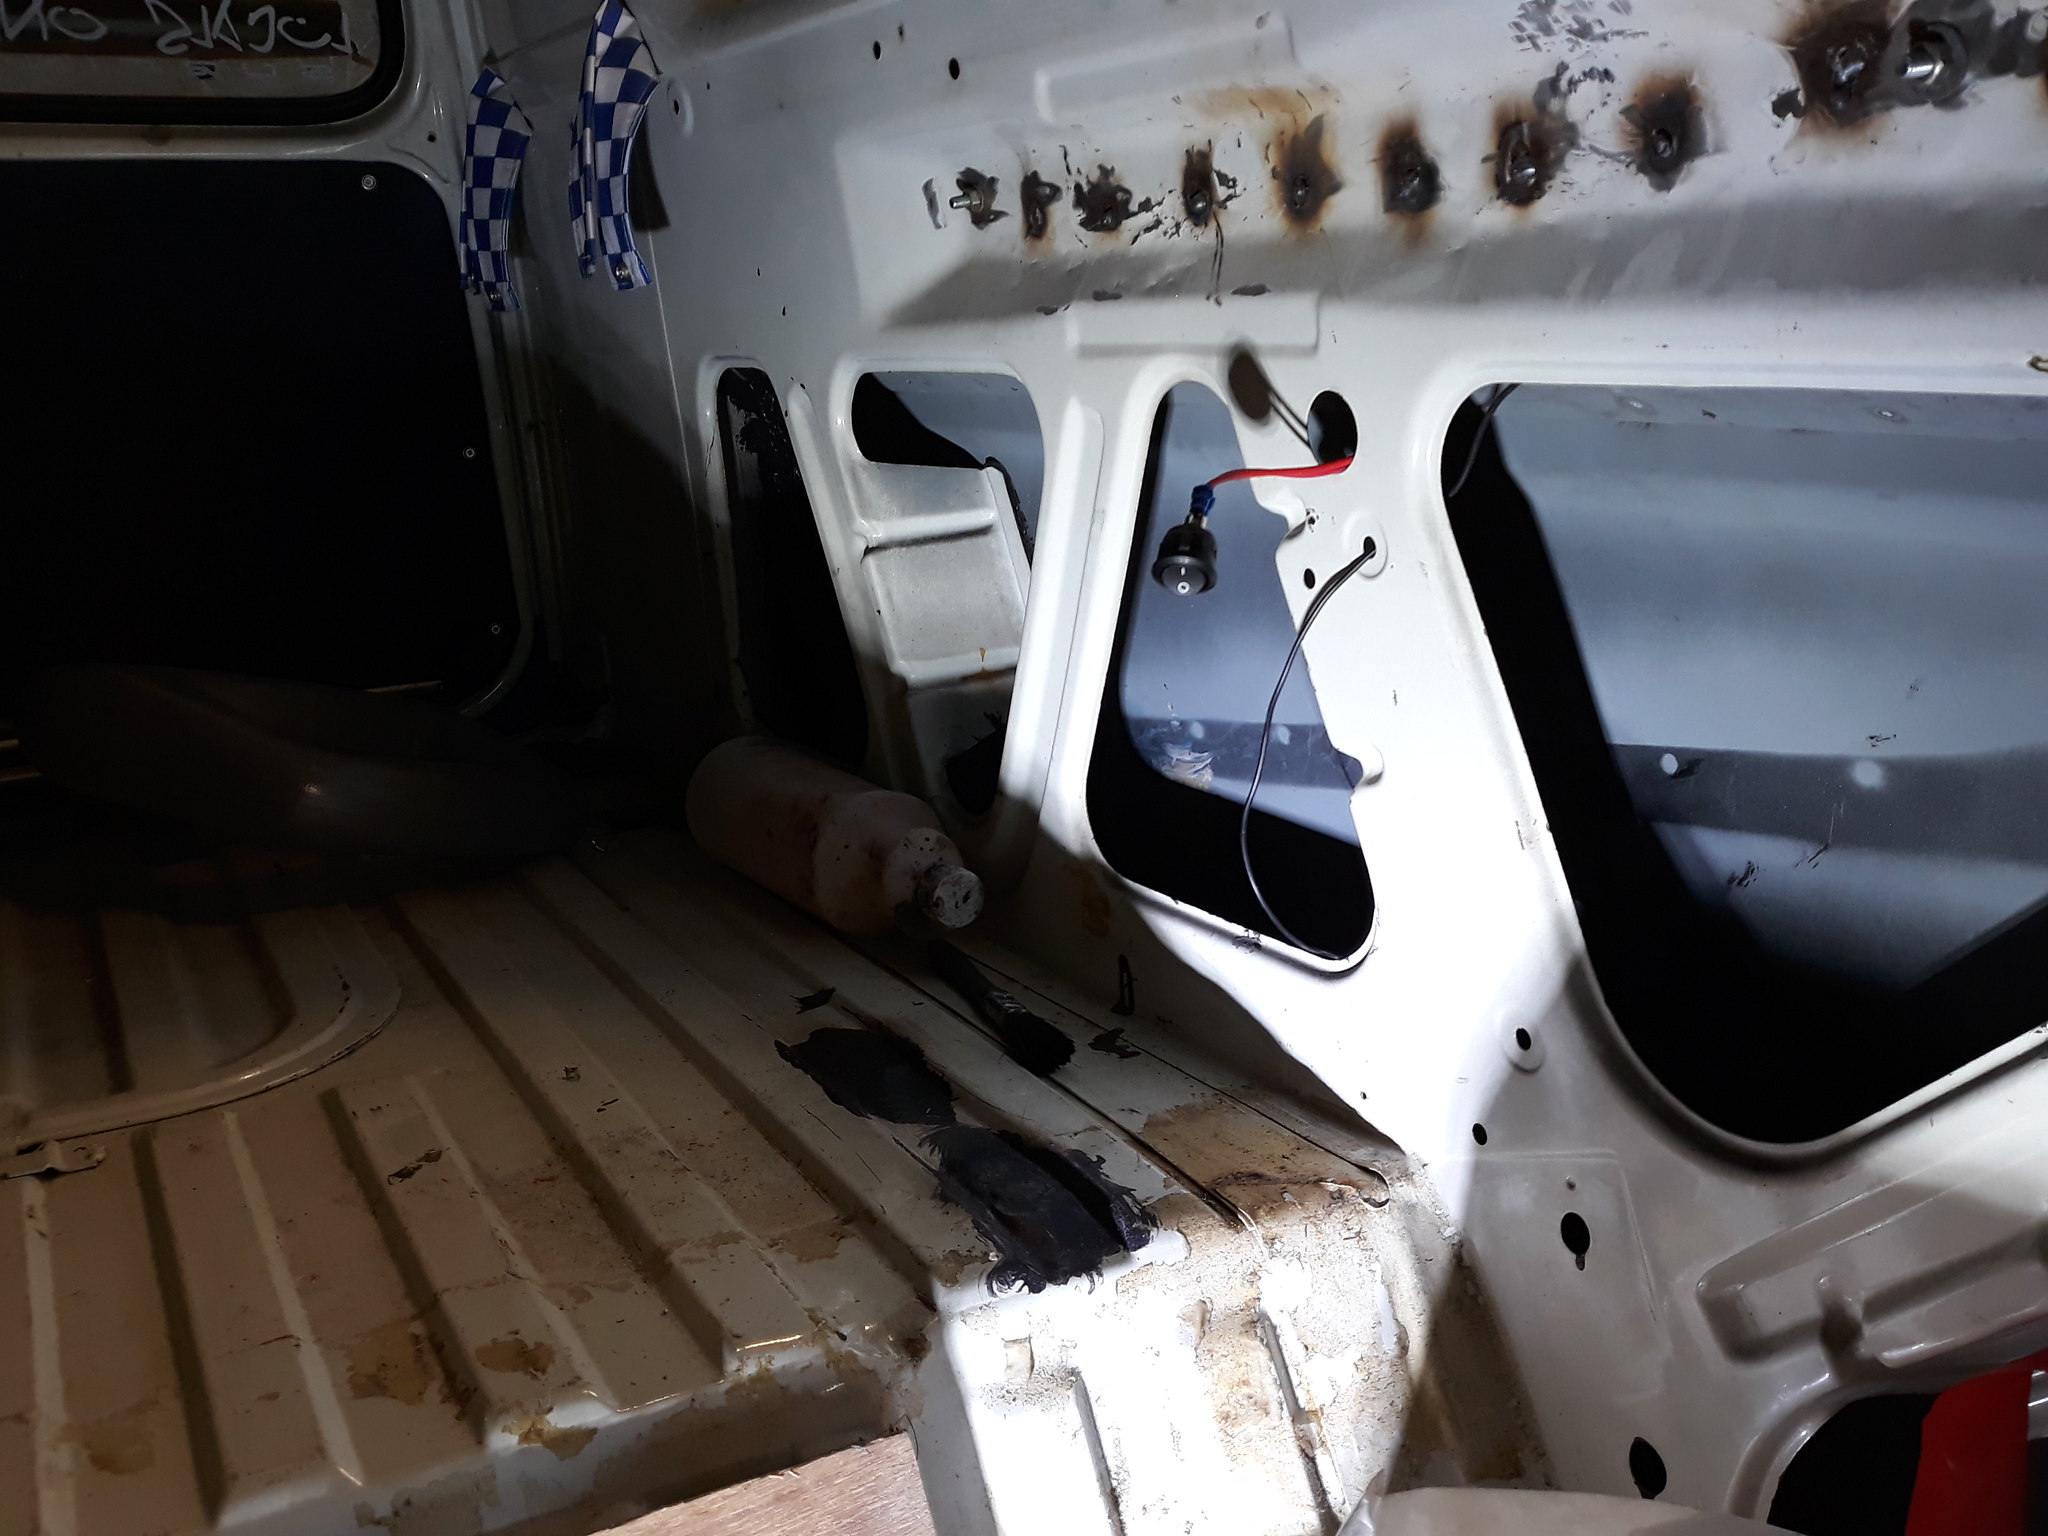 We shall have light....and a comfortable interior, well, the start of
 by
Mark Shaw, on Flickr
And then the exciting part, screwing the newly carpeted panel to the wooden framework after connecting up the LEDS.
 We shall have light....and a comfortable interior, well, the start of
 by
Mark Shaw, on Flickr
You can probably see small gaps between the panel and the rool rail on the passenger and driver side. I will carpet some wooden batten and then use this like a gap concealer so should still look quite neat.
Cant wait to get sticking with the carpet on the walls and ceiling now along with making the new interior panels out of thin plywood. Its very satisfying putting on newly carpeted panels, covering all the cold steel and making it more homely
Re: My T25 restoration
Posted: 12 Jul 2018, 11:44
by mshaw1980
Re: My T25 restoration
Posted: 12 Jul 2018, 11:49
by mshaw1980
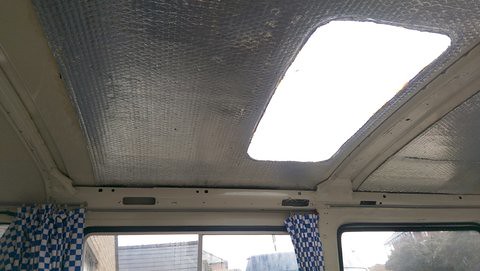
Got excited then started fitting the windows with the new seals from Schofields. Also had the tool but as I had not done one before it took AGES even with my good lady's help. Did the other a few days later and it took less than half an hour. Quite a satisfying job ...
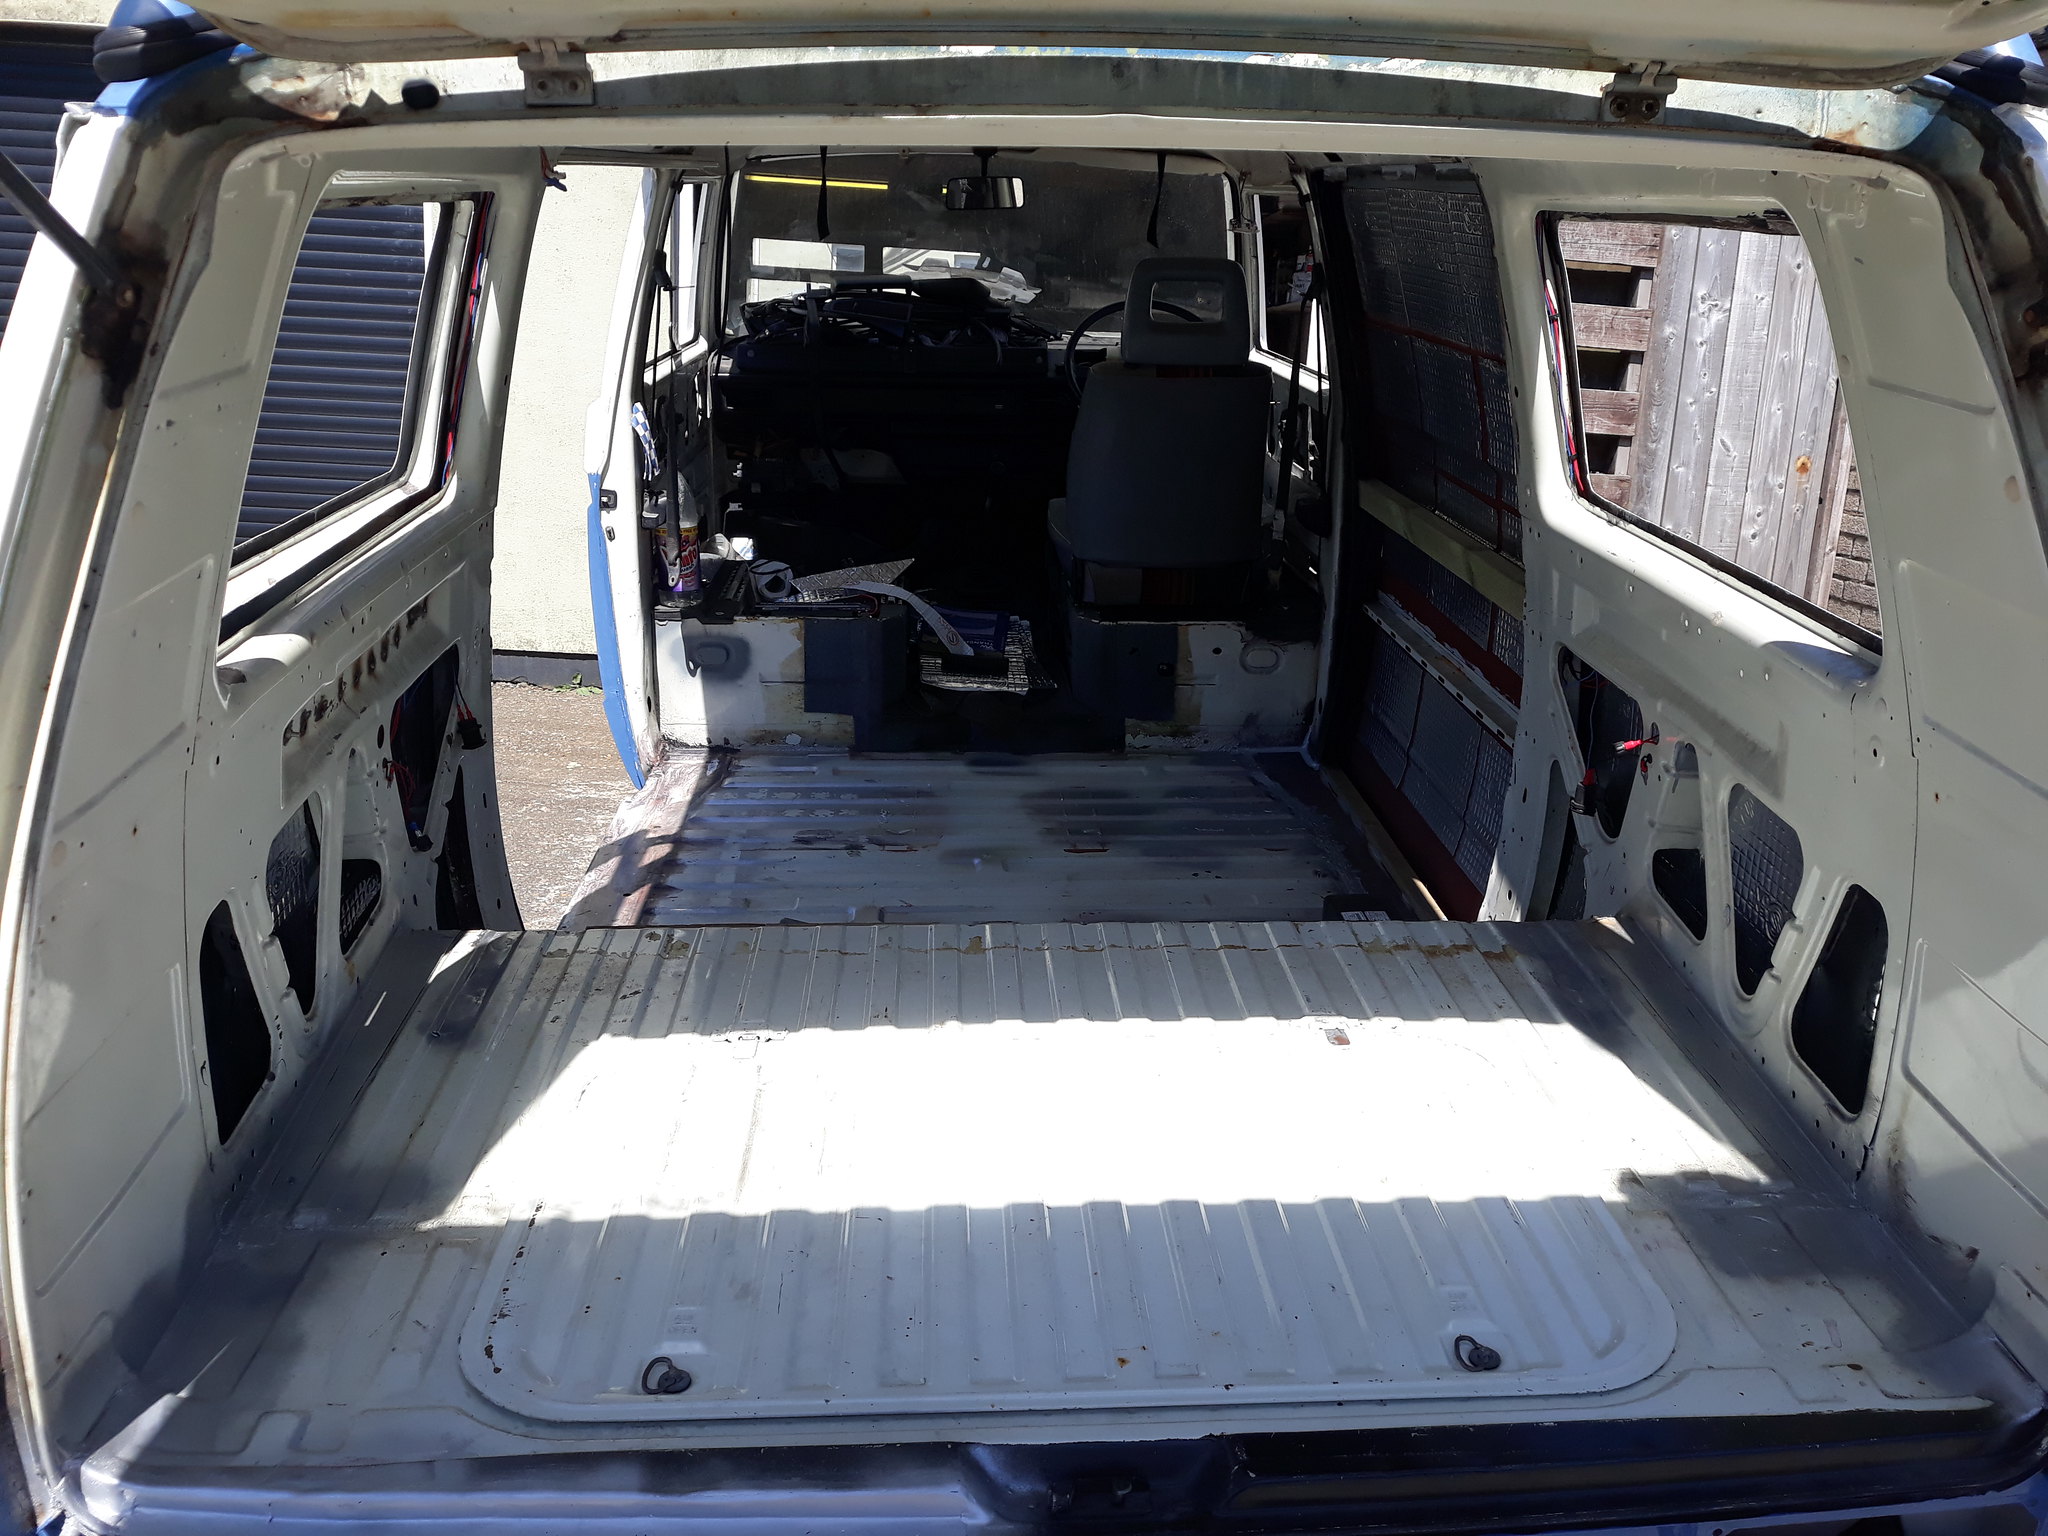
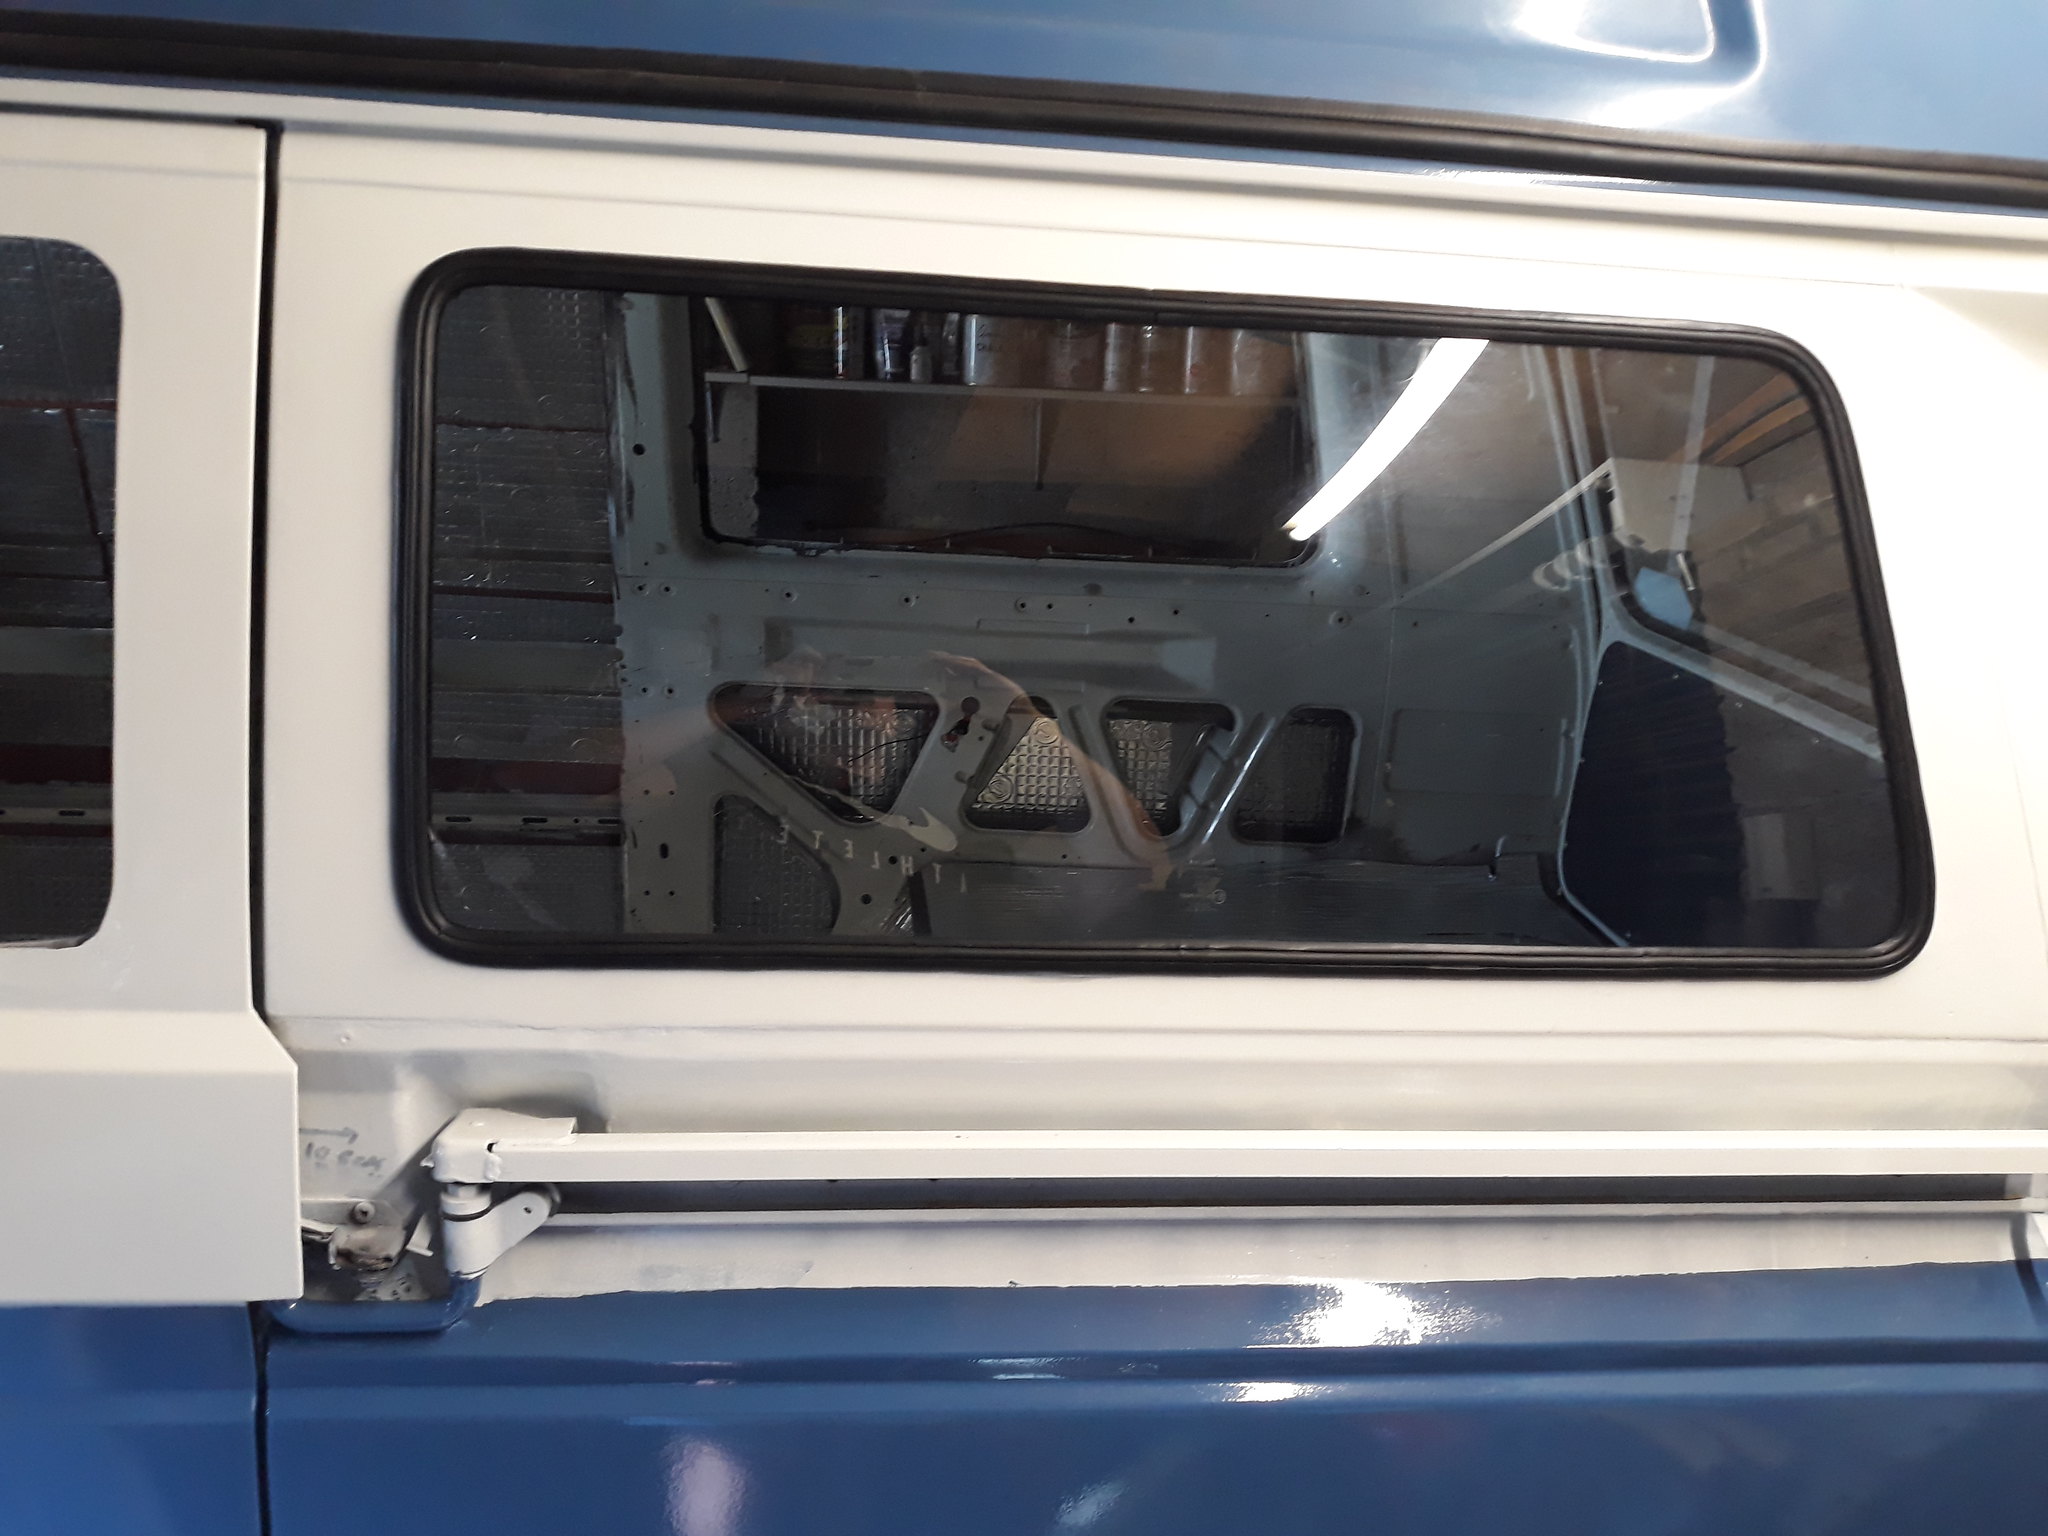 Before and after sound deadening and insulation for the floor
 by
Mark Shaw, on Flickr
The kids gave me their seal of approval...
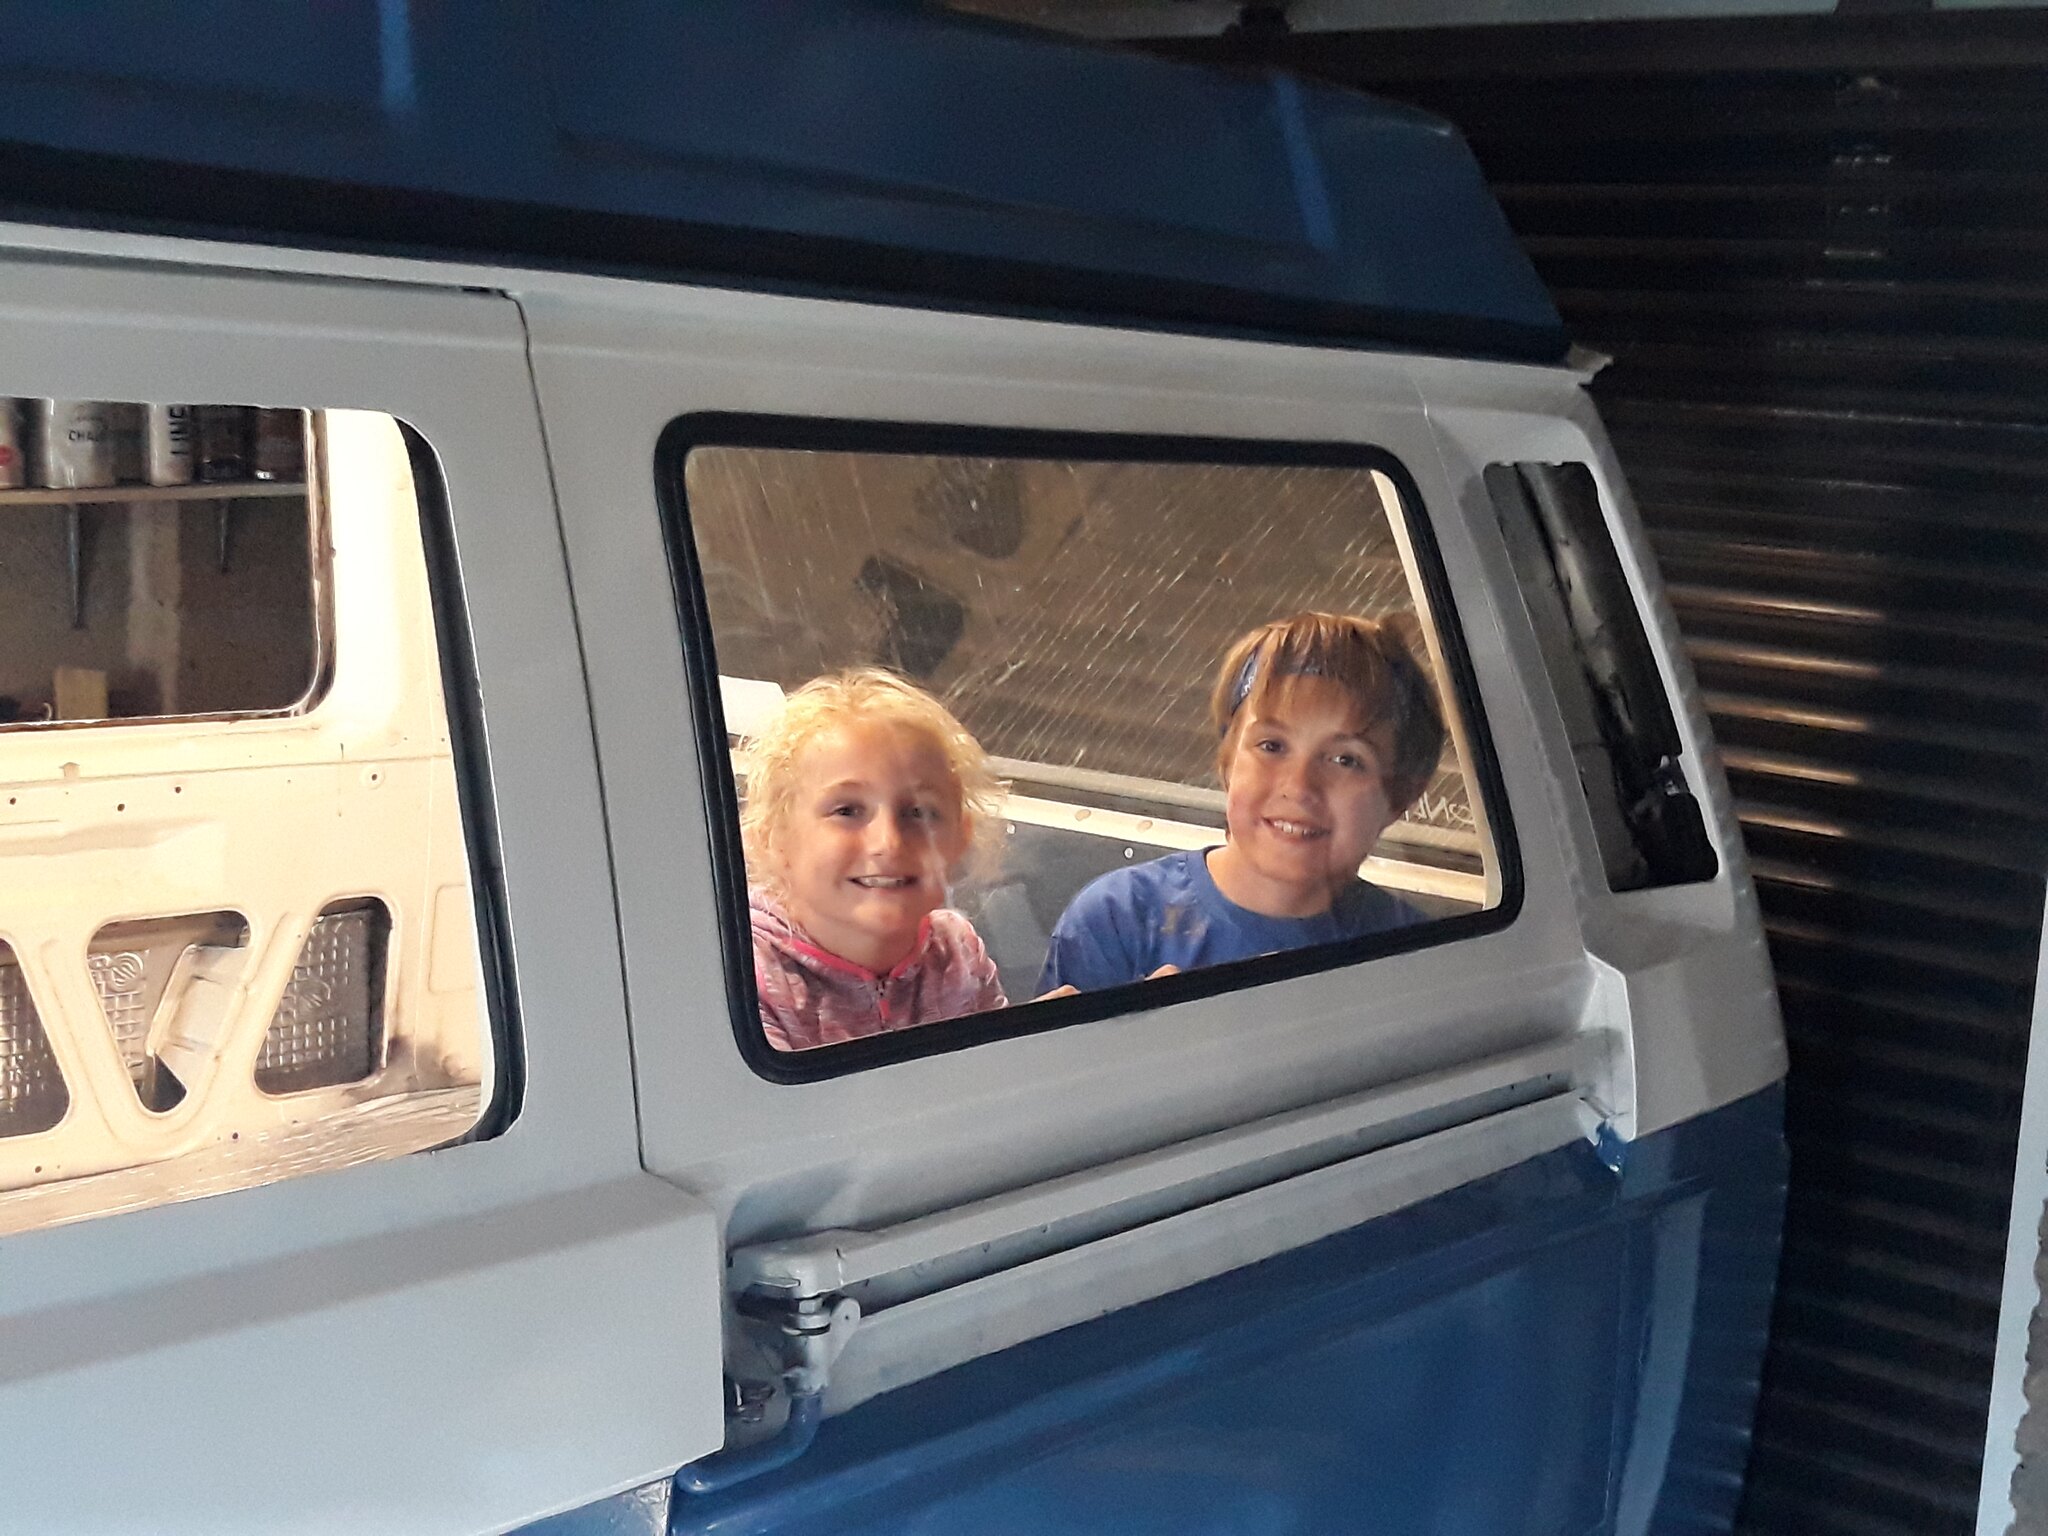 Before and after sound deadening and insulation for the floor
 by
Mark Shaw, on Flickr
But then I realised I was missing something, doh...
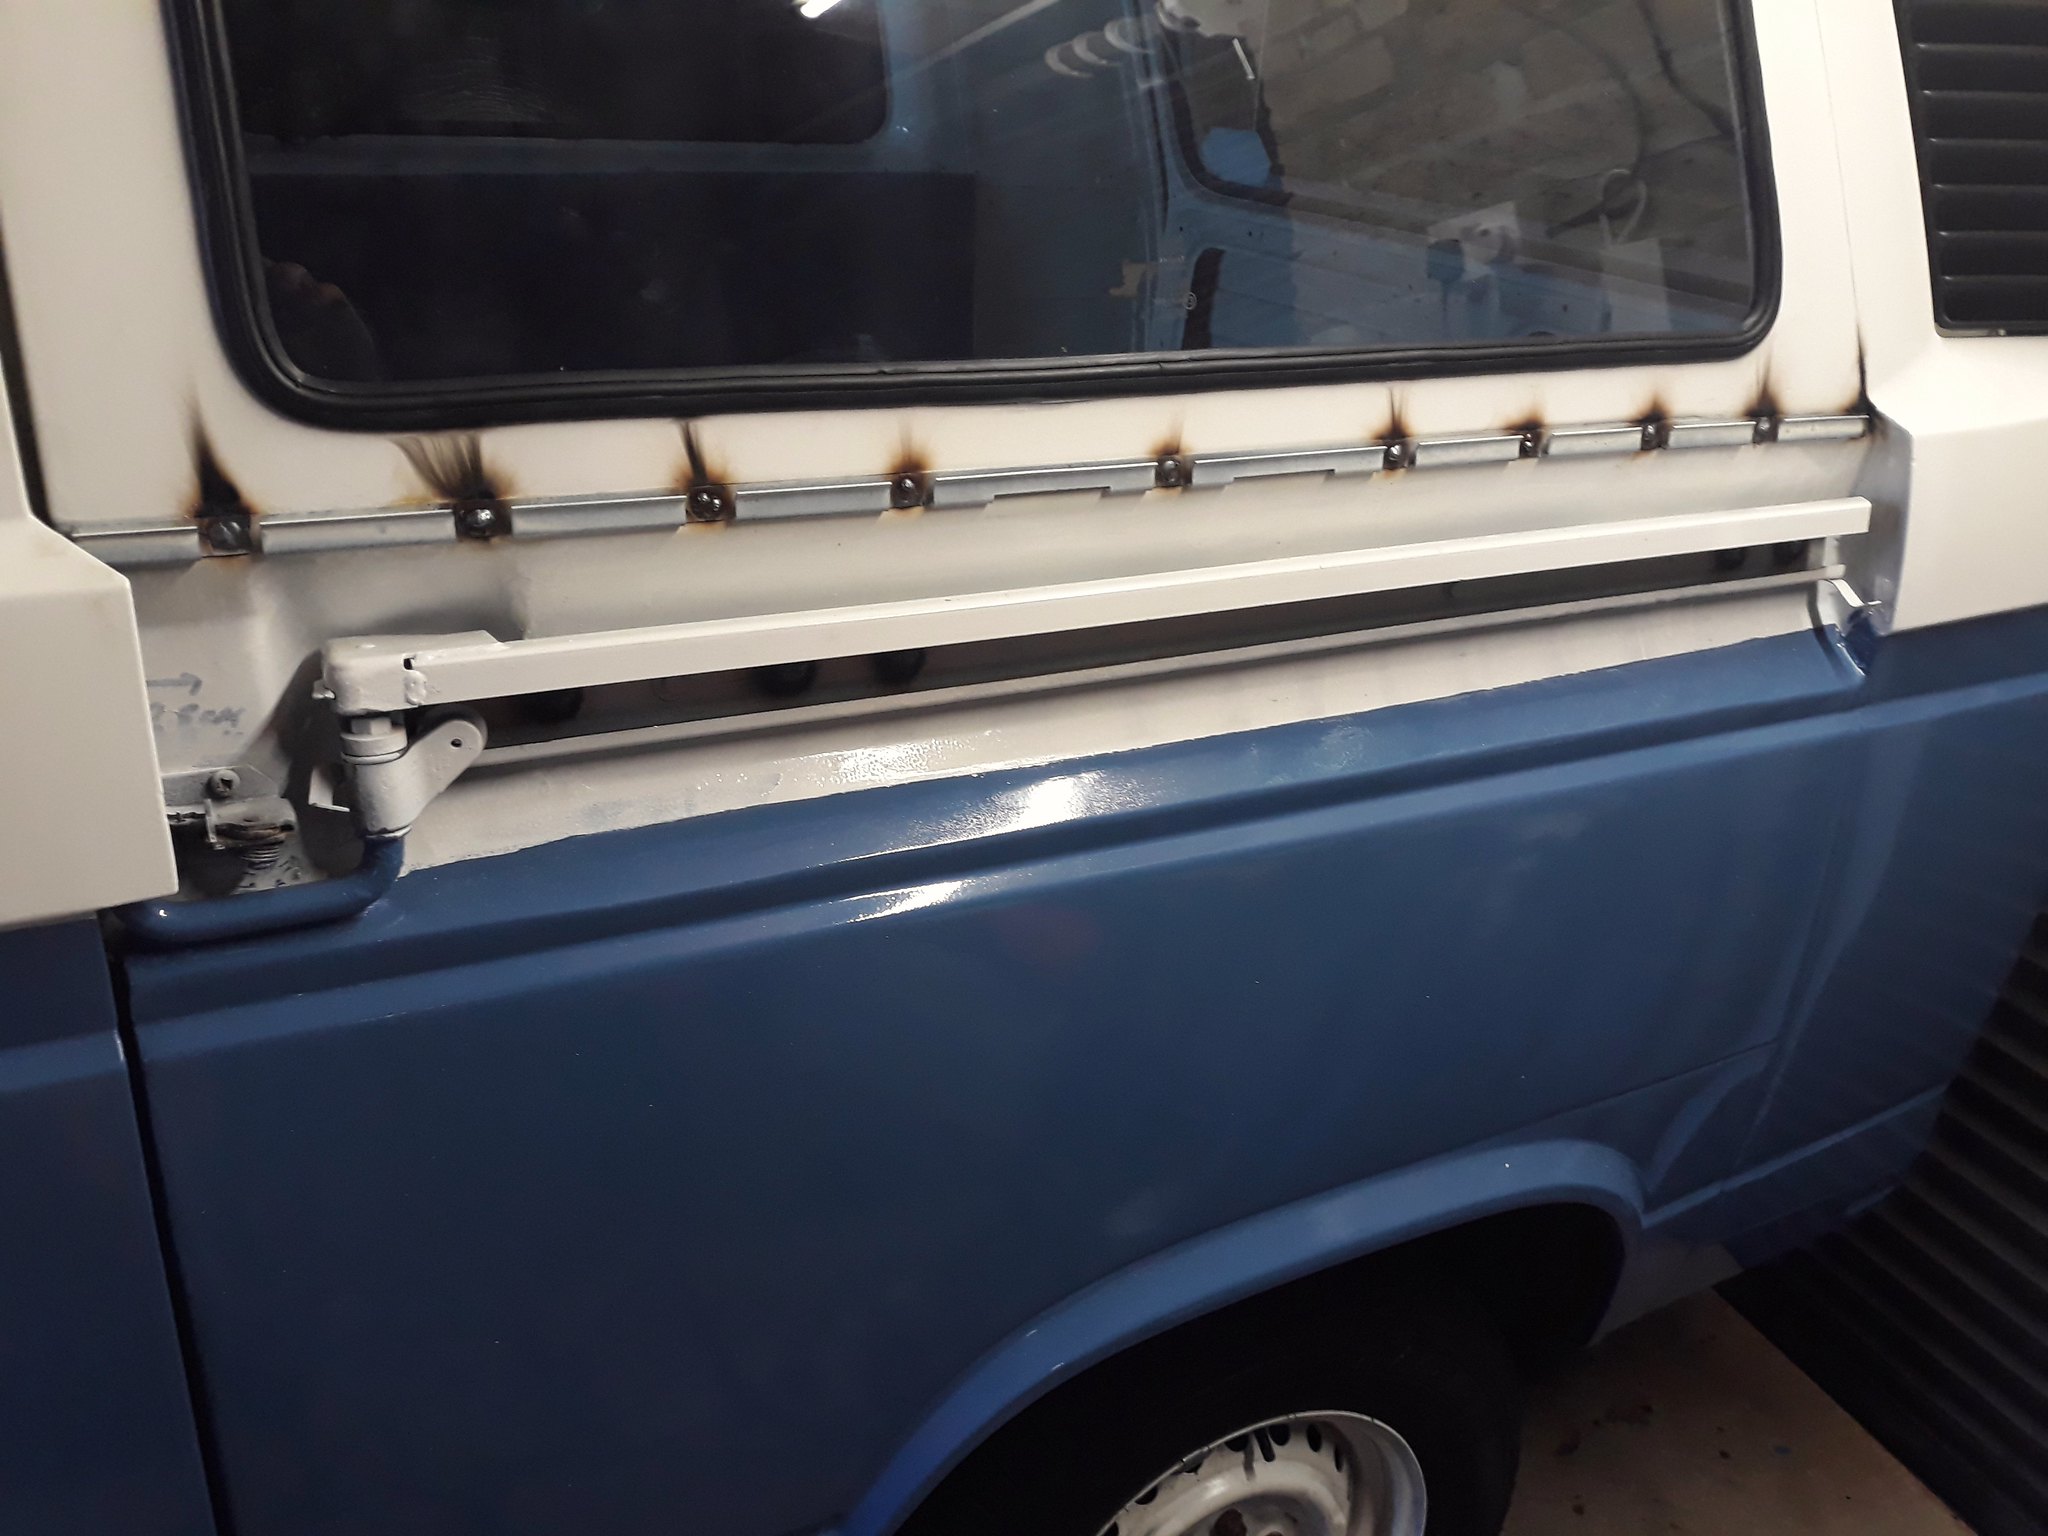 In my eagerness had forgotten to weld on the sliding rail cover retaining bracket
 by
Mark Shaw, on Flickr
Re: My T25 restoration
Posted: 12 Jul 2018, 19:20
by Smcknighty
Ha! Always something
the rustoleum looks good
Sent from my iPhone using Tapatalk
Re: My T25 restoration
Posted: 12 Jul 2018, 19:23
by Smcknighty
Was the interior white before or did you rustoleum it as well?
Sent from my iPhone using Tapatalk
Re: My T25 restoration
Posted: 12 Jul 2018, 23:07
by mshaw1980
Smcknighty wrote:Was the interior white before or did you rustoleum it as well?
Sent from my iPhone using Tapatalk
Interior was white but will mostly be covered by thin ply panels I made covered in megavanmats stretchy carpet.
The rustoleum is great but I made a mistake on the front. Painting it with the garage door open with the sun beati g down on it and it went very orange peely. Bit of sanding back to do.
Re: My T25 restoration
Posted: 03 Aug 2018, 22:24
by mshaw1980
Re: My T25 restoration
Posted: 10 Dec 2018, 12:22
by mshaw1980
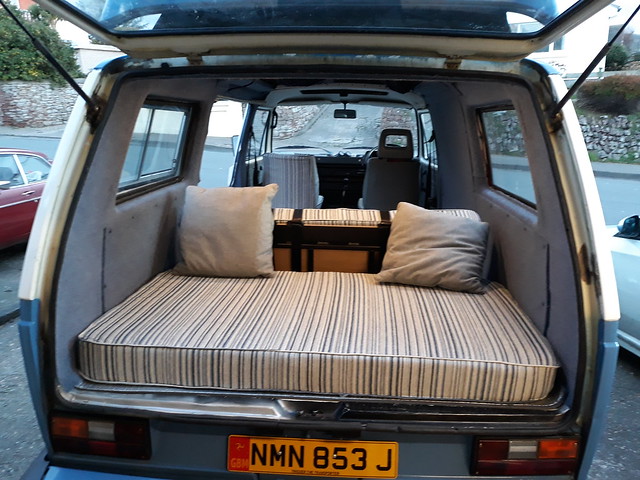
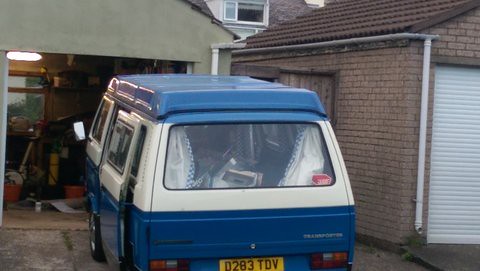
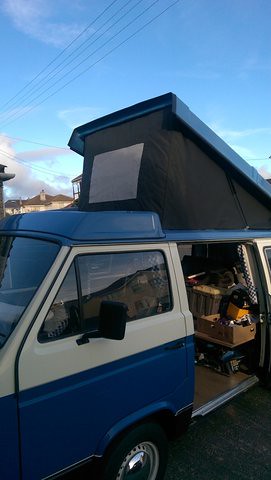
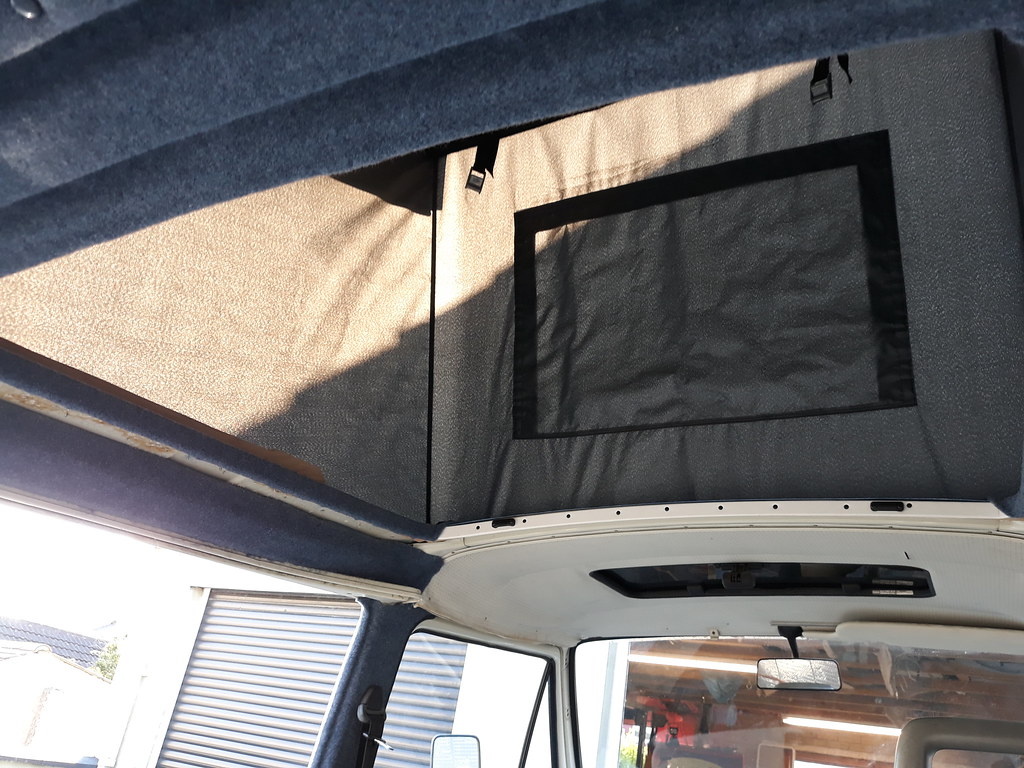
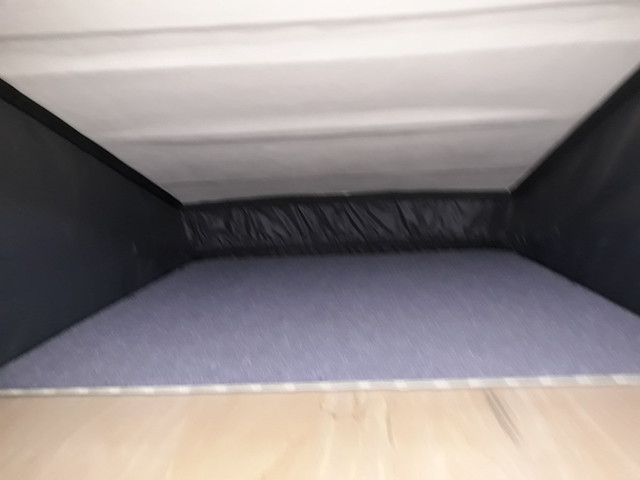
I had a go at carpeting the walls with the stretchy carpet. Some of my joins are not amazing but it looks good enough. The upholstery of the seat cushions is courtesy of my clever mother in law. She is going to make us some curtains out of the remaining material from the rock n roll bed cushions so nearly actually ready to camp but I need pitch black to sleep so may need to get some of those foil window covers too. Currently don't have any speakers so no radio yet and need to stop the wind noise of the luggage rack above the drivers cab wind seems to get underneath it and at certain times it seems to shake at the front.
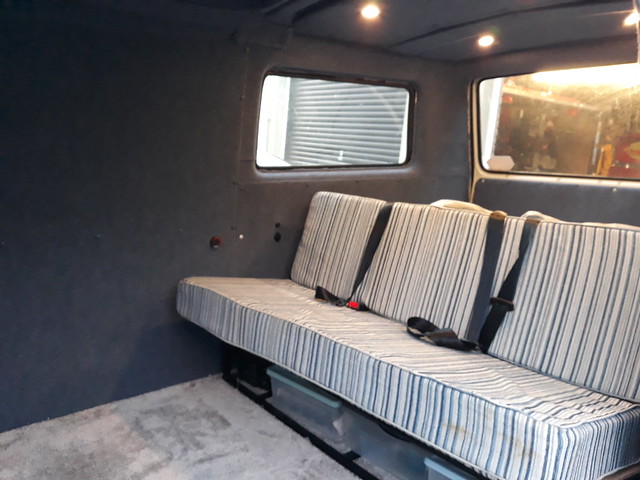 Van
Van by
Mark Shaw, on Flickr
 Van
Van by
Mark Shaw, on Flickr
Re: My T25 restoration
Posted: 17 Feb 2019, 11:04
by SEKN410
Hi mshaw , just been through your restoration posts as we are about to embark on one ourselves. Congratulations on your van ,looked like you have been really thorough and got a great result. Van looking good. I wouldn’t have a clue where to start and don’t possess the skills anyway so it’s a body shop for us. Quotes have varied dramatically but one we are interested in is for the work and any panels required on top.what was the rough cost of all the panels you bought and had fabricated, if you don’t mind me asking. Just trying to get a worse case price in mind before we give the go ahead. Ps our van is called Norman really like your number plate
Thanks Eugene + Tracy. Sekn410
Re: My T25 restoration
Posted: 17 Feb 2019, 18:37
by mshaw1980
Hi Eugene and Tracy
Glad the post I have done is helping a bit. Unfortunately these vans can be absolute money pits. I dread to think what I have spent. Will have a guess.
Subaru engine and rjes conversion parts: £2600
Body panels: £800
Roof £2500
Van £3300
Brakes and suspension £400-£500
Camperbed £350
Petrol heater £300
Interior costs £200
Numerous other misc costs.
This was before my hundreds of hours of work.
I would estimate though that all the bodywork I did would have cost at least £4000 in labour and my van was not too bad.
As you can see it is not cheap on putying them right. Could have got a decent T4 for that money but I like that they are bigger inside and the 80,s ness of it. Love old school quirky stuff and restoring things even though a few times I wished I hadnt bought it. Love it now though
Re: My T25 restoration
Posted: 17 Feb 2019, 19:47
by SEKN410
Thanks for reply, we’ve had our van for around 7 years and are happy with engine 1.6td Jx. Slow and under powered hates hills. Reliable enough 3 breakdowns in that time 1 in France 2 in north wales. Underneath and brakes all good. Had seats ,door cards and bed recovered by a.j retrims in Dudley ,great job by a top bloke. Partially re carpet lined and replaced worktops. Love the van and can’t imagine being without him so it’s just trying to work out what’s best to do next. Go with the bloke who says if he takes the job would only do so using new panels because he doesn’t want his name on anything that’s not a top job at who knows what cost or try and get a cheaper job that may or may not last. Decision would be so much easier to make if a preset price could be agreed but with such an unknown amount of work and rust we fully understand. Thanks again for your post and reply it’s given as a good insight.will keep an eye out for your van on the road when I visit for the TT. Cheers Eugene
Re: My T25 restoration
Posted: 17 Feb 2019, 20:12
by mshaw1980
Ah if you are about for tt then give me a message and you can come to us for a cuppa. We live in peel with unrestricted views of peel bay / castle so be nice to sit out in the evening.
Re: My T25 restoration
Posted: 26 Feb 2019, 17:27
by SEKN410
Ok cool. Think we arrive Wednesday of practice week and return Tuesday of race week. Usually take a ride over to peel for peel day for a few hours. Hopefully catch you around. Cheers Eugene
 Before and after sound deadening and insulation for the floor by Mark Shaw, on Flickr
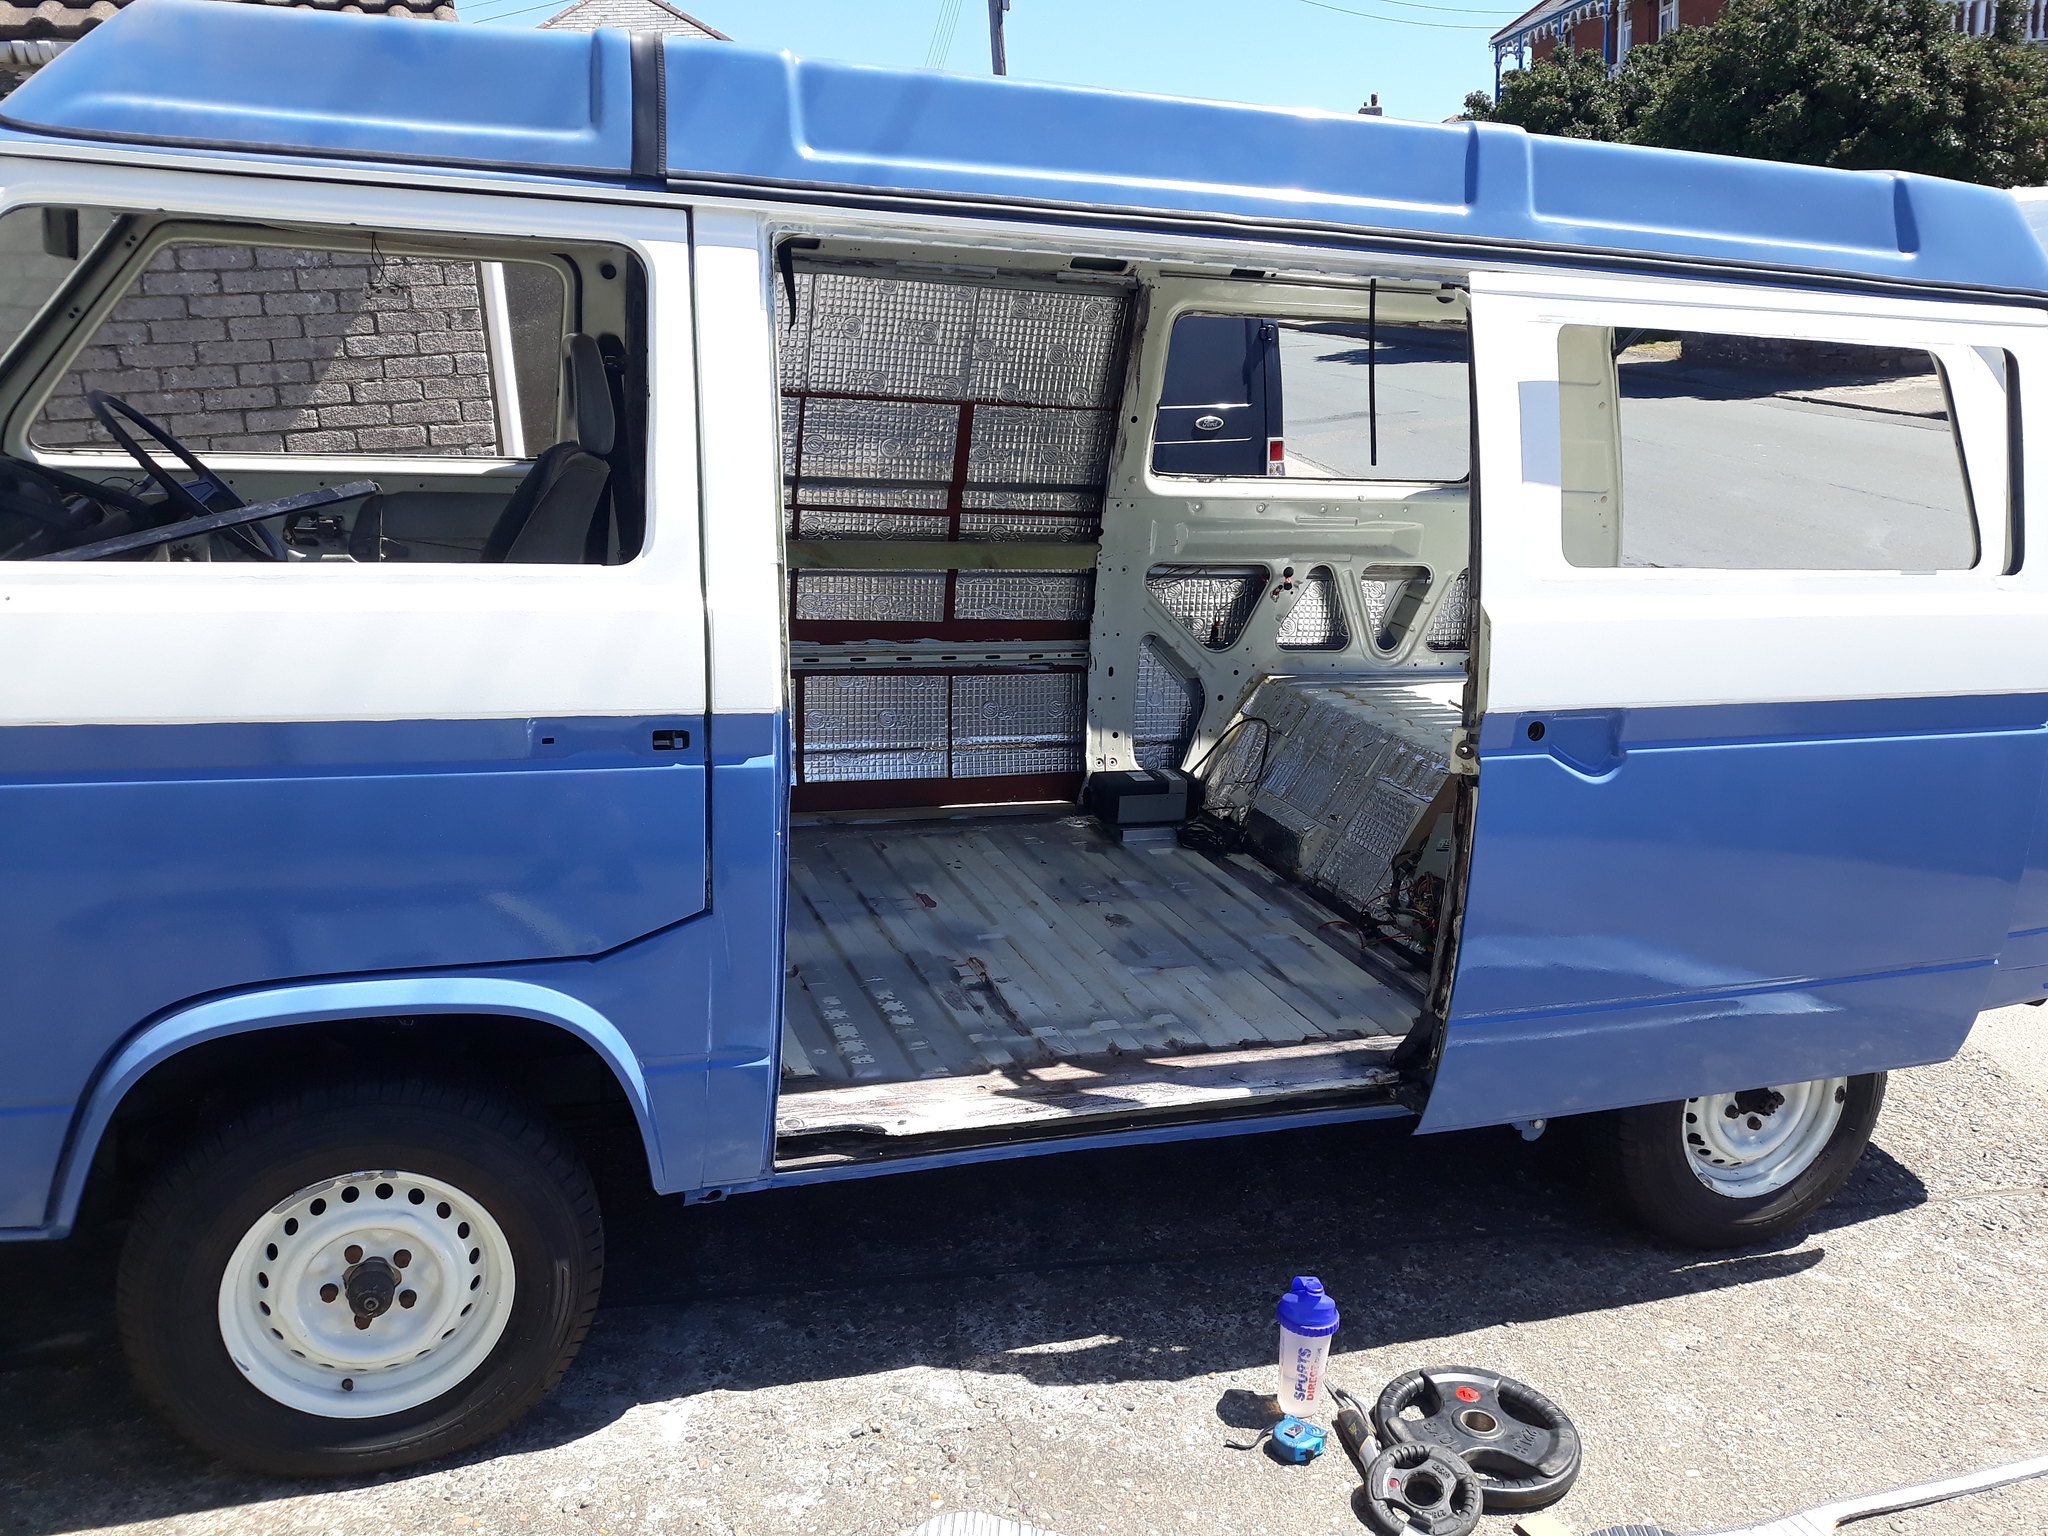 Before and after sound deadening and insulation for the floor by Mark Shaw, on Flickr
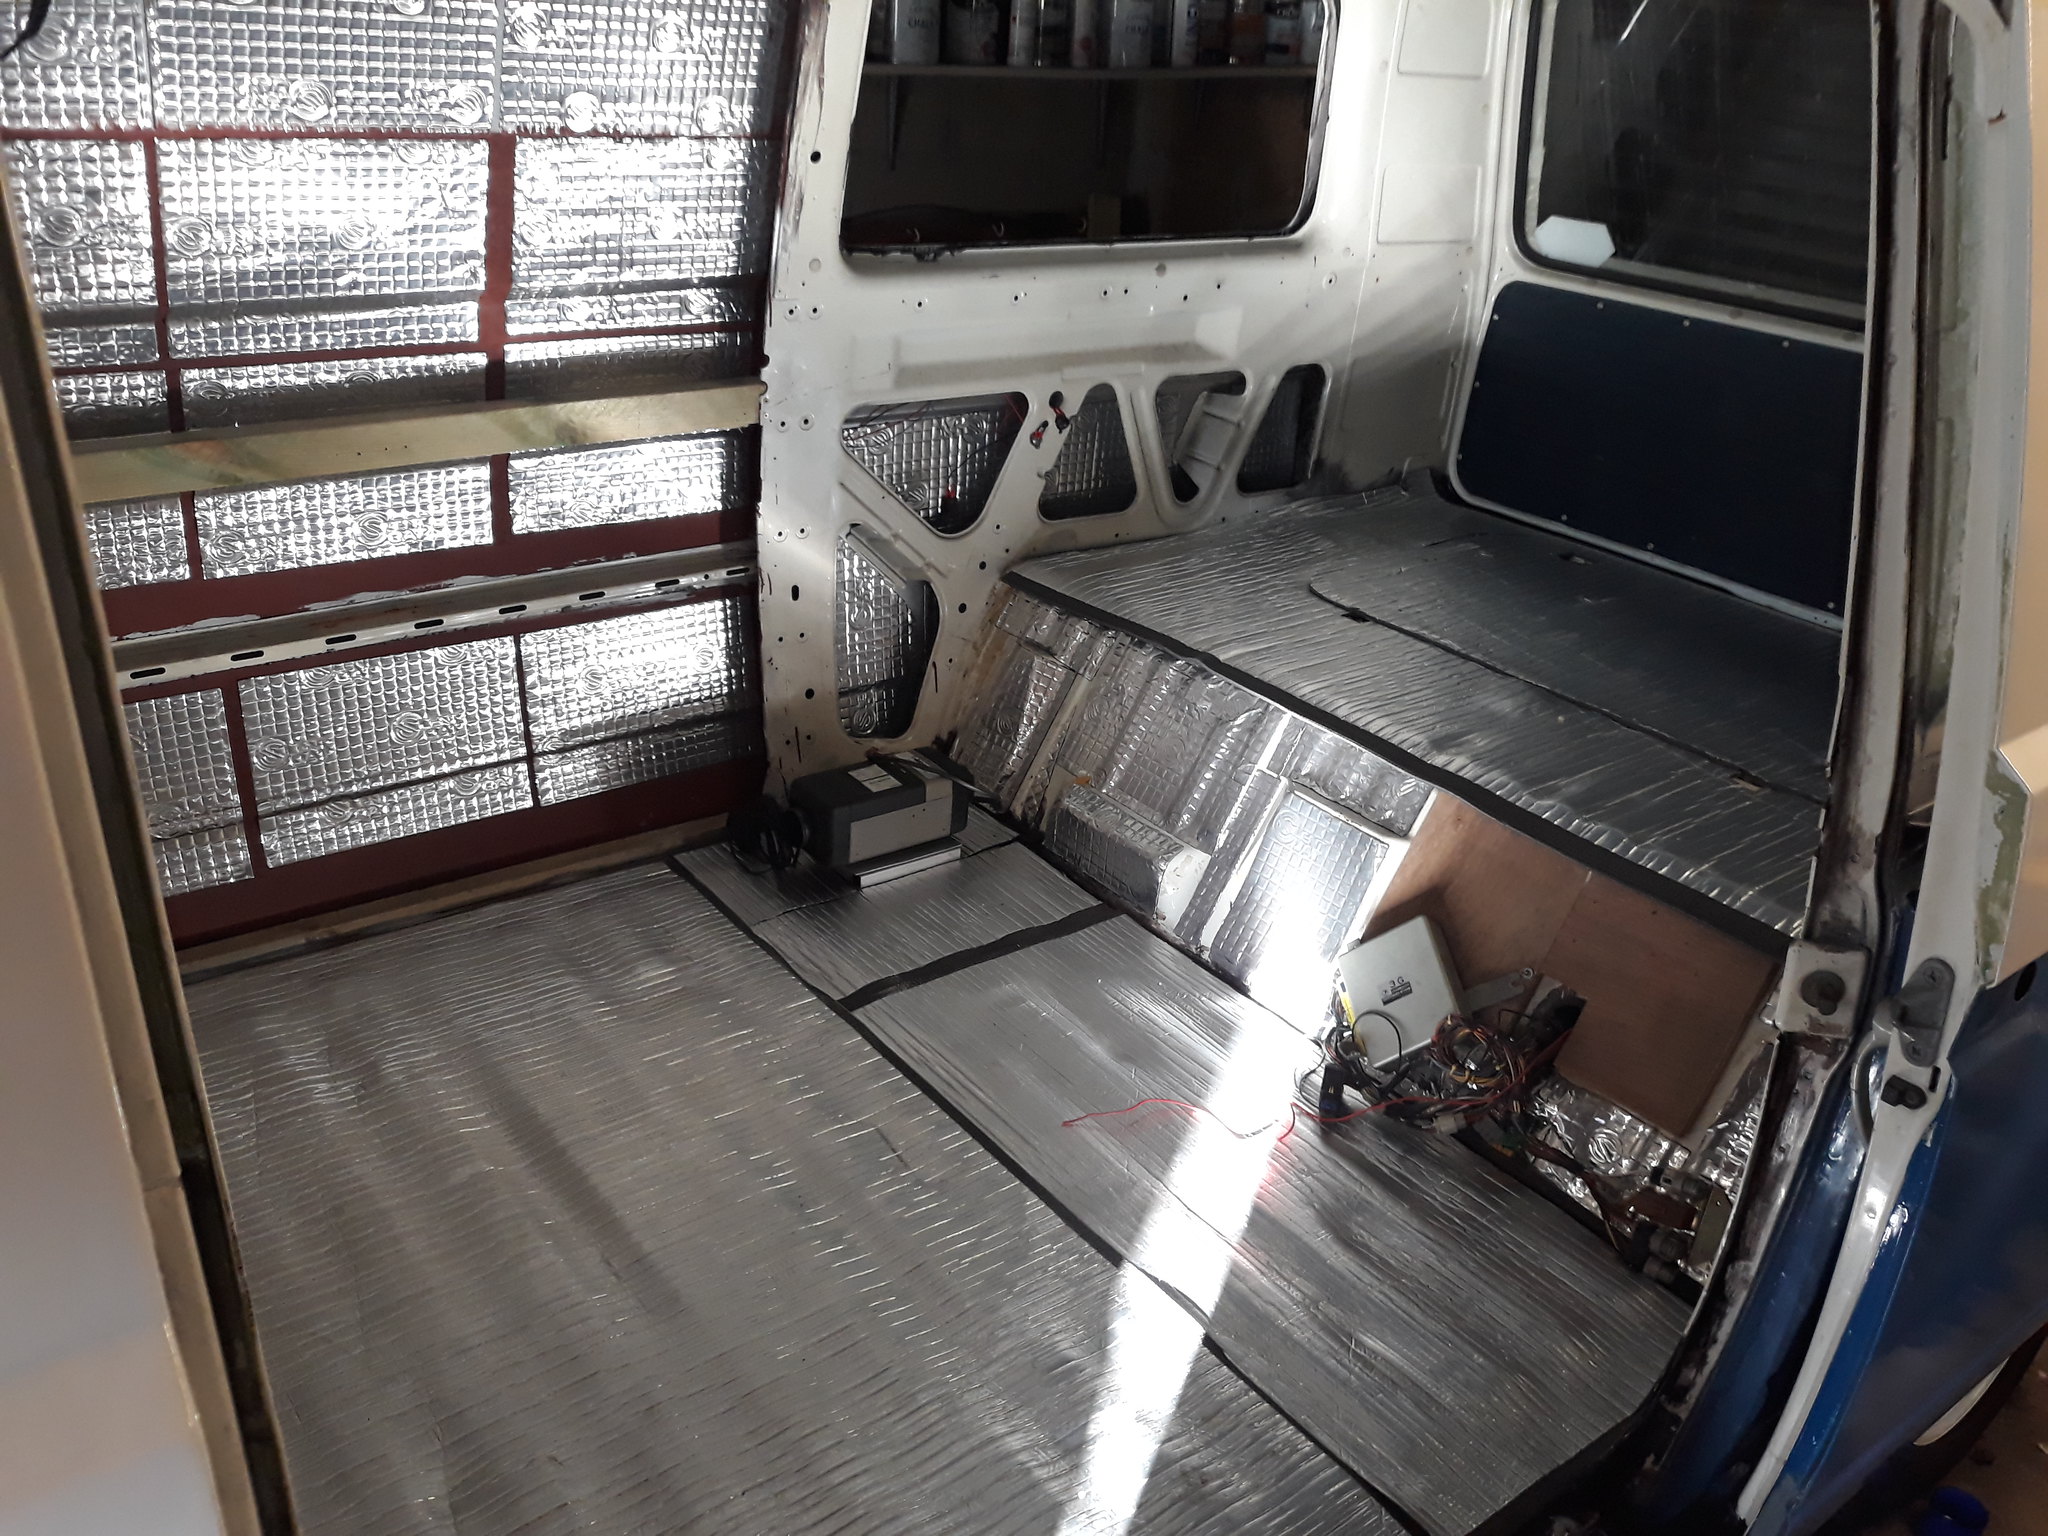 Before and after sound deadening and insulation for the floor by Mark Shaw, on Flickr
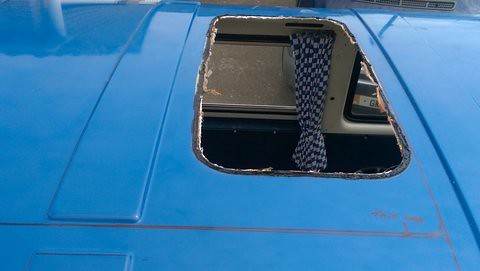

 Van by Mark Shaw, on Flickr