Page 1 of 10
The Lankavagon
Posted: 13 Nov 2014, 23:24
by Plasticman
Well a simple little job

dont know what to touch first, gen arches or indicator or the 17...and ice

mm

Re: The Lankavagon
Posted: 13 Nov 2014, 23:56
by mrhutch
17 ..
NO QUESTION Marra
Re: The Lankavagon
Posted: 14 Nov 2014, 10:02
by what2do
I'm starting to look for front arches. What have you there? Genuine ones from Brickwerks to some alternative? How much fettling is required with the alternatives? Cheers.
Re: The Lankavagon
Posted: 14 Nov 2014, 11:41
by Plasticman
Genuine From heritage,good price
Re: The Lankavagon
Posted: 14 Nov 2014, 13:23
by ZsZ
And the rears? They arent klok as I see. Are they the new bbt ones?
Re: The Lankavagon
Posted: 26 Nov 2014, 22:50
by Plasticman
Well on with shelling it out, left with a rolling shell i suppose, , suprises. well yes there are always those, telltale signs were present but you still miss little bodges
first nice little surprise was

its rot free and this is probably why

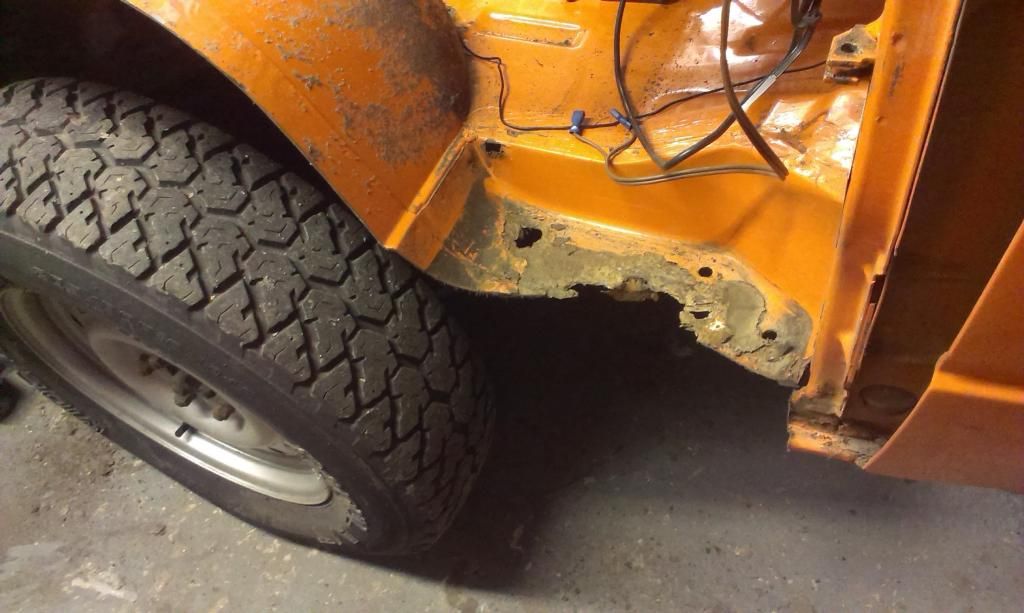
both steps are shot , sort of par for course
but with the added bonus of lower A post also rotten

to join the lower B post as usual
now i have genuine arches but will still modify the steps as this is a pretty much offroad toy and so it will get the solid coated steps rather than the mats

and here

both sides here

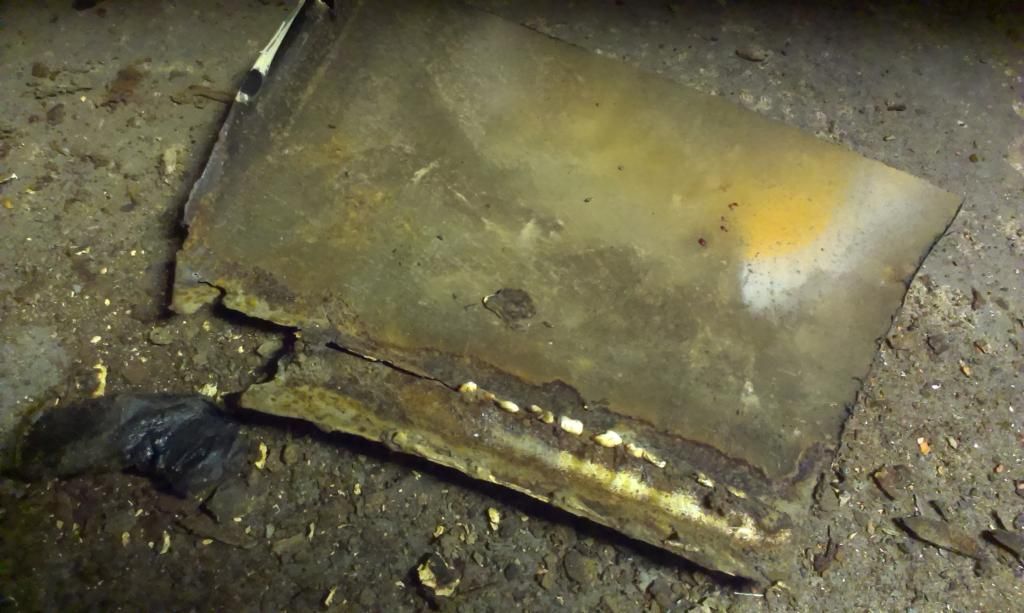
plus a few other little bits, they should be nice to do as i will let in pieces to replicate, as opposed to patching as has been done like this

and

and whilst these do the job , they are a series of tacks .spots call it what you please and joined up ,they just look naff
now this is a 16" so something is afoot here

clue

errr

pod and a neat layer of it for max structural strength

so this will need cutting out to see the extent
and the other side has a had a viewing window added

and the final slackness is they didnt refit the reinforcing plates, sad as they do make a lot of difference.
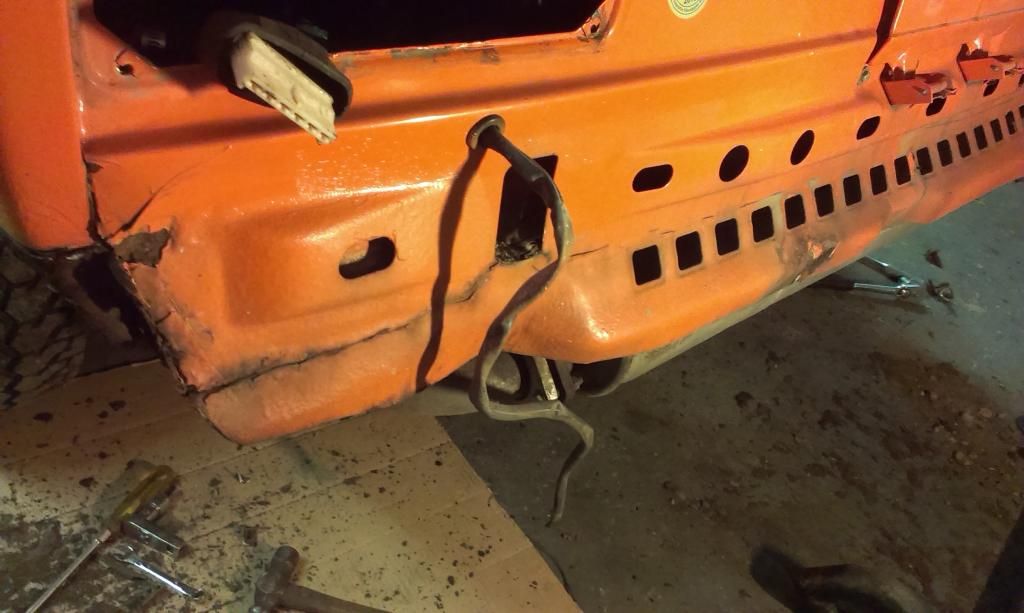
iffiness here so both lower rear corners of the rear 1/4 will be removed,

its had a twatting at the nsf corner, not severe but i will graft a new bit of defo panel to allow the bumper to refit nicer
mm

Re: The Lankavagon
Posted: 29 Nov 2014, 22:55
by Plasticman
well need to remove the towbar to sort this,
but
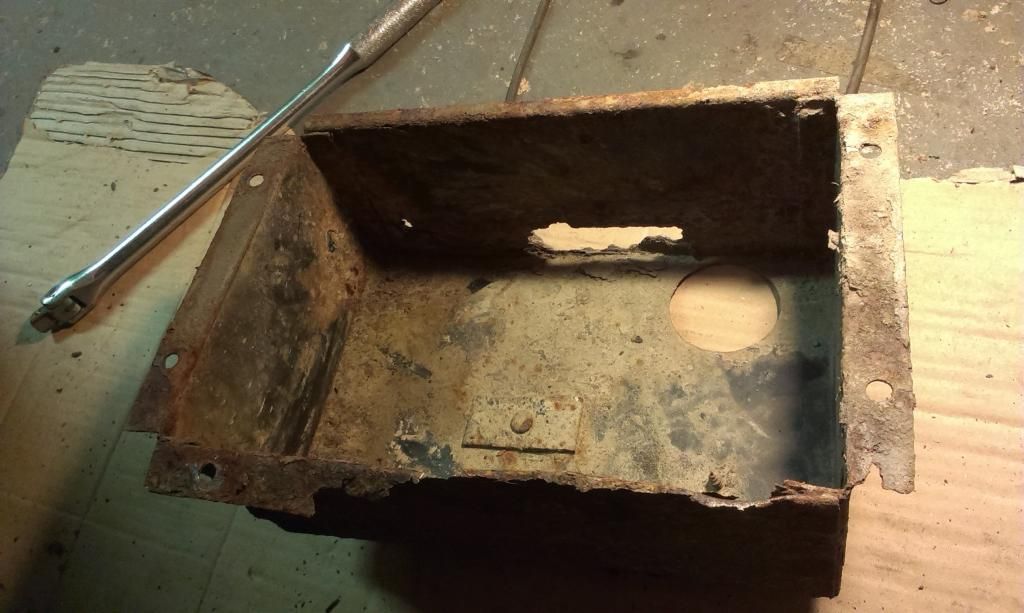
theres a box in the way
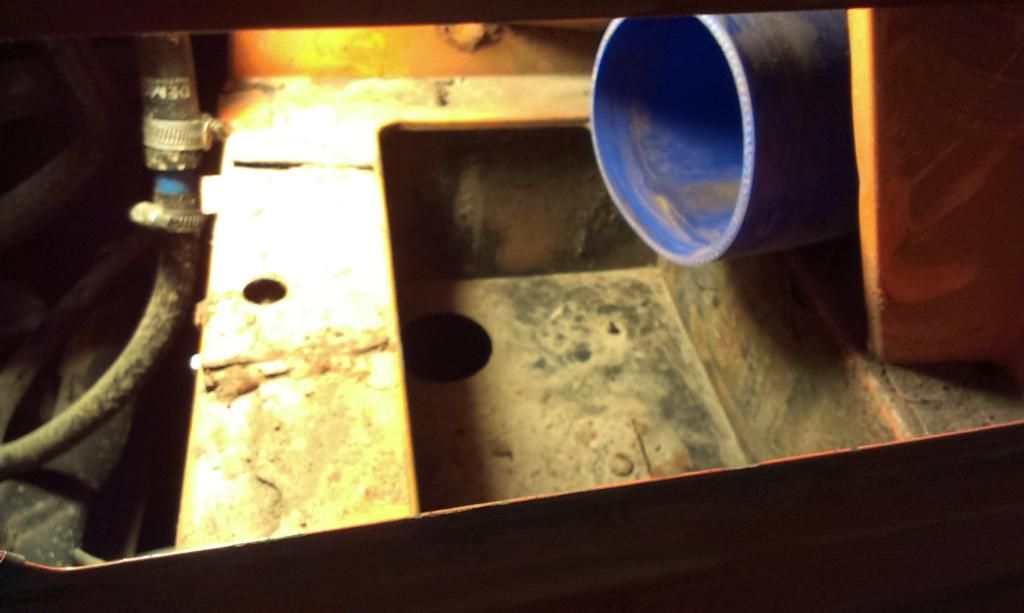
think we shall dispense with it and modify this area

now can get to these
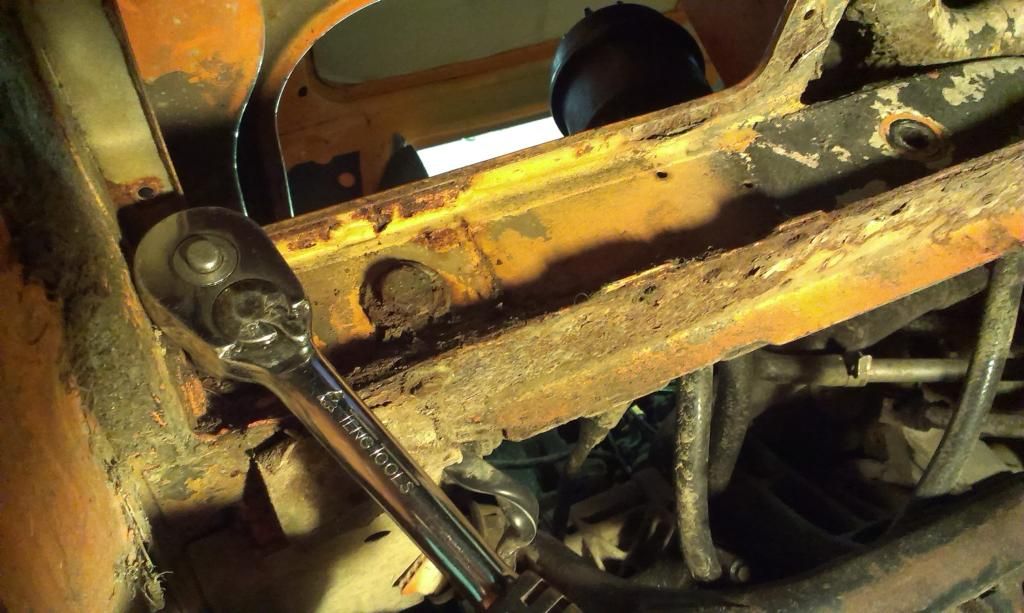
to get to this
cutting discs next
mm
Re: The Lankavagon
Posted: 09 Dec 2014, 16:42
by Plasticman
Well a cutting we go
just chopping the bulk out of the way first then the more detailed removal bearing in mind the replacement are OE
A post well upset with itself ,dont often get to do these so will be a nice change

B post on both sides is poor so will cut off and no doubt attend to the jp''s as well
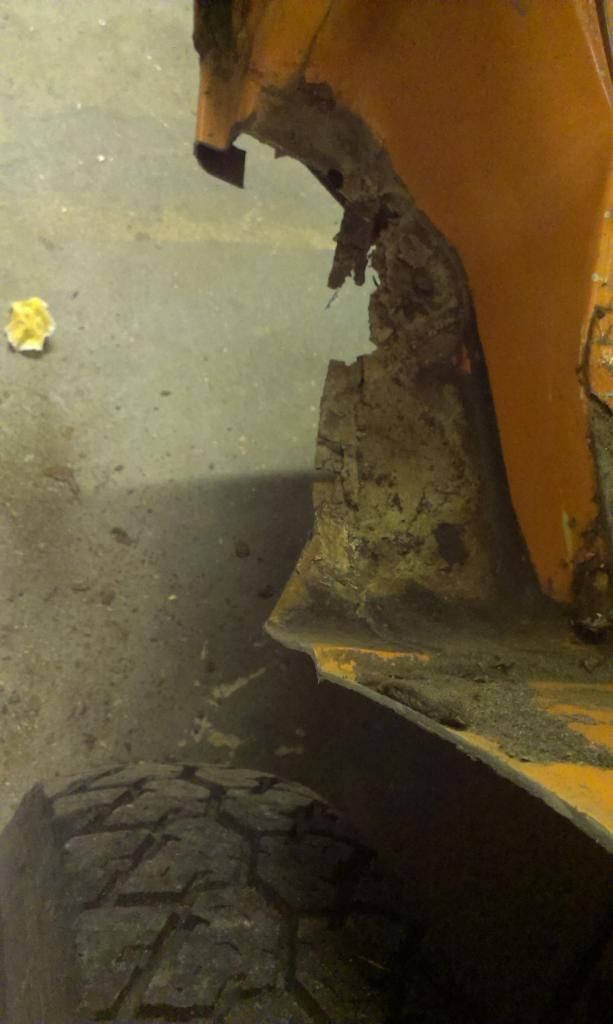
osr lower wing. hiding clag and such
its a bit crusty in here and ive poked a hole in it
its had a repair to the inner arch as well
so nothing new there then
mm
Re: The Lankavagon
Posted: 09 Dec 2014, 18:09
by kevtherev
I guess this is the worst part cutting and then discovering more cack
Re: The Lankavagon
Posted: 09 Dec 2014, 18:47
by Plasticman
Nah, its the best part, a bit like pa££ the £arcel
mm
Re: The Lankavagon
Posted: 11 Dec 2014, 21:10
by Plasticman
well mark the spots to drill out

theres not that many of them
and even fewer round the belt anchorage


im heavy into these at the moment

someone has in the past added a lower cut


and also a repair if thats what you choose to call it down here,note the very neat bead or clear sanitary sealant

no words needed really
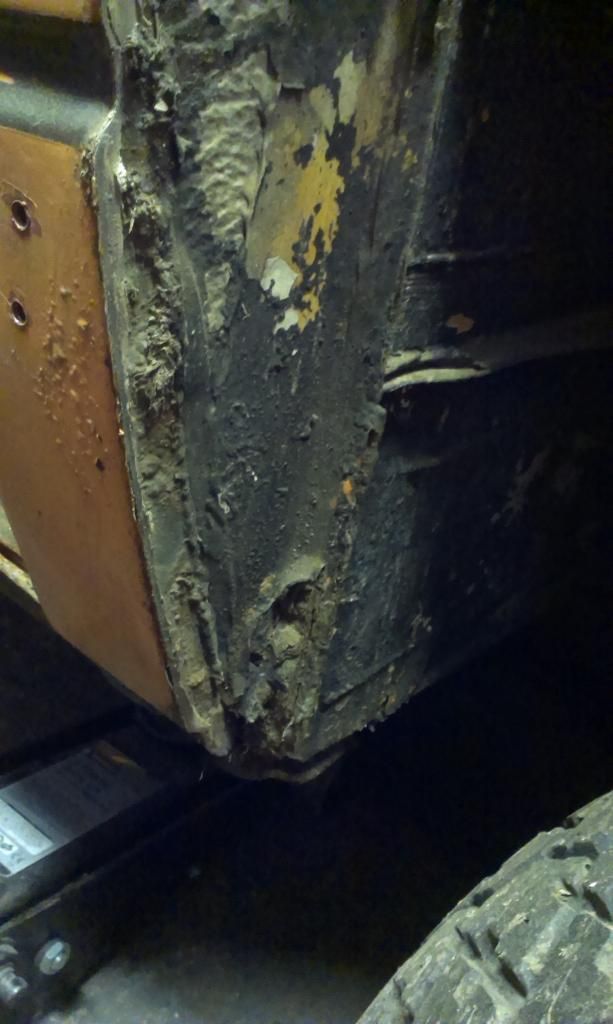
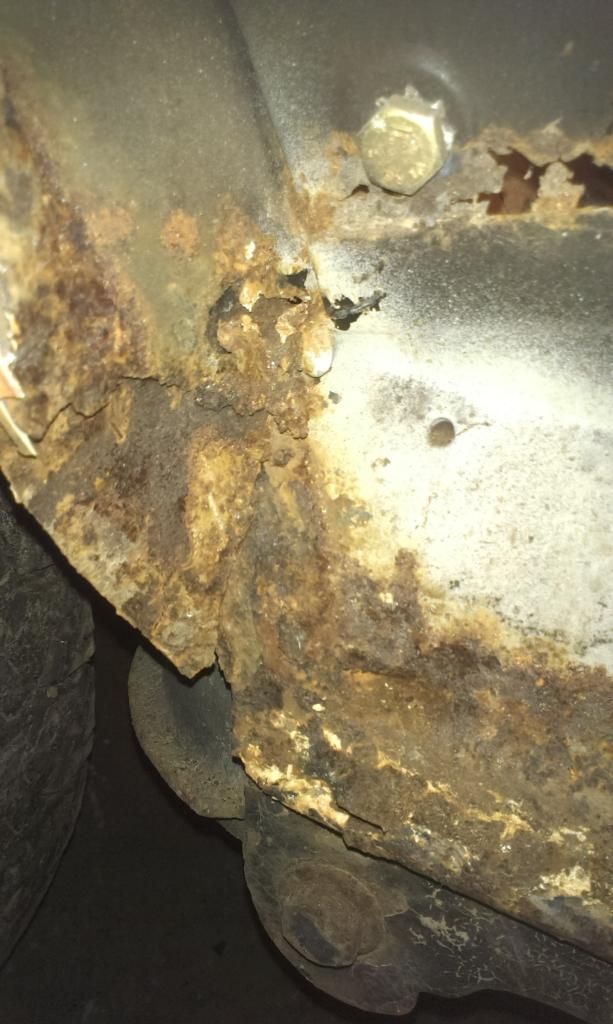
osf B post bottom and jp plus the inner B post are sick


so it will need cutting out /off to remake correctly
os mount, this is as it should be

but n/s

and it looks at first glance like its fitted with 2 N/S drop arms as this is a bit out of line

been like it for a few miles too
more fun tomoz
mm
Re: The Lankavagon
Posted: 12 Dec 2014, 13:50
by Plasticman
Well what a diference a day makes .,.,.,.,.
tell tale signs

inside of nsf jp from behind

nsr jp/ arm mount

osf jp etc from under/behind

from outside

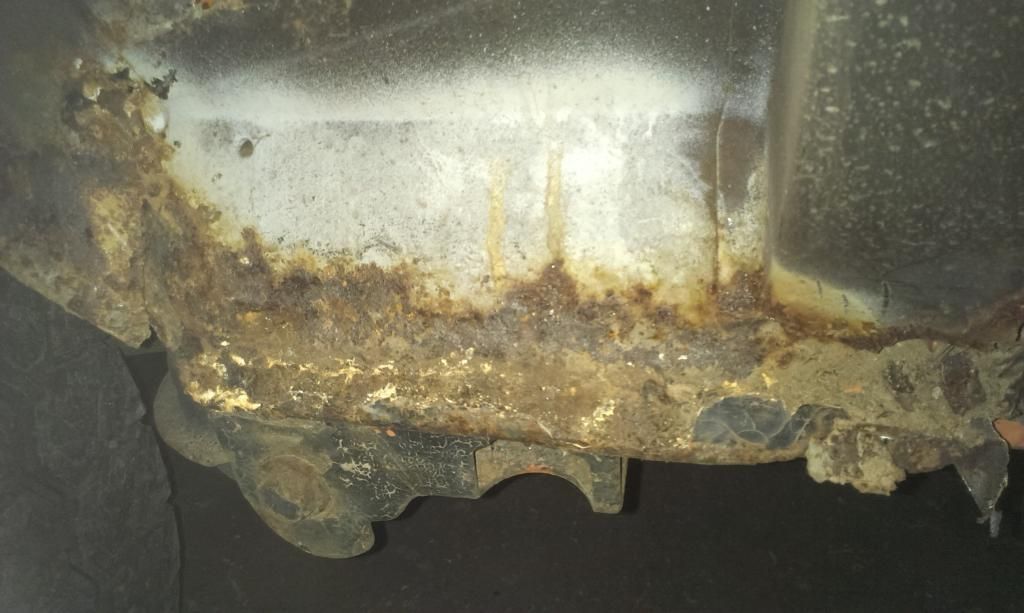
a touch crusty
slider area well rough, it had been repaired and filled and god knows what , but looked reasonable when all fitted up etc

back end osr jp/arm mount and C post !

so ,a bit of a challenge here
mm
Re: The Lankavagon
Posted: 12 Dec 2014, 13:54
by 300CE
Blimey Mike, all that work and with a snotty nose as well! Can't wait to see the finished result

Re: The Lankavagon
Posted: 12 Dec 2014, 16:17
by lloydy
So much for just four arches
Re: The Lankavagon
Posted: 12 Dec 2014, 16:54
by Plasticman
***** off
Lol


