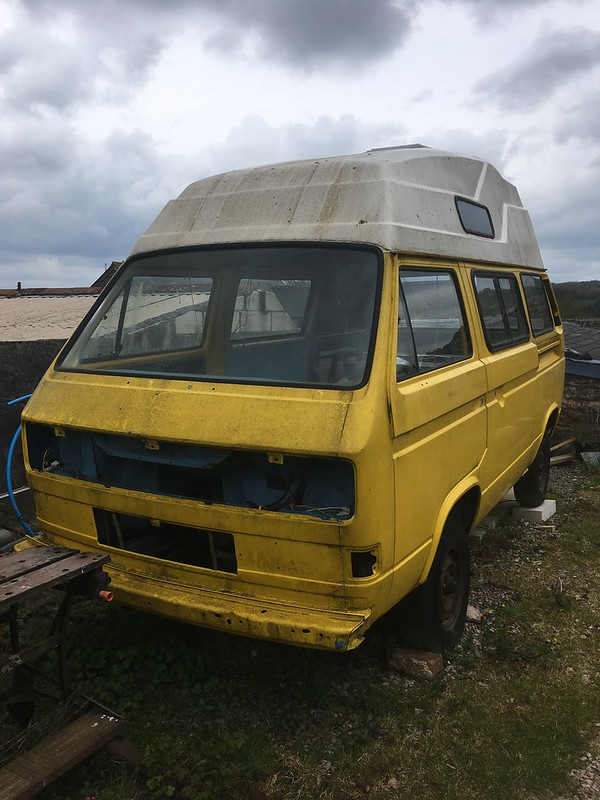
Well, at long long last, I’ve finally managed to do some work on my van!
It’s not been easy, so much other work to do around the home but hey, some time on my van has been good.
So first task was clearing the inside of the van of its roll as being a storage of bits.
 IMG_2528
 by
Grandpawoody, on Flickr
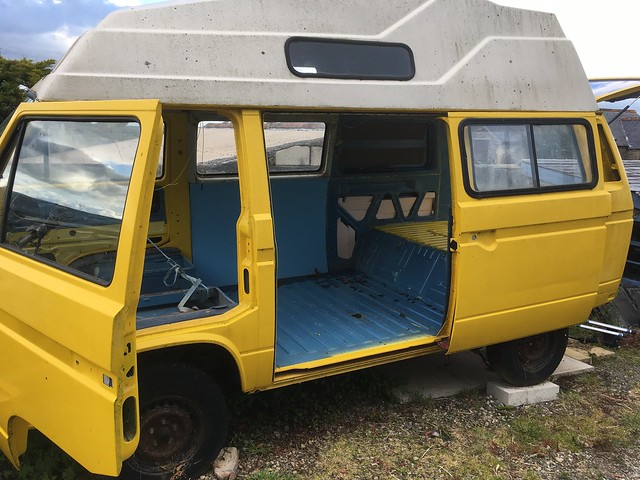
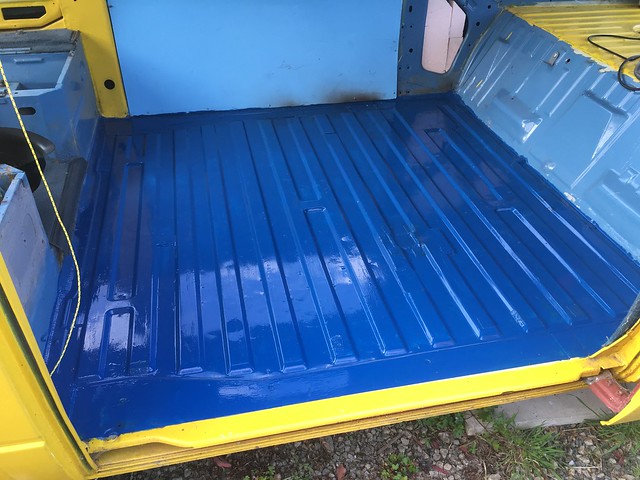
Once this was done I could assess the small amount of holes/rust that needed treatment. I have decided to not use the table leg that needs a floor hole, so this was welded up and treated. Two other small rust areas welded, surface rust treated and the floor was ready for a coat of paint.
 IMG_2570
 by
Grandpawoody, on Flickr
New floor is a sheet of 12 mm exterior plywood. Cut for a snug fit all round and then 3 coats of exterior varnish on the underside and 2 coats on the top.
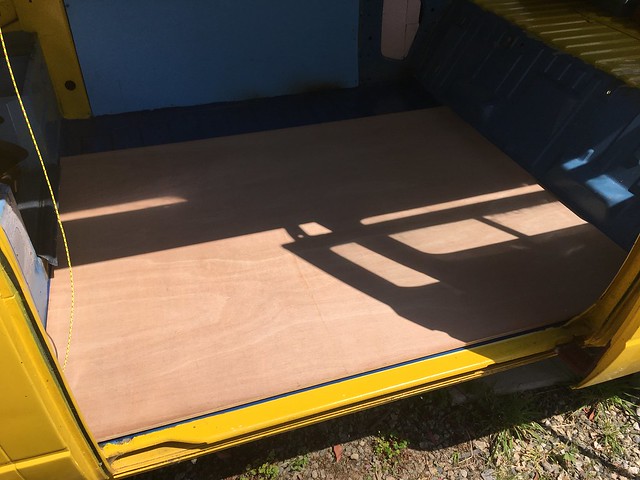 IMG_2572
 by
Grandpawoody, on Flickr
 IMG_2577
 by
Grandpawoody, on Flickr
I needed to cut an access hole for a fitting I’m installing - more details on this later when I have more to show - and no I’m not fitting an angle grinder under the van!
 IMG_2585
 by
Grandpawoody, on Flickr
A small 2 mm reinforcing plat was fitted around this hole, puddle welded and painted.
 fullsizeoutput_860
 by
Grandpawoody, on Flickr
Time for a final fitting check prior to drill fastening holes, all good.
 IMG_2591
 by
Grandpawoody, on Flickr
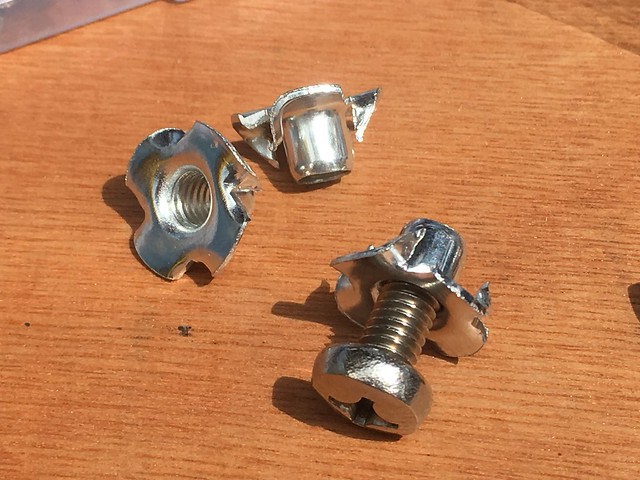
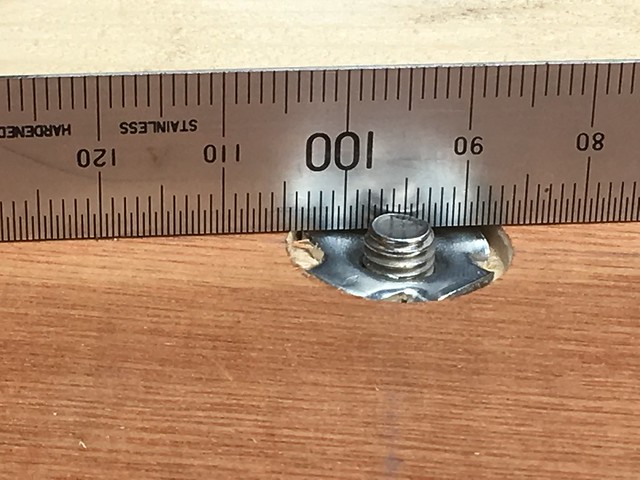
To hold the ply down I decided to use flush fitting T nuts and stainless pan head machine screws. I first ordered 14 mm long ones but found that yes too long. Thought about cutting them down to 10 mm but the decided to order new ones.
 IMG_2608
 by
Grandpawoody, on Flickr
 IMG_2609
 by
Grandpawoody, on Flickr
 IMG_2611
 by
Grandpawoody, on Flickr
 IMG_2613
 by
Grandpawoody, on Flickr
I positioned all the fittings to the raised areas of the floor to ensure that the ply was firmly held down.
 IMG_2614
 by
Grandpawoody, on Flickr
And there we have it, floor finally fitted, 3rd coat of varnish and all done.
 IMG_2630
 by
Grandpawoody, on Flickr
Very pleased with the work done, looks good to me.
Next will be the overhaul and fitting of the interior, engine to prepare, gearbox to sort out, brakes and suspension to check/replace, new tyres to buy and exterior paint to finish and polish! Not much to do then! Onwards and upwards. Till next time.
 IMG_2082 by Grandpawoody, on Flickr