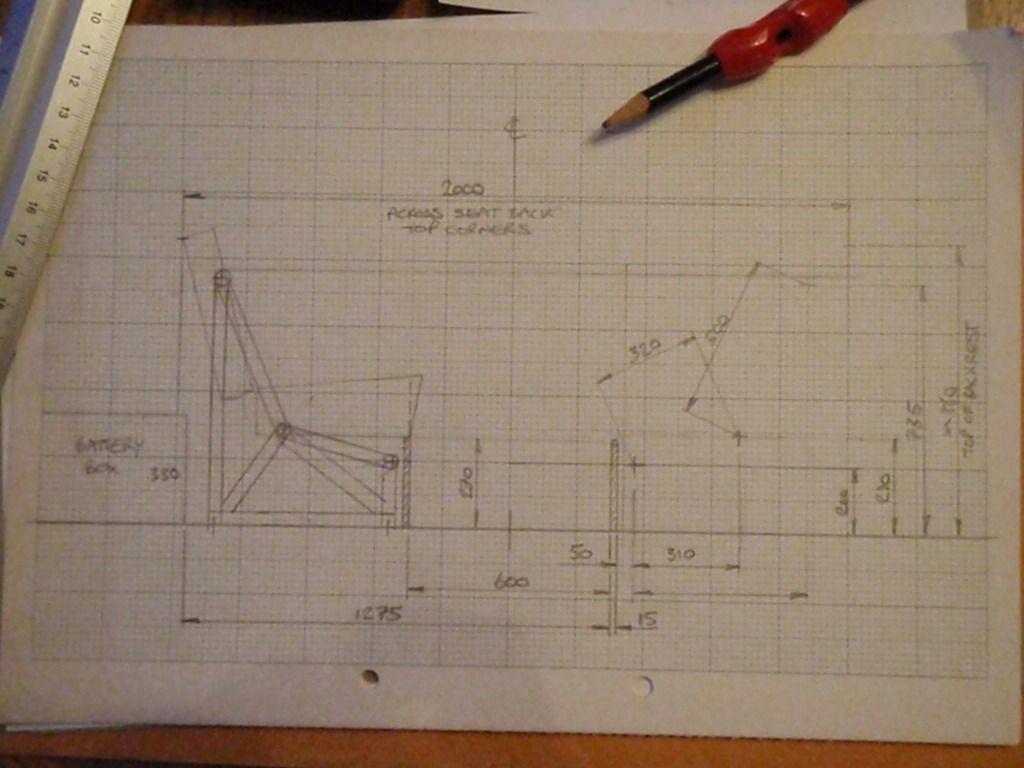
After a lot of scribbling and measuring, casting ideas aside as too messy/complicated/dangerous etc. I realized that the way forward was to take inspiration from earlier Type 2 layouts, with their very high engine decks. These always seemed to use the buddy seats to make up part of the bed...
So first up, reverse the centre bench so the kids can face each other on journeys:
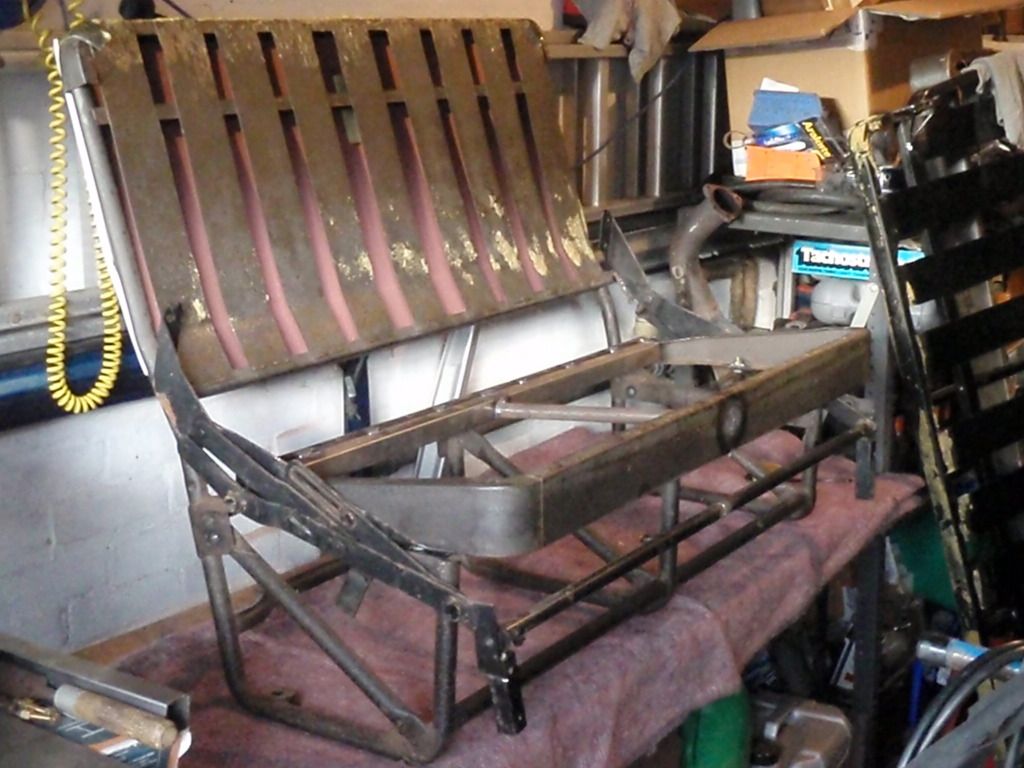
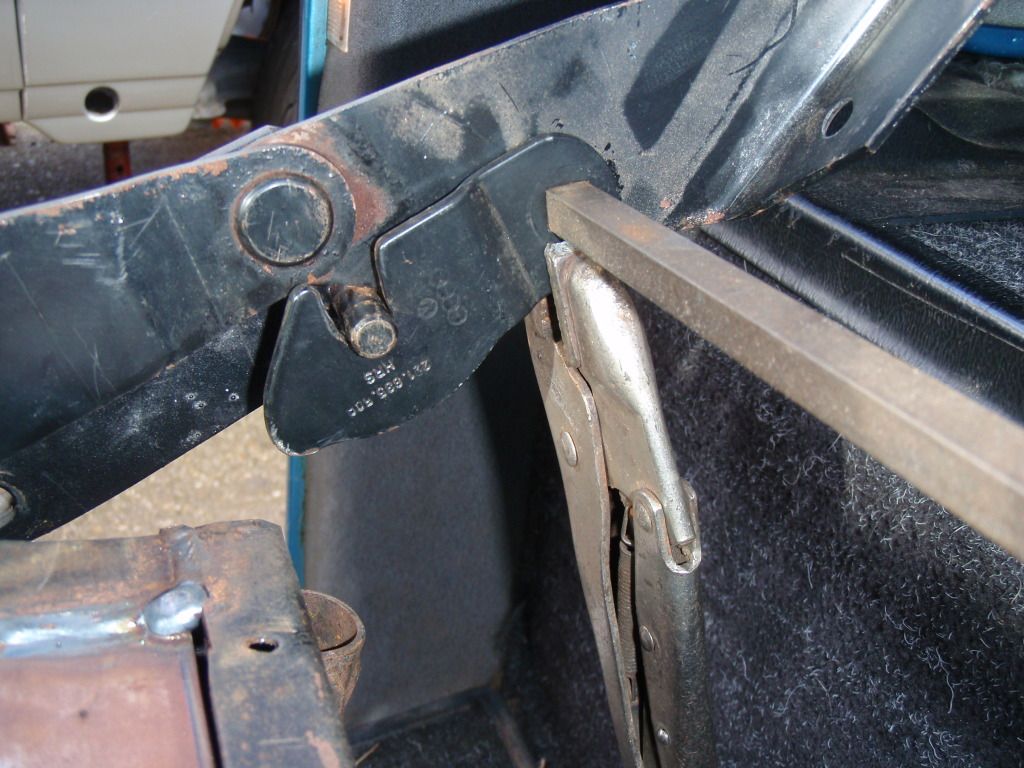
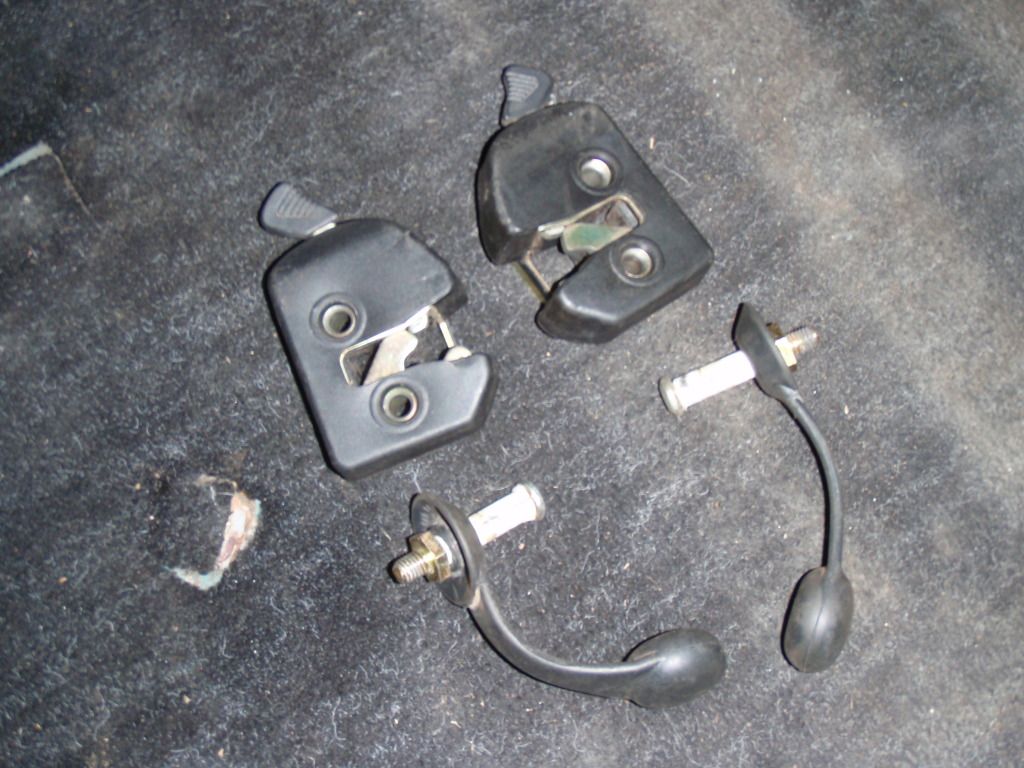
My cunning plan is to mount the 2-seat middle row on a second set of r'n'r hinges (that I just happen to have knocking around) with a roll-cage spec. cross-tube behind the front seats to carry the backrest catches and seatbelt mounts. With the 2-seat smack in the middle, the end mounting points will be just outside of the fuel tank and chassis rails
I also plan to make a pair of "pannier" type storage boxes for each side of the bench, to cover up the hinge mechanism and keep fingers out. There will be a locker under the bench too. All of the touring junk can go over the engine and this will double up as the field kitchen (which is what I prefer to do anyway)
Must get an awning made up for the tailgate!
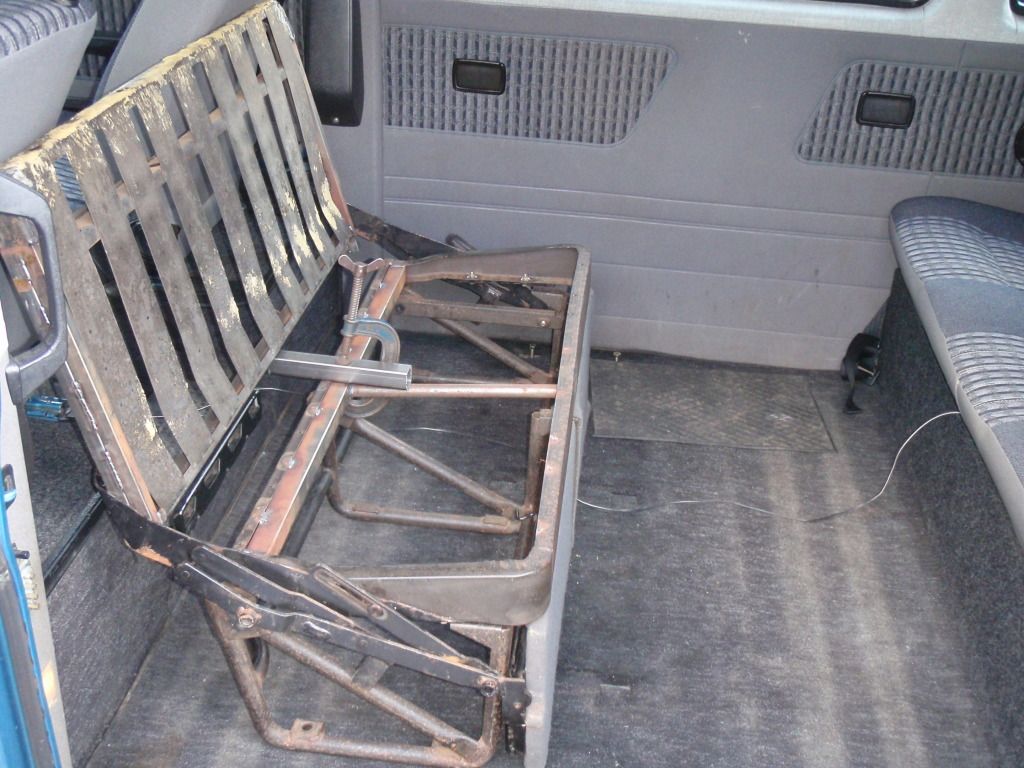
More measuring with the r'n'r in both seat and bed positions revealed a deficit of about 50mm betweeen the cushions, as it throws forward just about 300mm (so I need 600-620mm here)
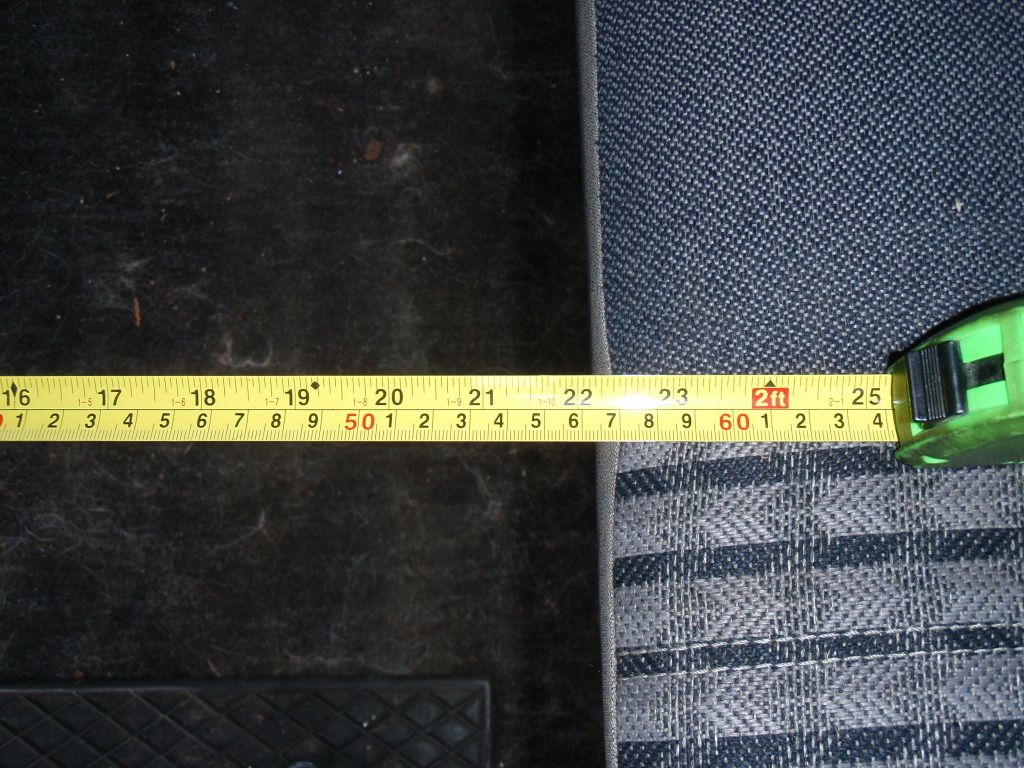
But further investigation revealed that most seat squabs are not as deep as the rear bench anyway...so a little adjustment of the foam and a spot of re-stitching down at the trim shop should sort that out.
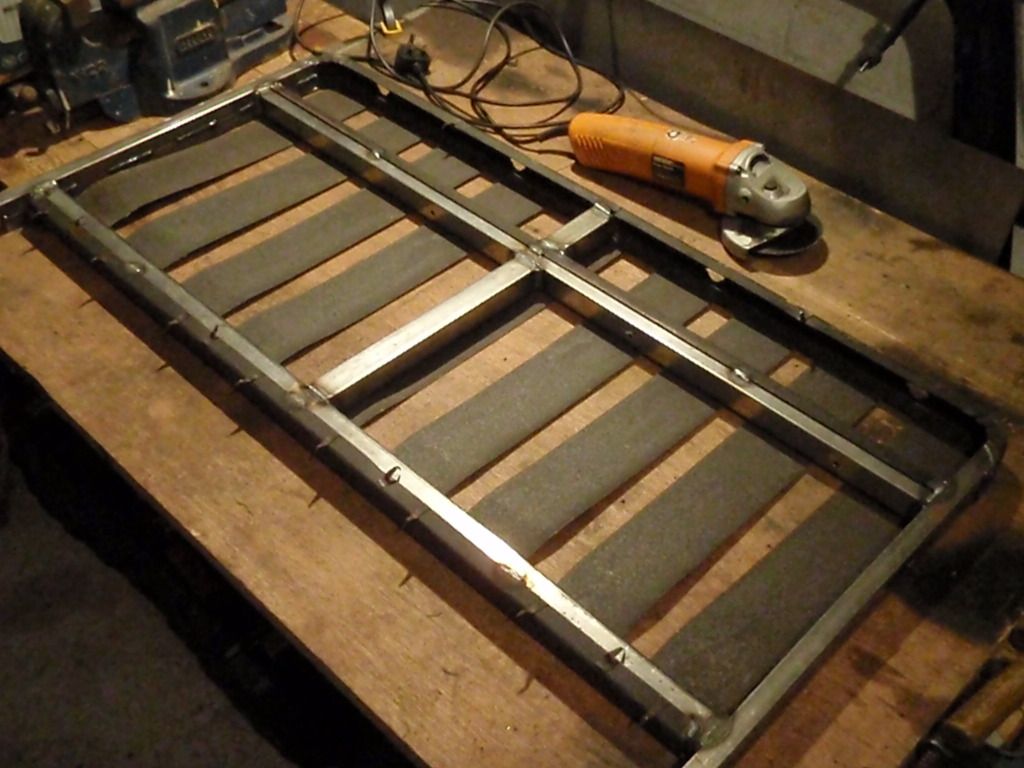
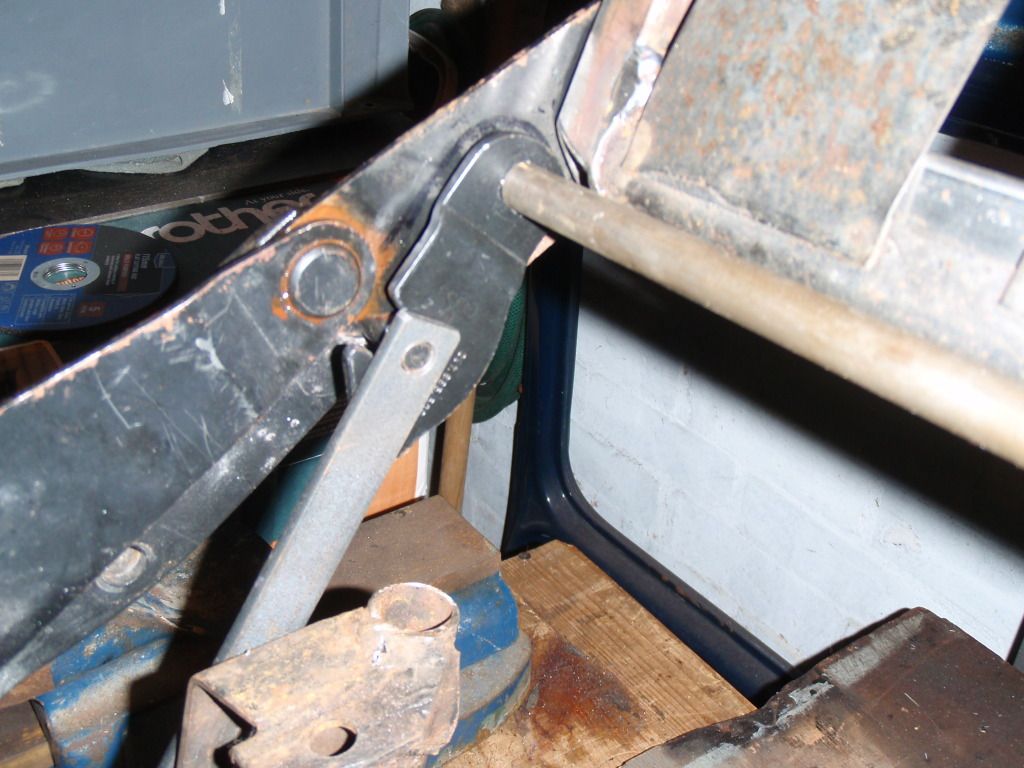
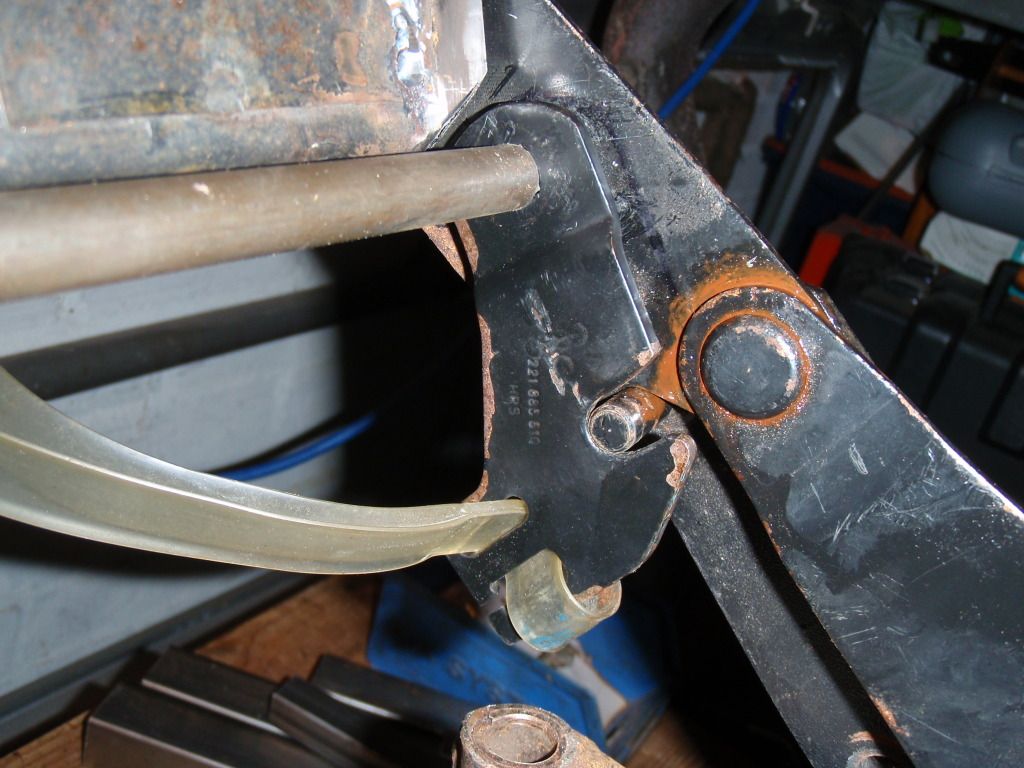
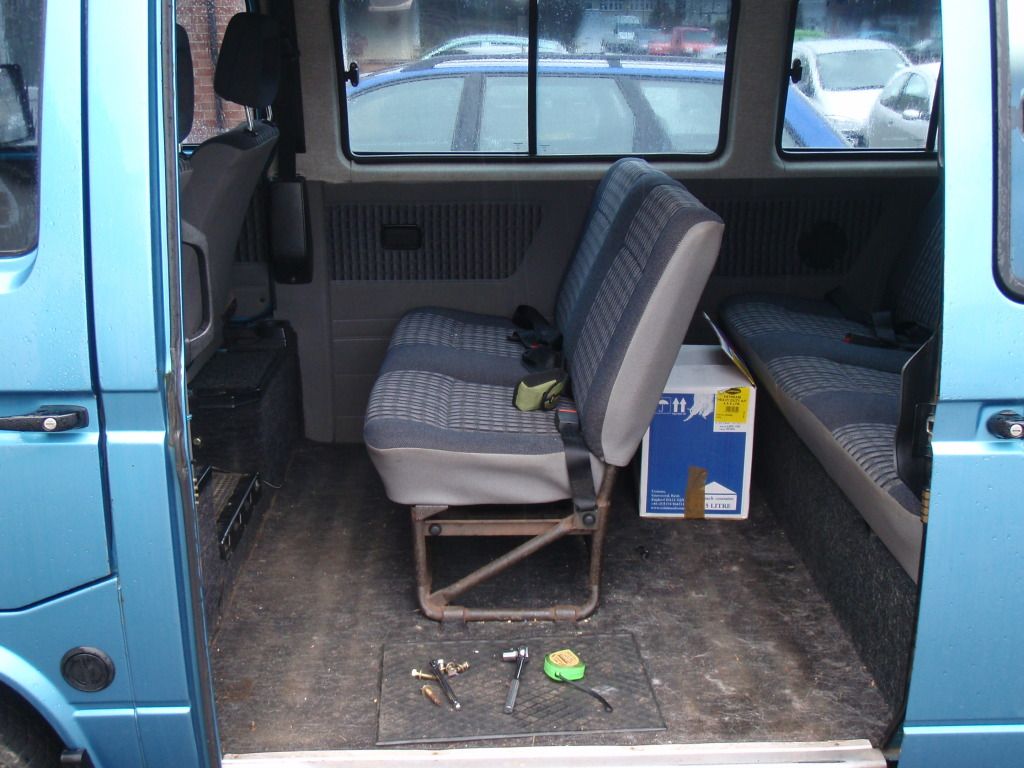
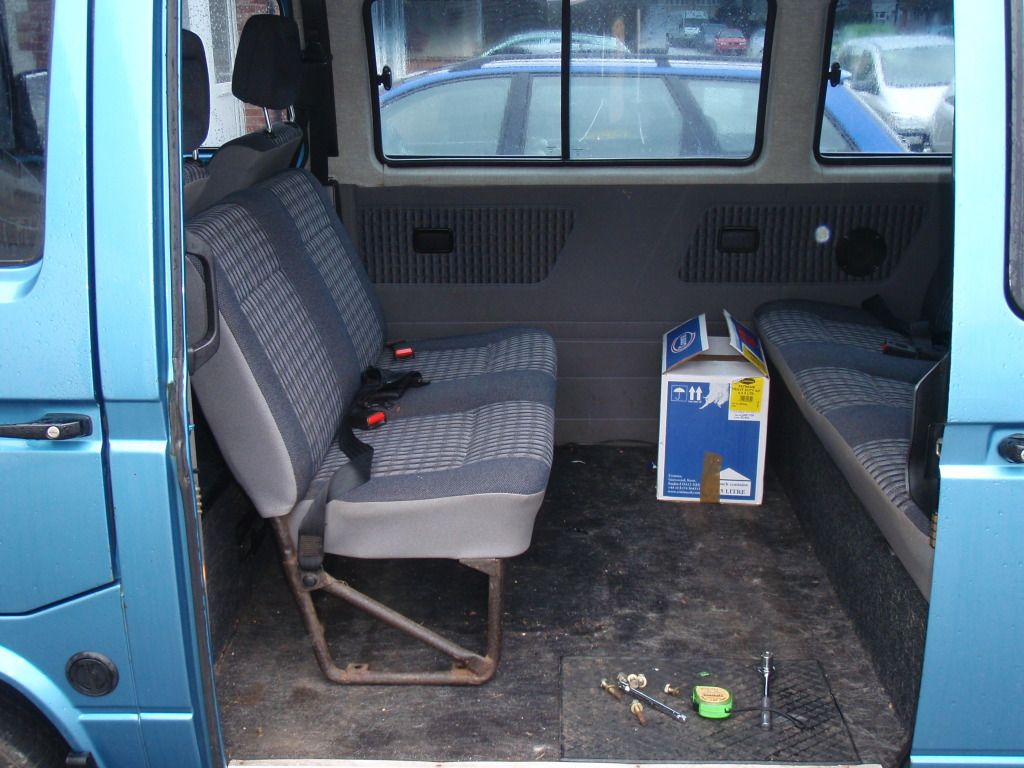
Then I got stuck into the seat frame and hinges (a touch of deja-vu here)

I've got the remains of a Euro-spec centre bench plinth that can be butchered to mount the r'n'r hinges on, if the SA tubular frame is no use.
I'll have a go at the backrest section tomorrow (if I'm good and allowed out to the man-cave to play)