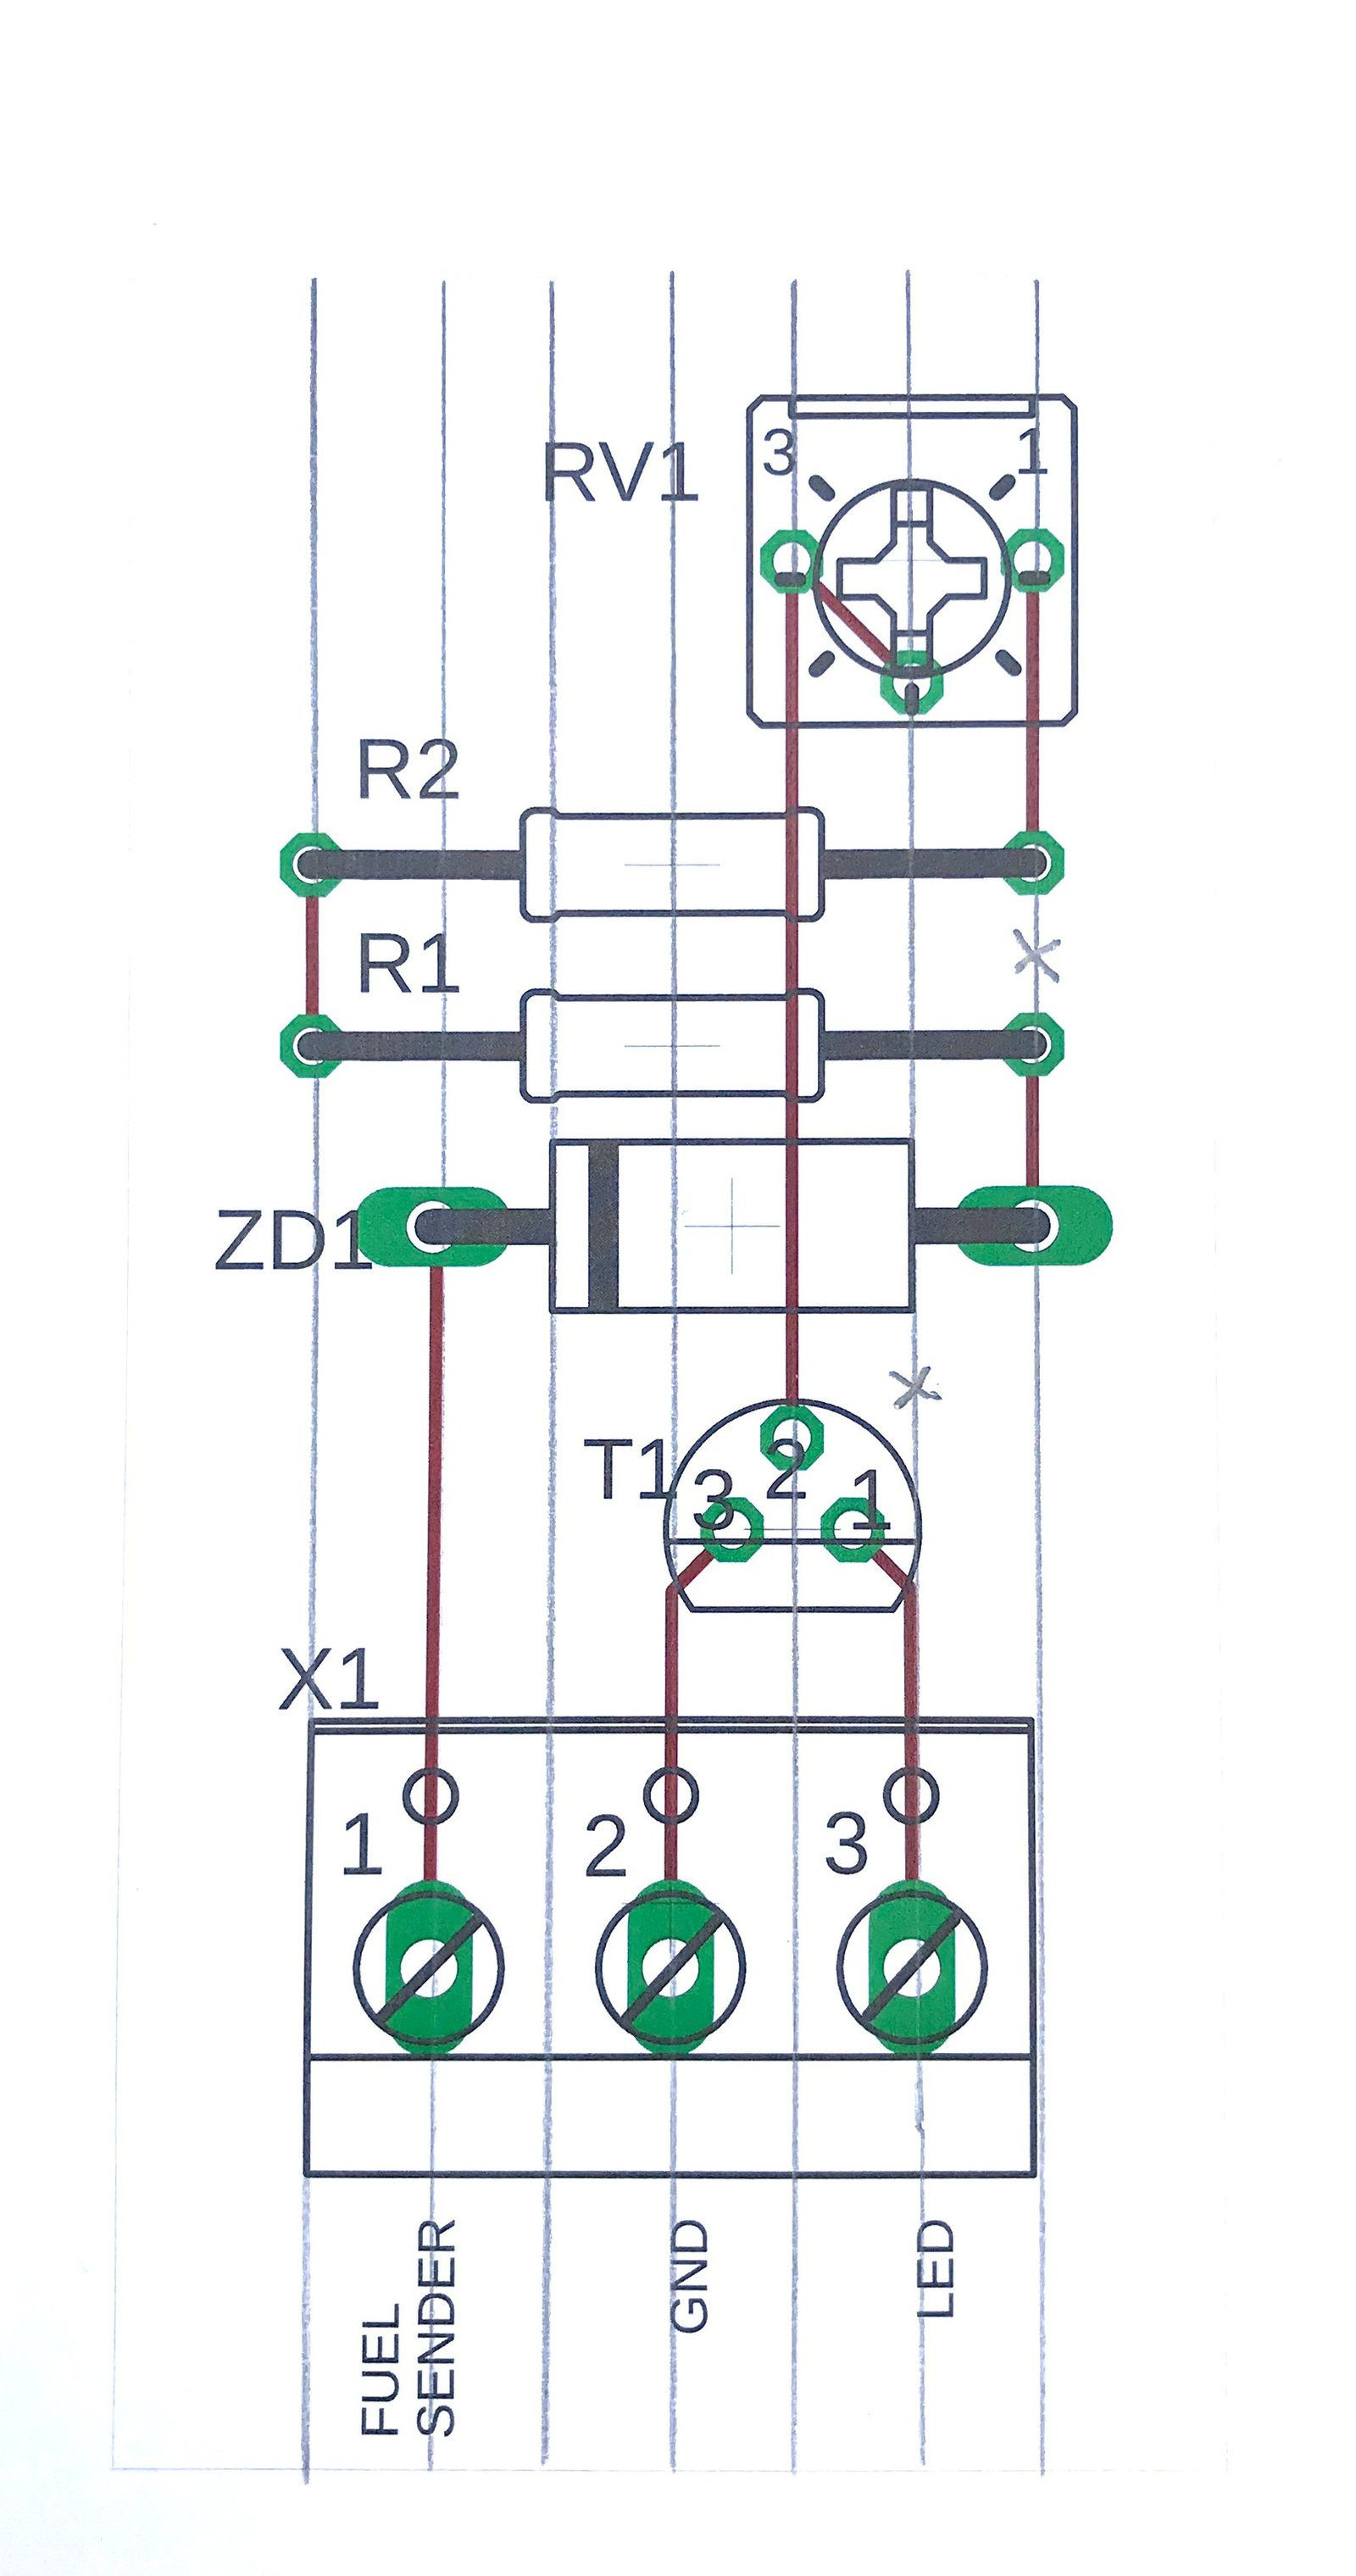
The transistor is not an on/off switch, it's like a proportional valve.
The base-emitter current controls the valve, more base-emitter current= more collector-emitter current up to the saturation point when it's fully on.
Your continuity tester won't be supplying the same collector current as the led circuit so it won't give a true reading of LED on status.
In a digital circuit where you are using either 0v or 5v it would act as a switch as 5v would saturate the base but in our case where we have a varying voltage it becomes less predicatable depending on exact values of components so it's easier to adjust VR1 and suck it and see.

I don't want to get into the realms of calculating current gain for the transistor when you can do it on the bench.
Aye, I've been in this game professionally for over 22 years and as a student/hobbyist before that, glad to know the brain still works.

What it does mean is that I know when to buy your kit and save myself doing all the hard work so I'll gladly give you feedback and glad to help you with this circuit too.
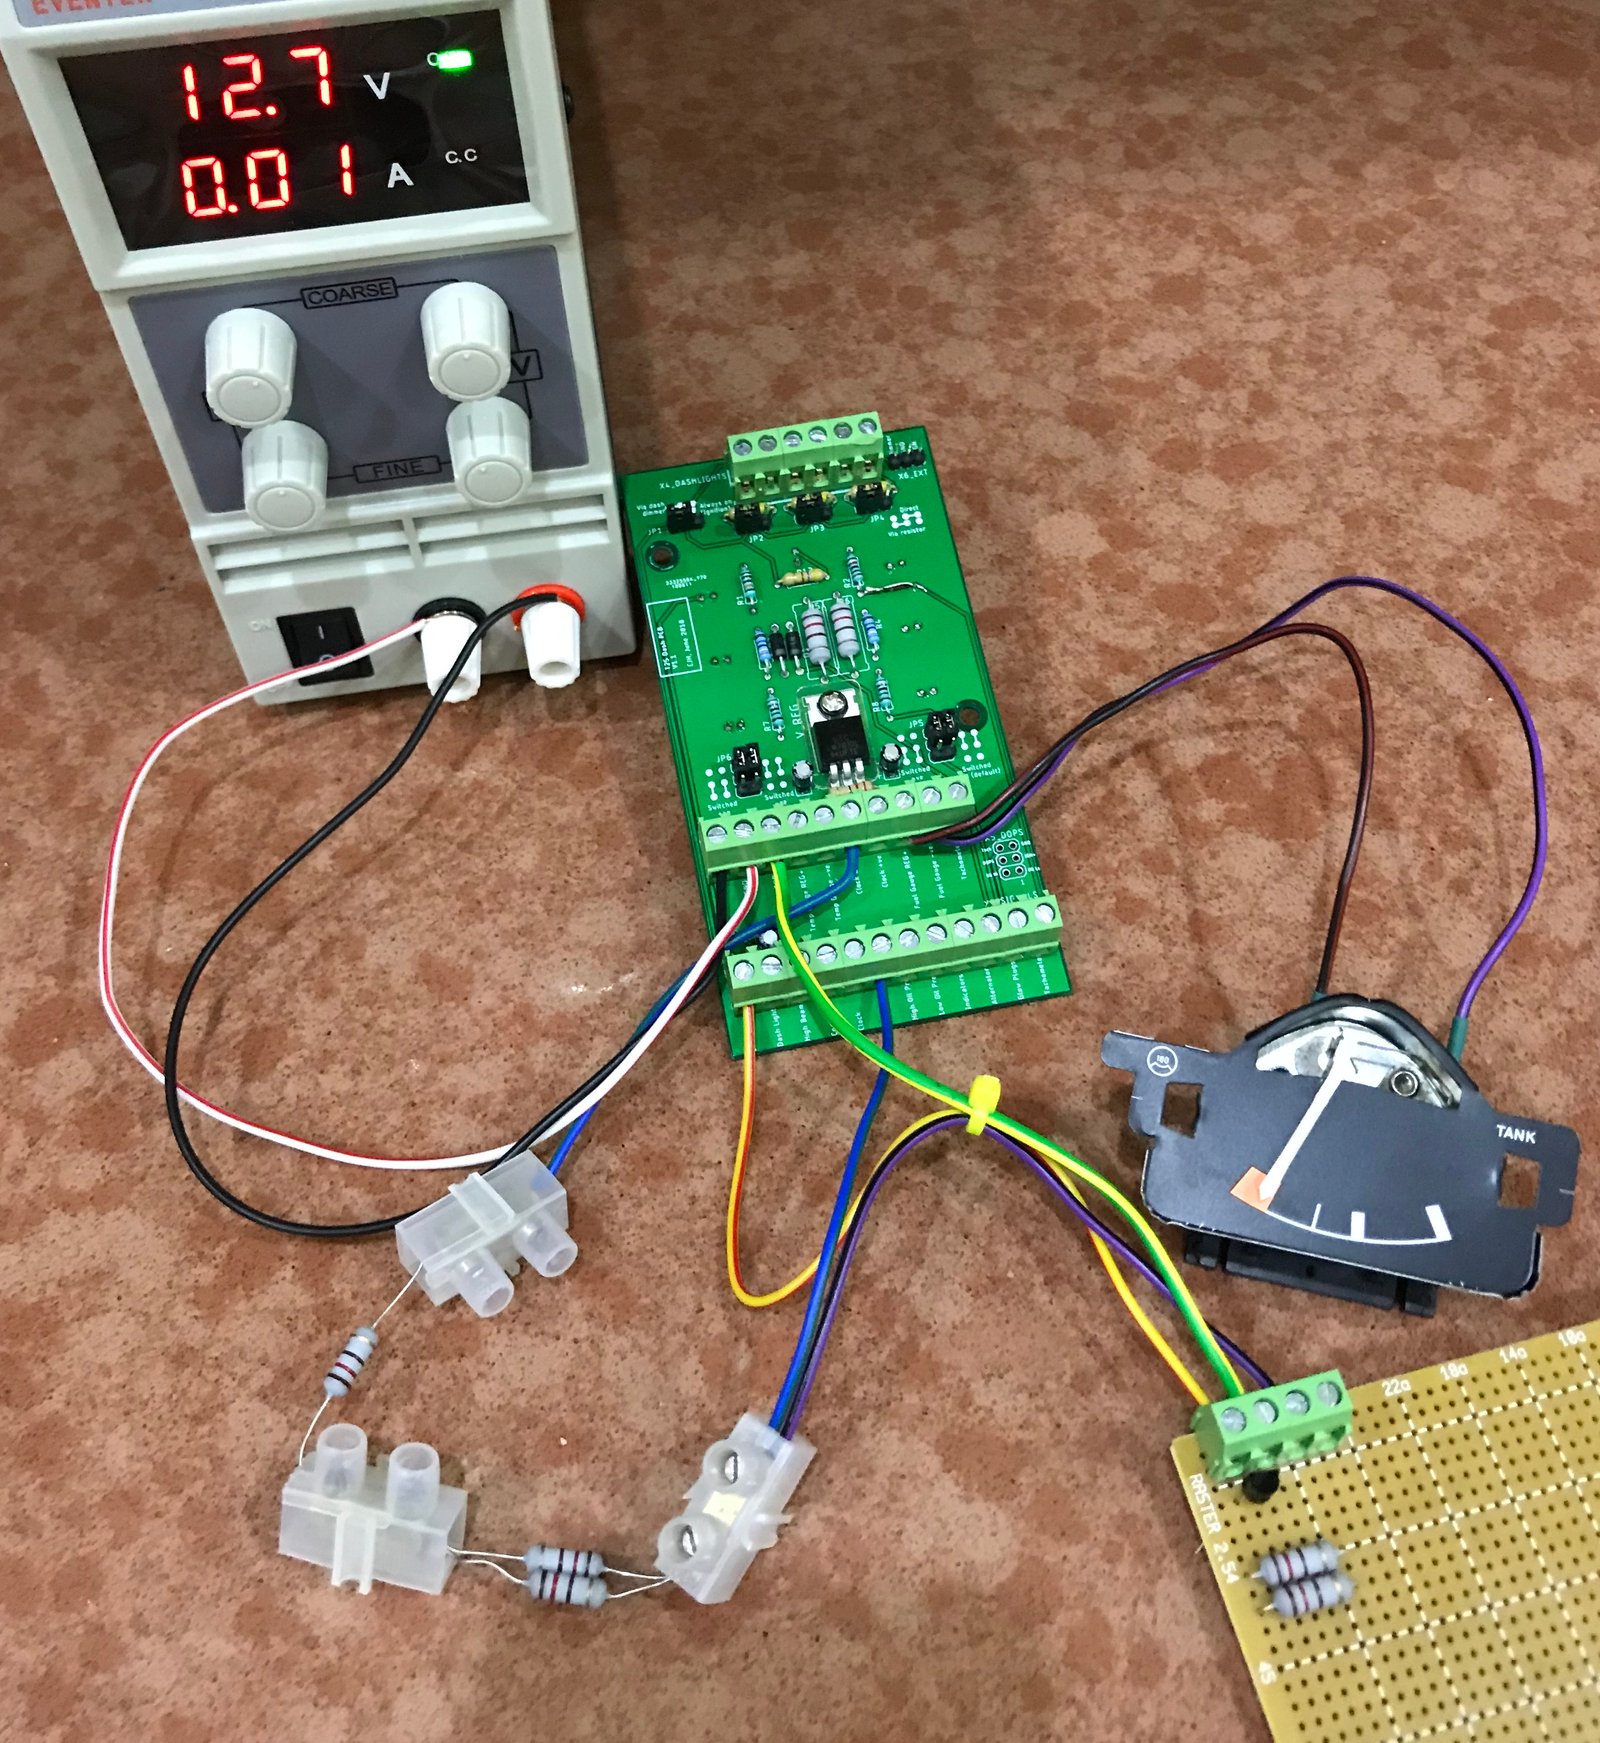
If my tacho and gauges get here soon I might build the circuit myself and have a play with it, seems wierd doing it remotely like this when I'm used to trying things out on the bench. I'm a hands on kind of guy rathar than a theorist. Now where did I leave my zener diodes......
'86 1.9 DG, 4 spd, tintop, camper conversion.
Split case club member.