Re: WBXlog
Posted: 05 Oct 2016, 18:14
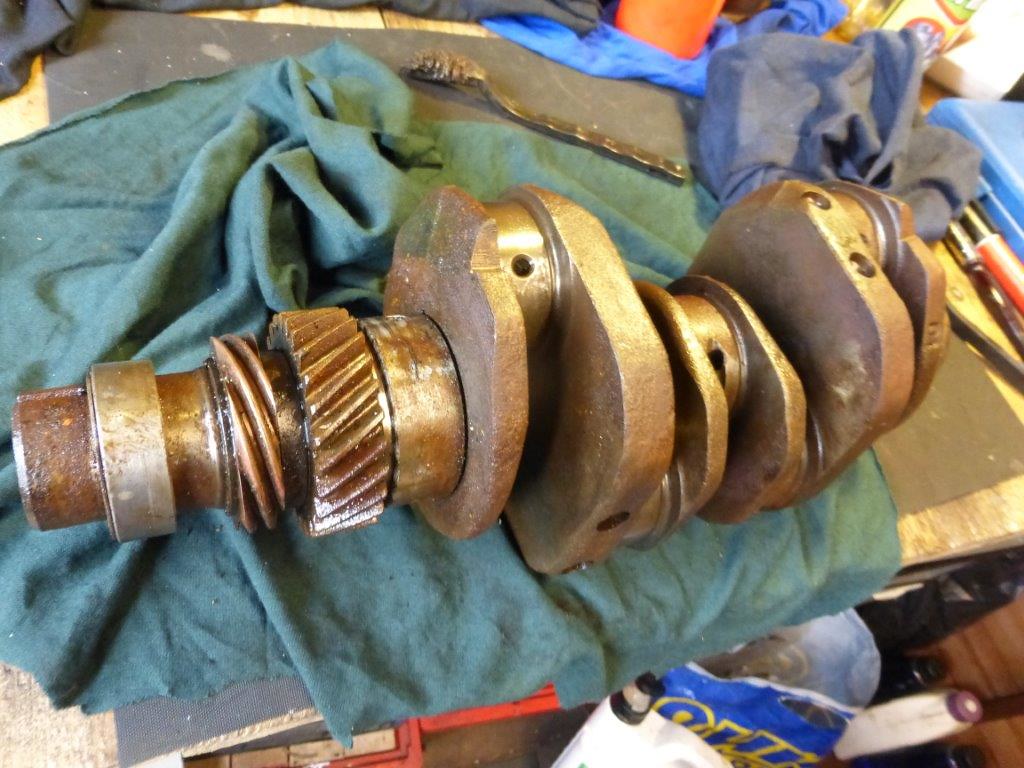
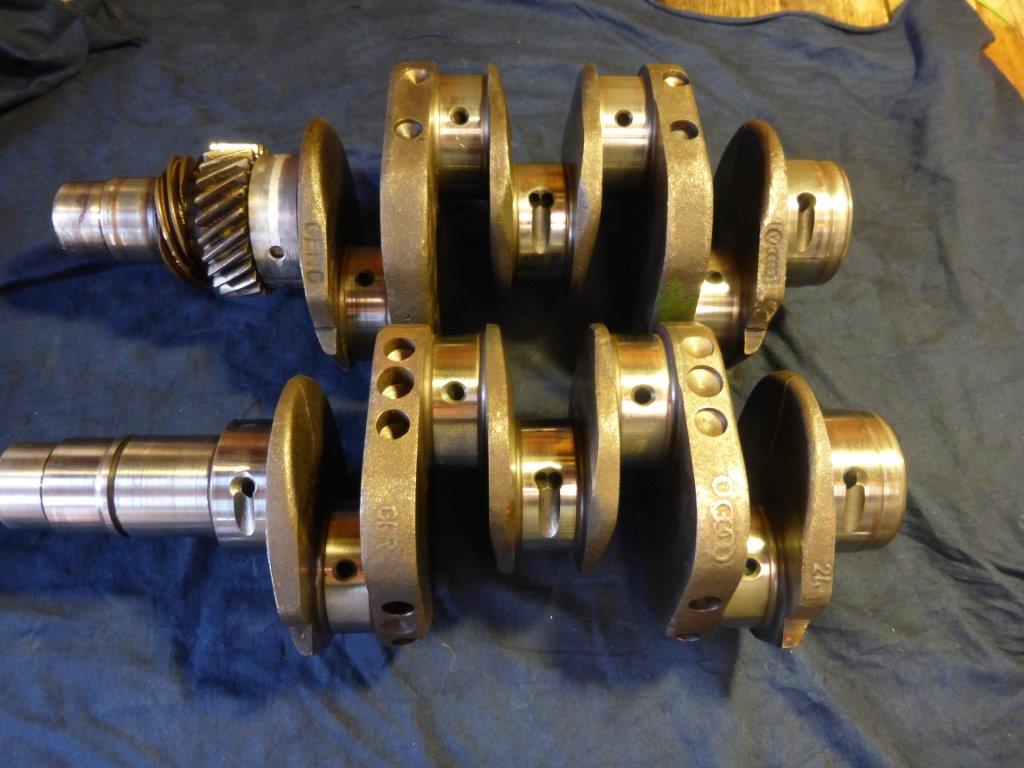
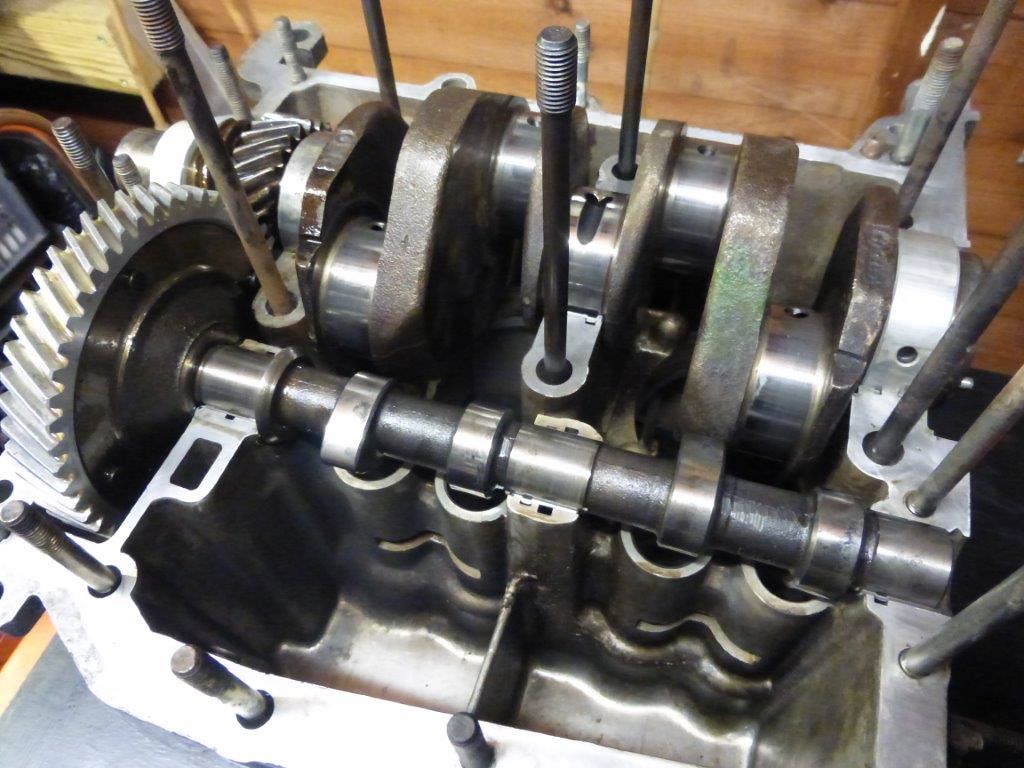
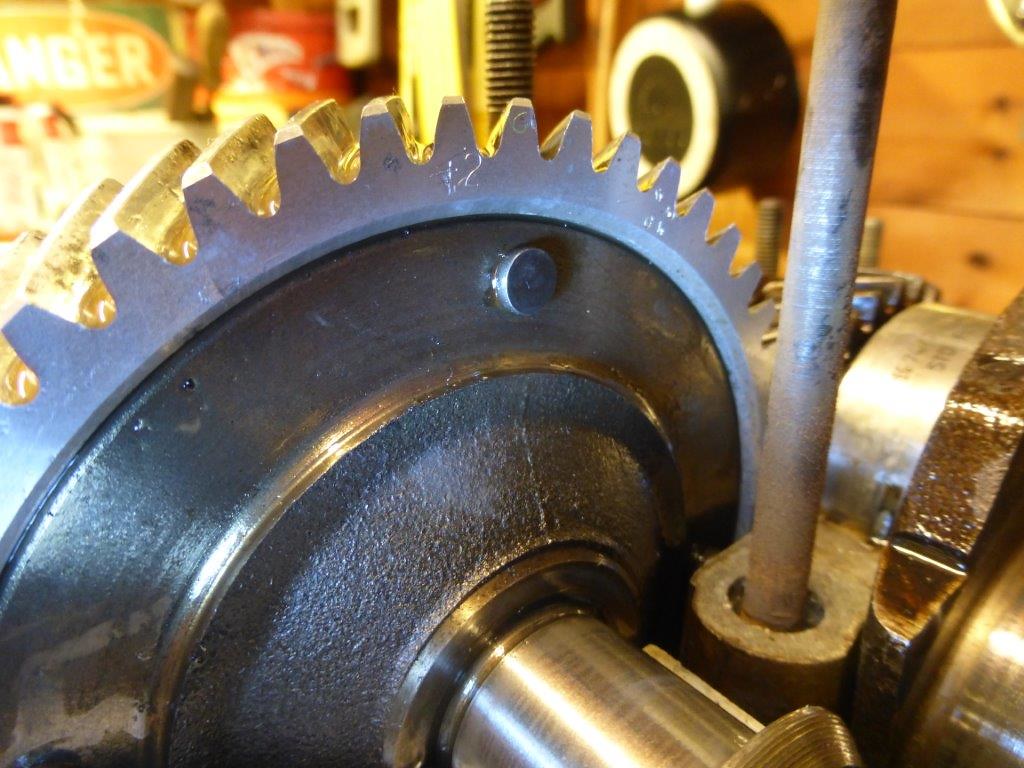
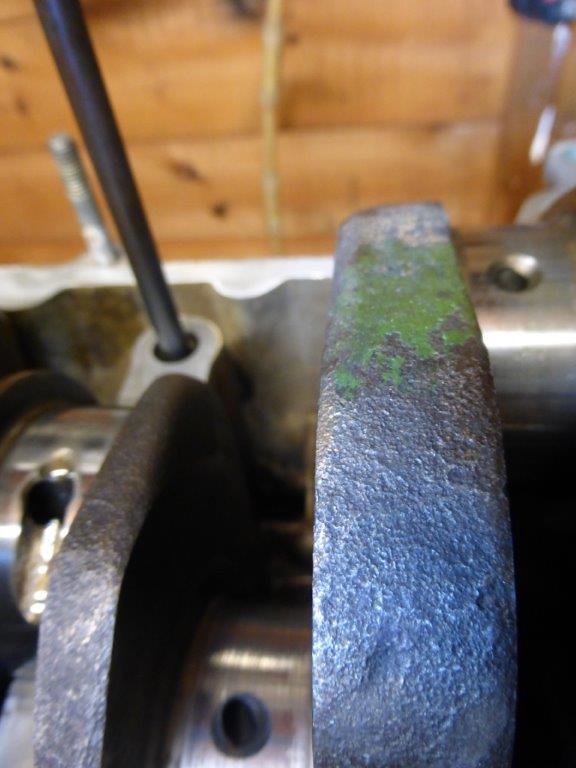
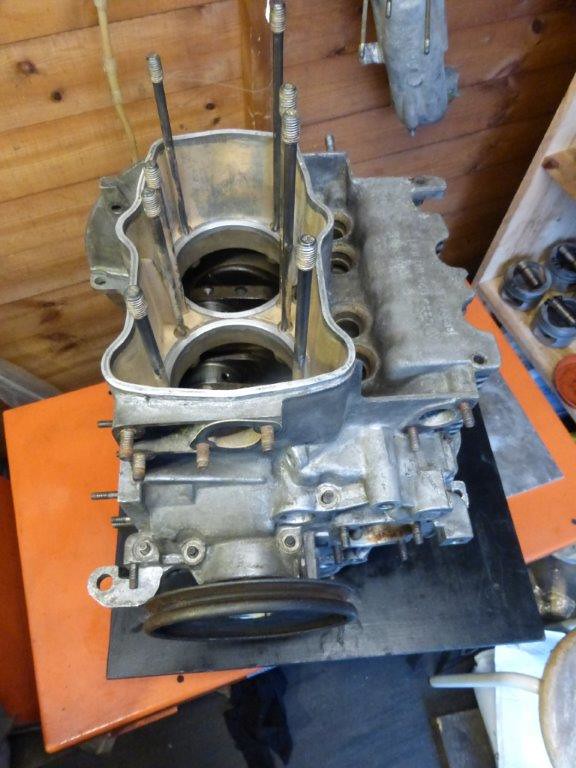
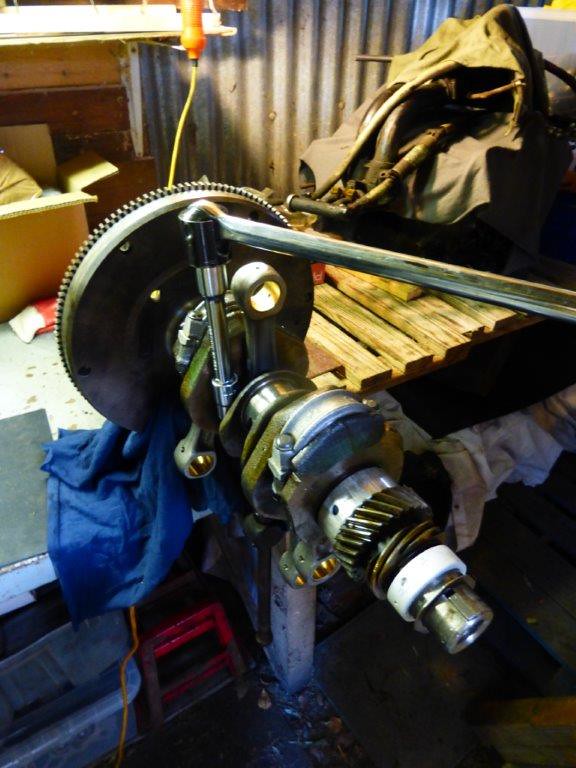
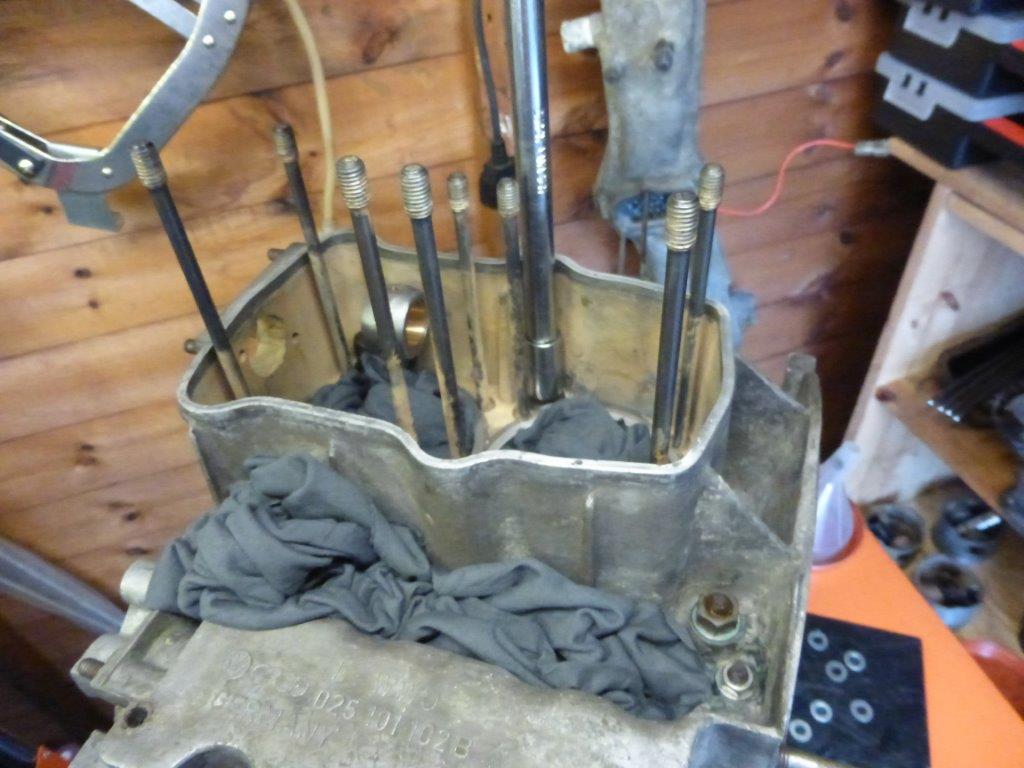
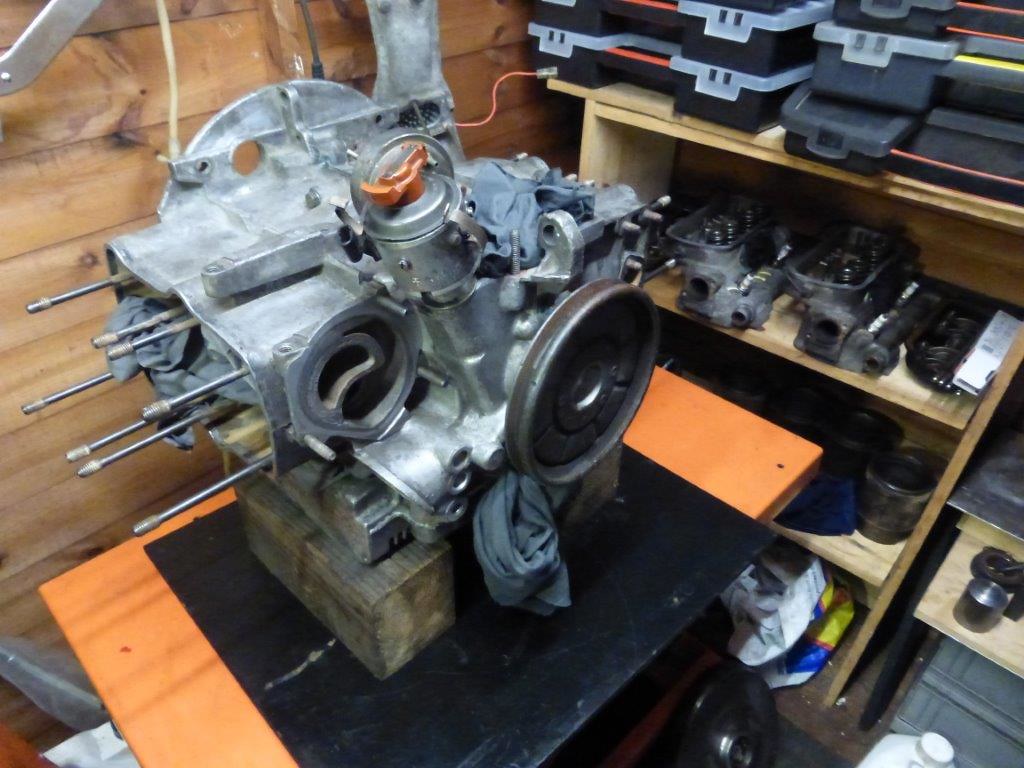
Pistons and barrels complete now back to the con rods again.
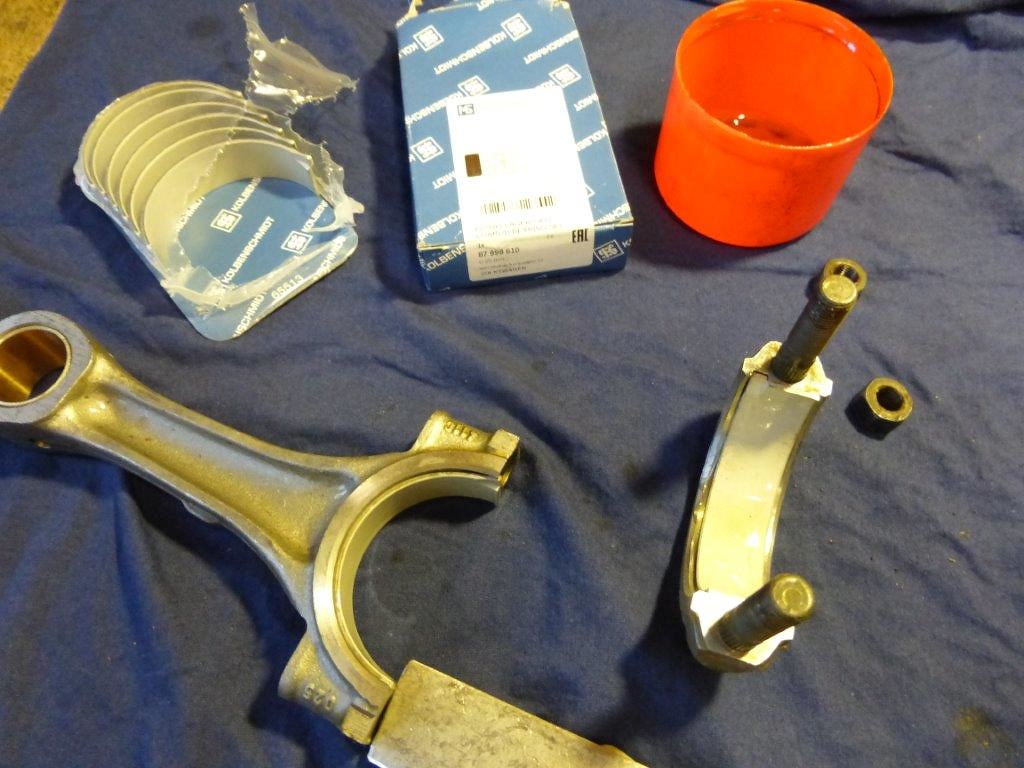
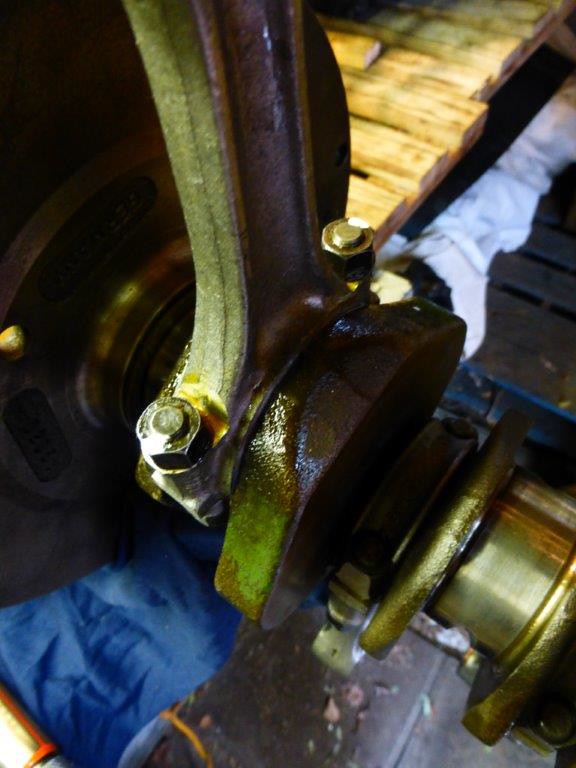
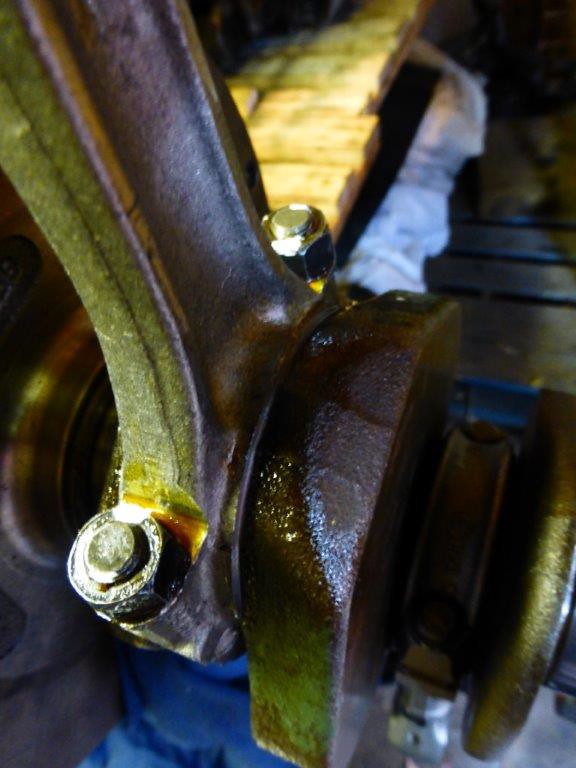
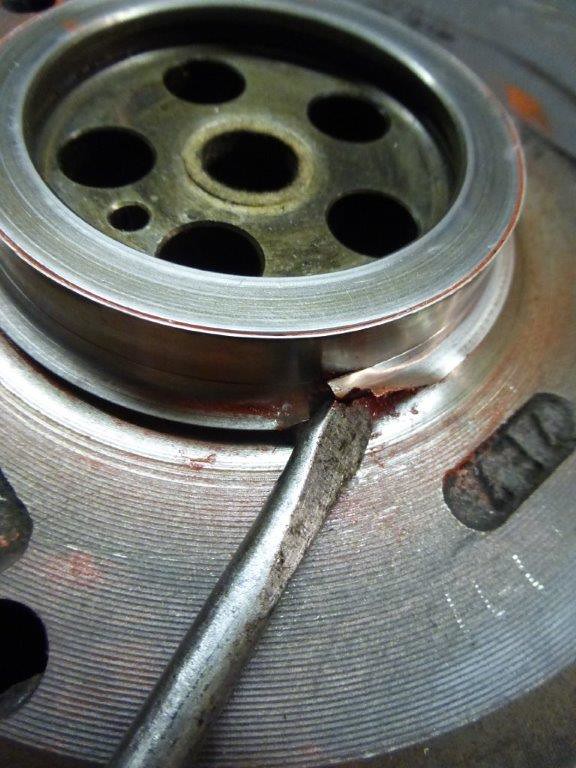
The old ones have worn little ends and stretch bolts that need replacing
I have new but I wanted to learn how to refurbish these because sooner or later there will be no more new VW.
I previously made a tool to press the old bearings out and press the new ones in.
I'm lucky to have access to a lathe but I thing you could carefully hacksaw the old ones out with a junior hacksaw and press the new ones in with a vice, they need to be just under flush so to do that would need an old bearing filed to a flat edge for the last bit of push.
http://forum.club8090.co.uk/viewtopic.p ... 0#p8159745" onclick="window.open(this.href);return false;
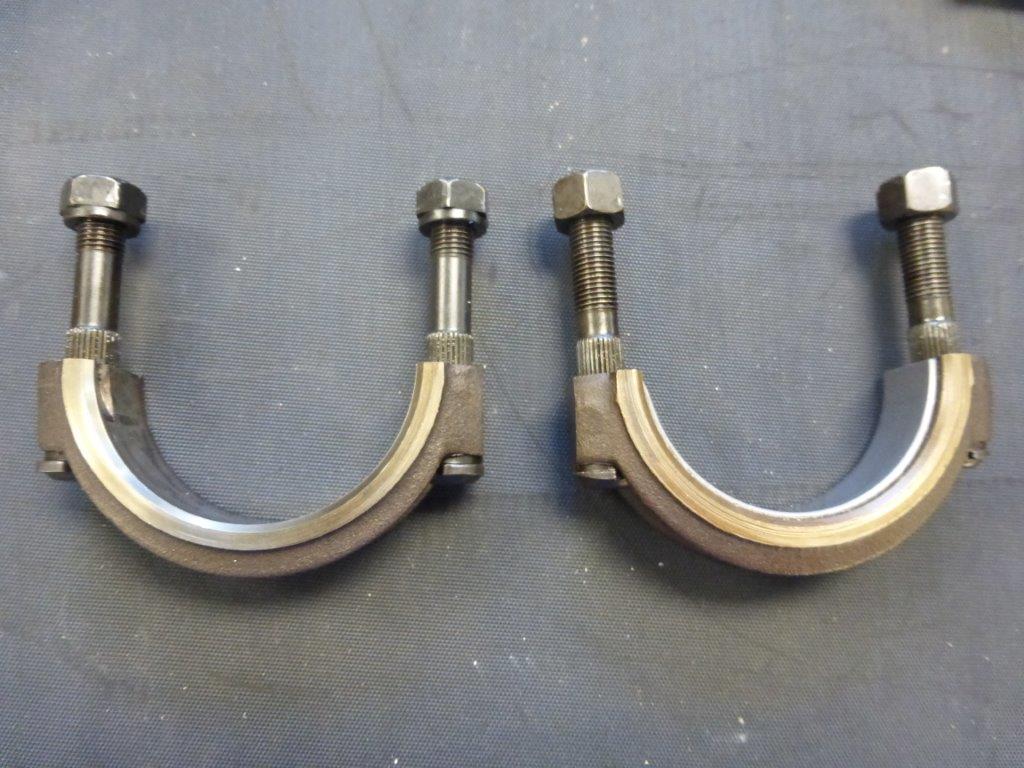
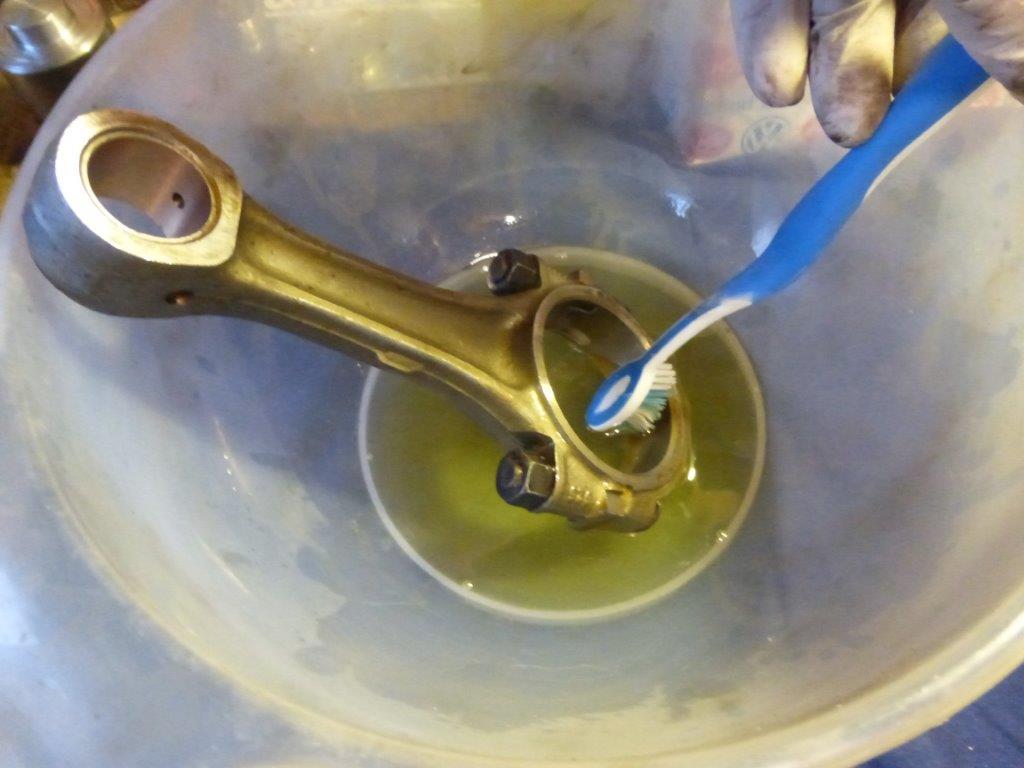
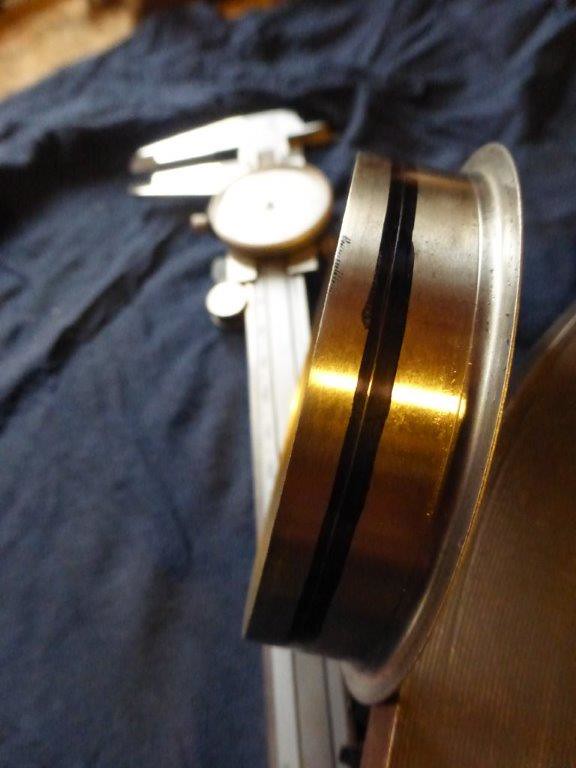
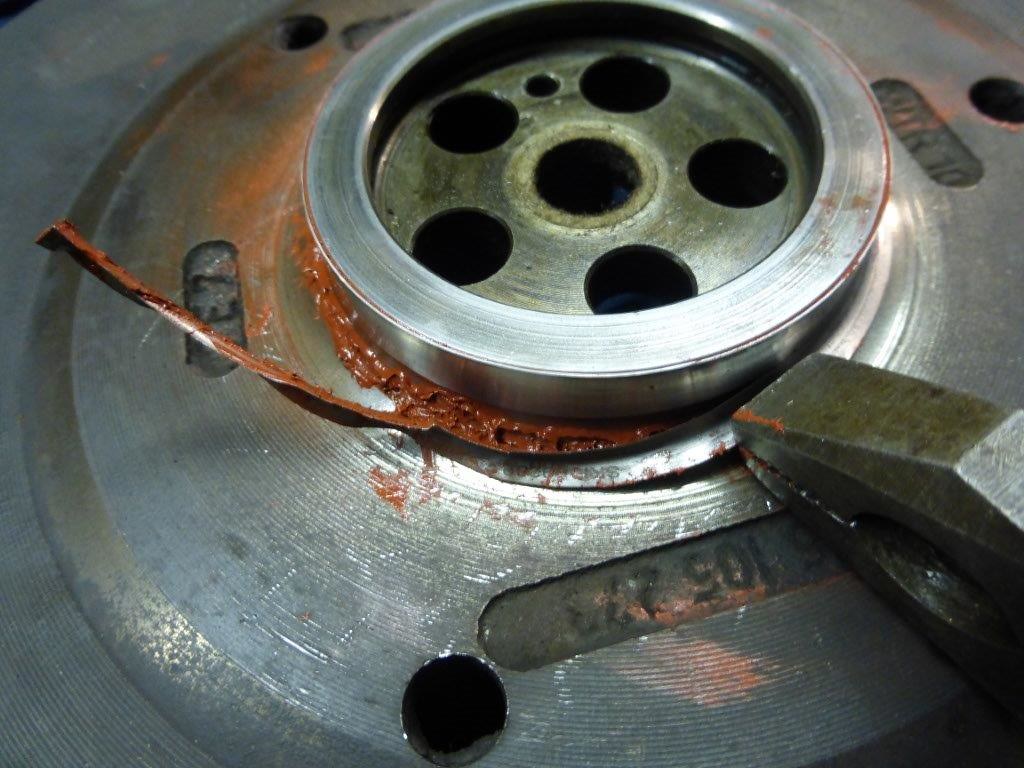
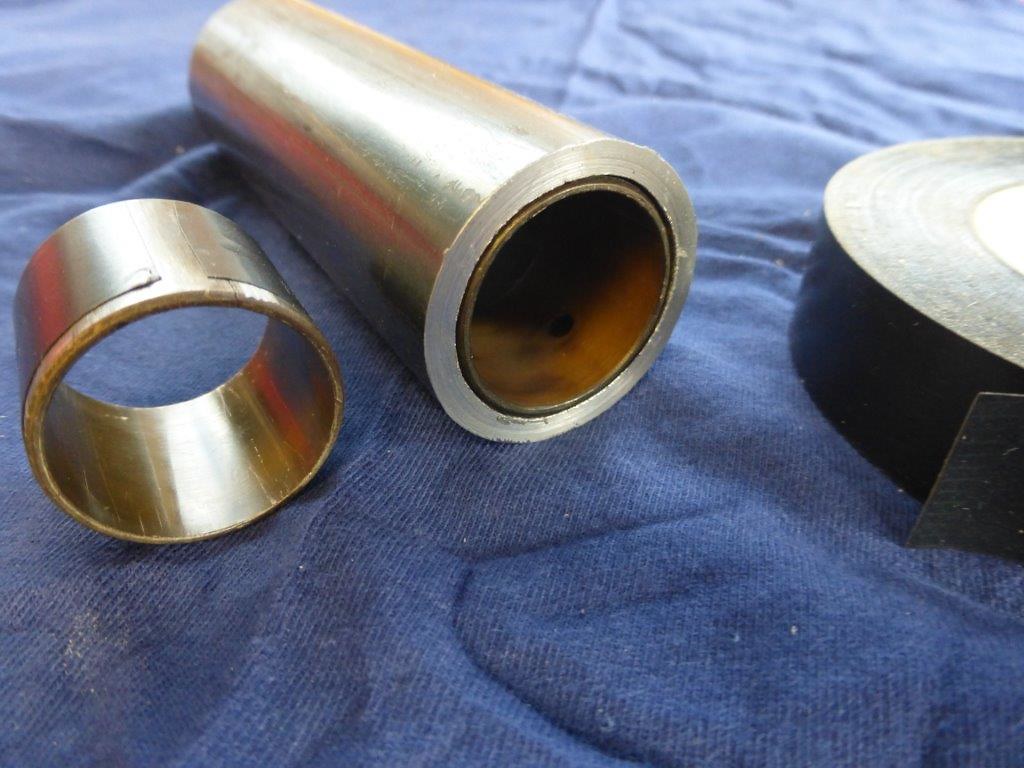
The new bearings went in nicely with the tool, I positioned the split to the side which is the axis of least wear.
 P1050657 by Paul_Barr, on Flickr
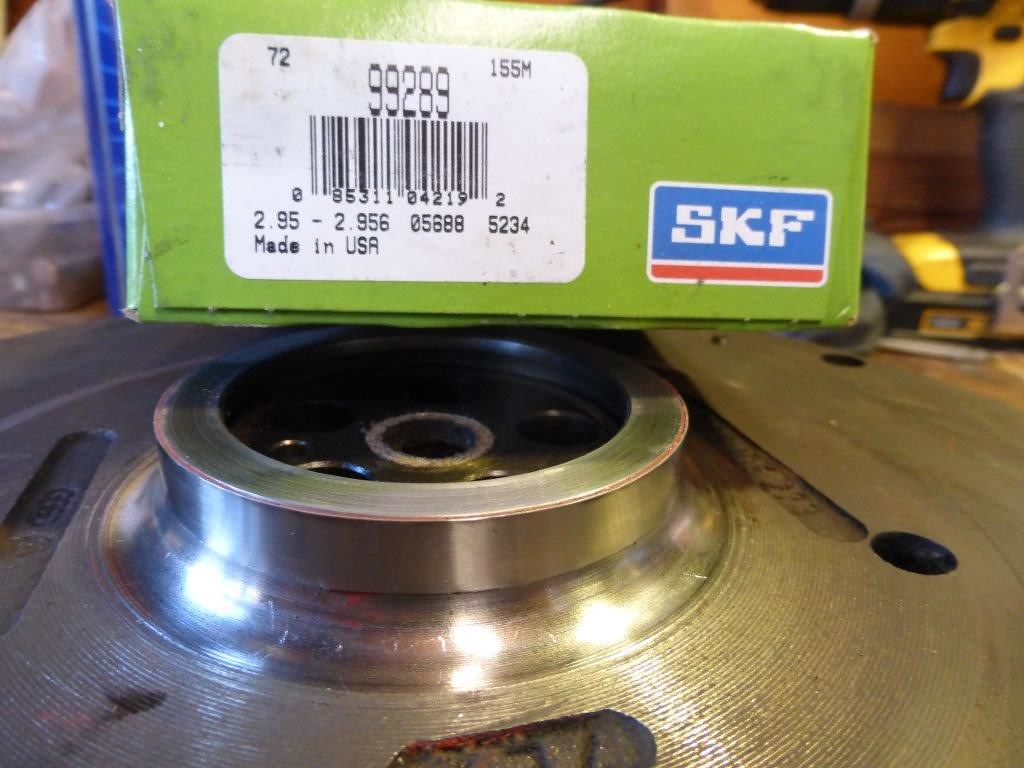
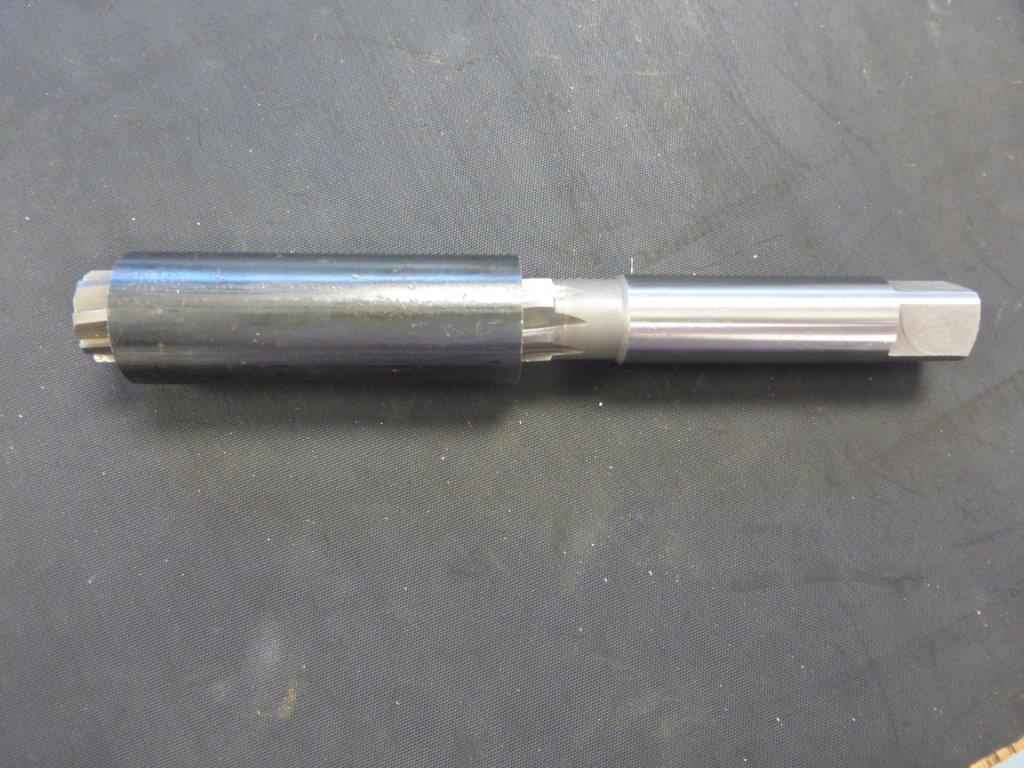
This is a 24mm spiral hand reamer that cost me £25 delivered
 P1050658 by Paul_Barr, on Flickr
I have read It is most important to get the hole square to the con rod or more importantly in line with the crank.
With such a large reamer and such a short bearing it needs to be held squre.
I looked at the milling machine and lathe I have access to but I really wanted to find a method that anybody could potentially do in their shed.
I also find it's easy to over cook things with machinery.
So after some thought I came up with this method.
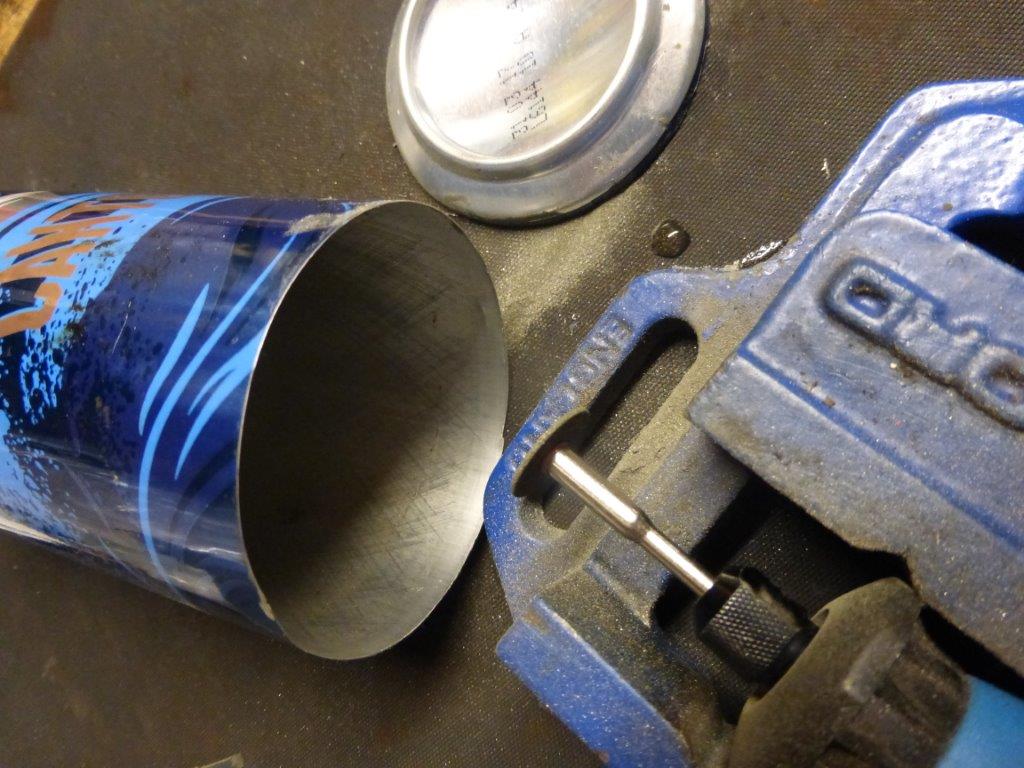
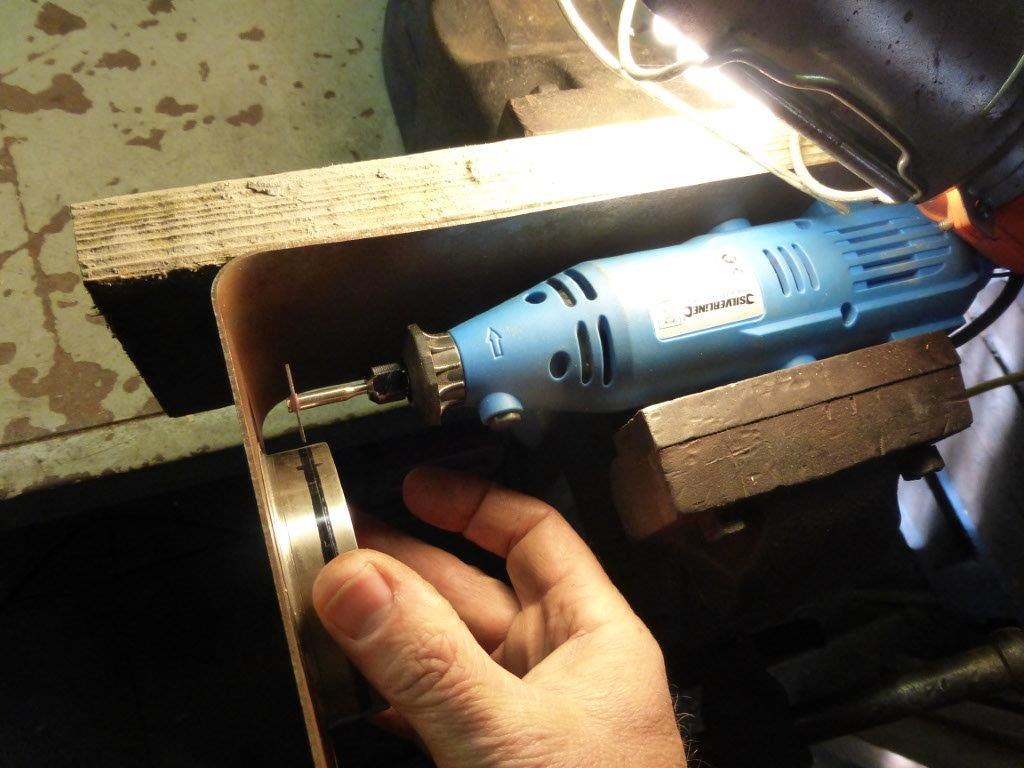
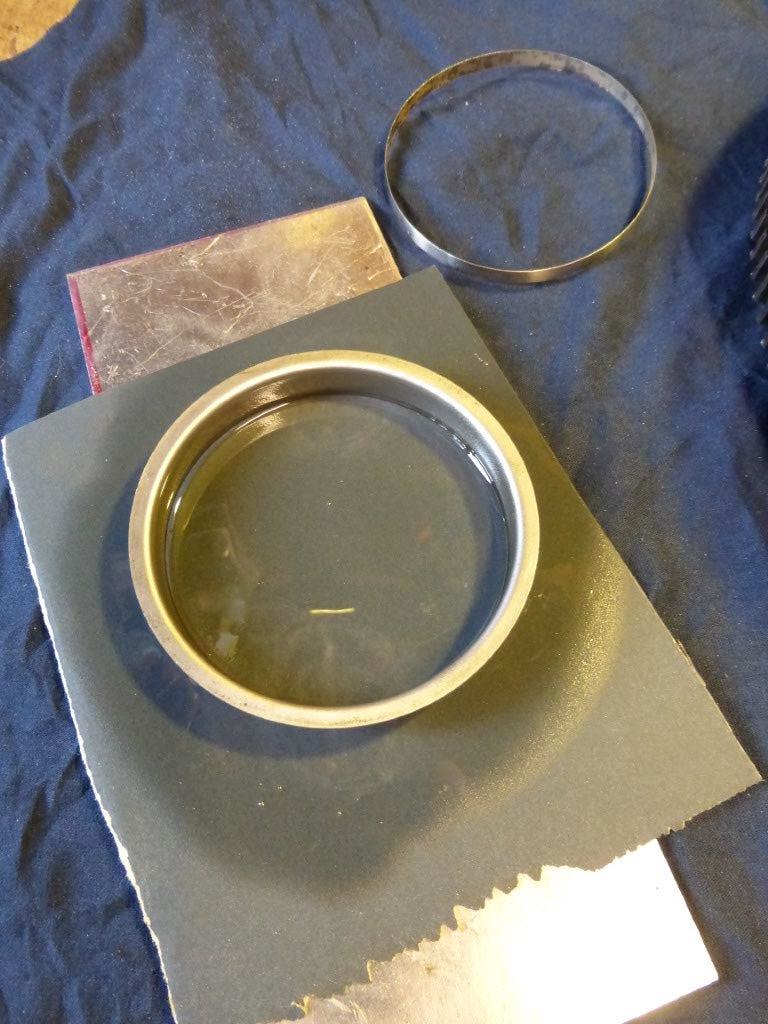
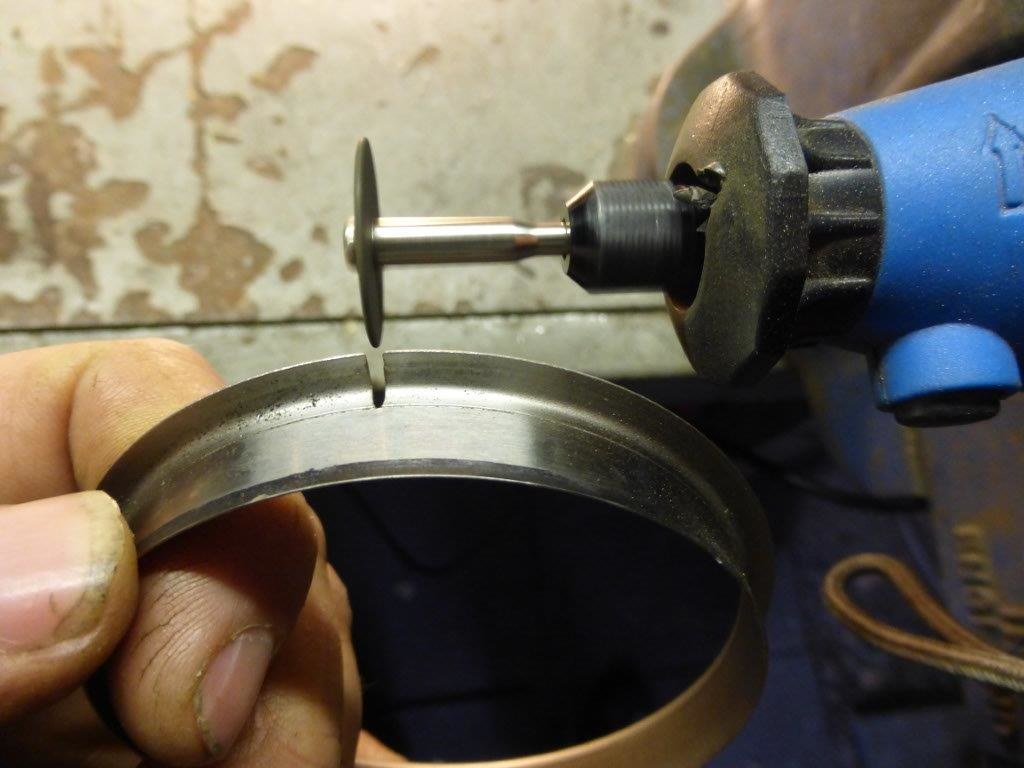
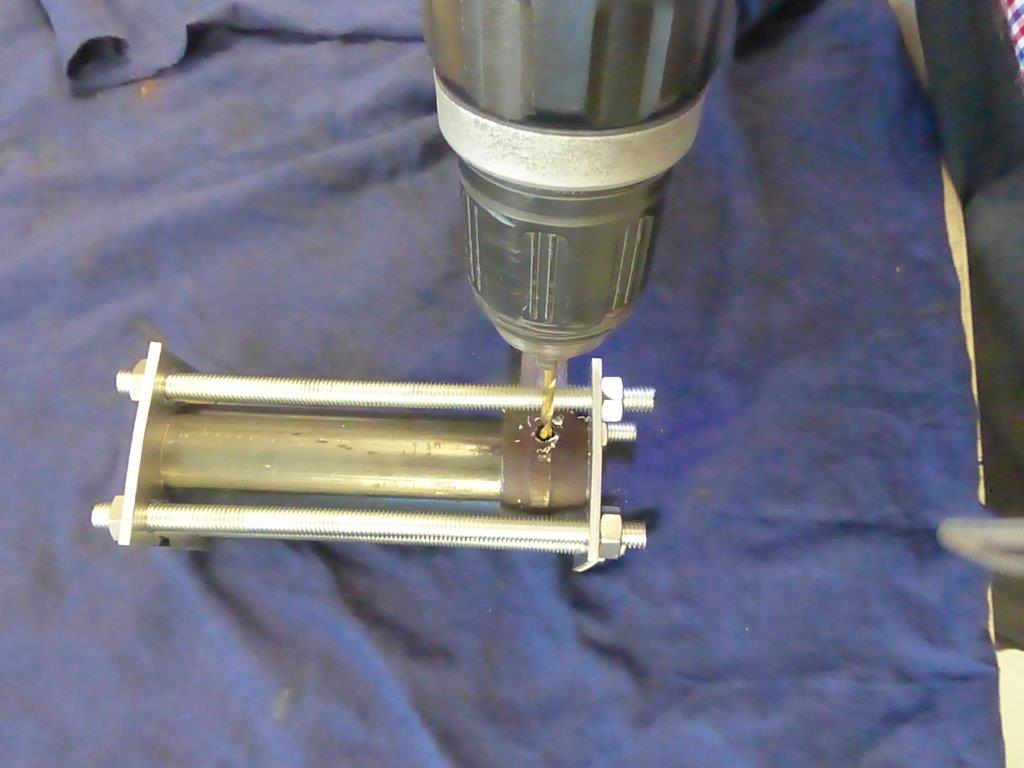
This is a 100mm long piece of 34mm diameter 3mm wall steel tube which is cut square, I did this in a lathe but you could do it in a chop saw with a steel cutting blade or perhaps get some aluminium or plastic tube. The tube was seam welded so I filed out the internal seam with a half round file.
The old bushes just push in the end, I used some electrical tape because they were a slightly loose fit.
 P1050661 by Paul_Barr, on Flickr
This is nice and snug on the reamer and now I have a square shoulder to mate with the con rod, the reamer end is smaller than the bush so fits in nicely keeping it all aligned
 P1050714 by Paul_Barr, on Flickr
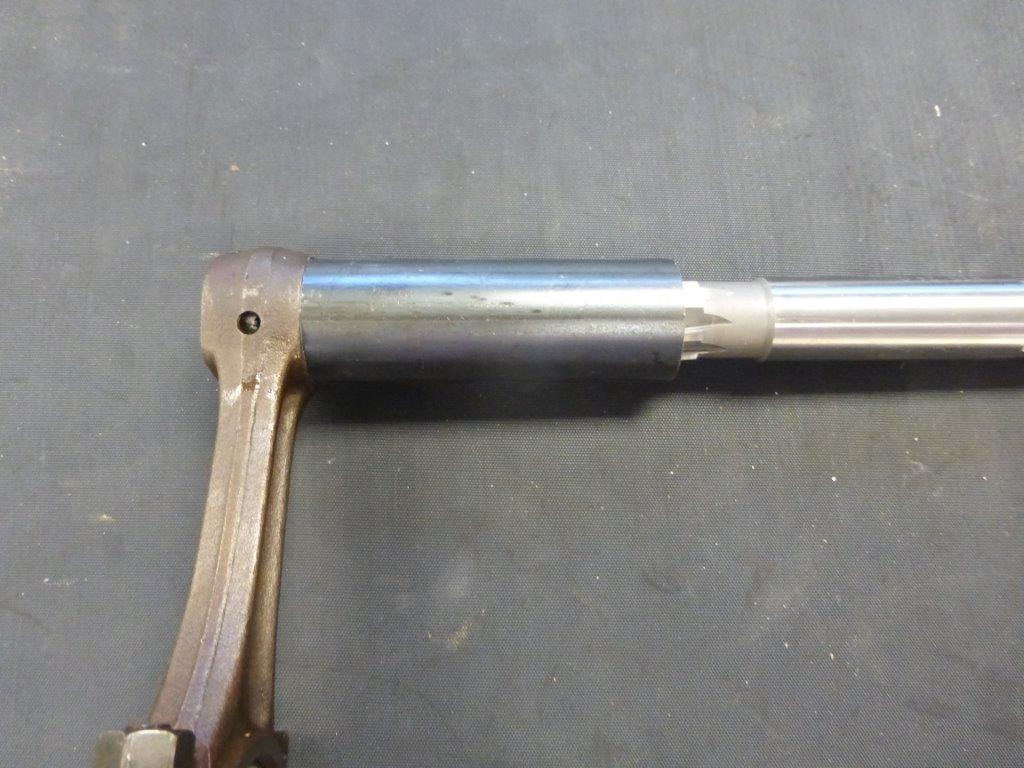 P1050715 by Paul_Barr, on Flickr
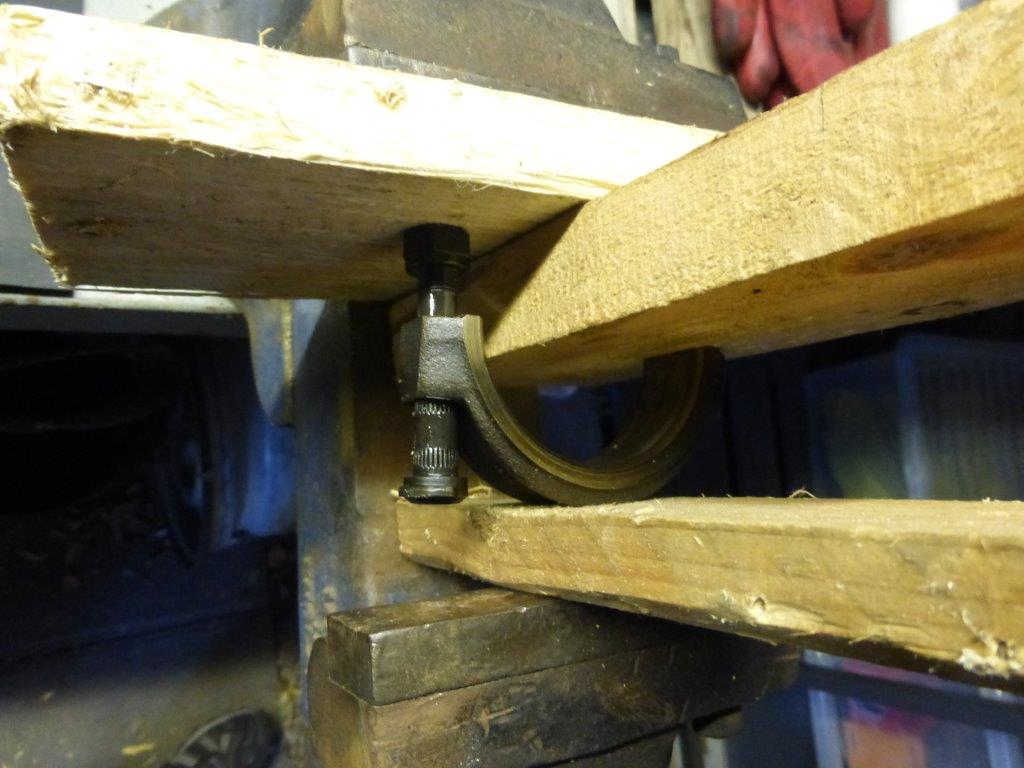
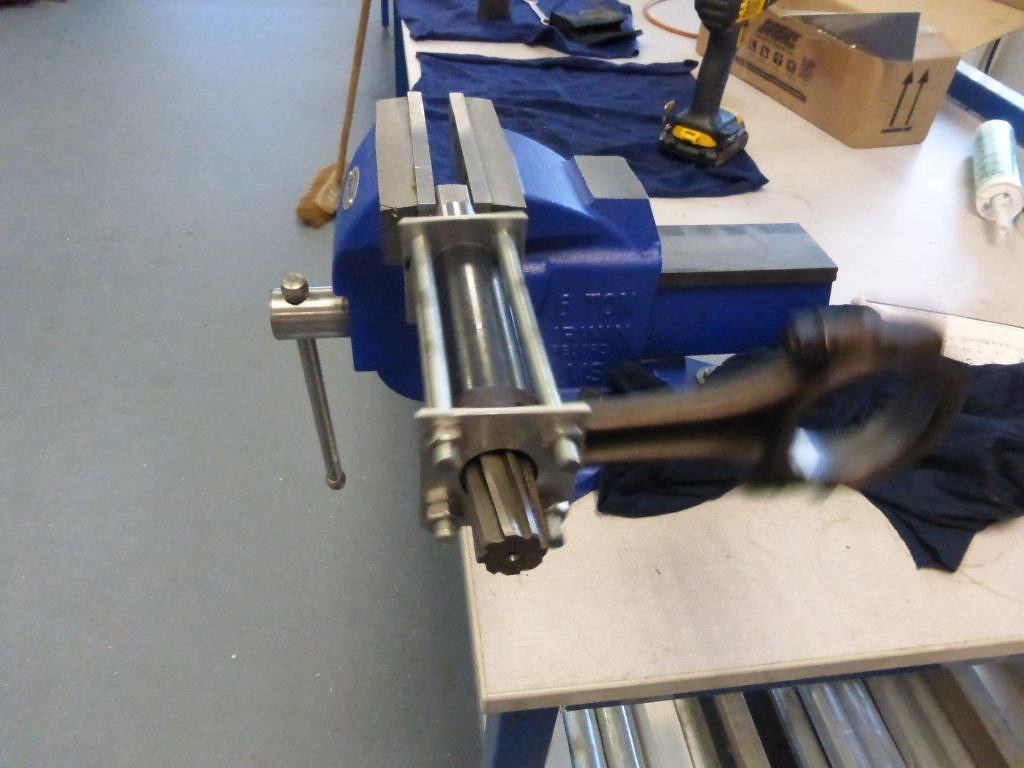
next these need clamping together, I made some plates with holes for the reamer and holes for studding, it's all nice and tight and square.
 P1050716 by Paul_Barr, on Flickr
Reamer held in a vice and then you can turn the con rod, far easier than turning the reamer ( trust me I tried)
I used oil for the initial cut then removed it for the final ream.
 P1050721 by Paul_Barr, on Flickr
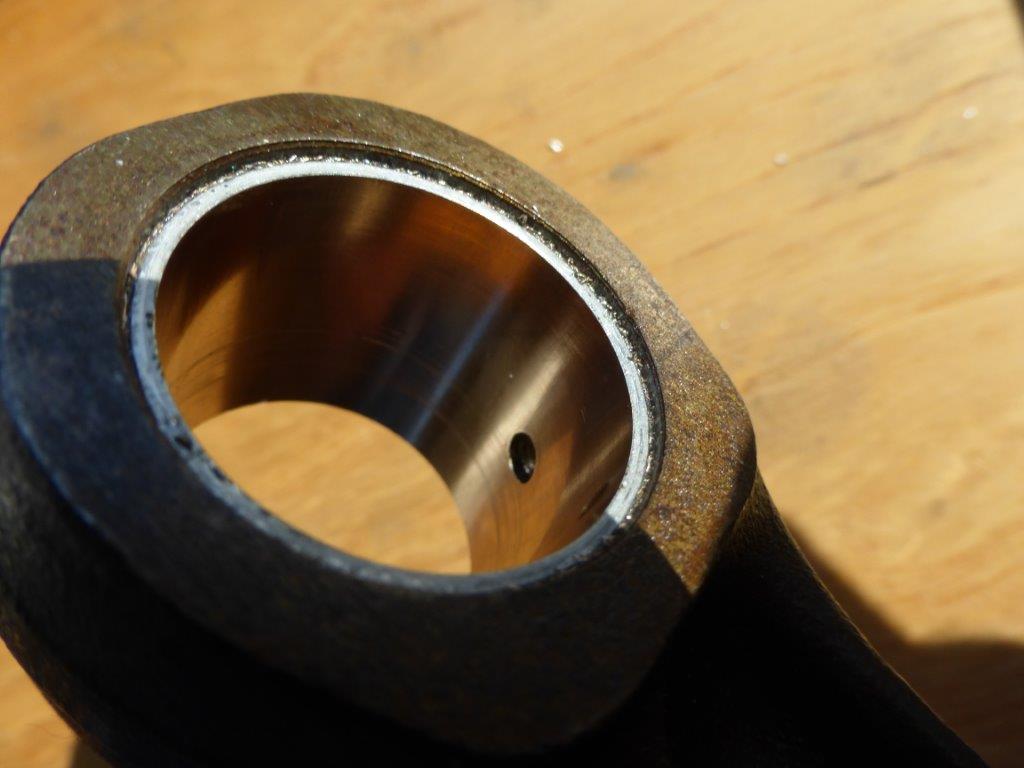
Once it was turning pretty freely I removed it from the reamer and checked the pin, way too tight
I drilled the oil holes and put it back.
 P1050722 by Paul_Barr, on Flickr
I found that I have to continue rotating the con rod many times until it would spin a few turns on the reamer with one shove, then it was right.
 P1050724 by Paul_Barr, on Flickr
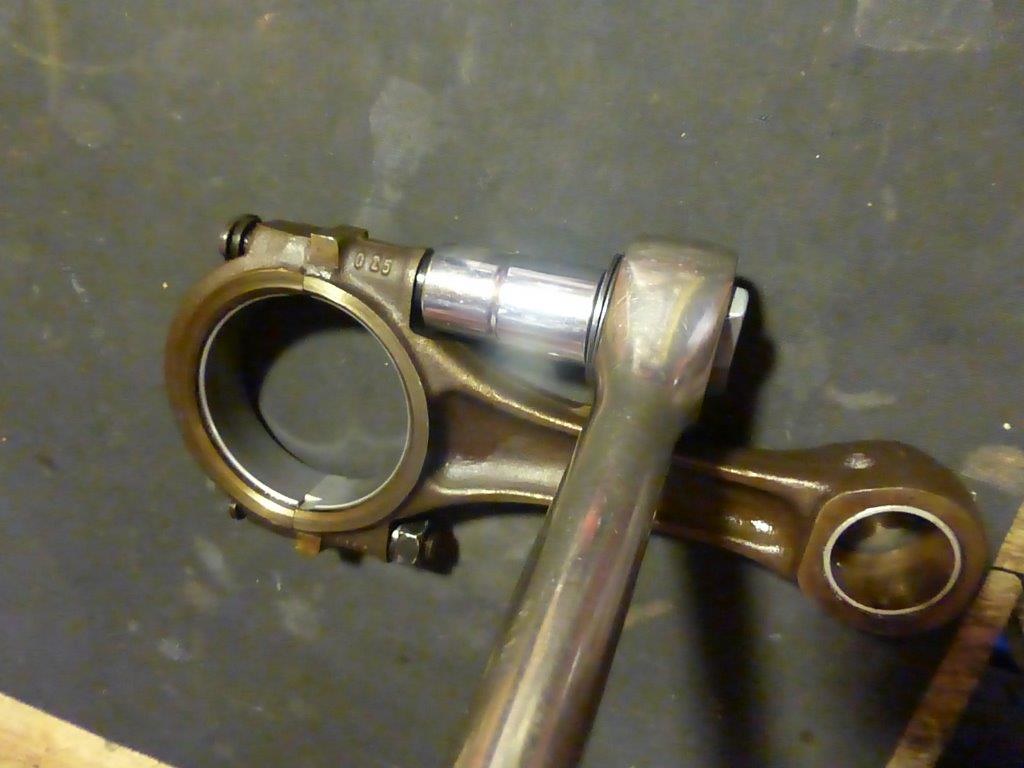
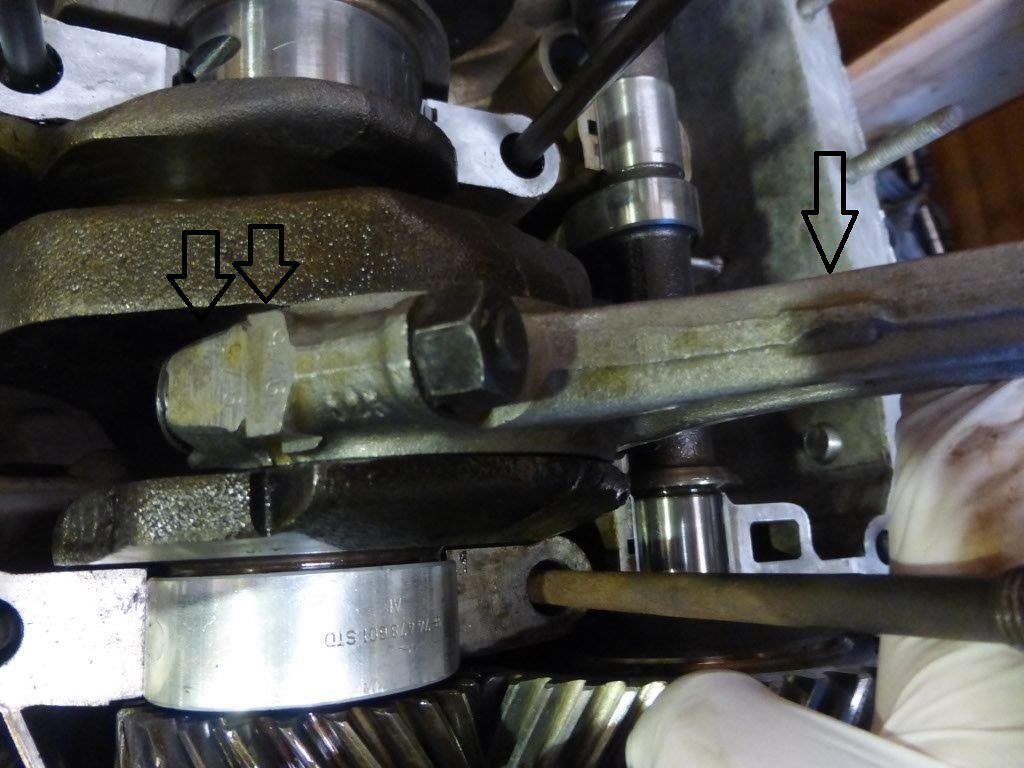
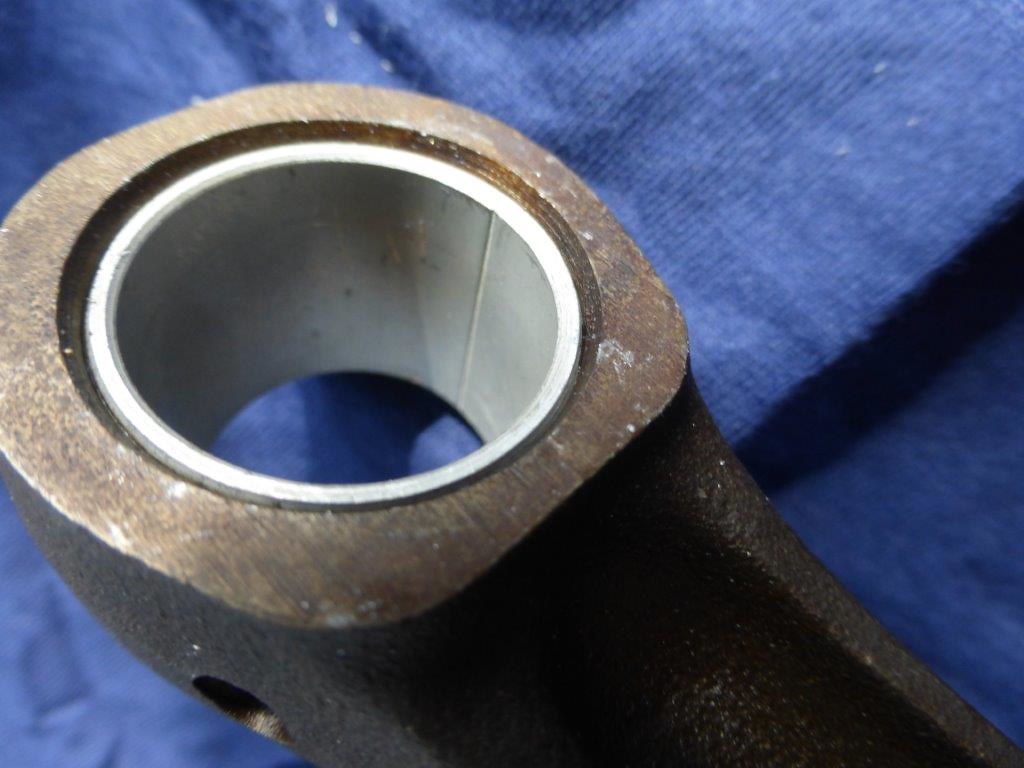
I'm very happy with the result, it looks almost as good as the VW con rods, no play and smooth sliding of the pin
Just need to remove the sharp edges from the clamping plates and studding so I don't cut my fingers for the next 3 con rods
 P1050726 by Paul_Barr, on Flickr
The old ones have worn little ends and stretch bolts that need replacing
I have new but I wanted to learn how to refurbish these because sooner or later there will be no more new VW.
I previously made a tool to press the old bearings out and press the new ones in.
I'm lucky to have access to a lathe but I thing you could carefully hacksaw the old ones out with a junior hacksaw and press the new ones in with a vice, they need to be just under flush so to do that would need an old bearing filed to a flat edge for the last bit of push.
http://forum.club8090.co.uk/viewtopic.p ... 0#p8159745" onclick="window.open(this.href);return false;
The new bearings went in nicely with the tool, I positioned the split to the side which is the axis of least wear.
P1050657 by Paul_Barr, on FlickrThis is a 24mm spiral hand reamer that cost me £25 delivered
P1050658 by Paul_Barr, on FlickrI have read It is most important to get the hole square to the con rod or more importantly in line with the crank.
With such a large reamer and such a short bearing it needs to be held squre.
I looked at the milling machine and lathe I have access to but I really wanted to find a method that anybody could potentially do in their shed.
I also find it's easy to over cook things with machinery.
So after some thought I came up with this method.
This is a 100mm long piece of 34mm diameter 3mm wall steel tube which is cut square, I did this in a lathe but you could do it in a chop saw with a steel cutting blade or perhaps get some aluminium or plastic tube. The tube was seam welded so I filed out the internal seam with a half round file.
The old bushes just push in the end, I used some electrical tape because they were a slightly loose fit.
P1050661 by Paul_Barr, on FlickrThis is nice and snug on the reamer and now I have a square shoulder to mate with the con rod, the reamer end is smaller than the bush so fits in nicely keeping it all aligned
P1050714 by Paul_Barr, on FlickrP1050715 by Paul_Barr, on Flickrnext these need clamping together, I made some plates with holes for the reamer and holes for studding, it's all nice and tight and square.
P1050716 by Paul_Barr, on FlickrReamer held in a vice and then you can turn the con rod, far easier than turning the reamer ( trust me I tried)
I used oil for the initial cut then removed it for the final ream.
P1050721 by Paul_Barr, on FlickrOnce it was turning pretty freely I removed it from the reamer and checked the pin, way too tight
I drilled the oil holes and put it back.
P1050722 by Paul_Barr, on FlickrI found that I have to continue rotating the con rod many times until it would spin a few turns on the reamer with one shove, then it was right.
P1050724 by Paul_Barr, on FlickrI'm very happy with the result, it looks almost as good as the VW con rods, no play and smooth sliding of the pin
Just need to remove the sharp edges from the clamping plates and studding so I don't cut my fingers for the next 3 con rods
P1050726 by Paul_Barr, on Flickr