This isn't in the same league as Neil and Jes's install or Rob's but is another way of doing things:
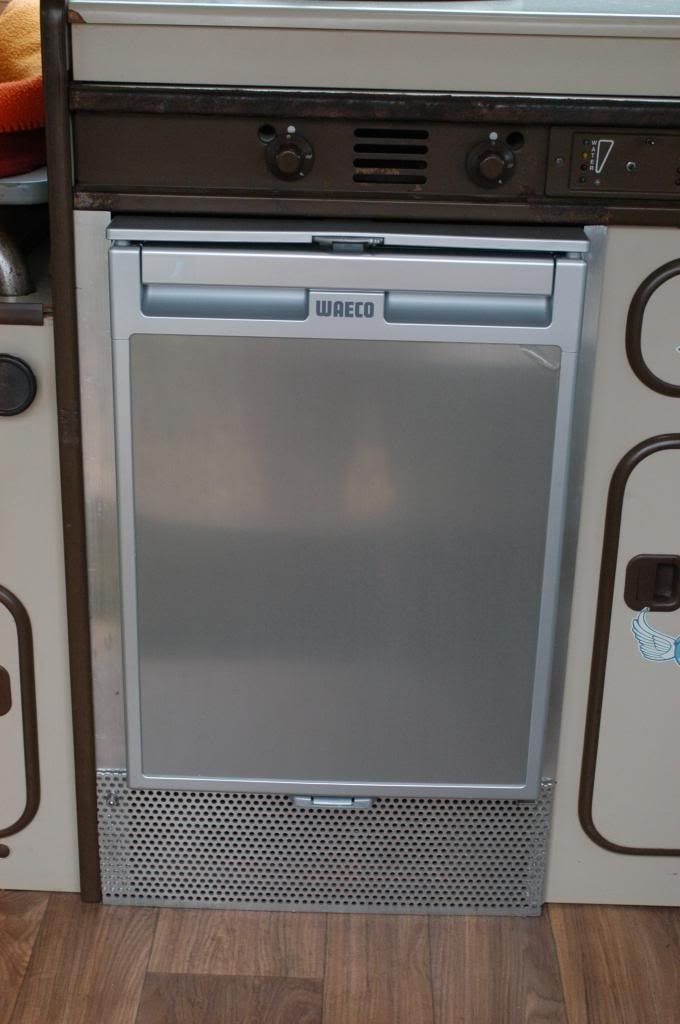
The aluminium angle at the side is what I had lying around as is the mesh at the bottom. I like the look because it matches the Waeco rather than trying to find something that matches the early westy brown.
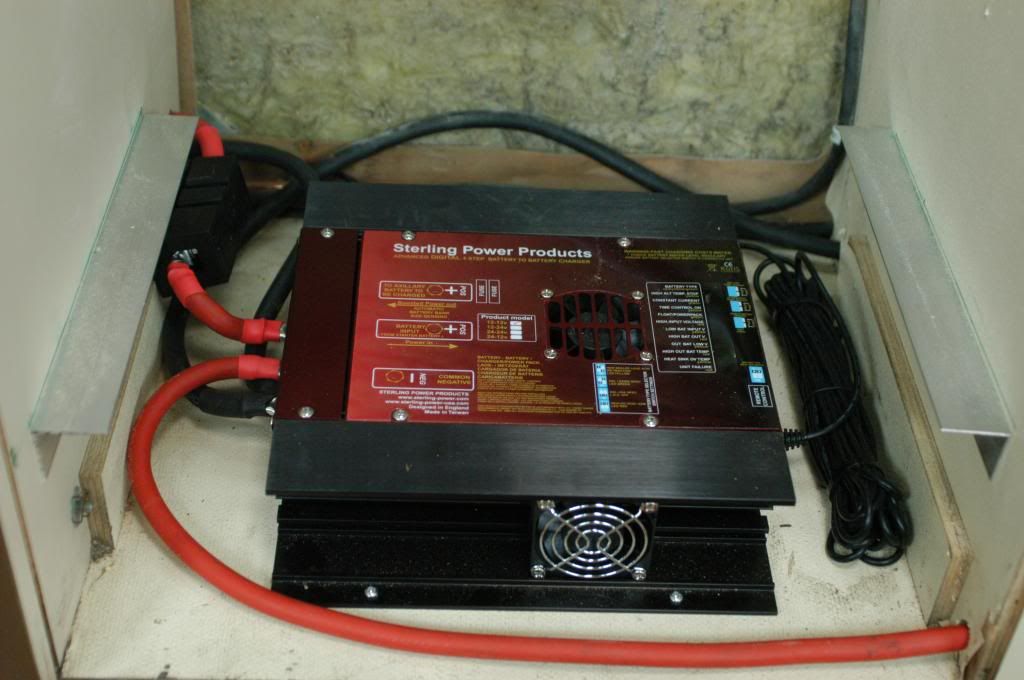
Underneath the fridge is the Sterling which is why the aluminium mesh is there to allow for air flow:
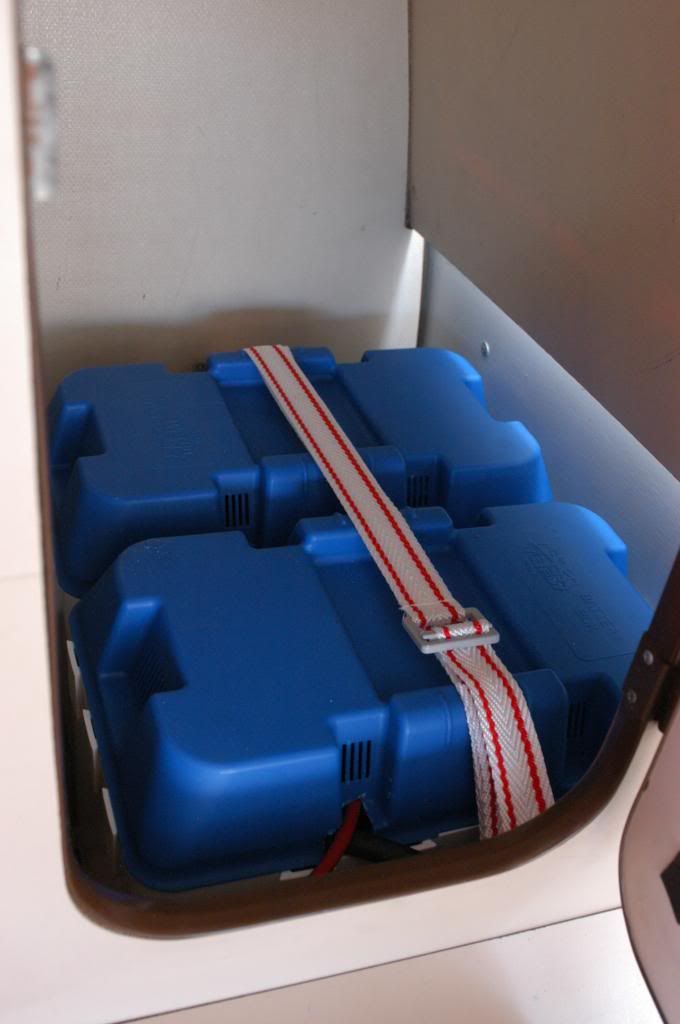
Two 80amp batteries in the bottom of the wardrobe - we chose this because its an area that just gets cluttered up with junk otherwise. You can just see that the two battery boxes clip together.

Then lids on to keep everything insulated and strapped down. A wooden shelf will go over the top of these cut to fit the space. I'm going to do this with a cardboard template as its not a very regular shape.
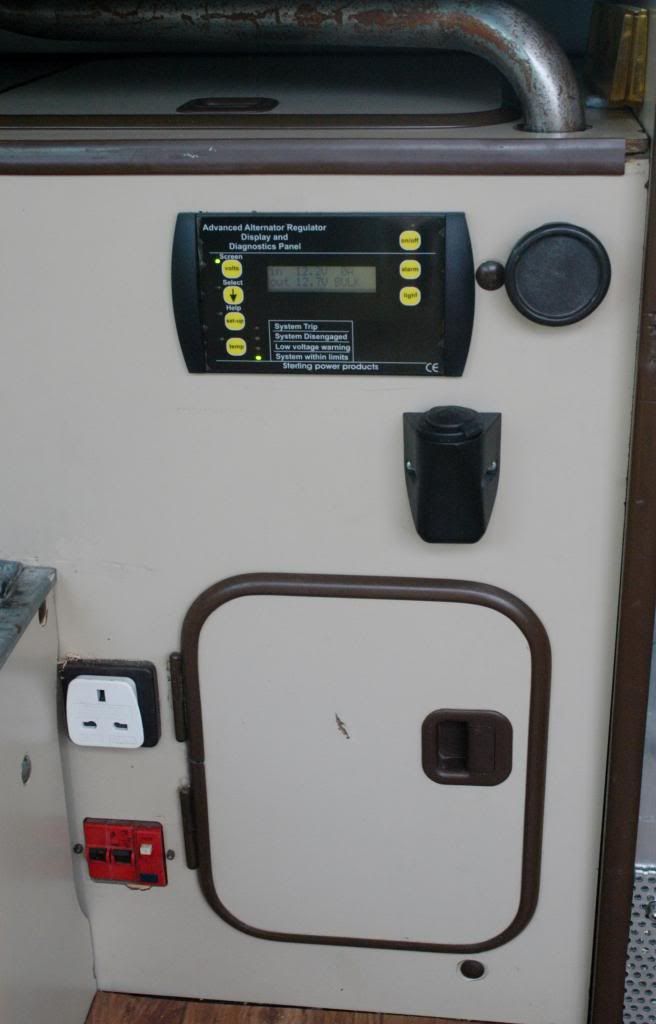
Sterling remote control was needed as the unit is out of sight most of the time. It fitted quite well here:
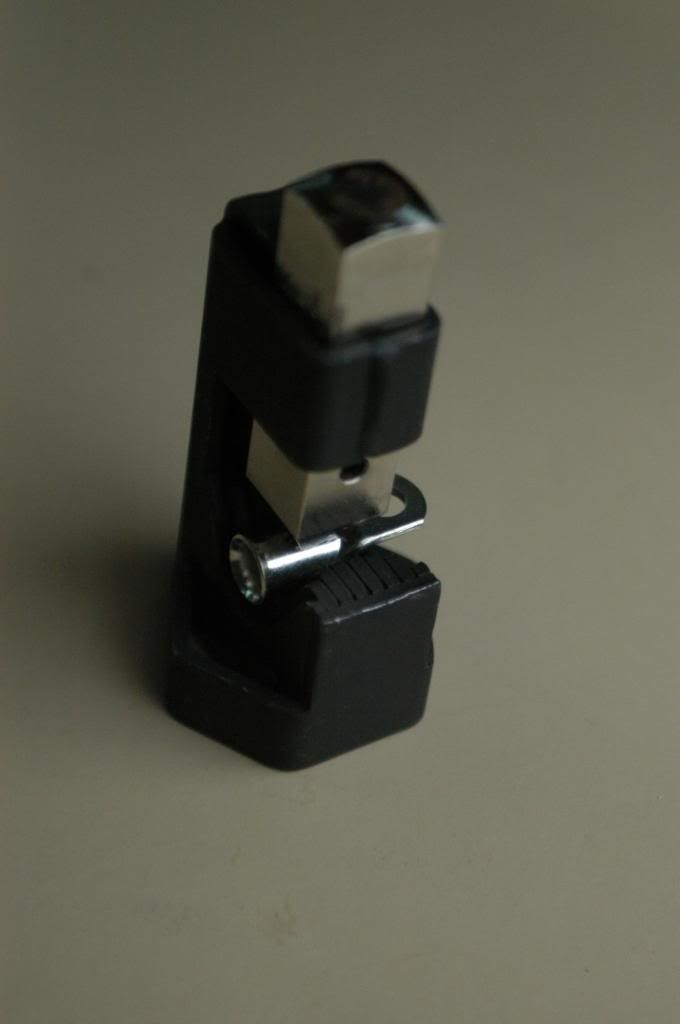
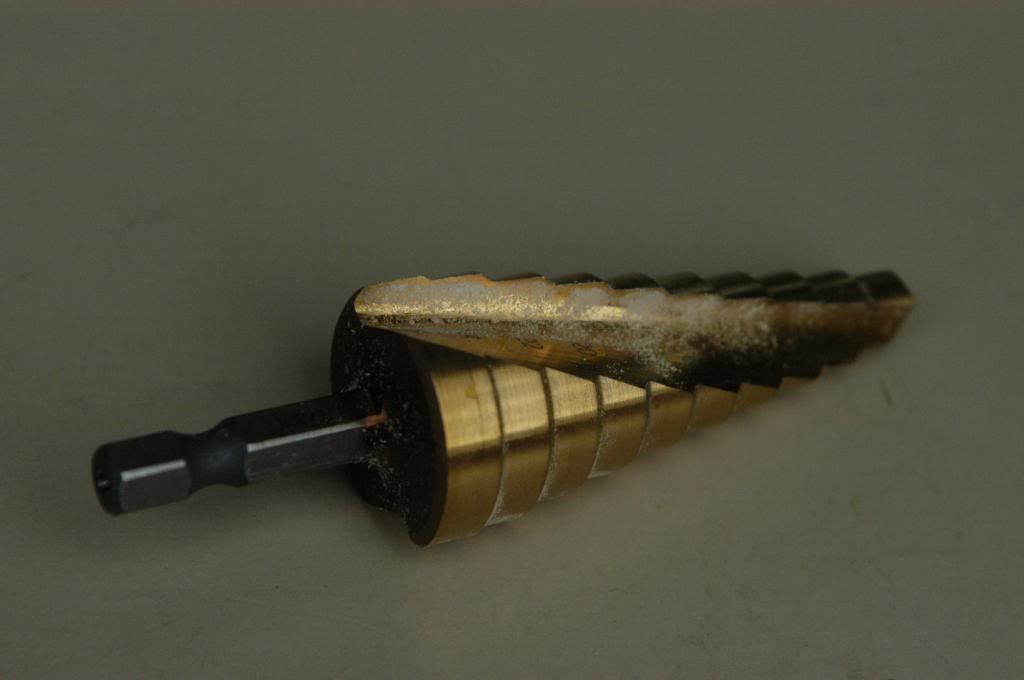
Two really useful tools:
The cheap crimp tool that I got (about £20 delivered) - works a treat
and a step drill bit which helped make sure I could drill big enough holes to get grommets in where the HD cable runs through steel panels.
Overall I'm quite pleased with the look of it and I've learnt a bit through installing the Sterling. The whole set up works well and the Waeco is as good as everyone says. I'm struck by what Neil said about having the fridge lower down and being able to get it further back into the recess. When I've got a bit more time I might see how it works swapping the fridge and Sterling around.


