Hi All,
I posted a couple of pics in the "What did you do to your T25 today" thread, though thought I would add a fuller post here!
I'm AL, from Swansea in South Wales.
I have been into older VW's since I was a lad with my first car being a Mk1 Golf. 23 years later and I still have that car, albeit it looks a little different (better!) now. I have been going by the name of AL*Mk1 on the Golf forums for years and pretty sure I have seen some the users here on the Mk1 Owners Club forum too?
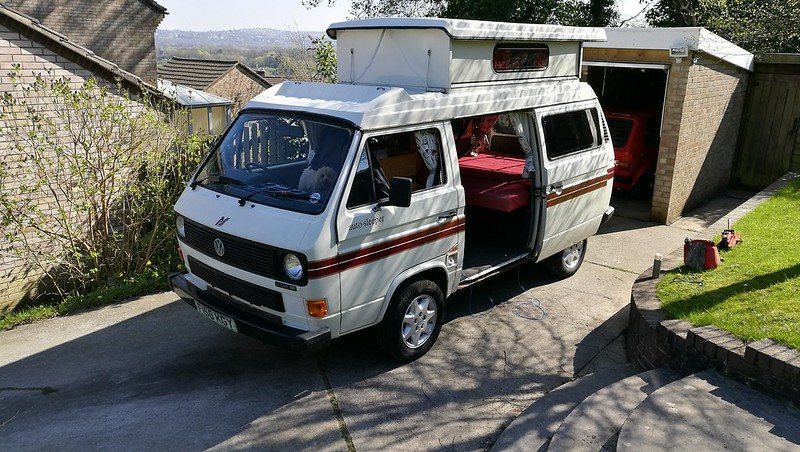
Around 7 weeks ago, I finally gave in and bought a T25. We all (myself, my wife and two sons) had fancied one for quite a while and had looked at a few over the years, but this one was local (ish) and the best we had seen.
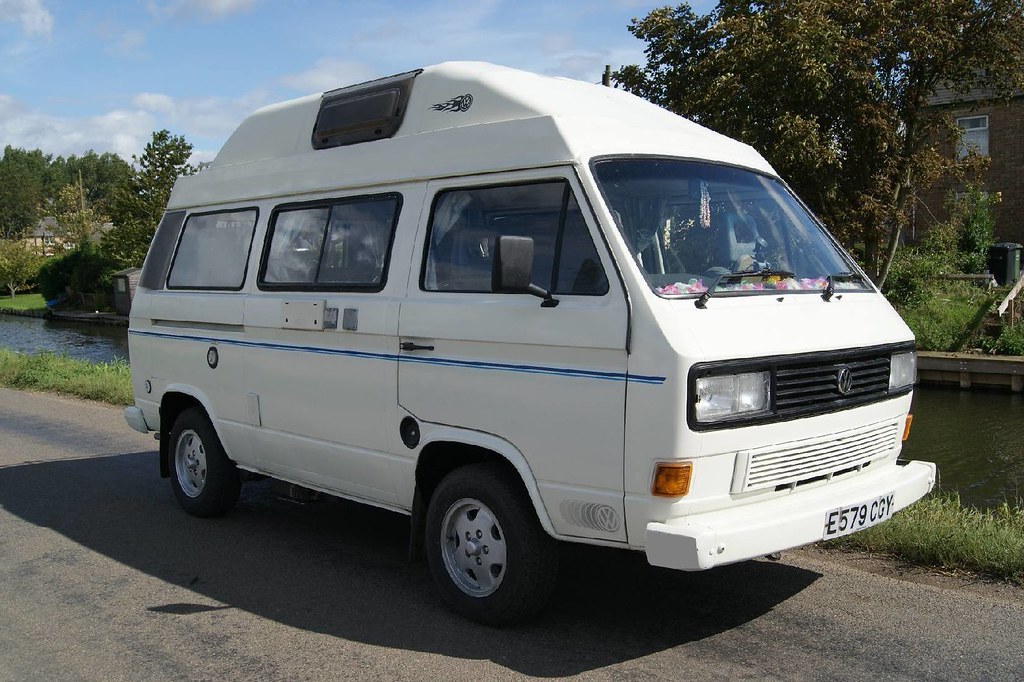
It came in the guise of an Auto Sleeper conversion on a 1988 2.1 injection auto base van.
I don't think the interior is fully original and it also had some (not to my taste) F*rd alloy wheels on it.
 IMG_20170408_151019
 by
www.pix-al.co.uk, on Flickr
Although mostly solid and with a fresh MOT (

), it did have some issues.
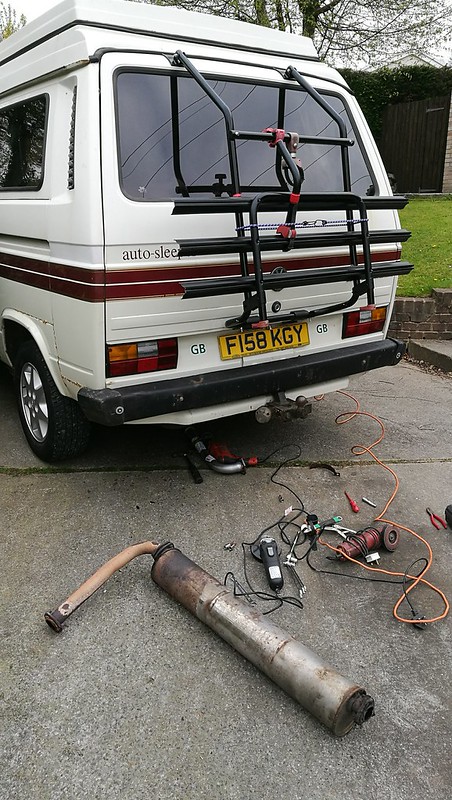
First one I tackled was the exhaust which was blowing a little.
Upon investigation, it was blowing a LOT. No way this should have gone through an MOT!

Both ends of the silencer were knackered. I had to cut it off with a grinder and also the down pipe that connects the silencer to the knuckle.
After looking up replacements and nearly chocking at the cost, I ordered up a new down pipe and decided to "repair" the silencer which involved welding up the holes on one end, chopping off the joint for the tail pipe on the other and then welding on a home made tail pipe from the rescued old downpipe!
 IMG_20170413_145746
 by
www.pix-al.co.uk, on Flickr
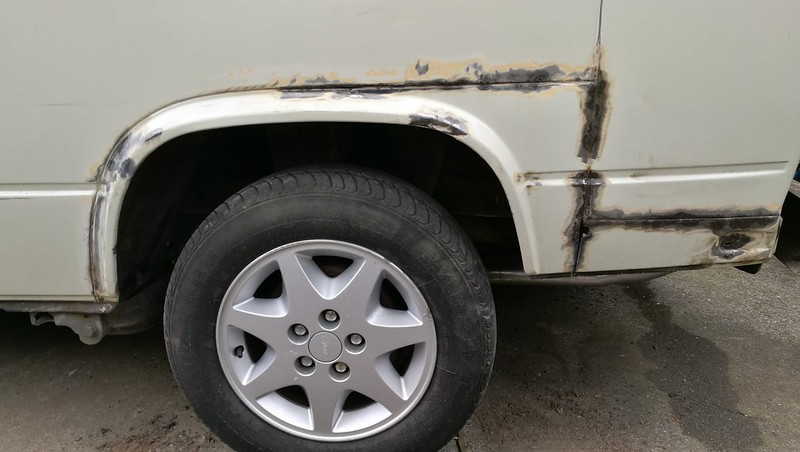
Next I moved on to the seams around the rear.
A little surface rust, but on the whole, not too bad!
 IMG_20170414_105539
 by
www.pix-al.co.uk, on Flickr
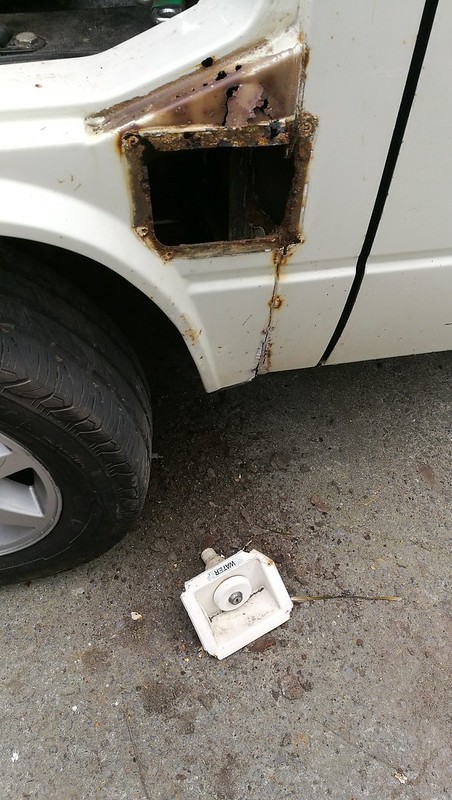
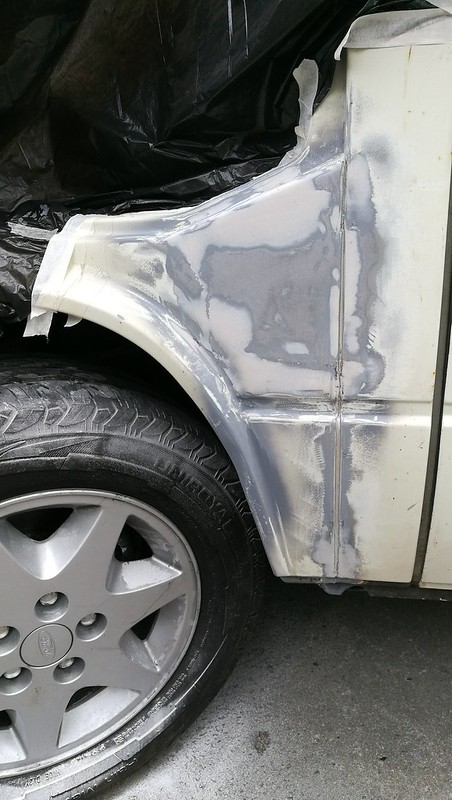
The van would have had an under body water tank at some point, though this was long gone, however the filler point was still there and upon removal, I found this area to be quite bad, so cut it out, made up a repair panel and welded it in.
 IMG_20170414_140443
 by
www.pix-al.co.uk, on Flickr
 IMG_20170416_112228
 by
www.pix-al.co.uk, on Flickr
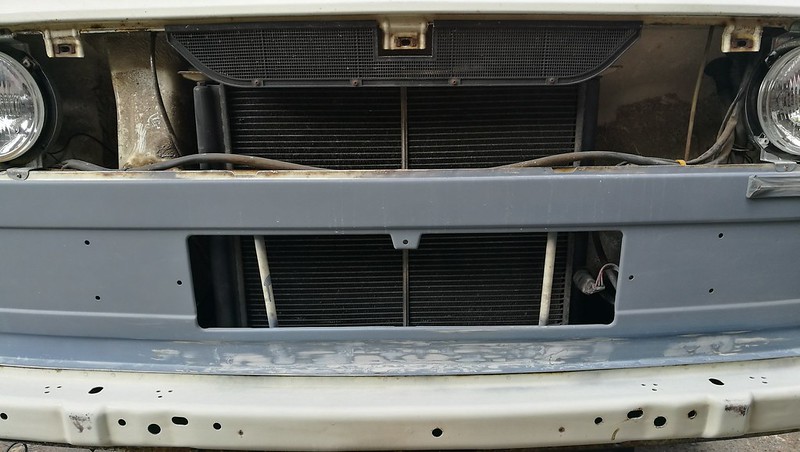
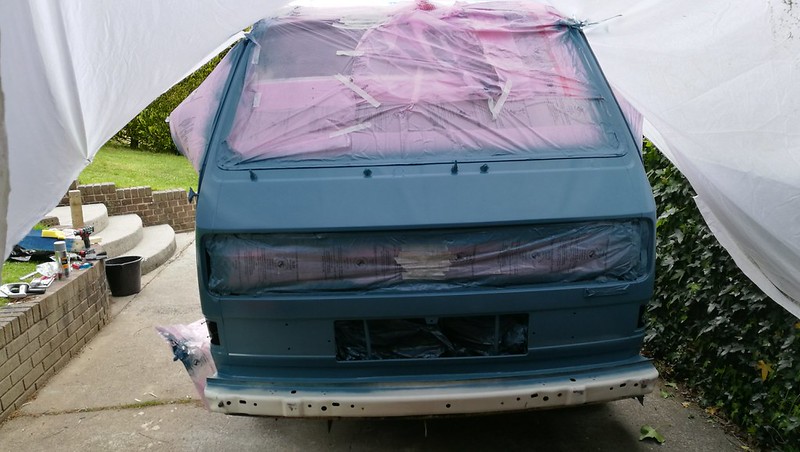
The front panel also had the common rust problem which had been fillered over in the past and as soon as I took a wire cup to it, revealed itself to be worse that I thought.
Affected area was cut out and again, a repair patch made up and welded in. This was trickier than I thought due to the difficulty in accessing with a small grinder, though the end result, while not perfect, is passable.
 IMG_20170502_184420
 by
www.pix-al.co.uk, on Flickr
Once all of the rougher bits were sorted, the van was flatted, primed where necessary and prepared for some paint.
I did think about rustoleum and a roller, though didn't want to spend the time letting paint harden, wet flatting and recoating as we wanted the bus to be presentable to use for the summer.
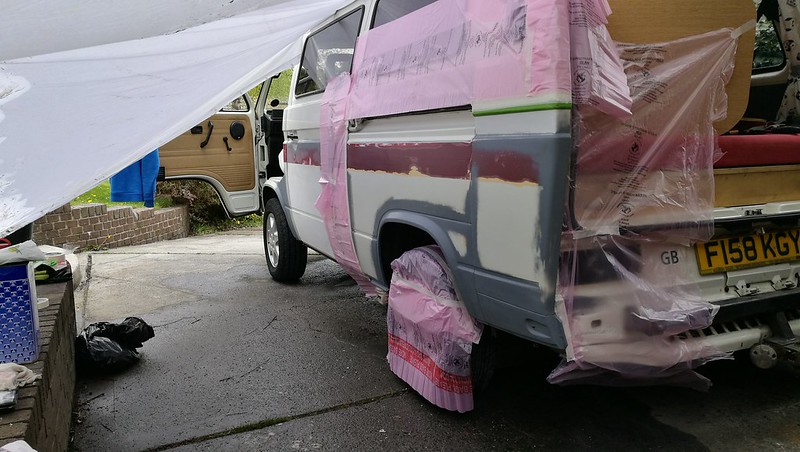
I decided to get some rattle cans from a proper paint supplier and spray it instead. I was going to keep it all white (L90D Pastel White), though my Wife, Amie, decided she preferred as classic two tone look.
We played about in GIMP with a photo of our van and came up with a hue that we liked. as it happens, it wasn't far off a VW colour - L31 Dove Blue (classic Splitty colour).
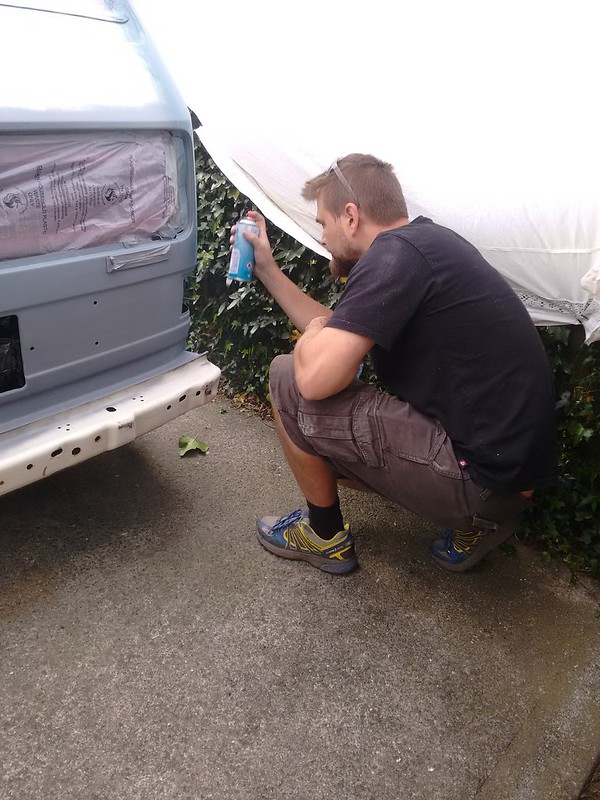
With the decision made, we flatted the lower of the van, little bits of filler/primer where necessary and panel by panel, got the colour on.
 IMG_20170420_140810
 by
www.pix-al.co.uk, on Flickr
 IMG_20170506_160534669
 by
www.pix-al.co.uk, on Flickr
 IMG_20170506_161527
 by
www.pix-al.co.uk, on Flickr
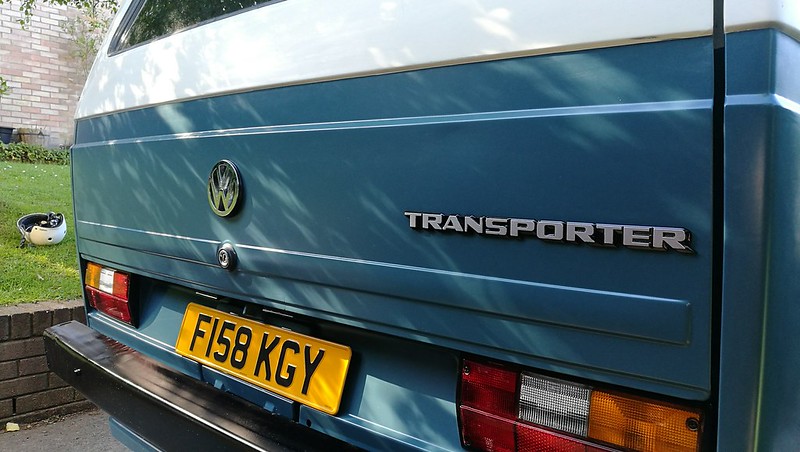
After a few evenings and weekends, it was looking good if I do say so myself!
 IMG_20170526_174813
 by
www.pix-al.co.uk, on Flickr
The paint certainly isn't perfect and looks a bit flat and patchy in certain lights/angles, though I haven't attempted wet flatting and polishing yet. I don't really feel I need to.
On to the wheels.
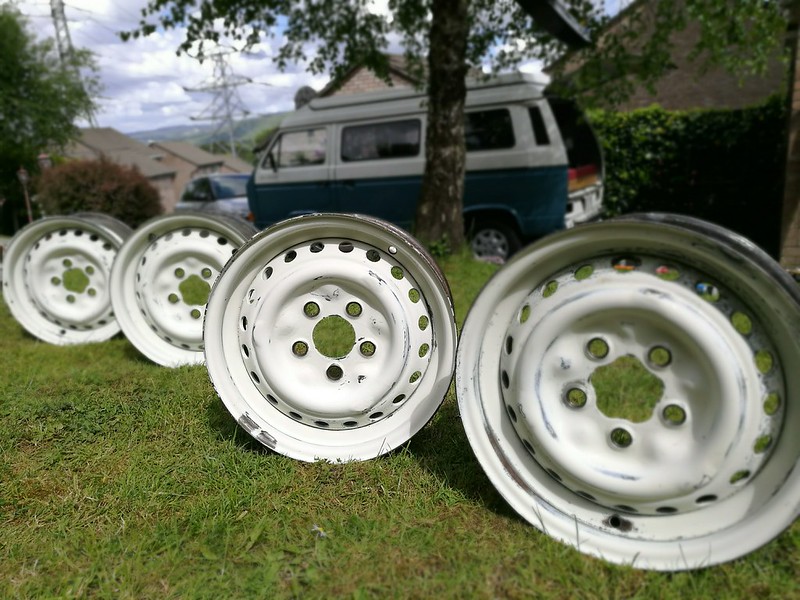
I absolutely had to get the F*rd wheels off. I am a VW lover and they simply wouldn't do!
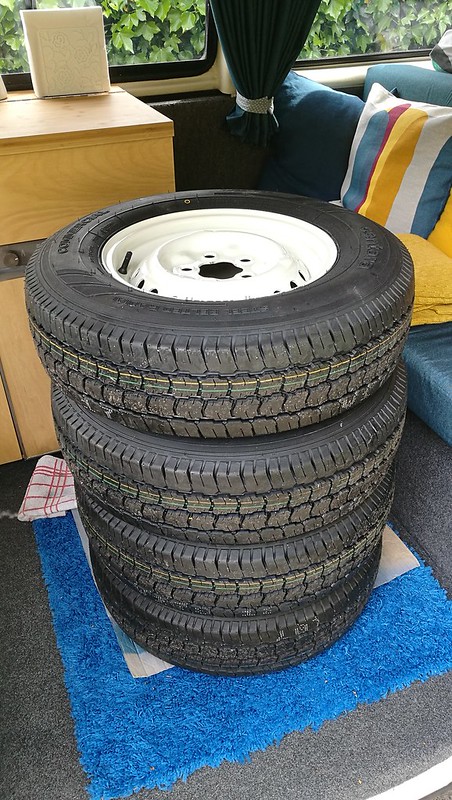
From the start, I knew I wanted original steels and liked the idea of chrome hubcaps. A fairly tidy set of wheels came up a short distance from Work, so I snapped them up and set about cleaning and renovating with a bit of L90D Pastel White to match the top of the bus. Added some new 185r 14C commercial tyres as per standard fitment and was looking forward to getting them on the van, only to be scuppered by the fact that the alloy wheels nuts did not fit the steel wheels!
 IMG_20170514_152646
 by
www.pix-al.co.uk, on Flickr
 IMG_20170528_130947
 by
www.pix-al.co.uk, on Flickr
After ordering some wheel nuts online over the early May bank holiday weekend, I was concerned that I wouldn't get them in time to set off on our first planned camping trip the coming Wednesday of half term.
Add to this the fact that on Monday morning, I spotted something on the driveway that looked like oil. On investigation, it was brake fluid. One of the rear wheel cylinders had sprung a leak!
Grabbed an ATE replacement from GSF on the Tuesday and managed a trouble free swap including full brake bleed over Tuesday evening/Wednesday morning. Phew!

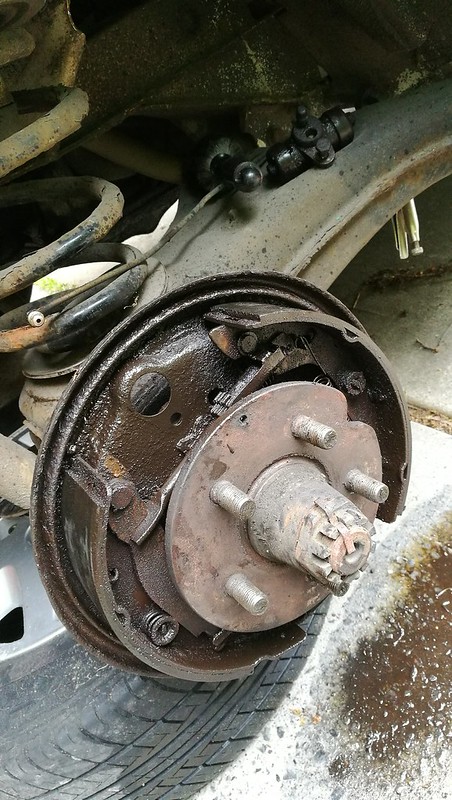 IMG_20170529_153521
 by
www.pix-al.co.uk, on Flickr
Also, on Wednesday morning the wheel nuts arrived. A second lap of the van with the jack and the refurbed steels went on.
A quick wash down and packing of the essentials for our trip and we were on the campsite later that afternoon.
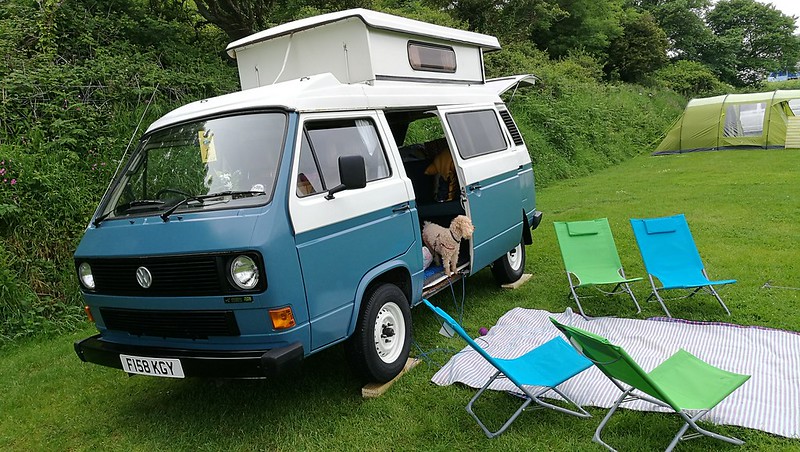 IMG_20170531_180841
 by
www.pix-al.co.uk, on Flickr
Many other jobs were done that I didn't get photos of such as;
Straighten and re paint the bumpers (plus add two new end caps).
Refurb the front grills.
Refurb badges.
Fix pop top hinges - Rivets had broken so needed drilling out and re-rivetting.
Reupholster the rock'n'roll and the load bay cushion and make new curtains in matching material.
Rework the kitchen unit as we wanted to add a sink and fresh and waste water containers.
New, pressed number plates.
Already got a list of other jobs that need doing:
Front steps need some repair.
Re-paint the top half to freshen up the white.
I'd like to change the front seats for something tan leather and retro looking (though don't want to spend a lot!)
Split charge is not connected, so looking at that.
Possibly install some solar panels for onsite charging of the leisure battery.
Front wheel has a permanent squeak. Think it is the brake pads as discs are quite worn, so pads are probably rattling about in the groove they have made. Will change discs pads and bearings in one go I think.
That is about it for now.
I hope you like the project so far! I kind of like the utilitarian look with the steels as they are, so may not bother with the hub caps after all!
AL.


