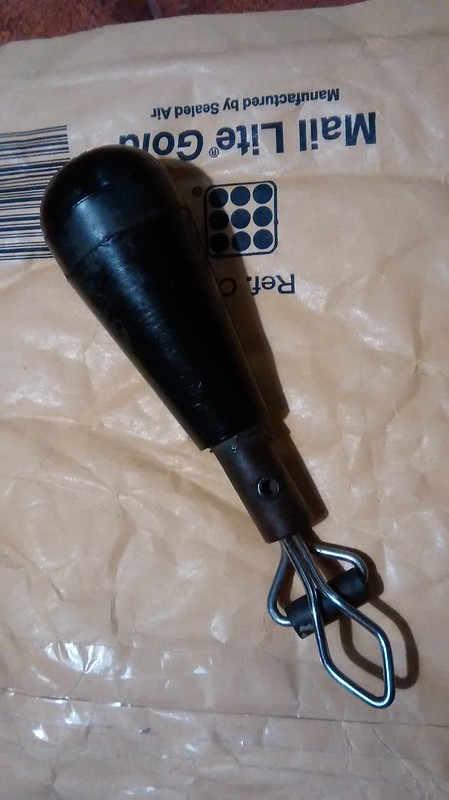
So back to putting it back together. I've borrowed a useful looking tool:
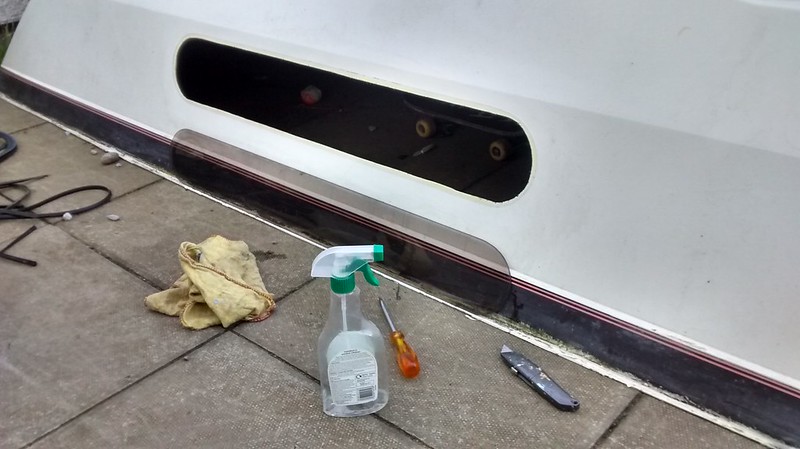
Starting (again) with the sliding door I fitted the seal to the metalwork with some masking tape on the inside to stop it dropping out of place:
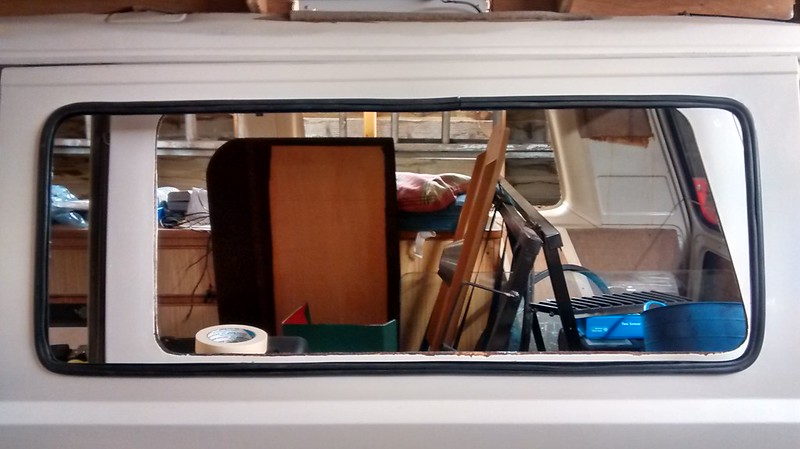
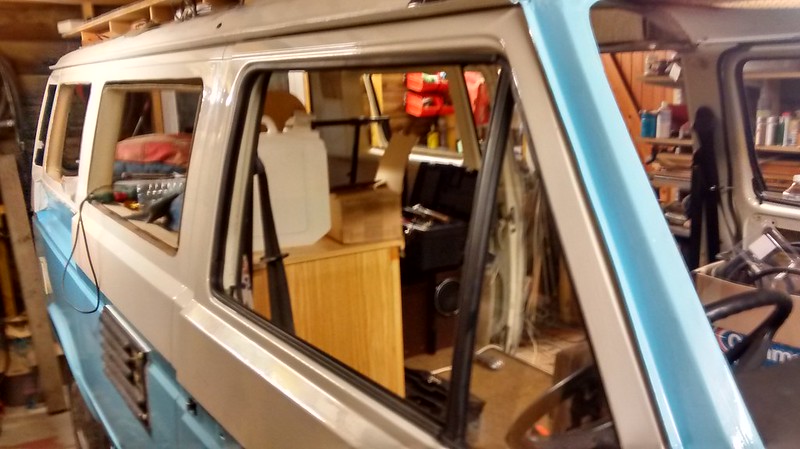
I then fitted the glass, starting with getting the bottom in place and then working around the outside by pushing the rubber from the inside all around. It took quite a long time, and I only managed to do this on my own as I could hold the window from the outside whilst pushing the rubber from the inside. Any other window and I'll certainly need an assistant.
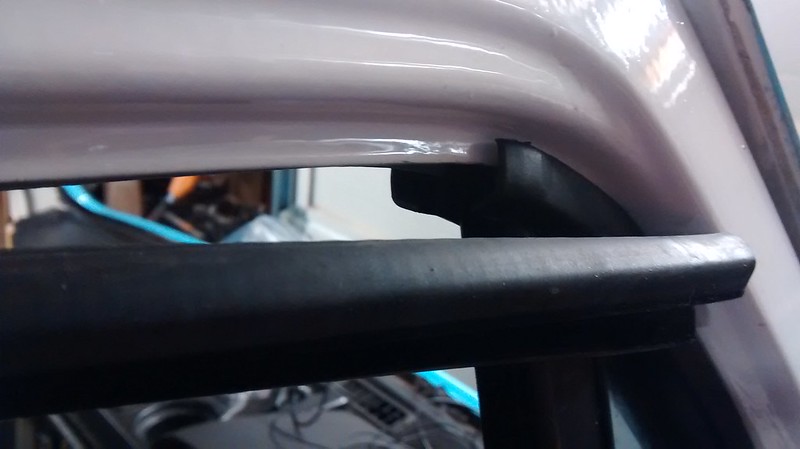
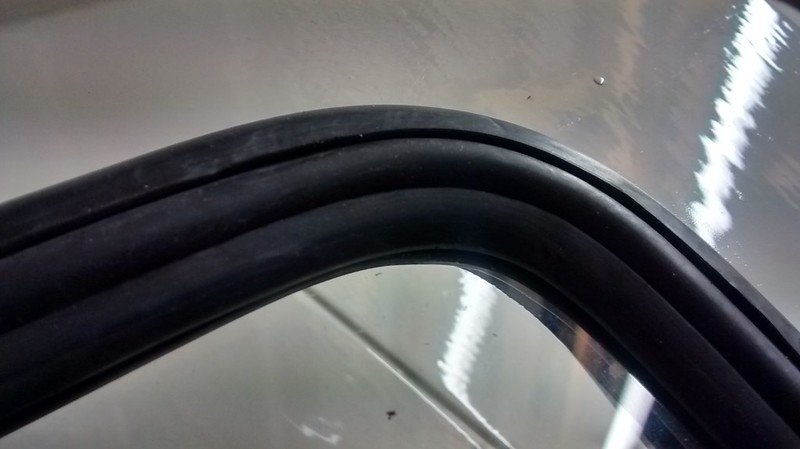
Once it was in place, the special tool comes into action. You basically use it to open up the rubber whilst pushing down with the roller bit and wiggling it along feeding in the strip. It took me a couple of failed attempts before getting the technique, but once you've got it, progress it quite quick.
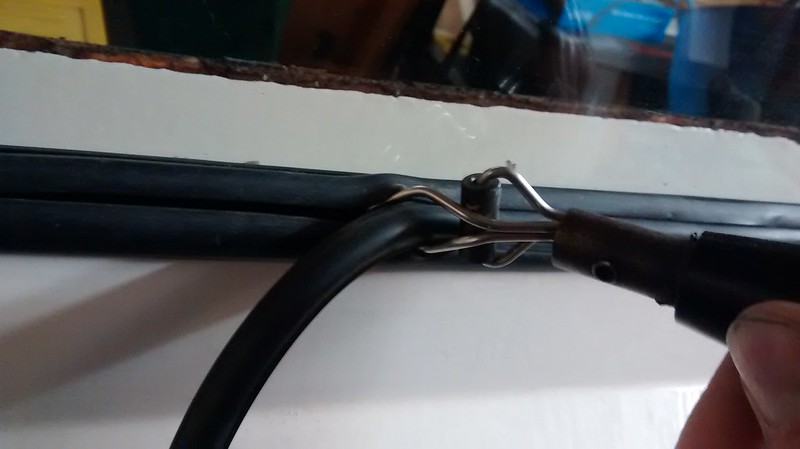
Corners are the hardest:
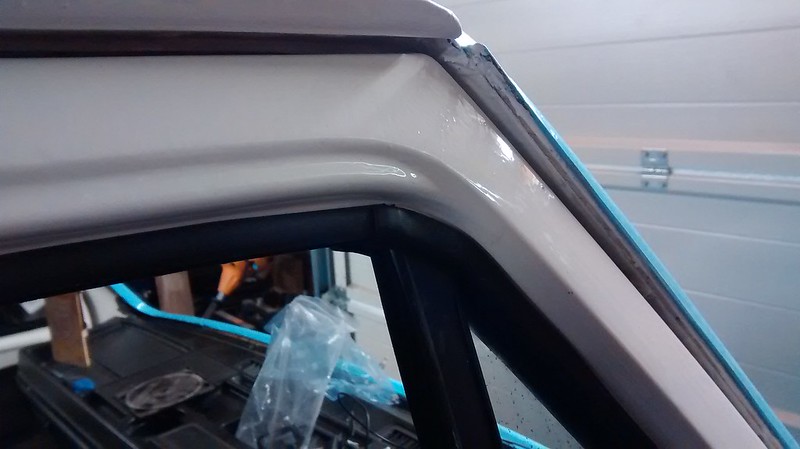
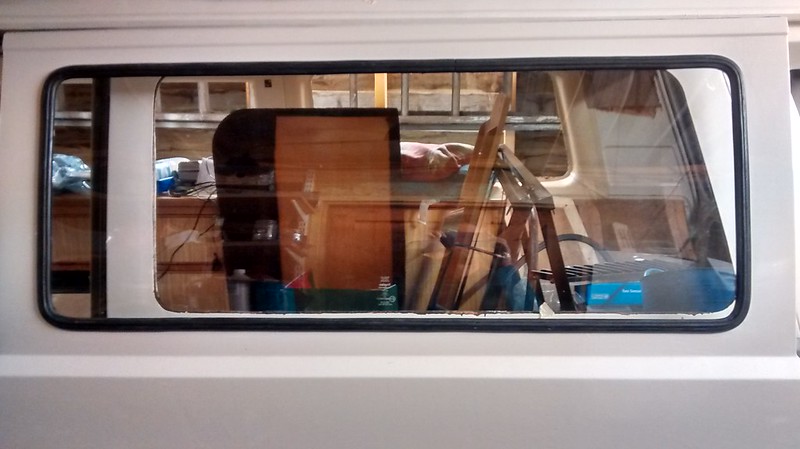
You work all the way around until you get back to where you started:

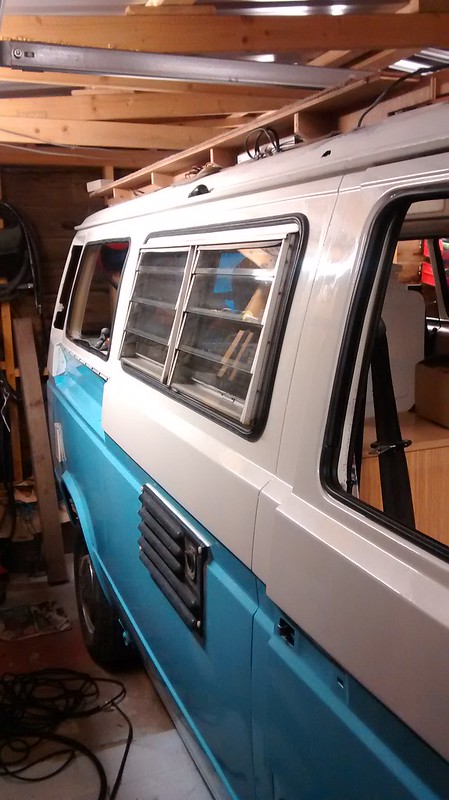
Job done.
I just need to repeat the operation a few more times!