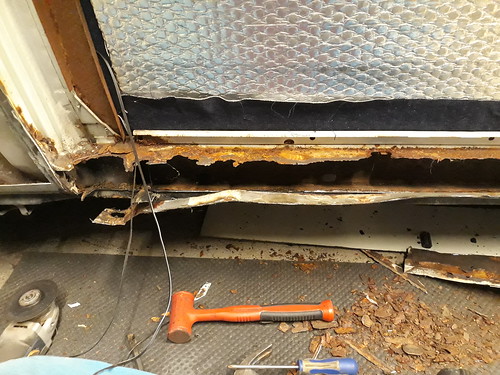
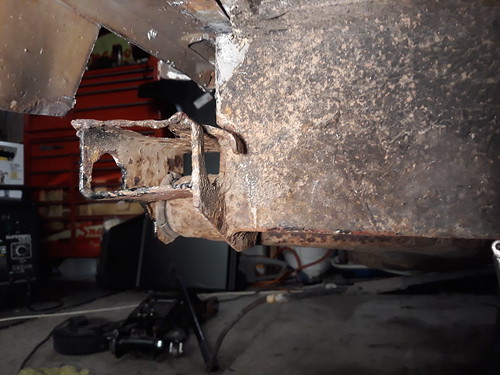
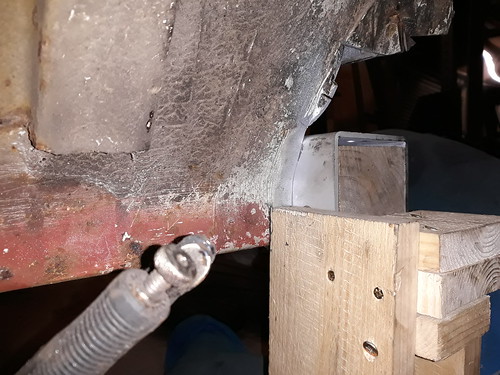
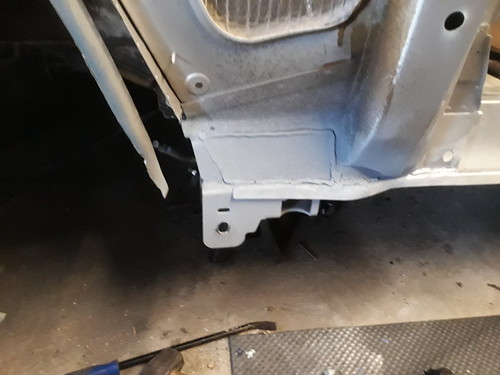
Had a closer look at the inner sill. Here is the inner face of the where the join between the inner and outer sills should be.

From underneath the sill, showing a messily welded area, devoid of protective coating.

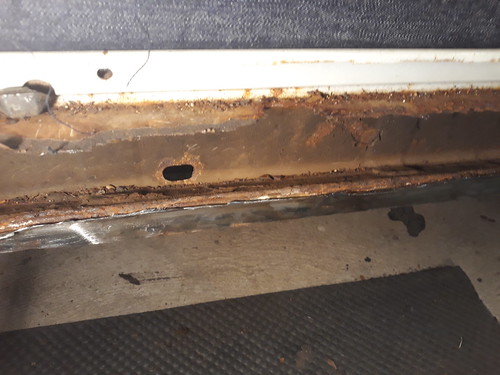
And seen from towards the centre of the underside of the van, looking outwards. I think that is the edge of the welded on plate. (And my thumb...)

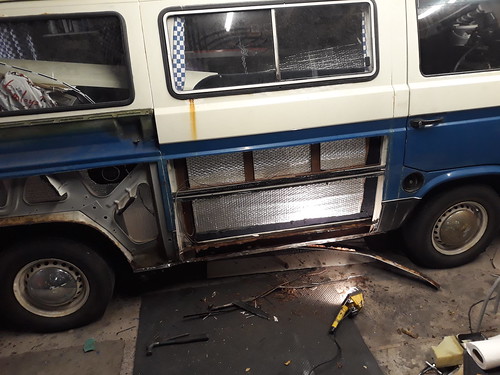
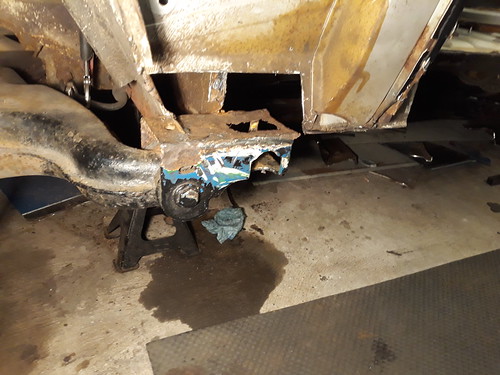
Not much keeping that inner sill, is there. Next to remove the trailing arms, and investigate above the front and rear jacking points. I know the rear JP swing arm mount is only held by a plethora of patches, and the sill above the front JP was filled with polystyrene, and was pretty knacked.
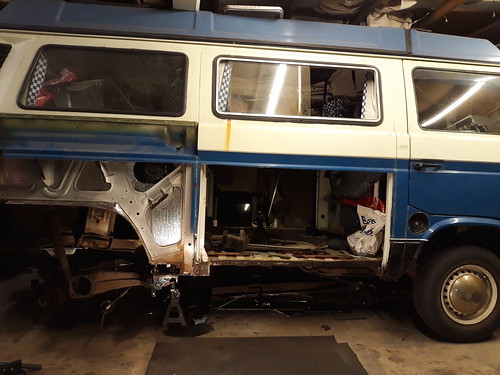
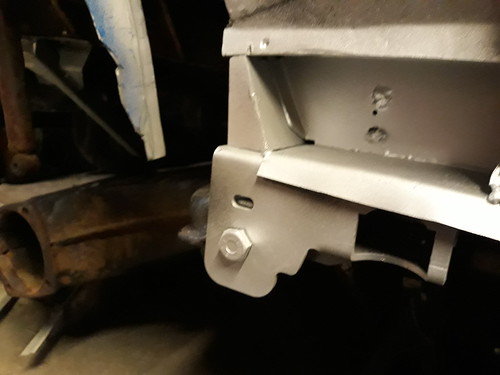
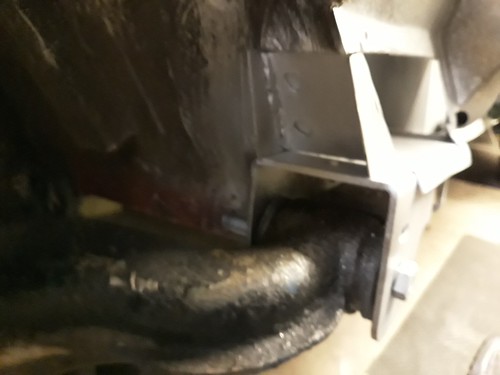
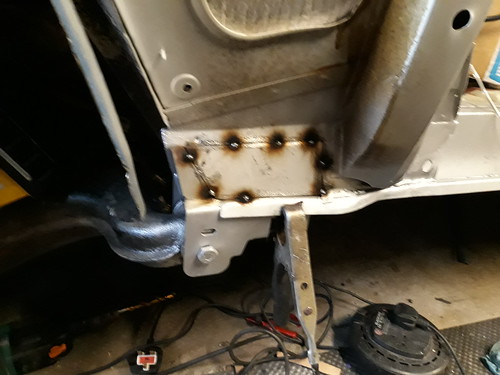
So maybe best to start from scratch with the sills.
I guess my plan is to create a solid foundation and move upwards from there.
But before I take the rear wheels off and put it on stands, I’ll need to get rid of a piece of furniture that’s tucked behind the van, before I render the van immobile! I’ll get my wife to put it onto FB or Freecycle.
Sent from my iPhone using Tapatalk