
It's a fantastic lot with so much detail and finesse, I'm glad I got hold of one. I do hope that more of them surface if Chris gets back into it. There's some incredible talent on show here. And not my soldering. Which is a bit rusty.
Has anyone seen a manual later than version 0.4?
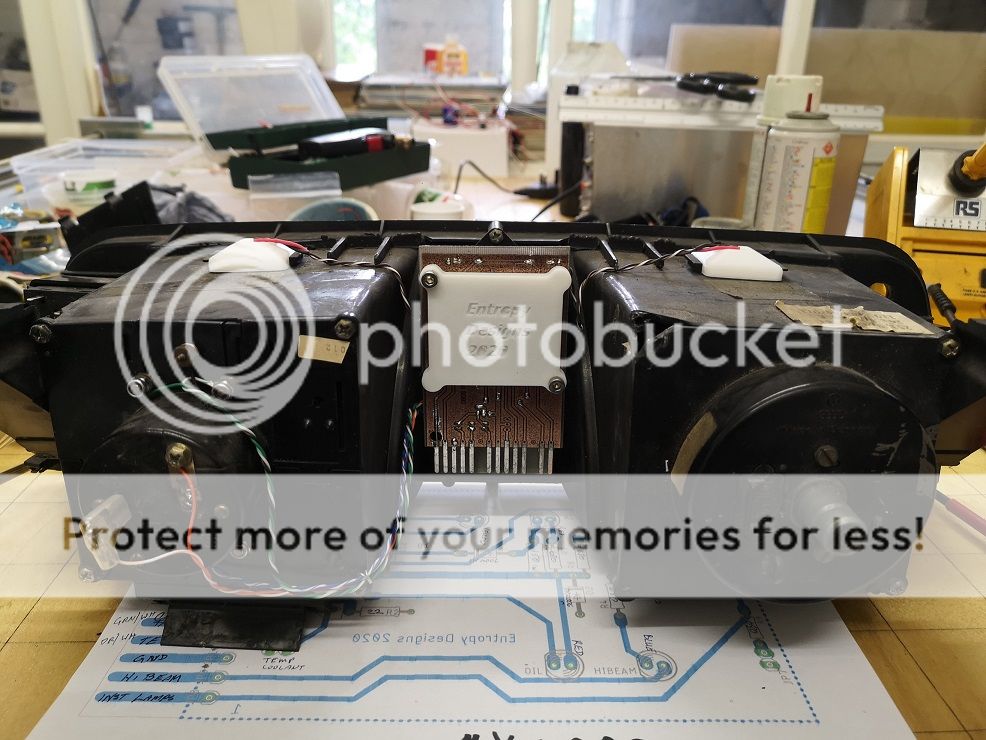
The petrol tach info is a bit thin.. though I'm going to take the tach signal, power and ground from the X5_DOPS header, shown in my photo. Has anyone done that? I believe the tach takes those 3 connections. I've not got it in the van yet, that's the next leap (pulling out the sacred blue foil)


