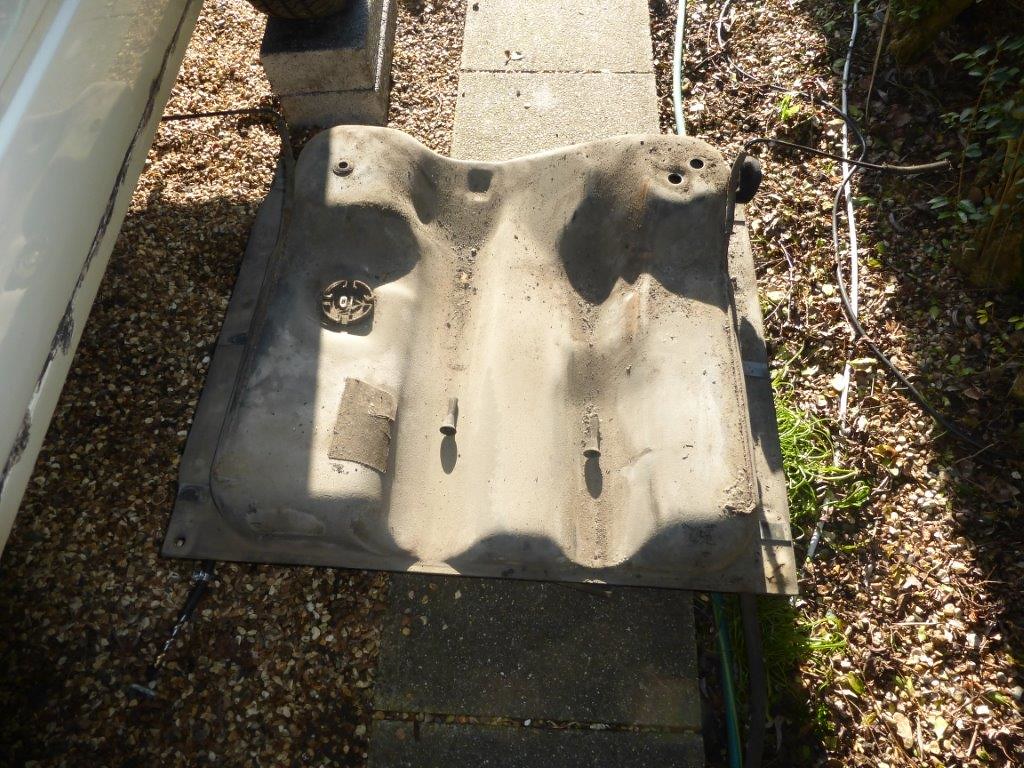
made a start today hopefully finish it tomorrow. I have a new piece of hose pipe for the tank to pump to fit also.
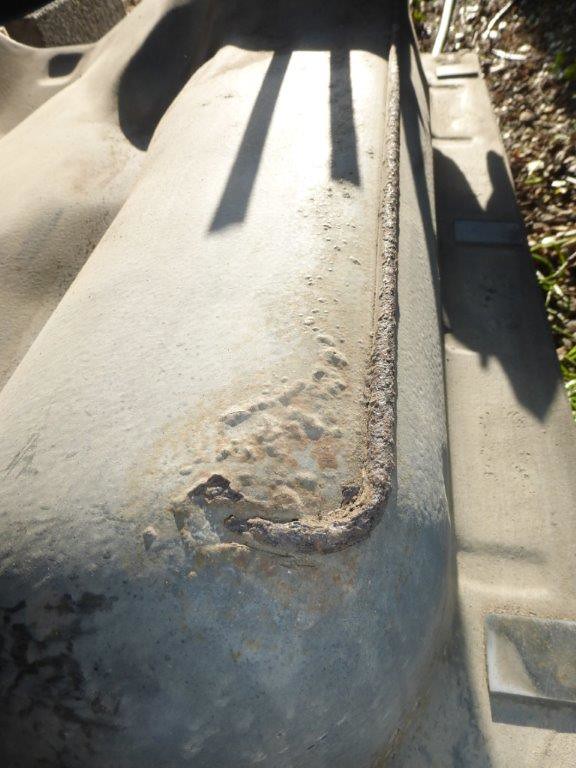
Everything I can see looks in good condition and no major smell outside I think the breather hoses are perished.
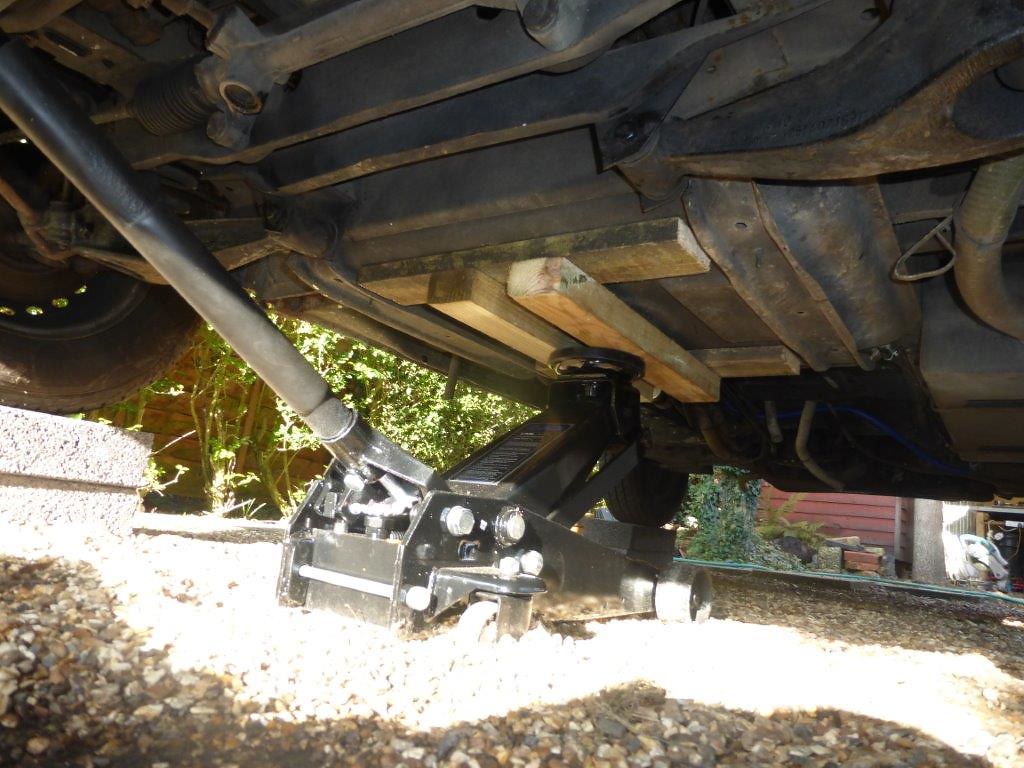
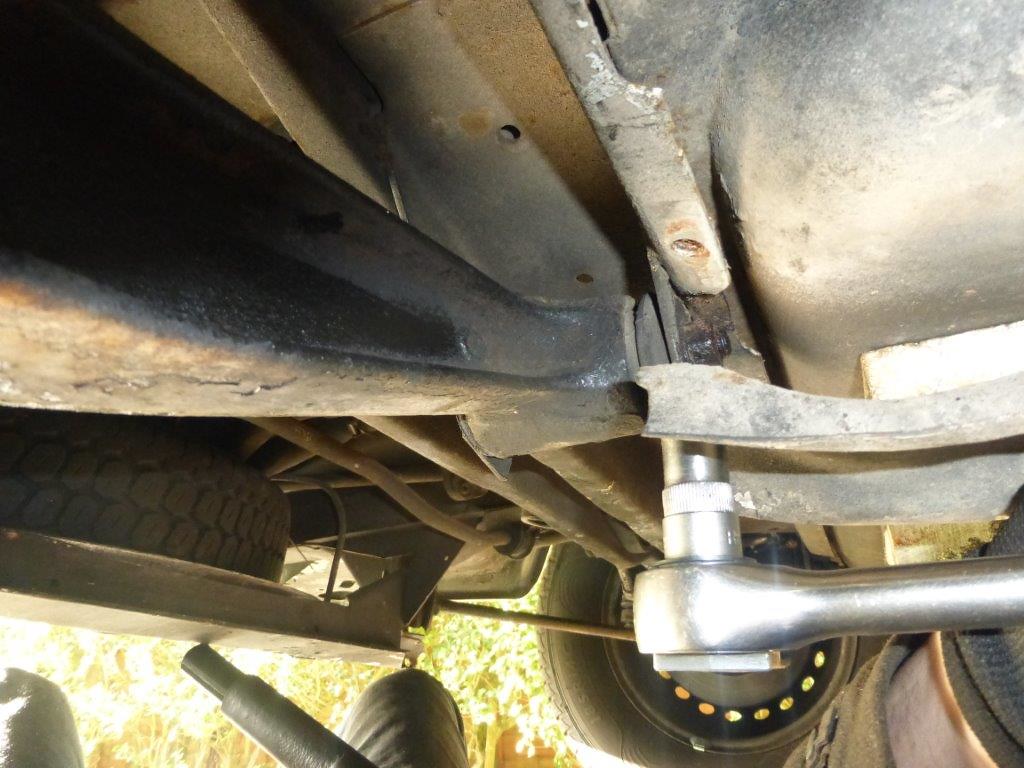
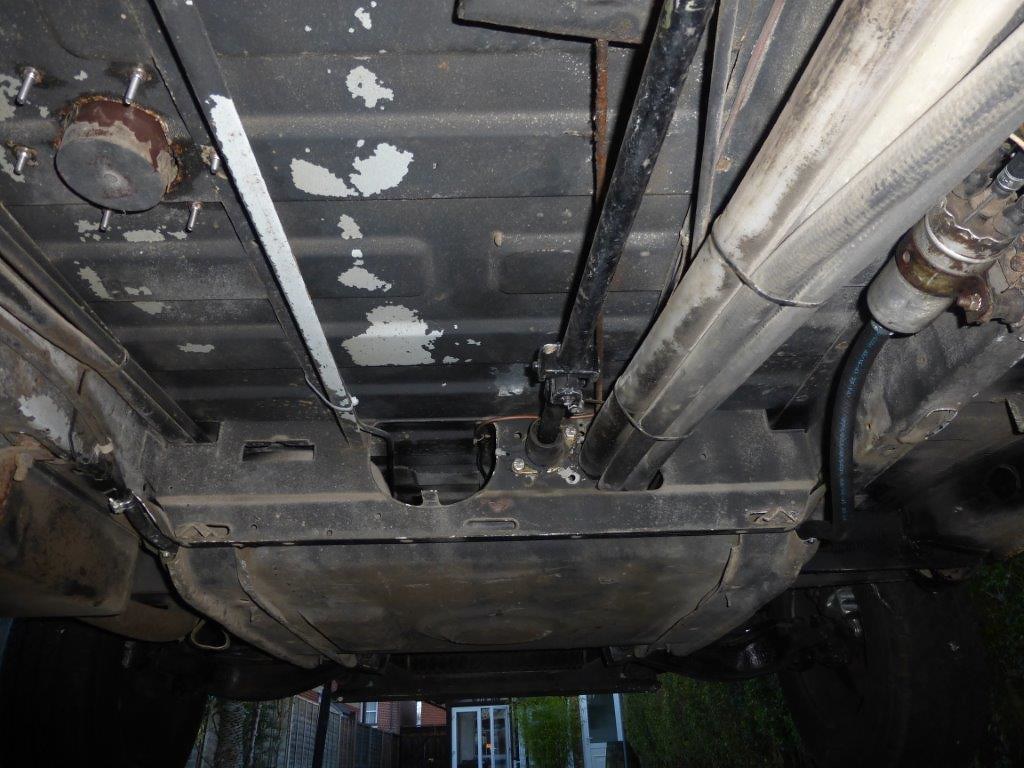
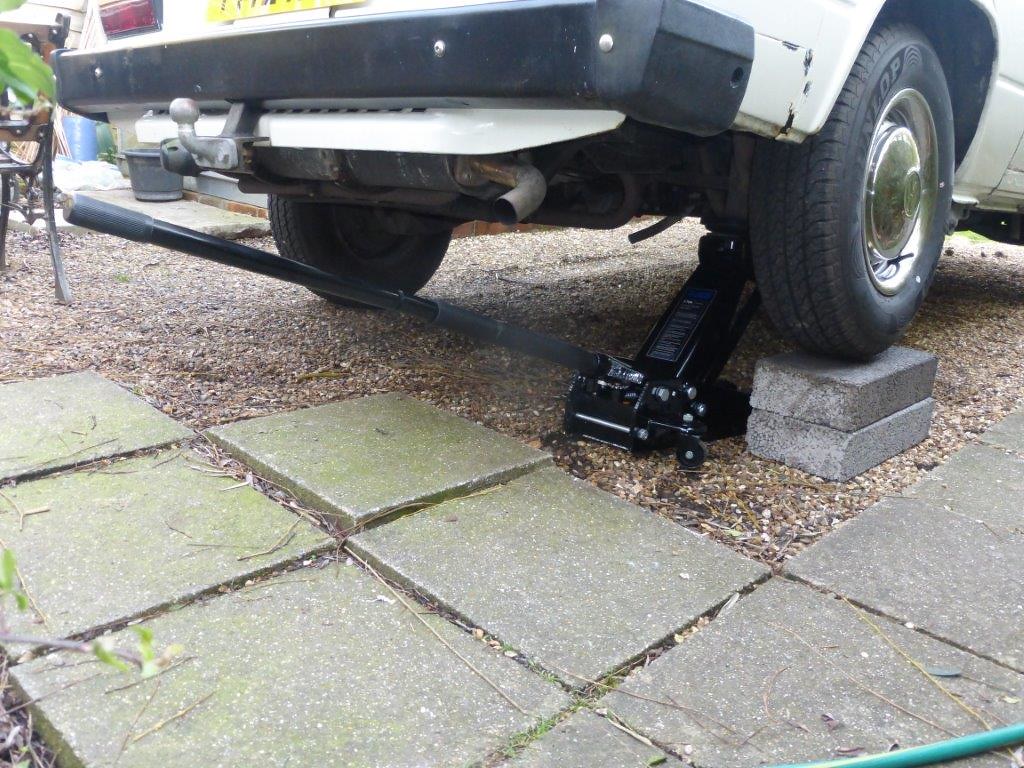
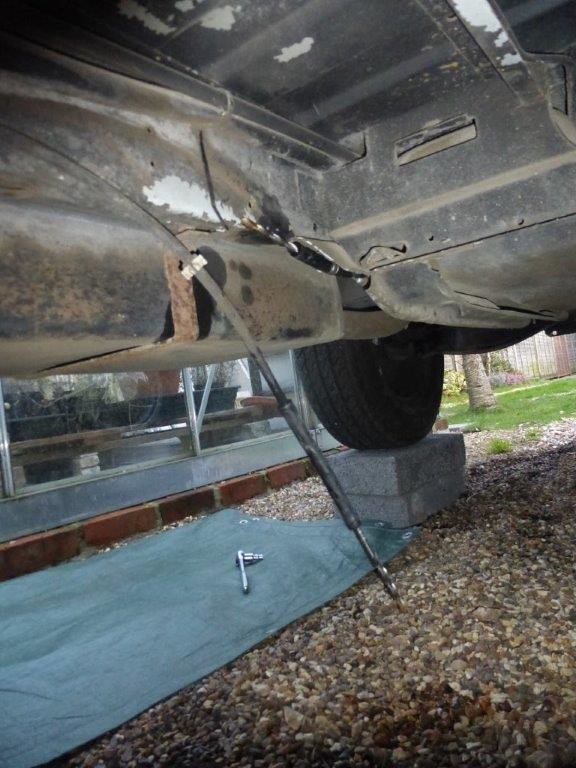
I'm struggling with a shoulder injury so I treated myself to a new Jack to make lifting easier and I have decided to use high density blocks rather than ramps, the ramps are wide so get in the way of the jack and these feel more stable on my drive.
I have had the jacking police giving me a dressing down before so please don't take my method of jacking as a recommendation and please don't bother complaining to me about safety, I'm happy with this.
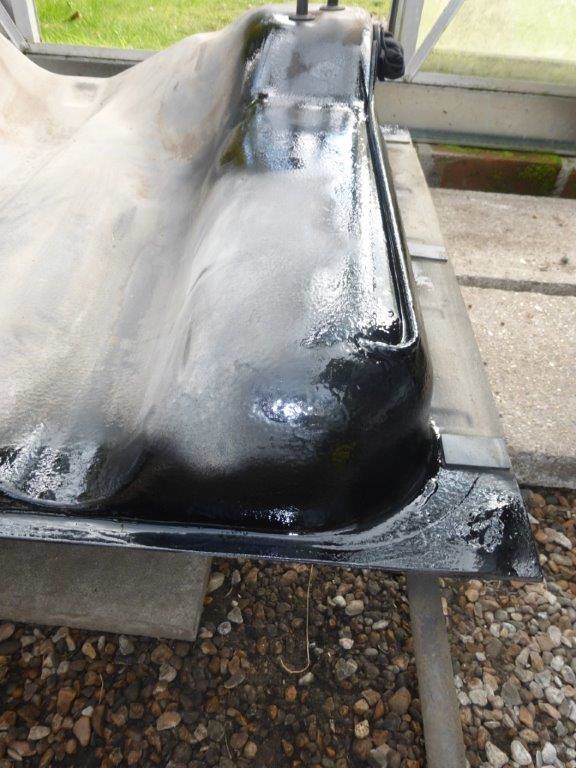
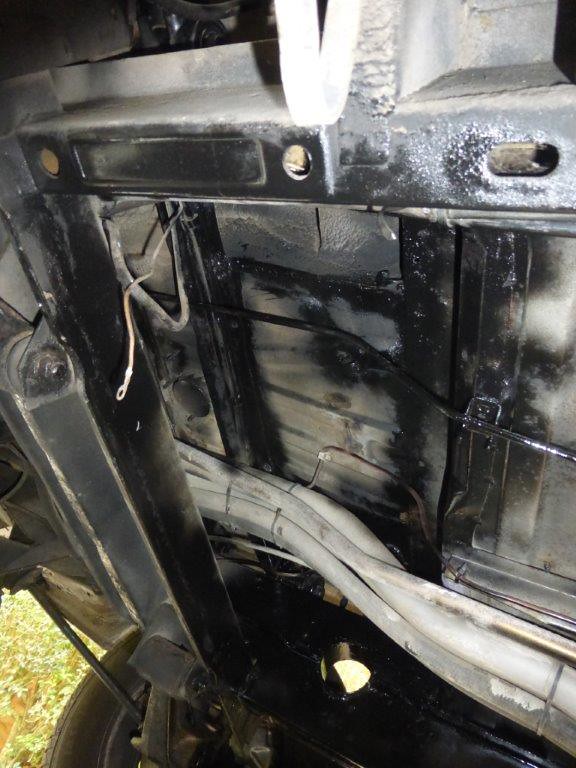
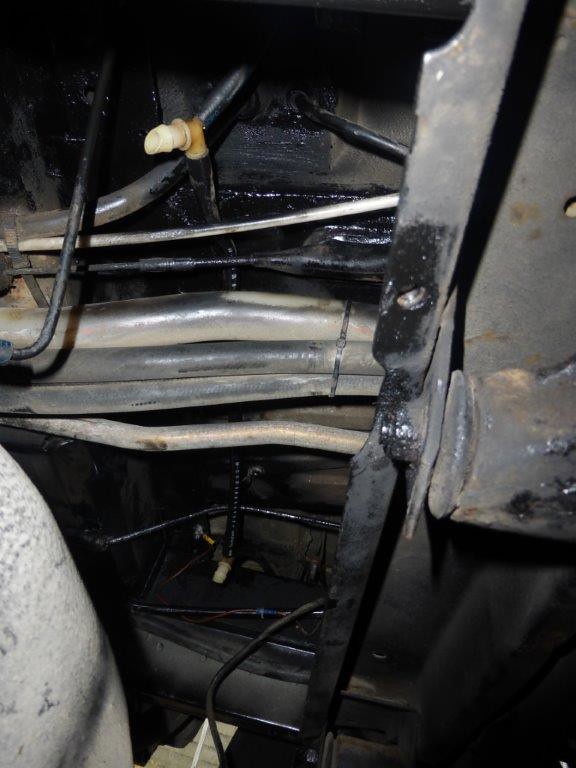
 P1090555 by Paul_Barr, on Flickr
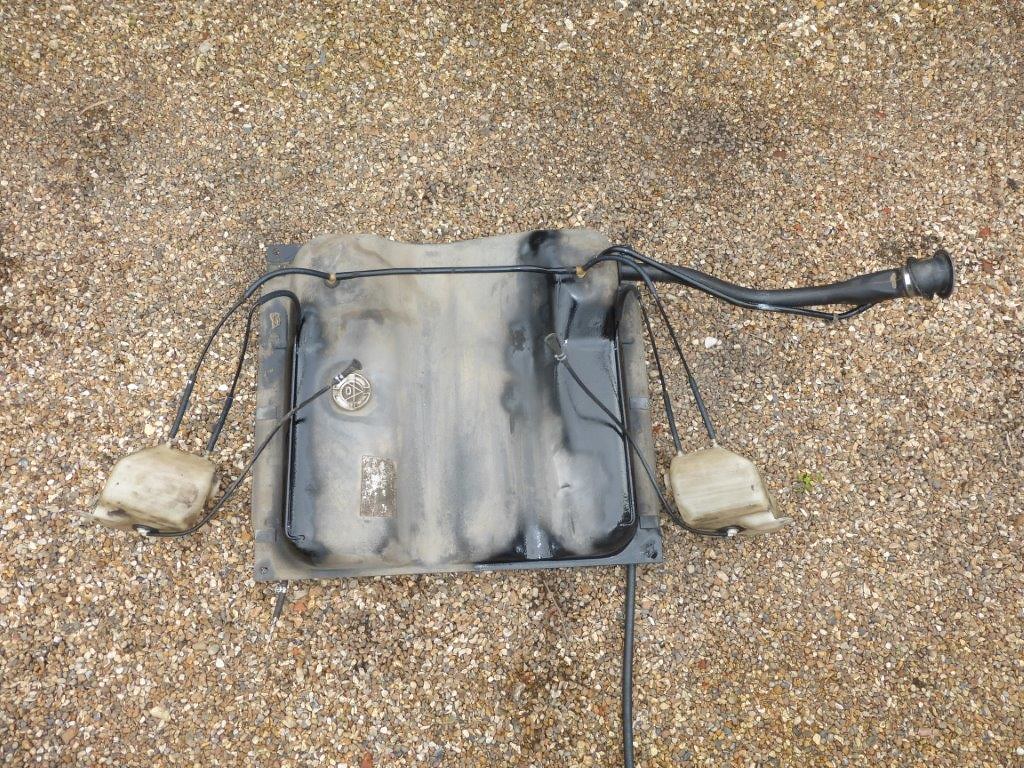
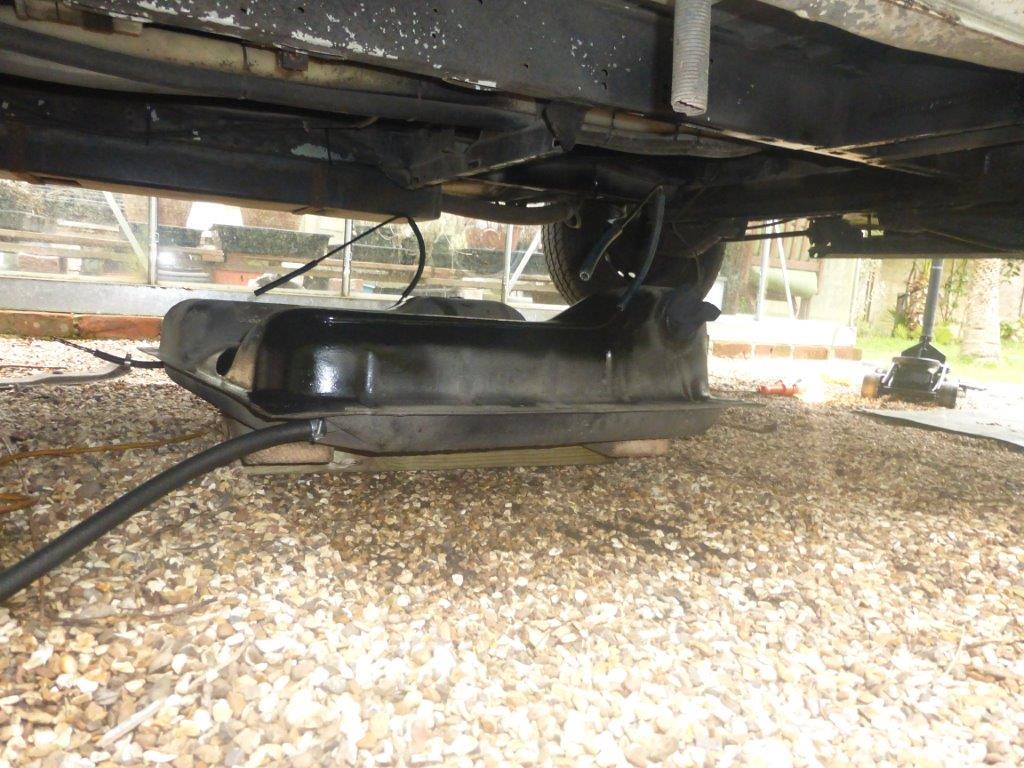
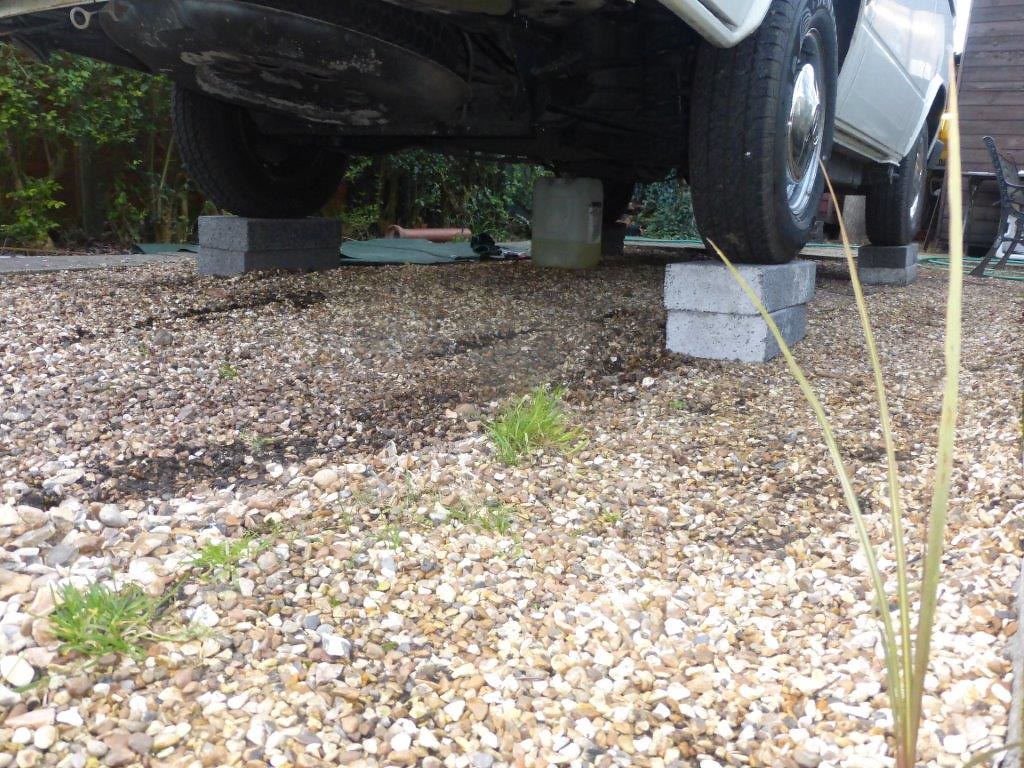 P1090557 by Paul_Barr, on Flickr
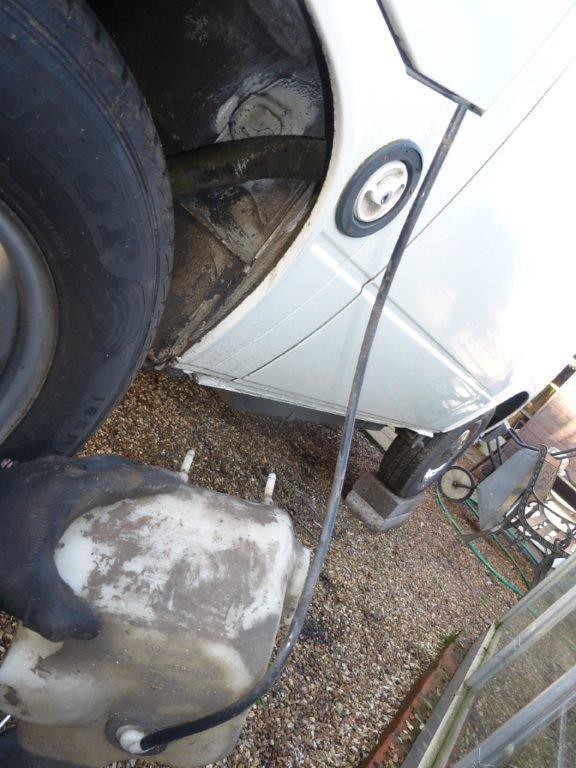
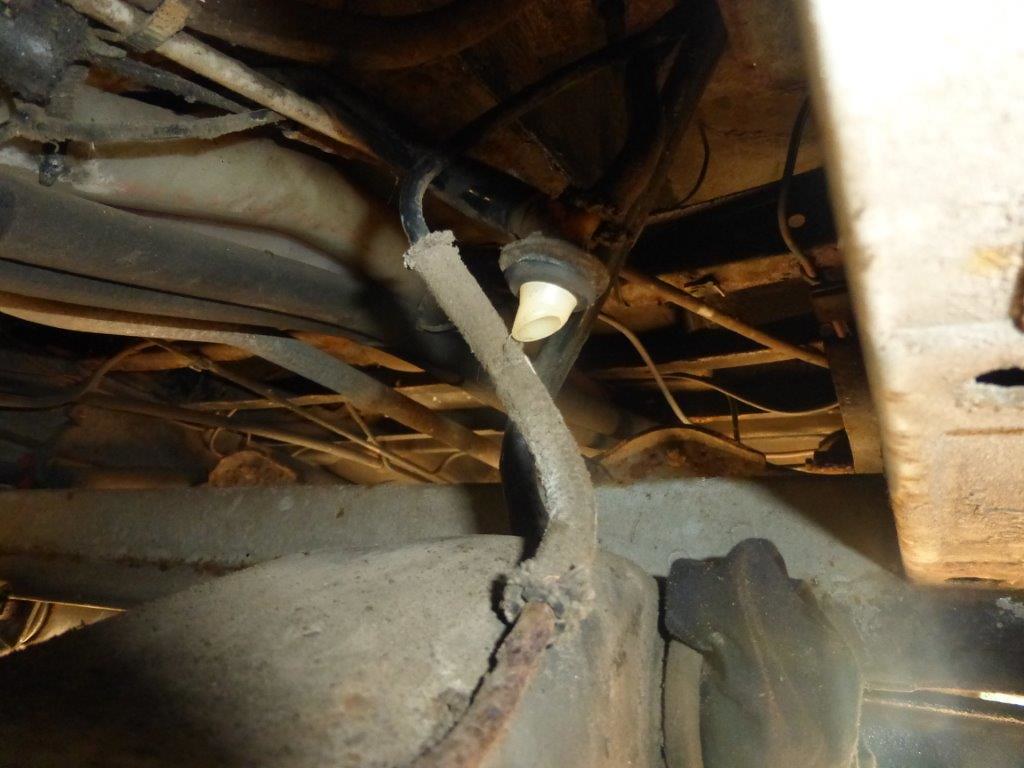
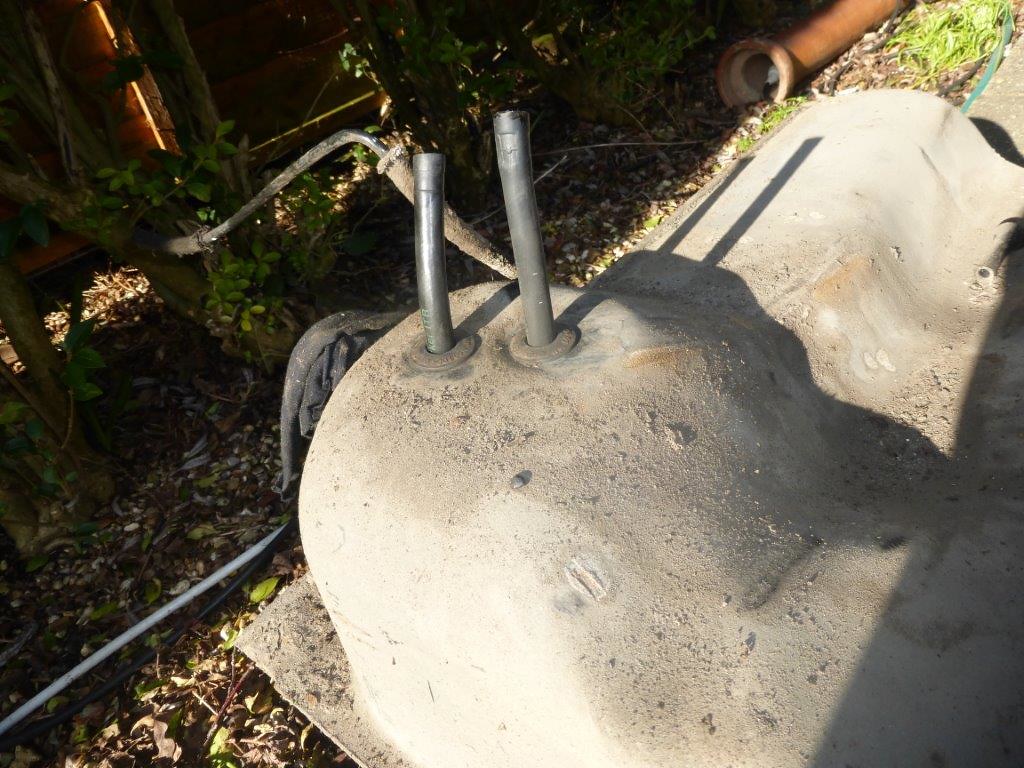
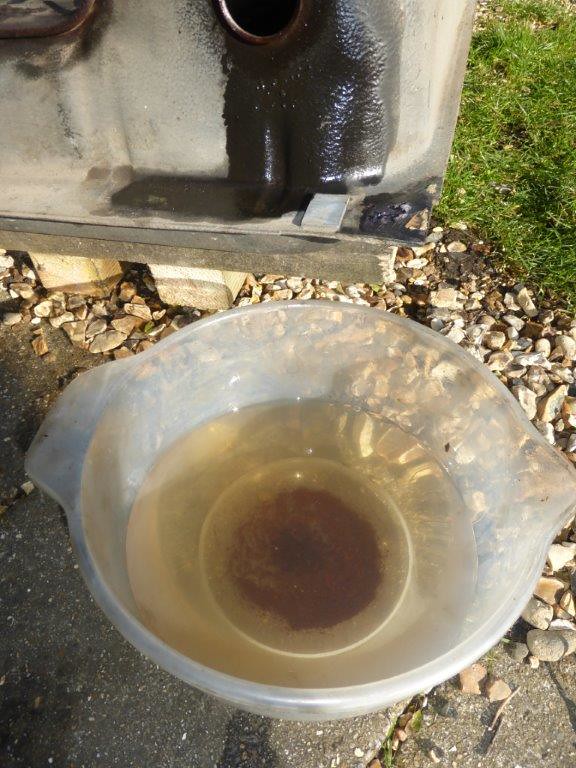
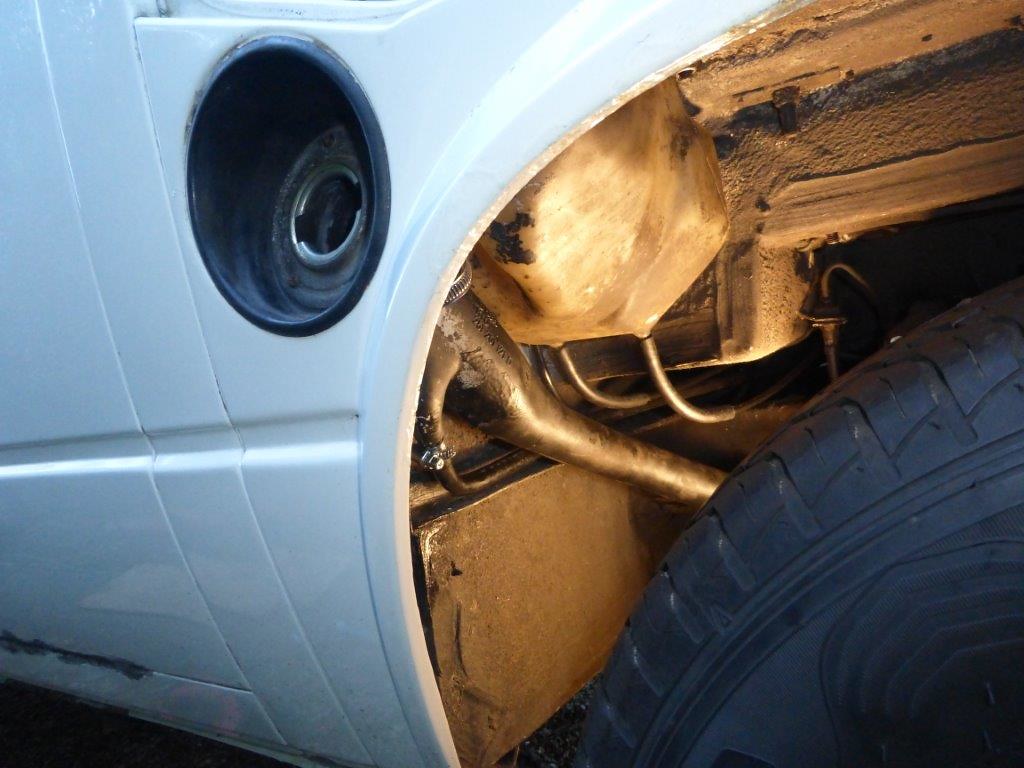
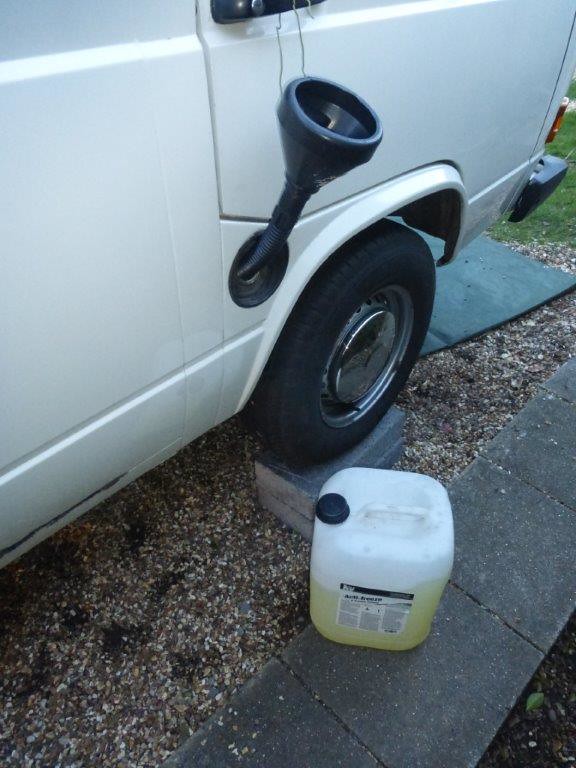
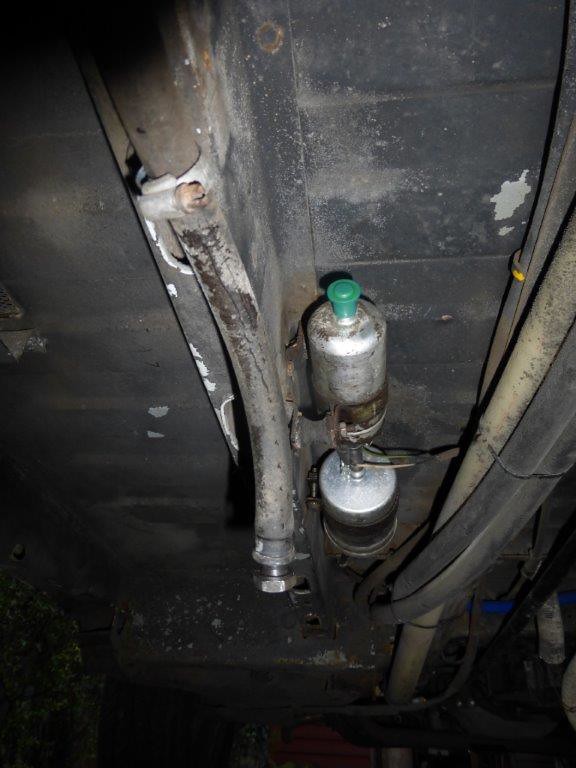
I have run the fuel down but there is probably still 15l in there so I'm using an old 20l antifreeze container cleaned and dried, I have checked it's the same plastic as a fuel container and suitable.
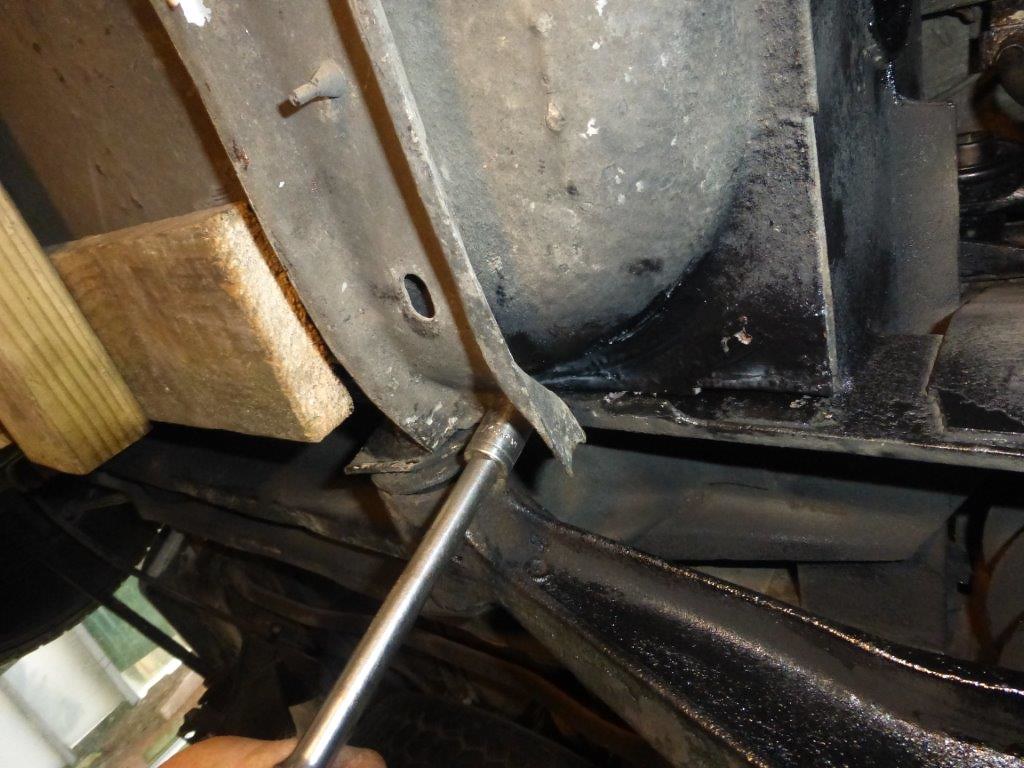
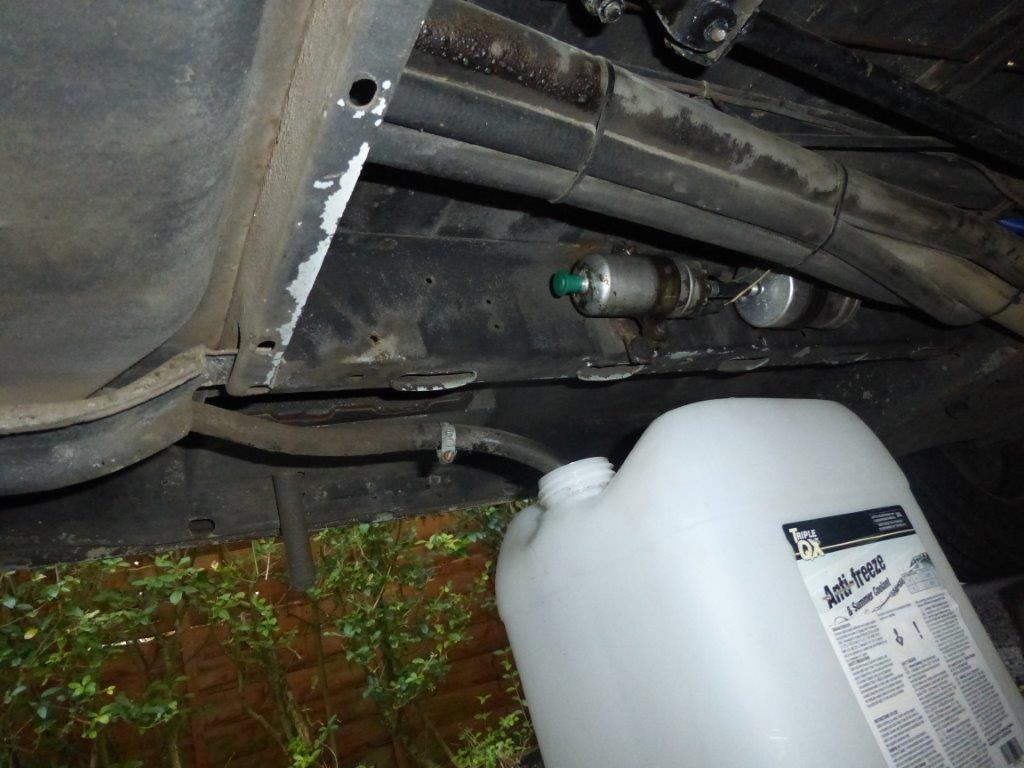
I have a spare fuel pump so I borrowed the sealing cap to seal off the pump, pulled the pipe off and straight into the container
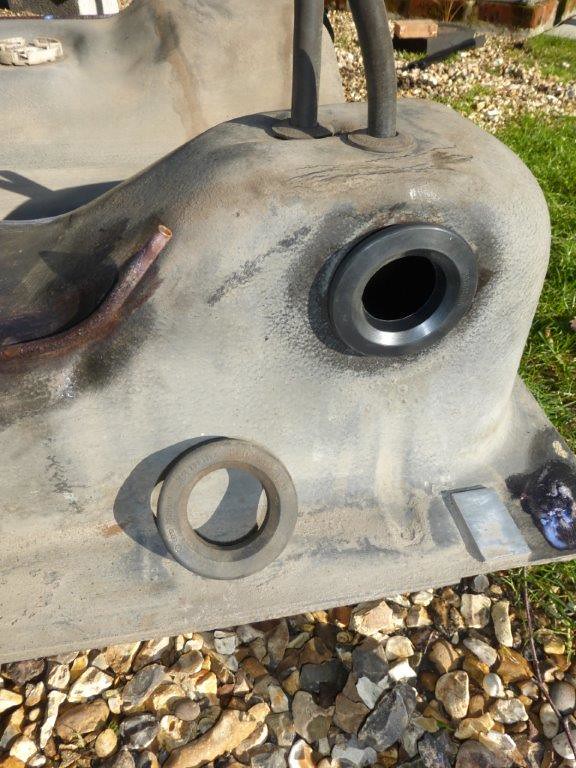
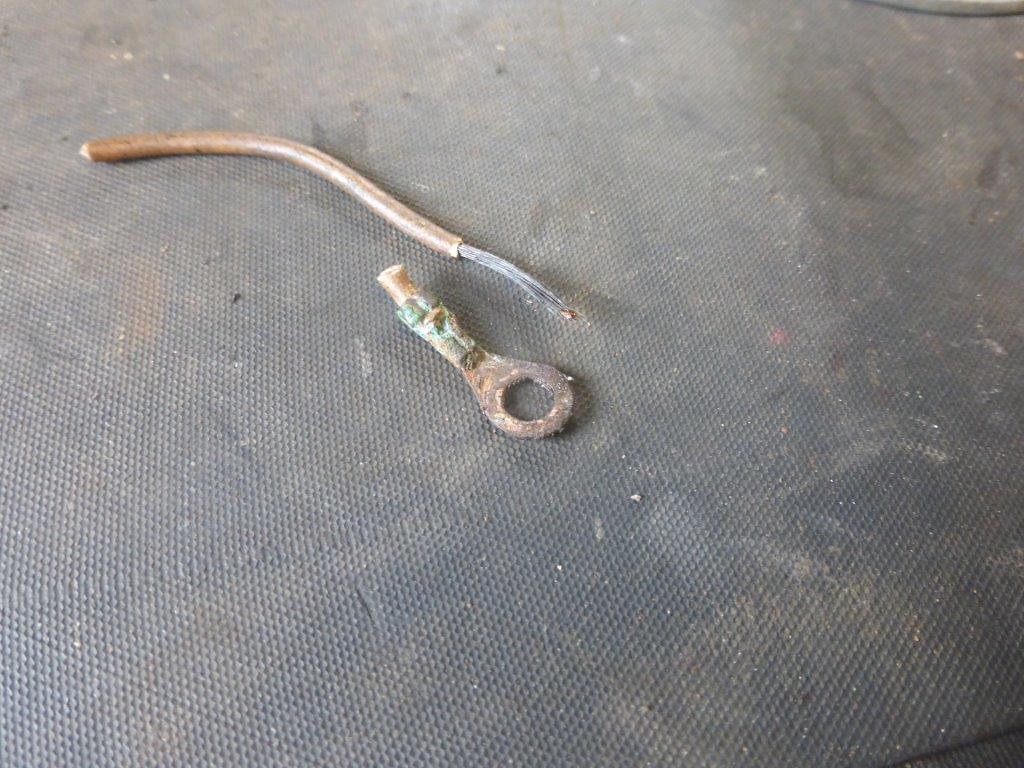
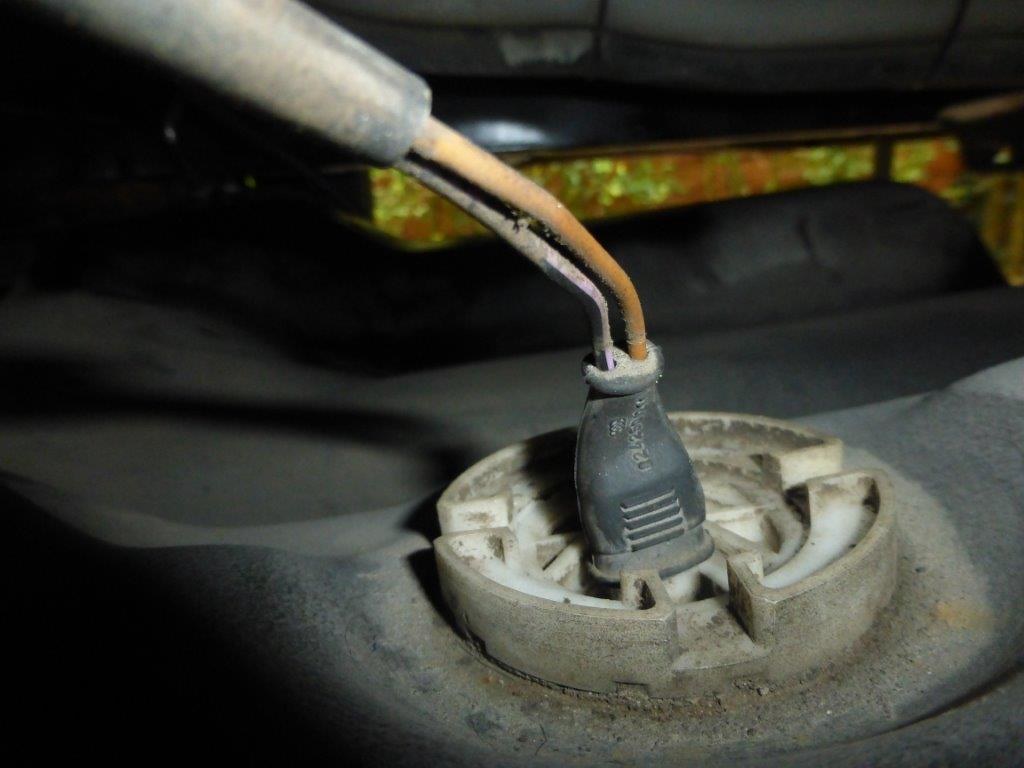
 P1090556 by Paul_Barr, on Flickr
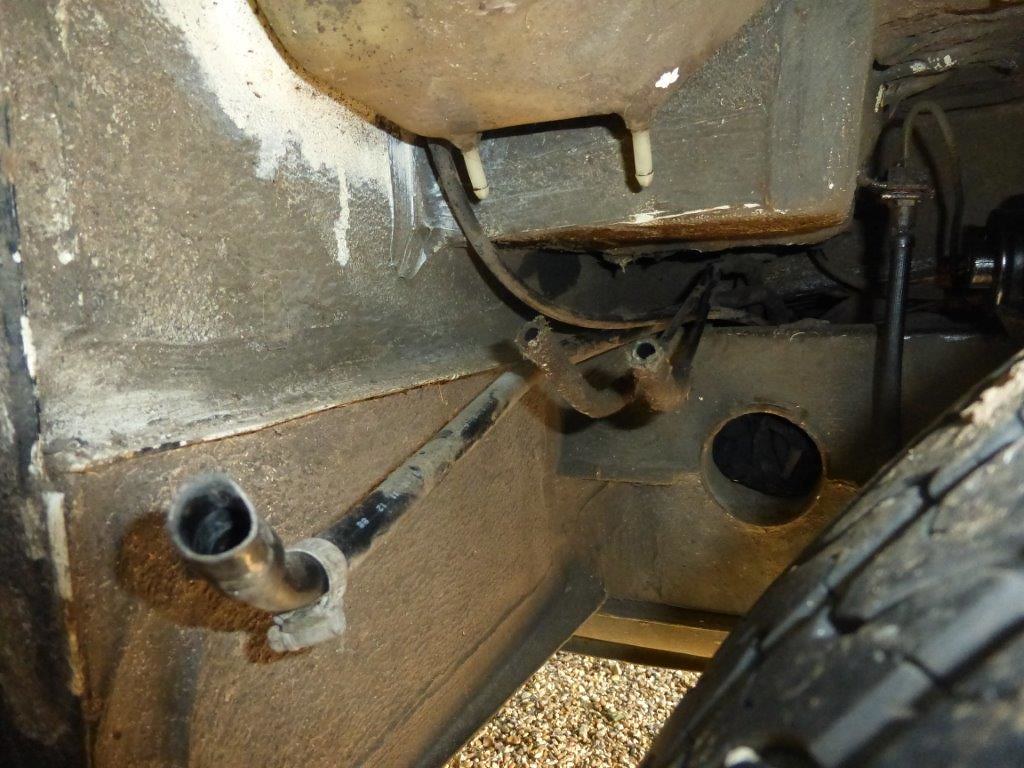
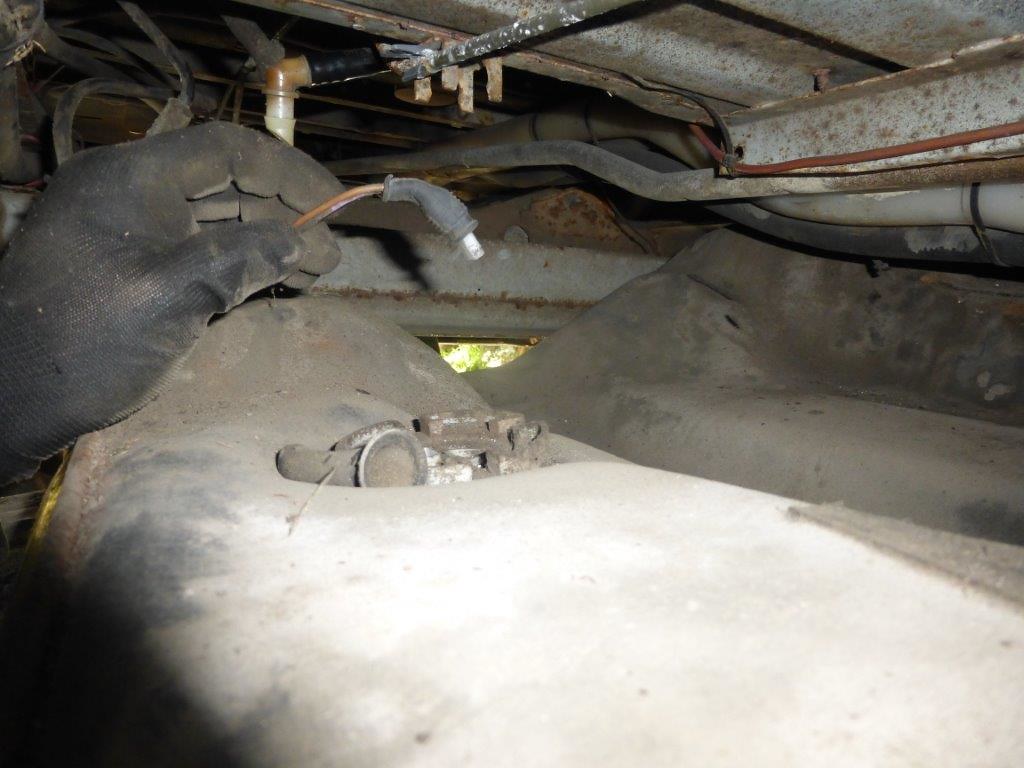
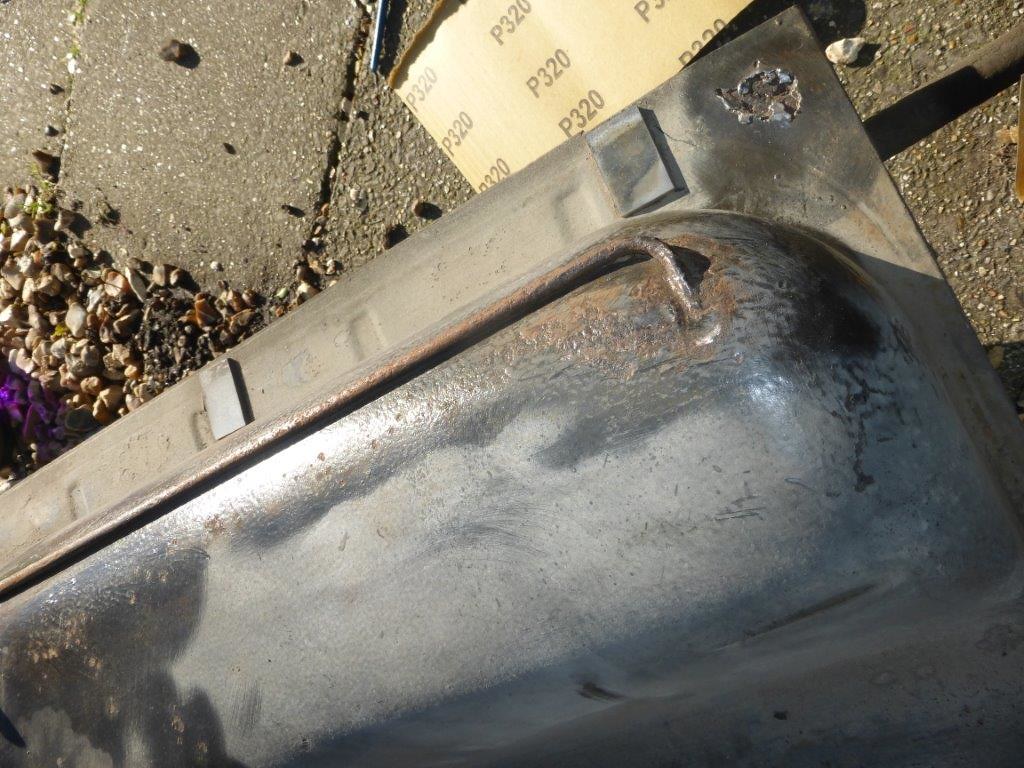
an old sump plug in the hole to stop any dirt getting in
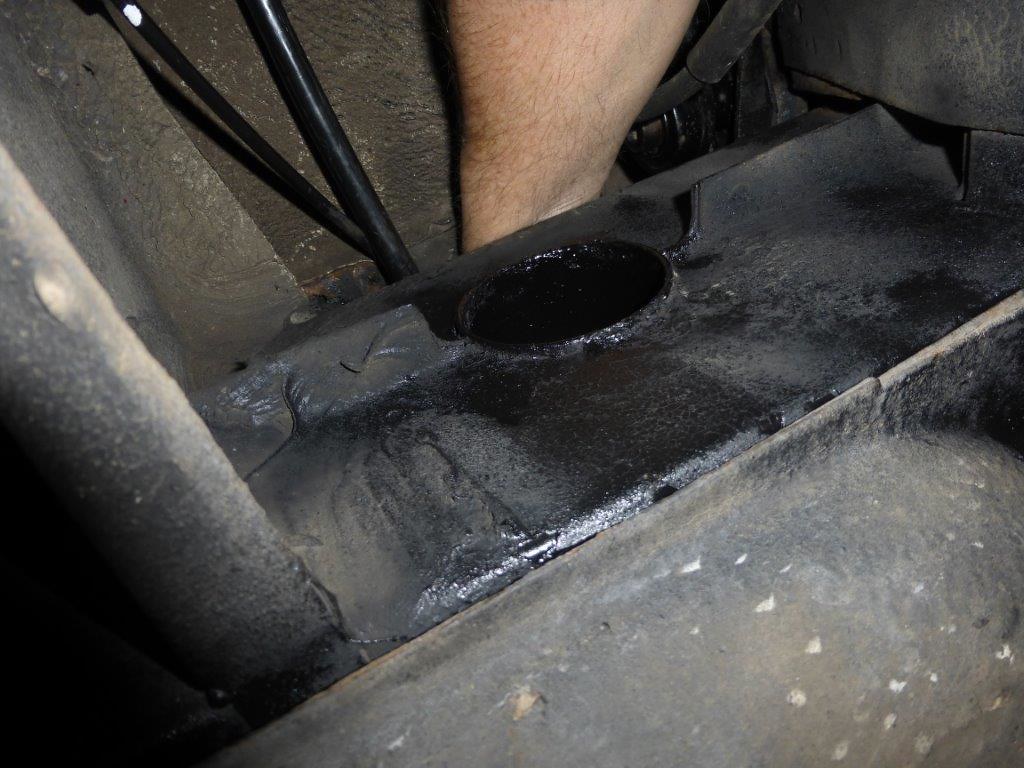
 P1090558 by Paul_Barr, on Flickr
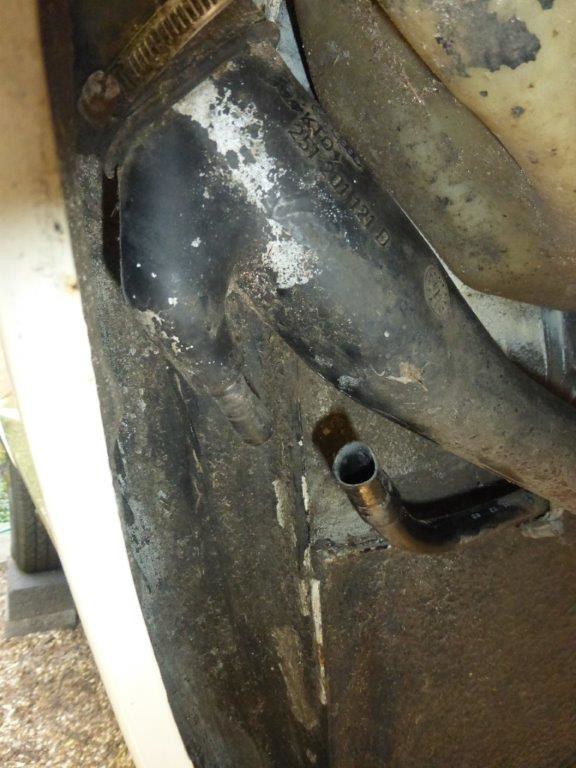
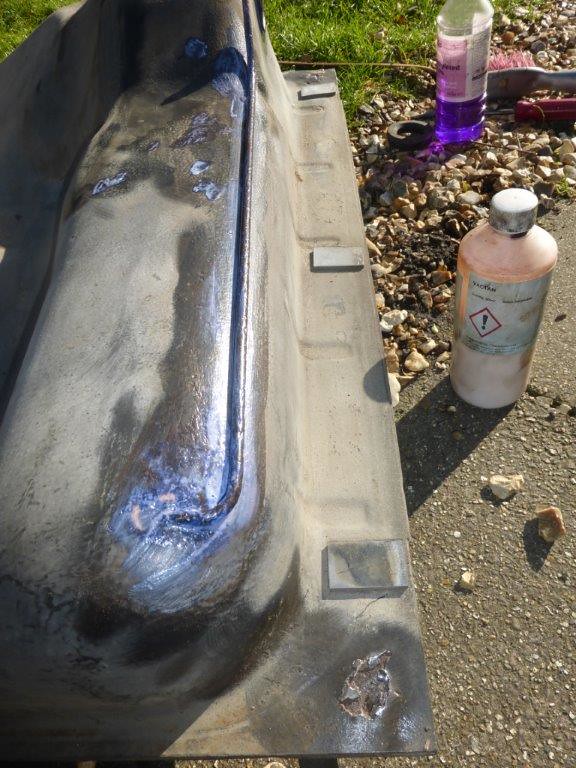
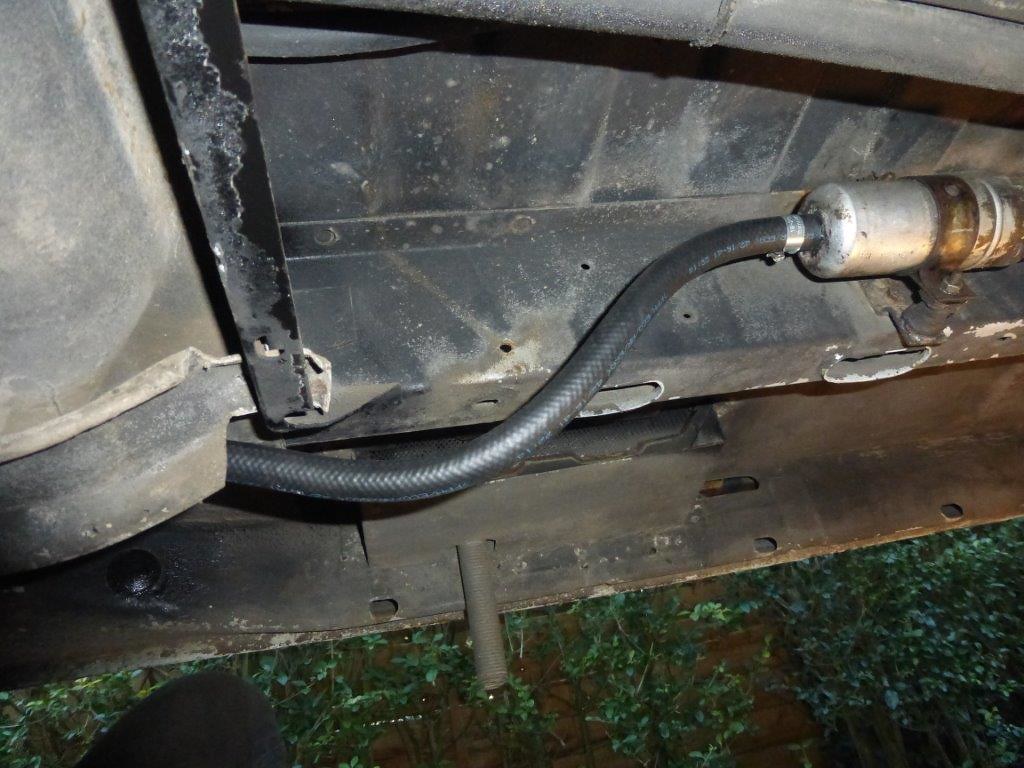
pulled the return off the other side and with an old bit of pipe and a couple of drill bits sealed both pipes off
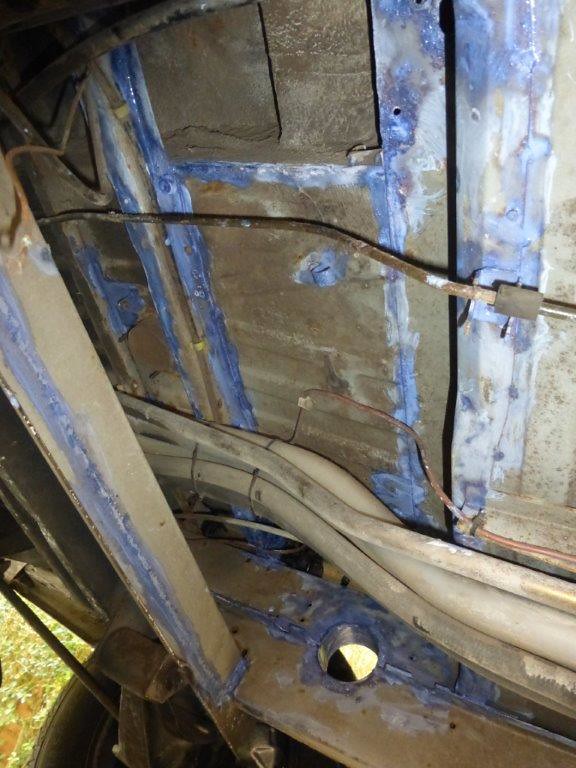
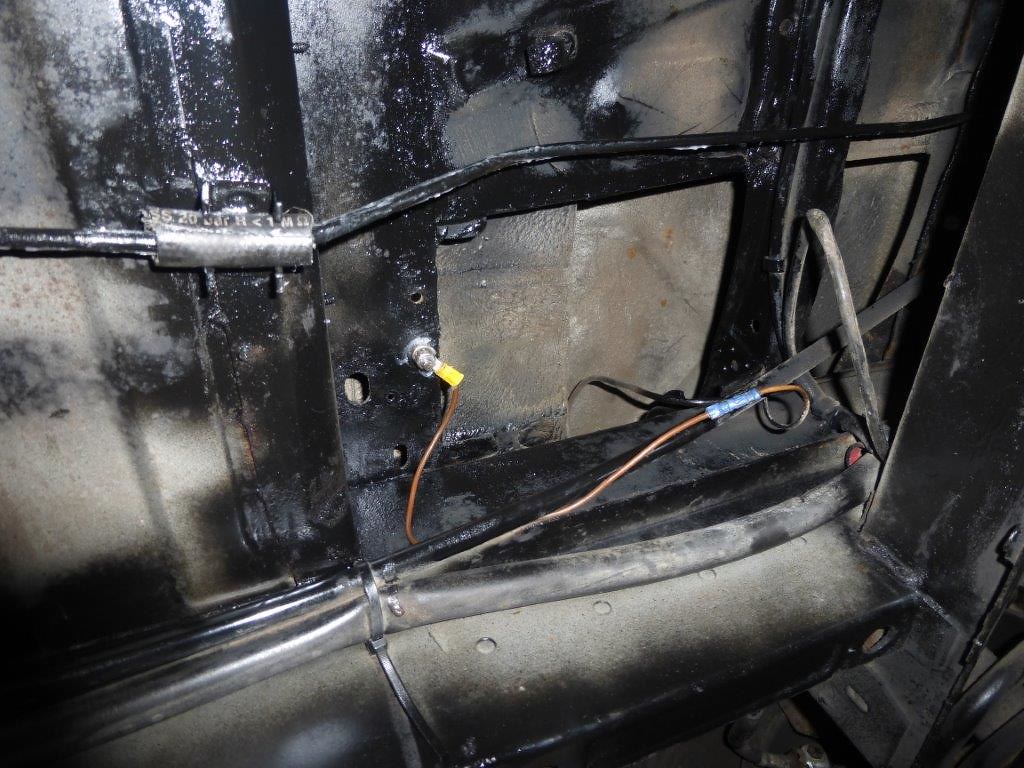
 P1090559 by Paul_Barr, on Flickr
got dark continue tomorrow.