Page 21 of 30
Re: Replacing the dashboard plastic PCB
Posted: 28 Jul 2018, 06:07
by Cobra88
I found that to get the black to blackout it needed vinyl sticker type
I will see if i can find what paper i used by my ebay history
Rick
Re: Replacing the dashboard plastic PCB
Posted: 01 Aug 2018, 11:26
by CovKid
One side of the molex connection done. Should make unplugging the dash nice and easy from now on


Re: Replacing the dashboard plastic PCB
Posted: 04 Aug 2018, 21:00
by CJH
CJH wrote:
As I feared, the black laser toner isn't opaque enough. I don't want to use thicker paper as that would dim the white parts too. I'll see if there's a setting in my printer driver to increase the amount of toner deposited, but it looks like another approach might be needed.

Increasing the toner didn't make any difference. But using two printouts, in exact register, seems to have made the black parts a lot more opaque. It's difficult to capture like-for-like images in the dark because my phone camera adjusts the brightness, but the white bits still look ok in the dark, and the black bits look a lot better. I could live with this I think.
Re: Replacing the dashboard plastic PCB
Posted: 04 Aug 2018, 21:36
by clift_d
If you're stacking registered layers then maybe try printing the back layer on acetate? That way you'd get the benefit of the extra black toner without doubling up in the white areas.
Re: Replacing the dashboard plastic PCB
Posted: 04 Aug 2018, 21:37
by CJH
Good idea! I'll try that.
Re: Replacing the dashboard plastic PCB
Posted: 07 Aug 2018, 16:04
by bobby-gg
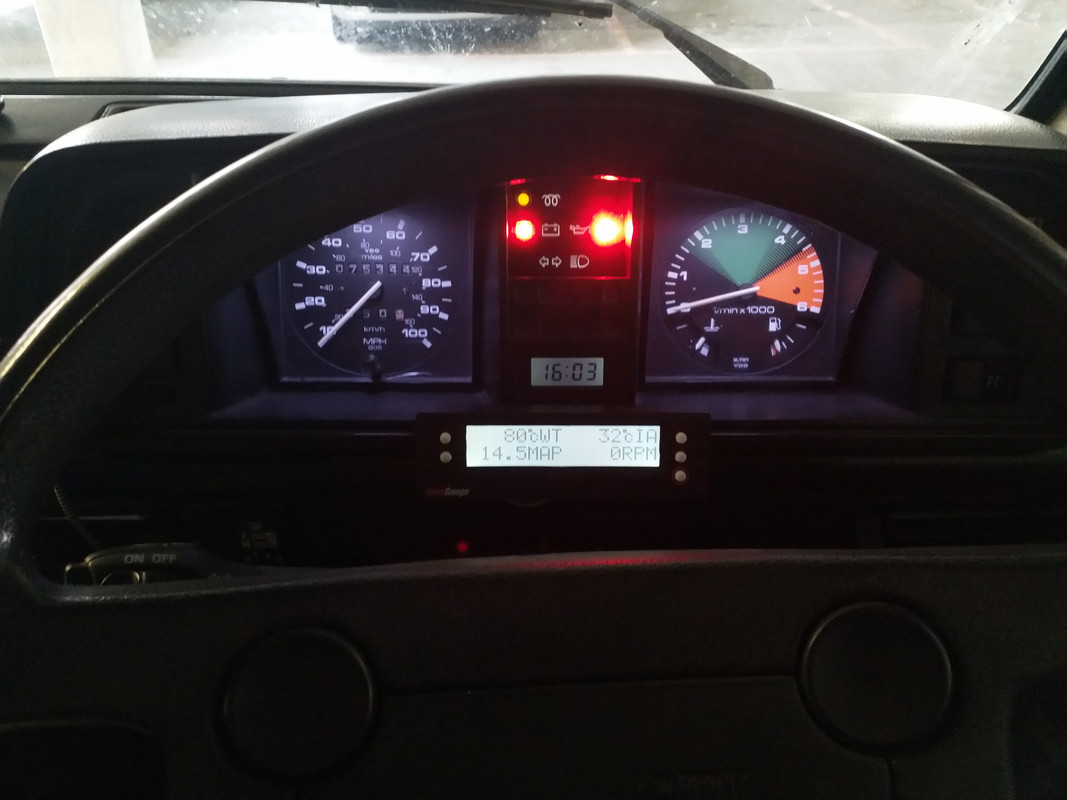
Just fitted Chris's pcb to my van, mines a late model diesel dash with dops, separate tacho and digital clock so took a little extra working out but working through the old foil pcb it was quite easy.
The main reason for switching to Chris's board was I run a smaller steering wheel so from my driving position I can't see the indicator or main beam warning light so I wanted to swap them into the lower position, and put the glow plug up at the top.
Anyway, it all worked out fine and here's the results
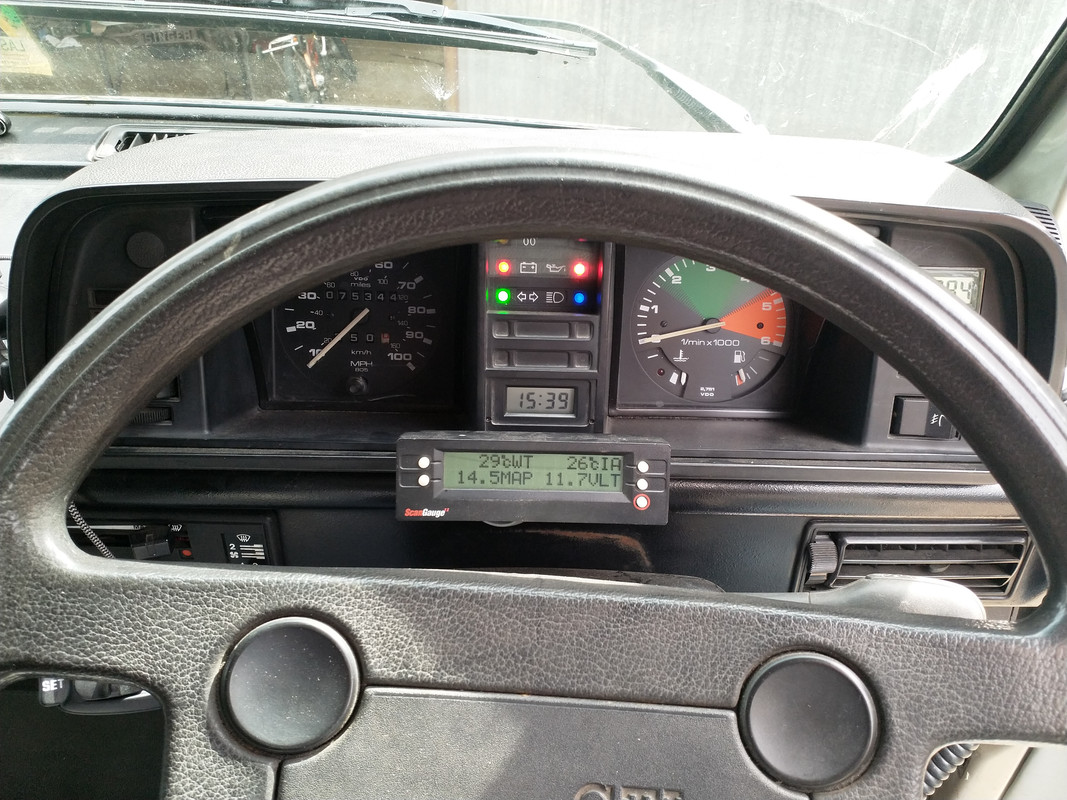
And back lighting
Rob
Re: Replacing the dashboard plastic PCB
Posted: 08 Aug 2018, 07:37
by CJH
bobby-gg wrote:
The main reason for switching to Chris's board was I run a smaller steering wheel so from my driving position I can't see the indicator or main beam warning light so I wanted to swap them into the lower position, and put the glow plug up at the top.
That's great, I'm glad your mod worked out - thanks for the photos.
Re: Replacing the dashboard plastic PCB
Posted: 08 Aug 2018, 09:47
by bigbadbob76
great stuff Chris.

Why have I just spotted this thread?

How about copper clad board with the symbols etched out of the copper so the light shines through the board?
Replacing the dashboard plastic PCB
Posted: 10 Aug 2018, 17:54
by bigbadbob76
I saw this today and thought of you Chris.


It's 1.5mm thick white plastic with a black laminate over the top.
The lettering is etched out of the black leaving the white.
Light shines through the white nicely.
It reminded me of a machine a mate used to work making hotel room signs etc. Like a mini milling machine. He used it with similar laminate.
That was 20 yrs ago though so I don't know if such machines are still used.
Sent from my iPhone using Tapatalk
Re: Replacing the dashboard plastic PCB
Posted: 12 Aug 2018, 13:43
by nickelo
CJH wrote:
That's great, I'm glad your mod worked out - thanks for the photos.
Hello Chris, have you thought about adding an acoustic/low coolant level temperature alarm integrated?
And to sell the kit on ebay?
Very good work.
Re: Replacing the dashboard plastic PCB
Posted: 12 Aug 2018, 21:46
by CJH
nickelo wrote:
Hello Chris, have you thought about adding an acoustic/low coolant level temperature alarm integrated?
And to sell the kit on ebay?
Very good work.
Hi Nickelo
Interesting idea - you mean a buzzer that comes on whenever the temperature gauge LED comes on?
I'd considered putting the kit on ebay, but I prefer to keep it as our little secret - where the demand is manageable!
Re: Replacing the dashboard plastic PCB
Posted: 12 Aug 2018, 21:49
by CJH
bigbadbob76 wrote:
It's 1.5mm thick white plastic with a black laminate over the top.
The lettering is etched out of the black leaving the white.
That would be one way to do it. I'm sure there's someone out there who could cut a black vinyl panel to go over a white insert. I may have a work with some of the sticker stalls at Busfest.
Re: Replacing the dashboard plastic PCB
Posted: 13 Aug 2018, 11:57
by mike_gee32
I've got a silhouette portrait vinyl cutter which I've used to make custom vinyl decals for the kids bikes, I'm not sure if it is accurate enough to cope with really fine detail like the polarity signs in the battery light icon but I was very surprised at how small a detail it can cut.
If you pm or email me the image you used when you printed it out I'm happy to have a play in the evenings and see if I can make something work.
Mike
Re: Replacing the dashboard plastic PCB
Posted: 13 Aug 2018, 15:36
by bigbadbob76
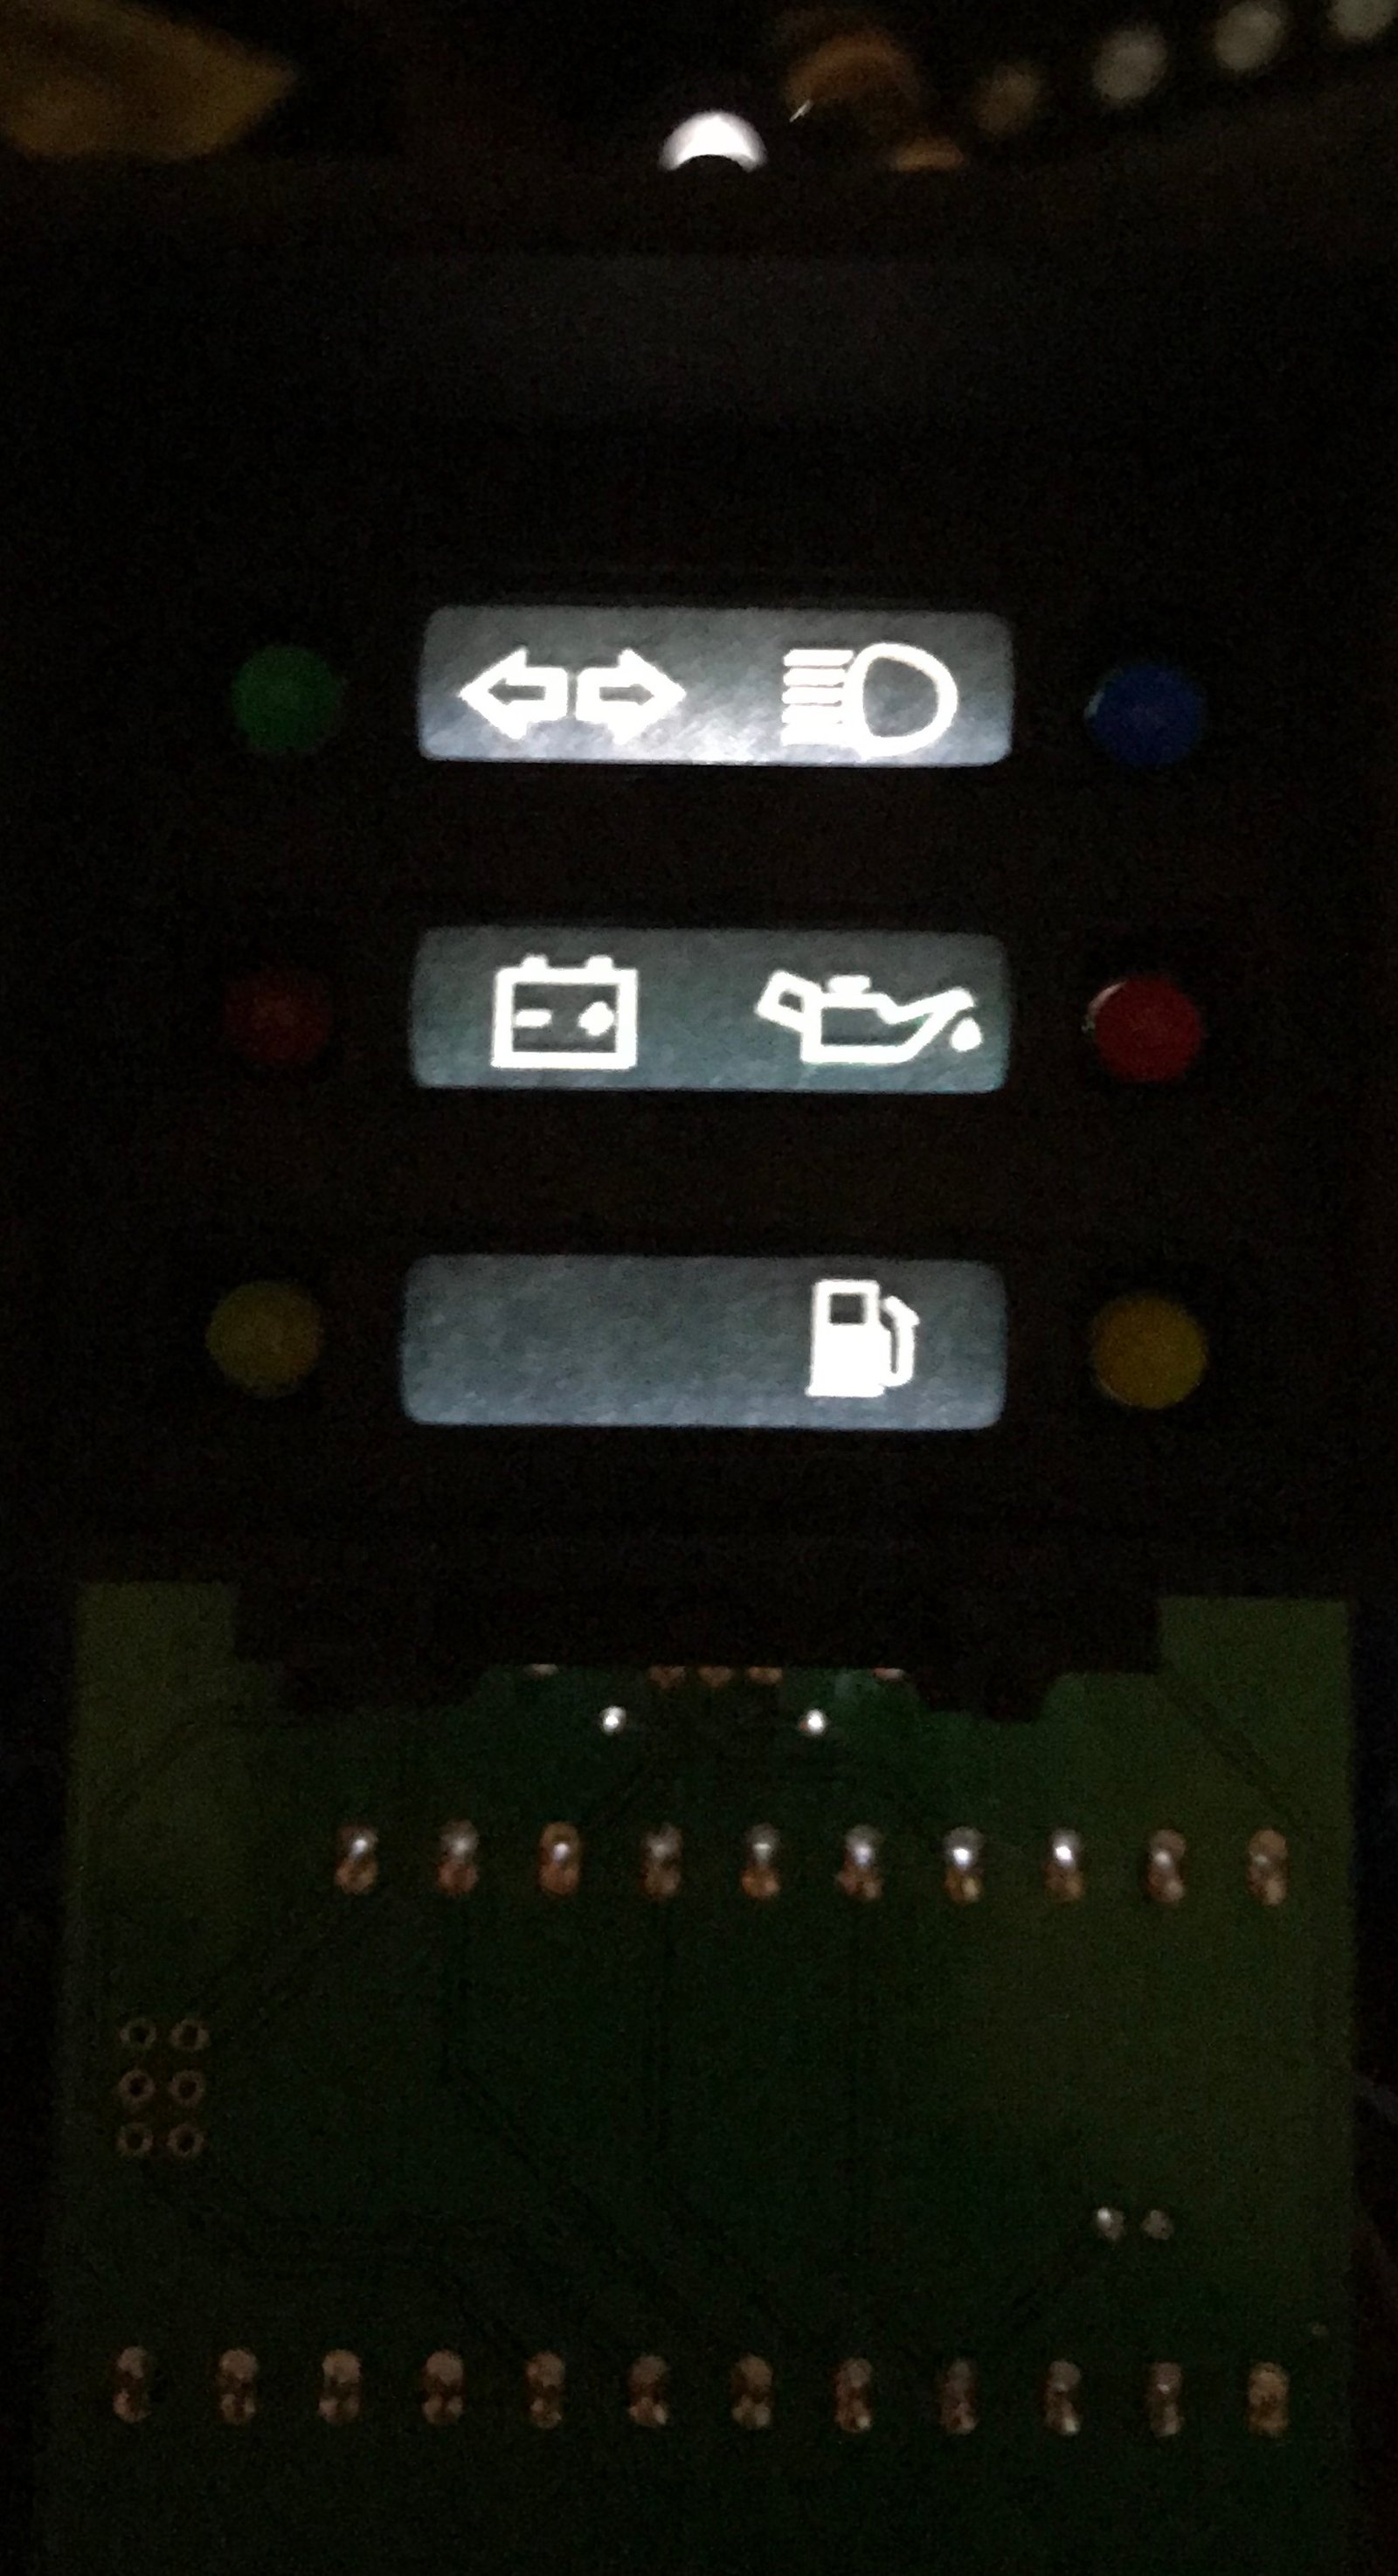
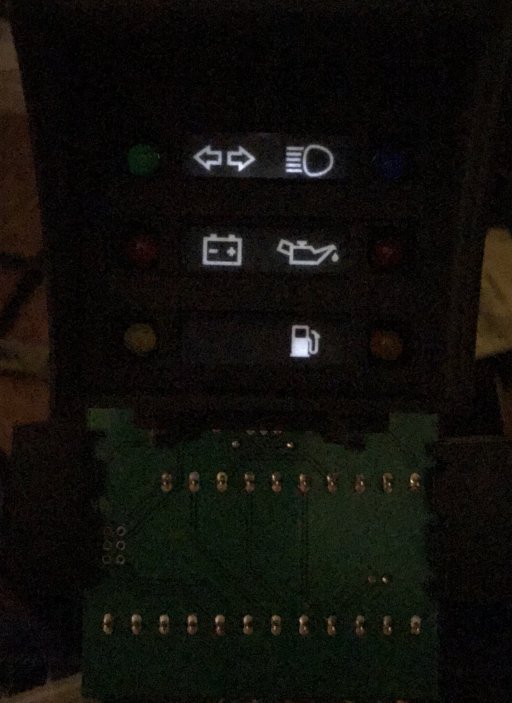
Here's my attempt with one print on paper and one on ohp transparency.
Looks ok to me.
Now I need a hole punch. Haha..

Sent from my iPhone using Tapatalk
Re: Replacing the dashboard plastic PCB
Posted: 13 Aug 2018, 16:44
by Cobra88
That looks really good Bob