Page 10 of 16
Re: Jambo, being tarted up abit
Posted: 10 Sep 2012, 14:34
by Dazco
Latest work ive got done .
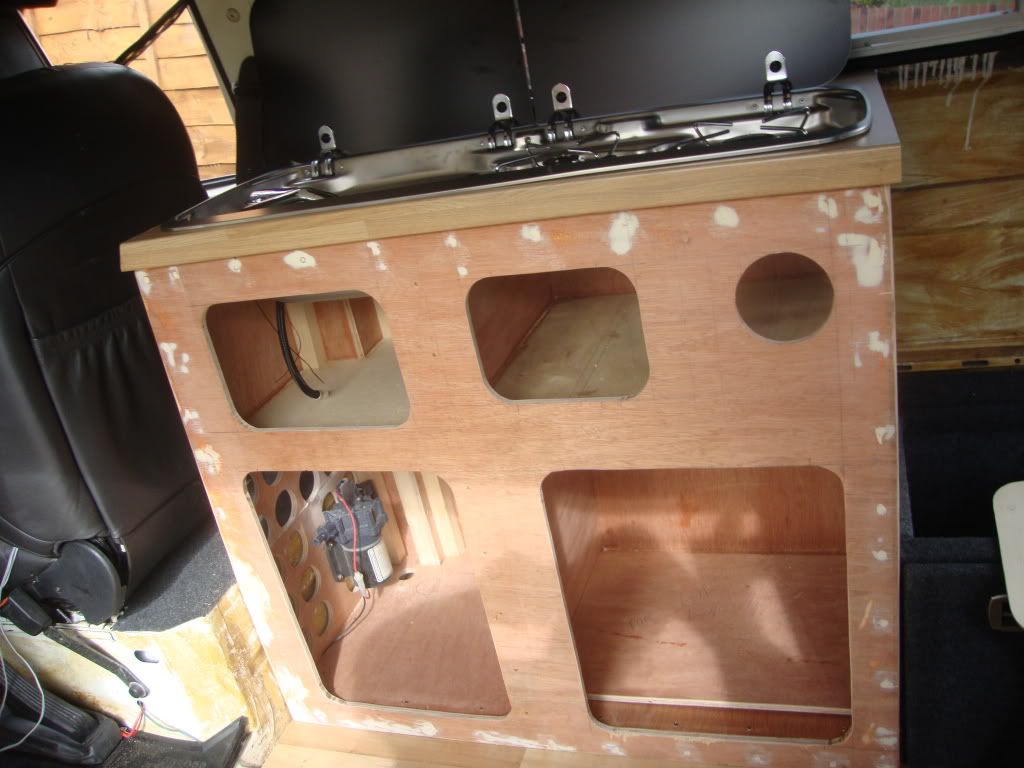
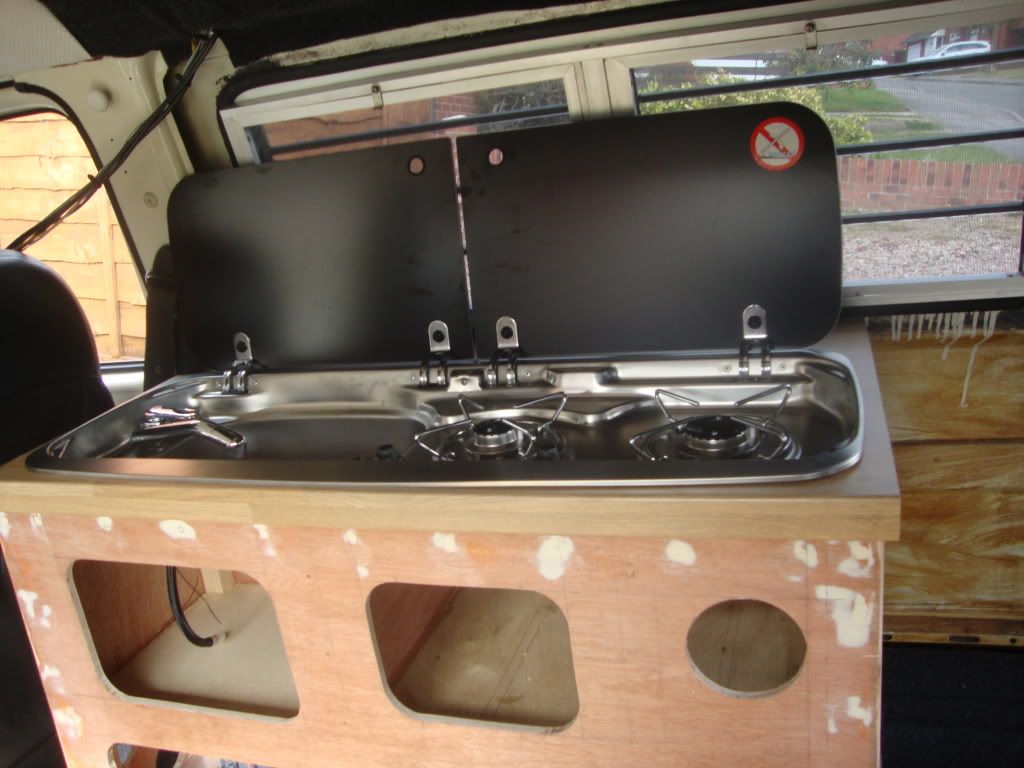
ill be covering the unit later this week i hope once ive sorted where the wires and plumbing are going.
Re: Jambo, being tarted up abit
Posted: 10 Sep 2012, 14:37
by johnnybee
haha! Damn iPhone auto correct!
My gut feeling is to get one...
I've been offered one for £75 so it's a no brained really...
In fact I'd be a MIG not too

Re: Jambo, being tarted up abit
Posted: 10 Sep 2012, 20:54
by Vaniller
Dazco,
great to see all the hard work bring Jambo back to life.
Can I ask another MIG related question and a window clearance question?
Jambo's window frames were looking a bit crusty. So I guess you cut back and welded in a new strip of metal to get nice clean edges. How did you go about the welding without warping the thinnish steel of the panels? Was it a case of doing a short spot then move a distance, repeat etc? Then just keep working back until you had done the entire piece? Do you have any more pics of this stage of the restoration? What allowance did you leave from edge of window to edge of frame for the seal to fit into?
Looking forward to seeing Jambo all finished and any help aprreciated.
Vaniller
Re: Jambo, being tarted up abit
Posted: 11 Sep 2012, 02:07
by Dazco
Hiya mate . I managed to use the original bits that were not rusted as a referance point I was lucky as far as that was concerned . As for keeping distortion to a minimum , like you said do a small bit at a time. Ive read about people using damp rags etc behind the weld and also using compressed air to keep the area cool. I still got some warping. But it was the first time I had attempted anything like that . Thats my excuse and im sticking to it

Re: Jambo, being tarted up abit
Posted: 11 Sep 2012, 11:50
by Vaniller
Could you fettle the warping to get it reasonably plum?
And up early to carry on carpeting?
Thanks for the reply.
Vaniller
Re: Jambo, being tarted up abit
Posted: 14 Sep 2012, 17:43
by Dazco
was able to straighten most of it, if you look down the length of the window you can see a bit of a wave

Re: Jambo, being tarted up abit
Posted: 14 Sep 2012, 17:52
by Dazco
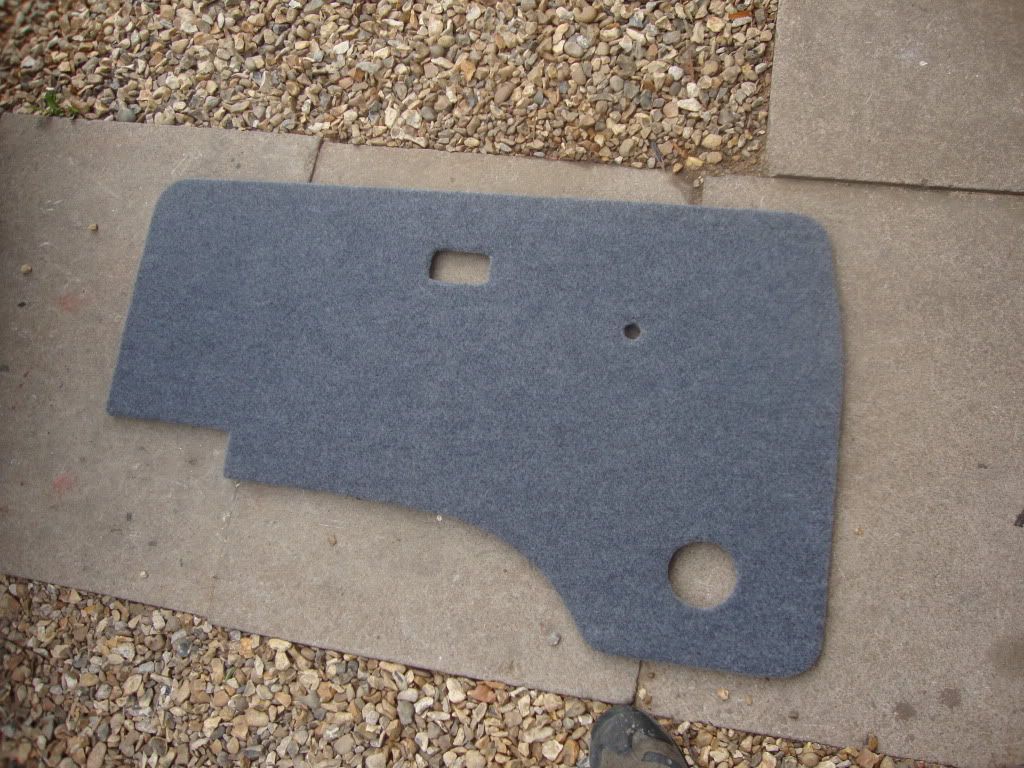
Todays instalment

decided to do the front door panels.
started off by re covering the door inners with thick plastic sheet..
Then onto making the panel using 3.6 ply.
I used what was left of the original panel as a template.
OPnce cut out and the holes drilled for the original clips i varnished the ply.
Also made a small plate for the speaker mount.
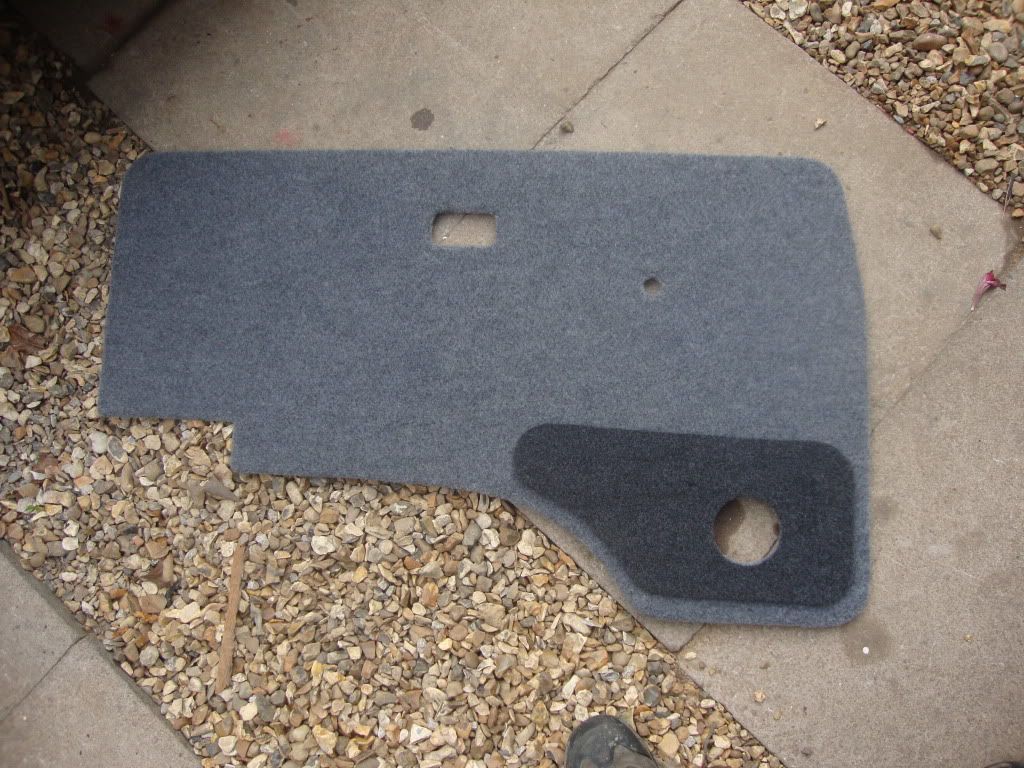
Time to start recovering.
then add the speaker mount .
Panel fitted and all the handles and winders and vent added .
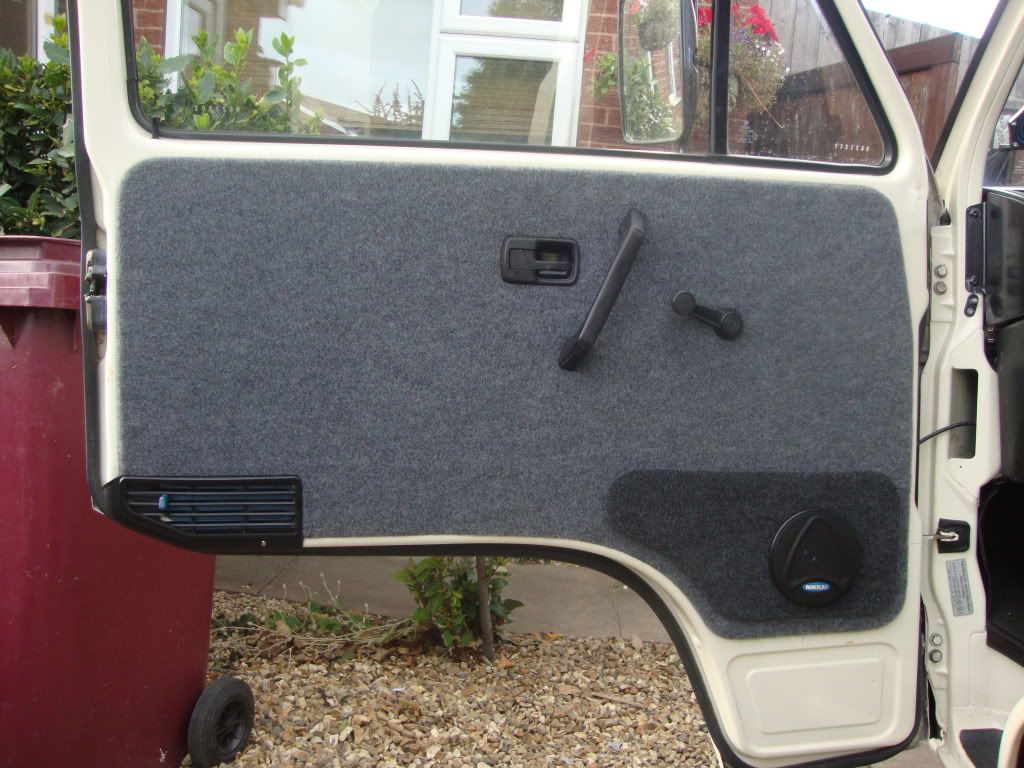
The drivers side is exactly the same. well pleased
Re: Jambo, being tarted up abit
Posted: 14 Sep 2012, 21:04
by Vaniller
Dazco wrote:was able to straighten most of it, if you look down the length of the window you can see a bit of a wave
I'll be happy with results like yours! Carpets for the panels from CMC?
Cheers
Vaniller
Re: Jambo, being tarted up abit
Posted: 02 Oct 2012, 13:55
by Dazco
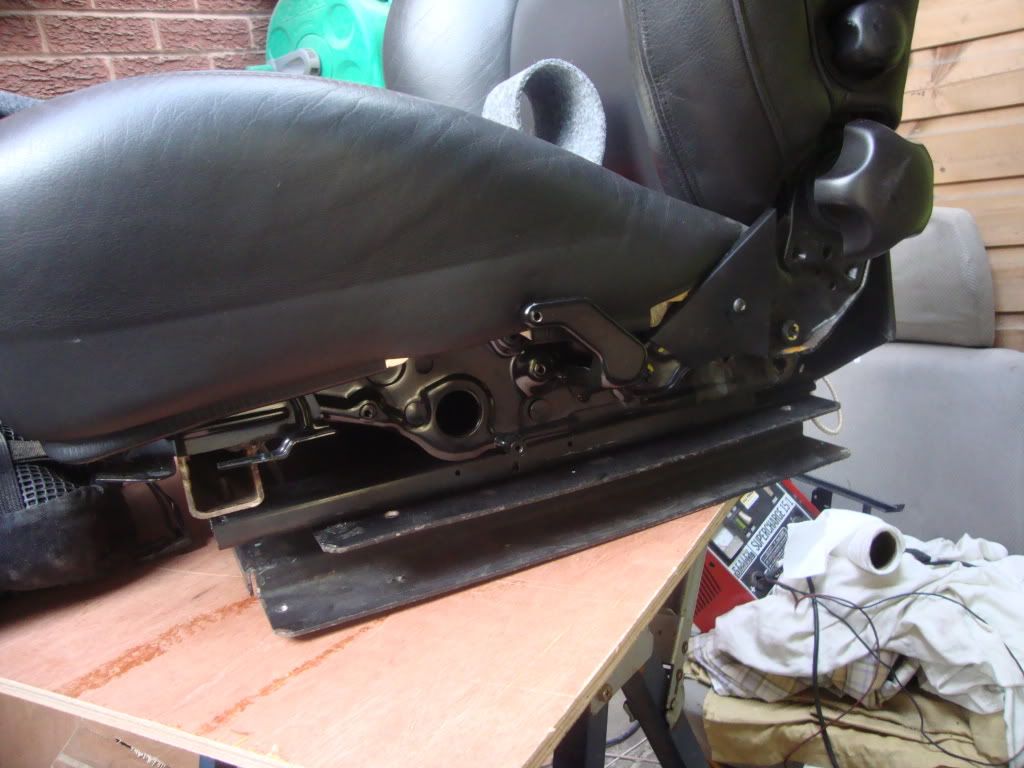
Not been taking many pics lately, been concentrating (when weather and time permits) on the cabinet behind the drivers seat and other bits and pieces.
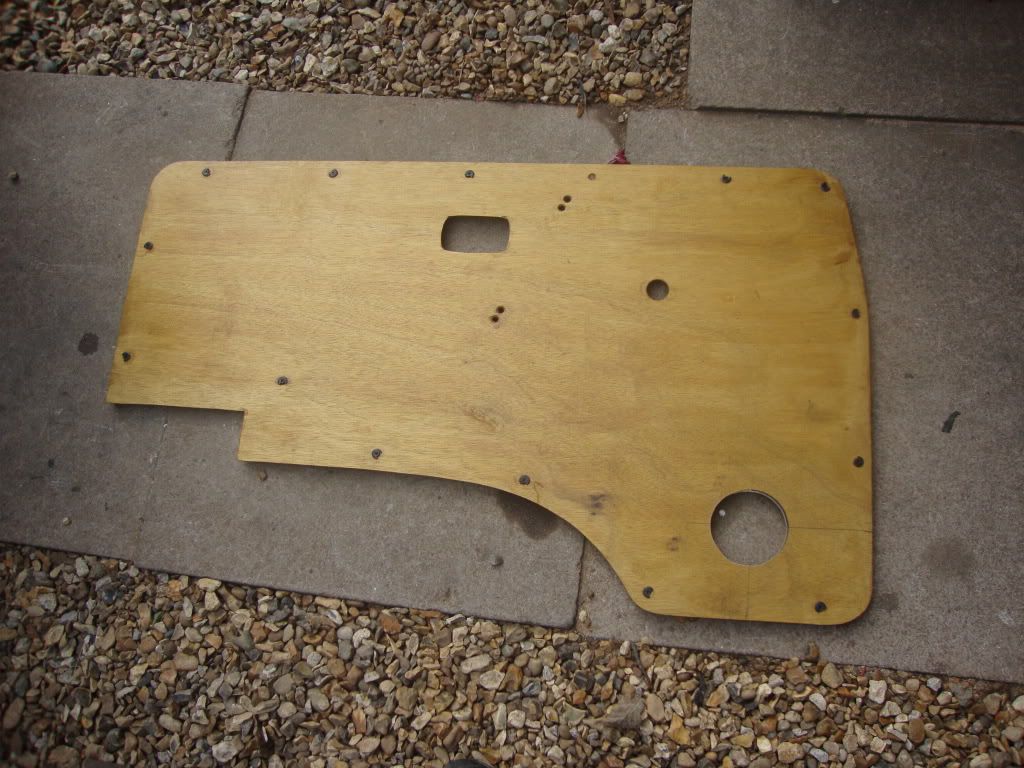
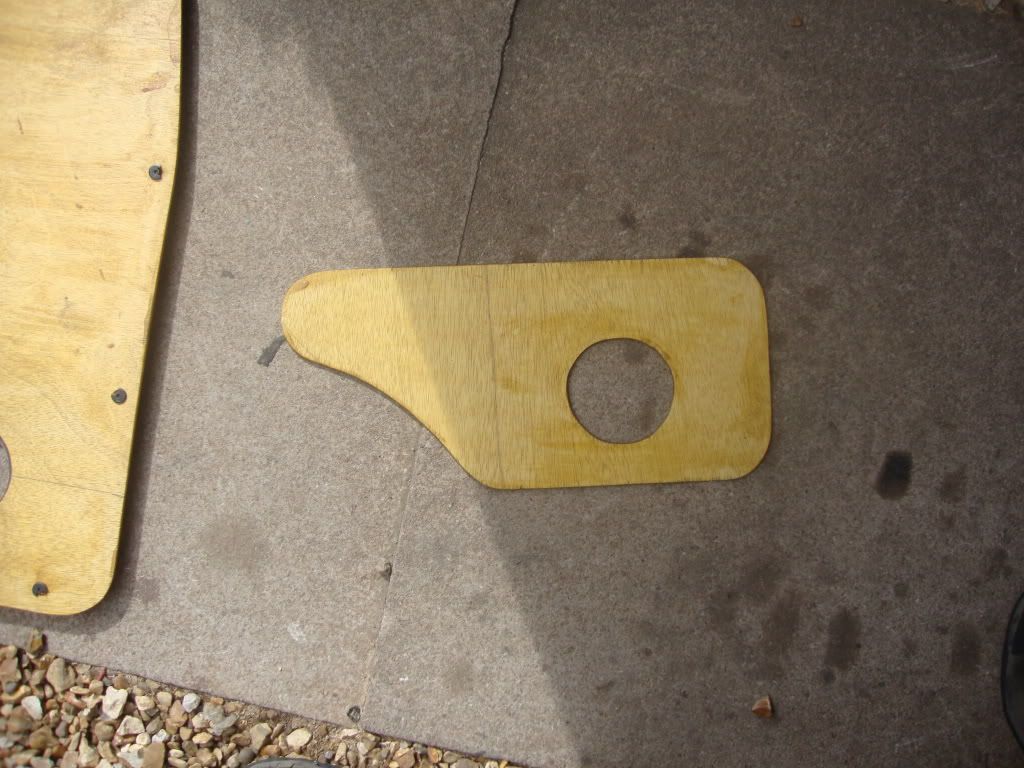
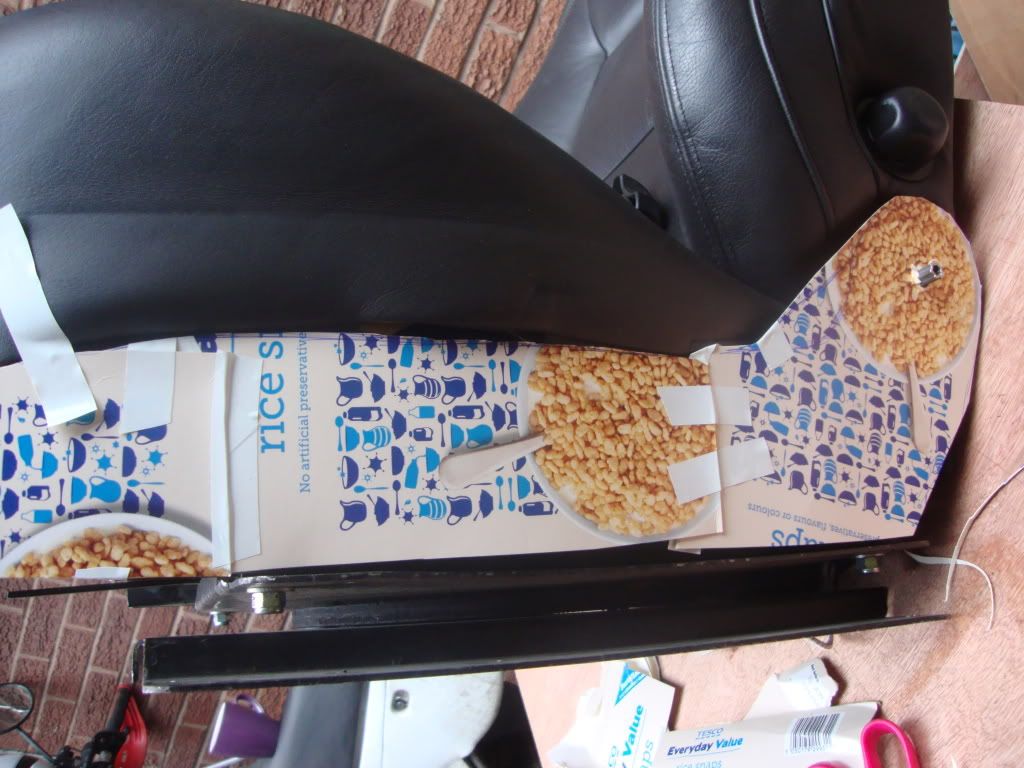
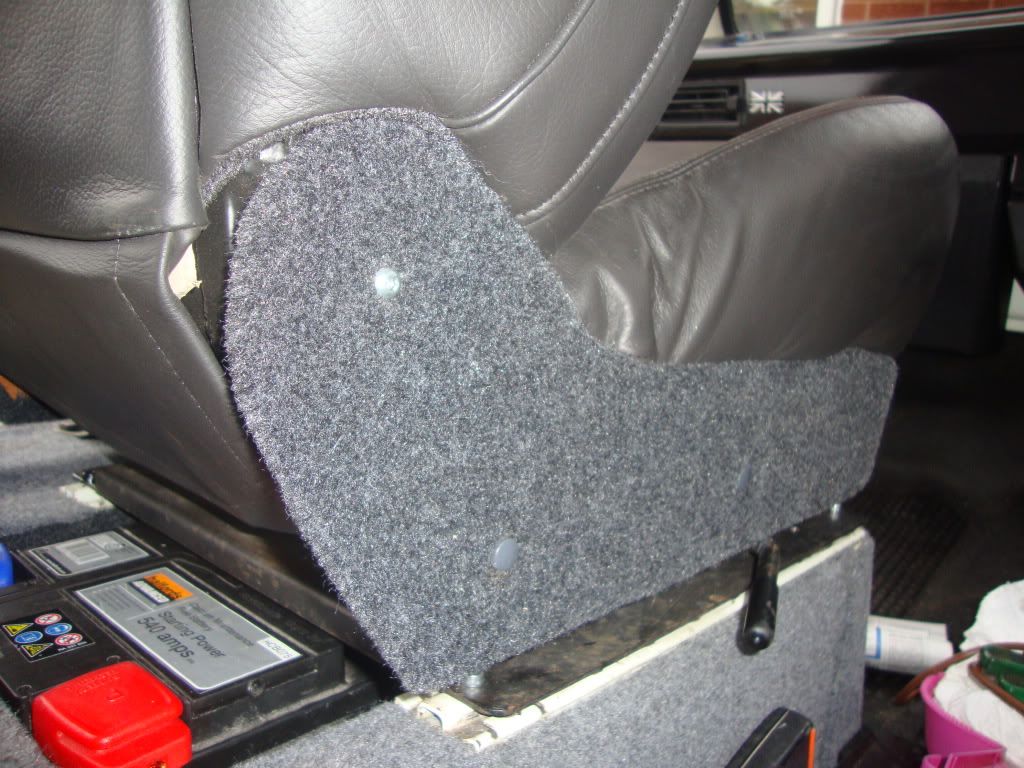
Decided to tidy the seats up a bit by making some side panels for the Saab seats as they do lok very ugly once all the craps been cut off em to make em fit.
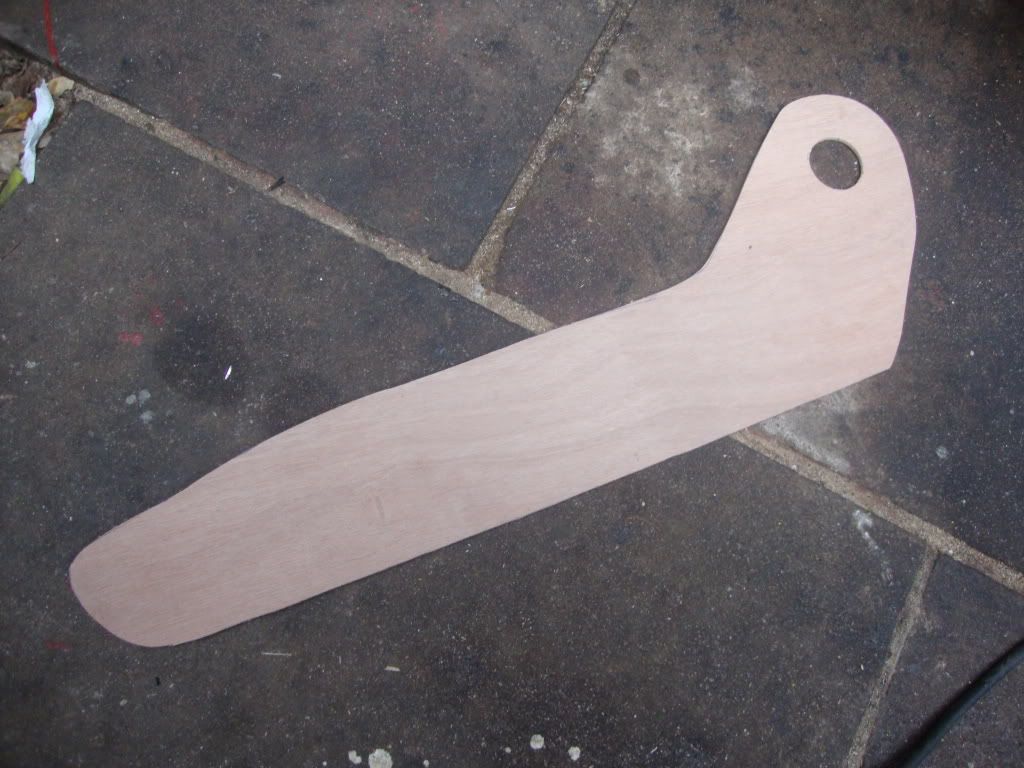
Making a cardboard template.
cutting out of 3.6mm ply.
to get a nice curve around the front corner ive cut a series of slots then added waterproof wood glue .
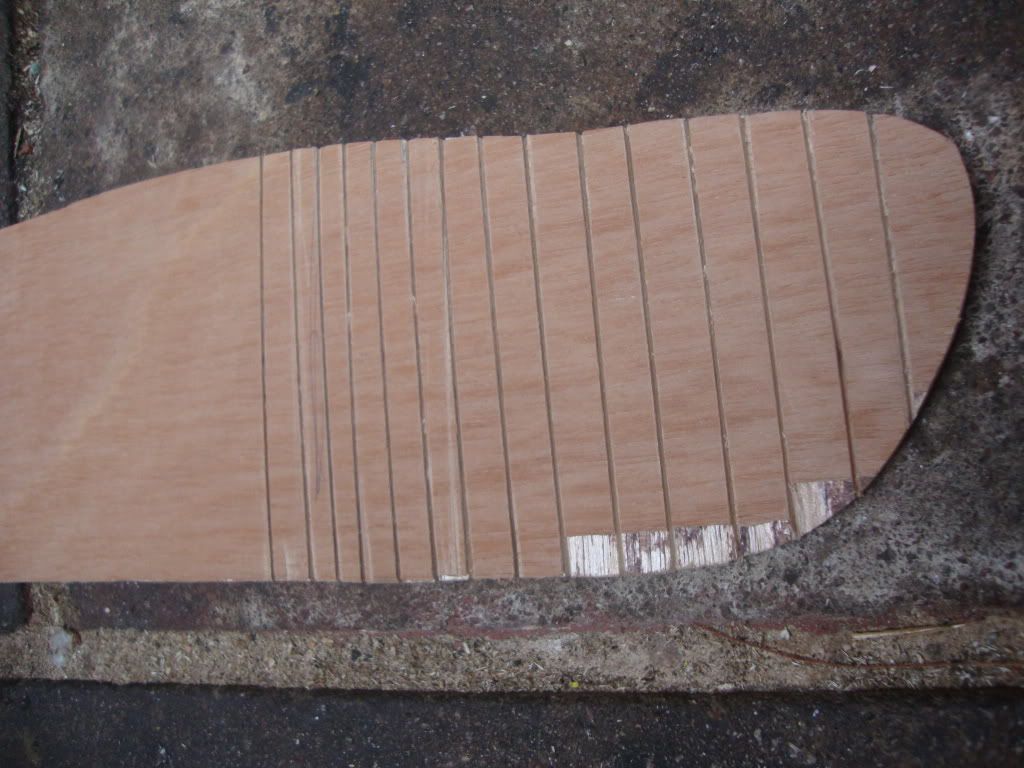
then bend and clamp in place
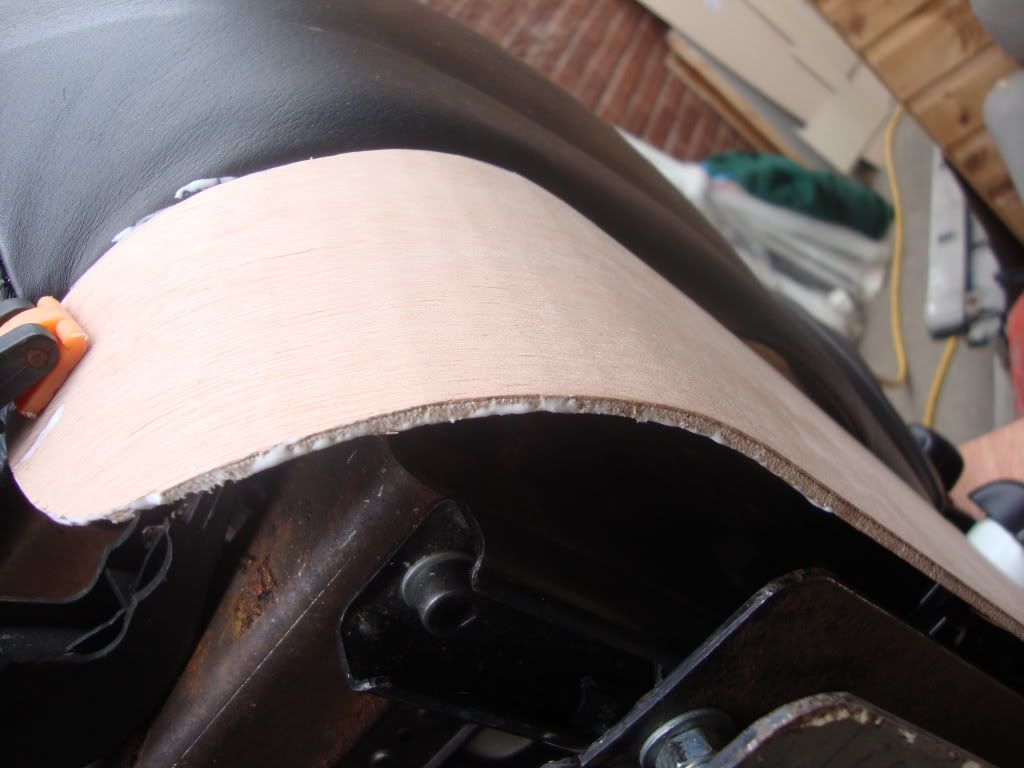
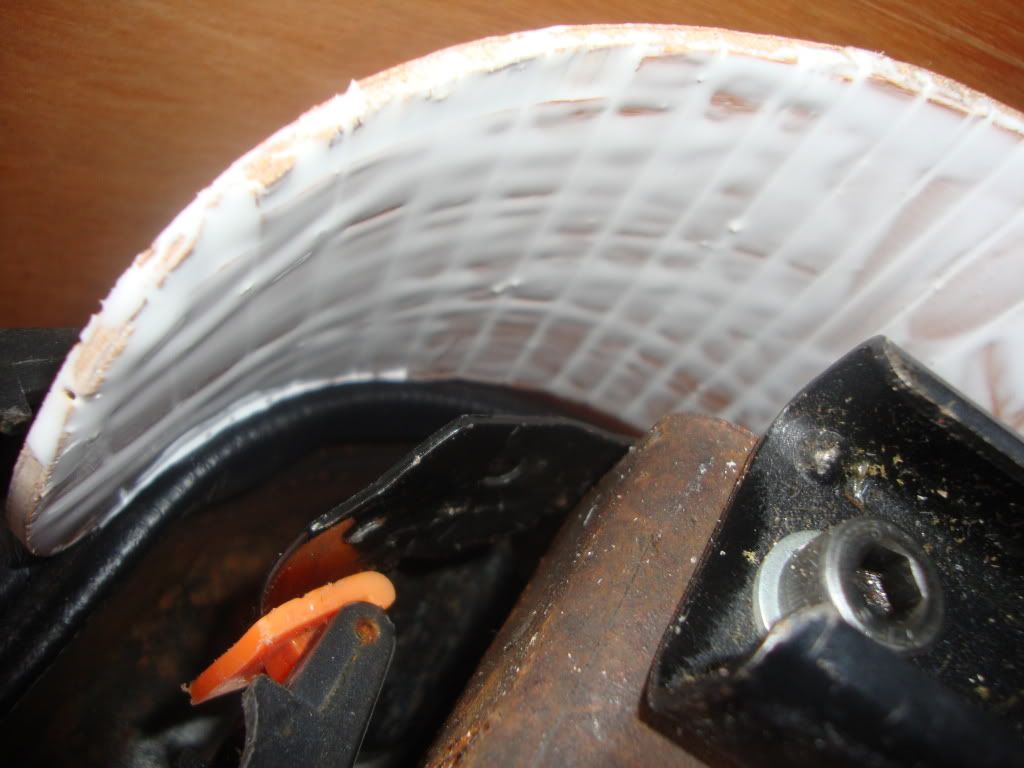
ill leeve it till tomoro and see if its set ok thyen ill have to weld some spacers onto the frame so the panel can then be screwd in place.
If this works ill be making the other 3 this week.
Tell you what theres more to this van resto than i ever imagined
Re: Jambo, being tarted up abit
Posted: 02 Oct 2012, 15:13
by Wookster
Nice idea.
Did you know that if you mix superglue with PVA it goes off almost immediately.
Bloody useful if you crash yer model plane, and I'm an expert at that.
5 mins all done and ready for the next crash, sorry I mean landing

.
Re: Jambo, being tarted up abit
Posted: 02 Oct 2012, 18:53
by skint-van-man
Wow! Just looked through all this thread in awe.
Good work!
Re: Jambo, being tarted up abit
Posted: 02 Oct 2012, 19:20
by Dazco
Super glue and pva nows thats a concoction and a half I might be trying that tomorrow

. How long em you have before its unworkable ?
Re: Jambo, being tarted up abit
Posted: 02 Oct 2012, 19:44
by Wookster
Not long, but long enough. Mix quickly.
Acts as a catalyst so depends on the amount, temperature etc.
Give it a go first with a small amount of pva/few drops and see how long it takes to go off(rubbery).
Couple of bits of scrap ply, blob of glue plus couple of drops of superglue and so on.
Rub together in a T shape, so you can try to twist apart.
Once you get the formula correct, couple of minutes working time and sets in 5.
Sure beats 24 hours, but watch yer fingers cos of the superglue.
If you have a lot to do you can buy 50g bottles of superglue/cyano from model shops, or maybe fleabay if they are allowed to post it. Tubes are about 2g for comparison.
Re: Jambo, being tarted up abit
Posted: 02 Oct 2012, 19:58
by Dazco
I get it from nowt from work
ill have a play with that . Cheers
Re: Jambo, being tarted up abit
Posted: 05 Oct 2012, 19:47
by Dazco
Working nights all week realy screws me up so im limited to what i can get done .
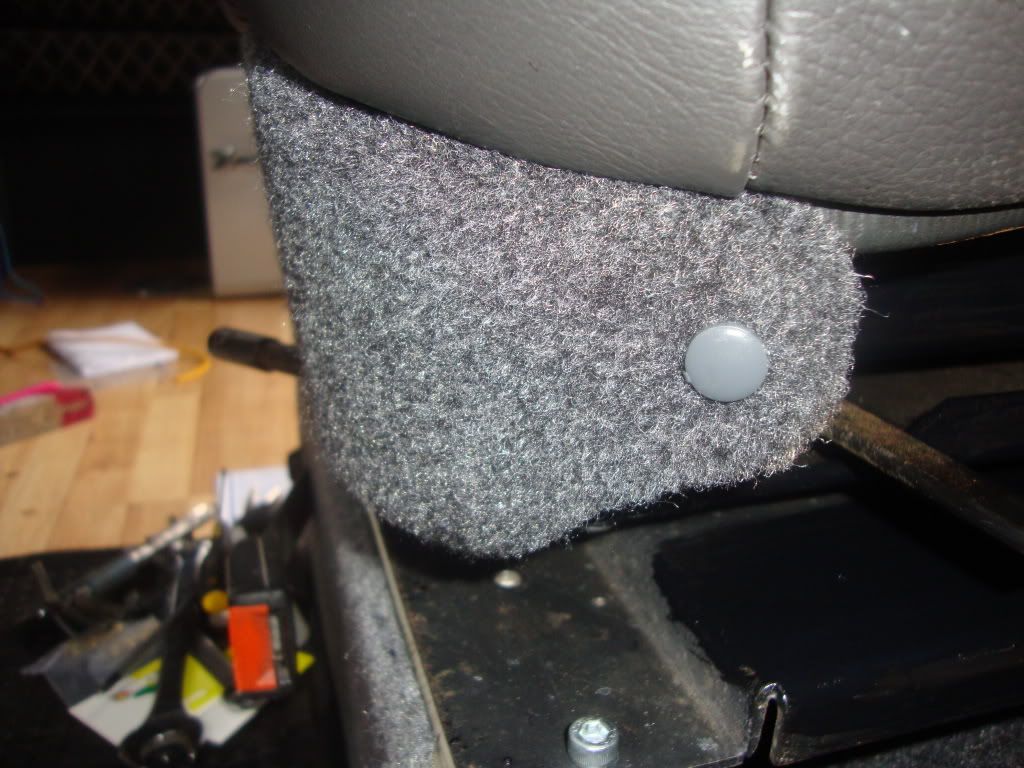
Anyhows, done the seat surounds for the passengers seat.
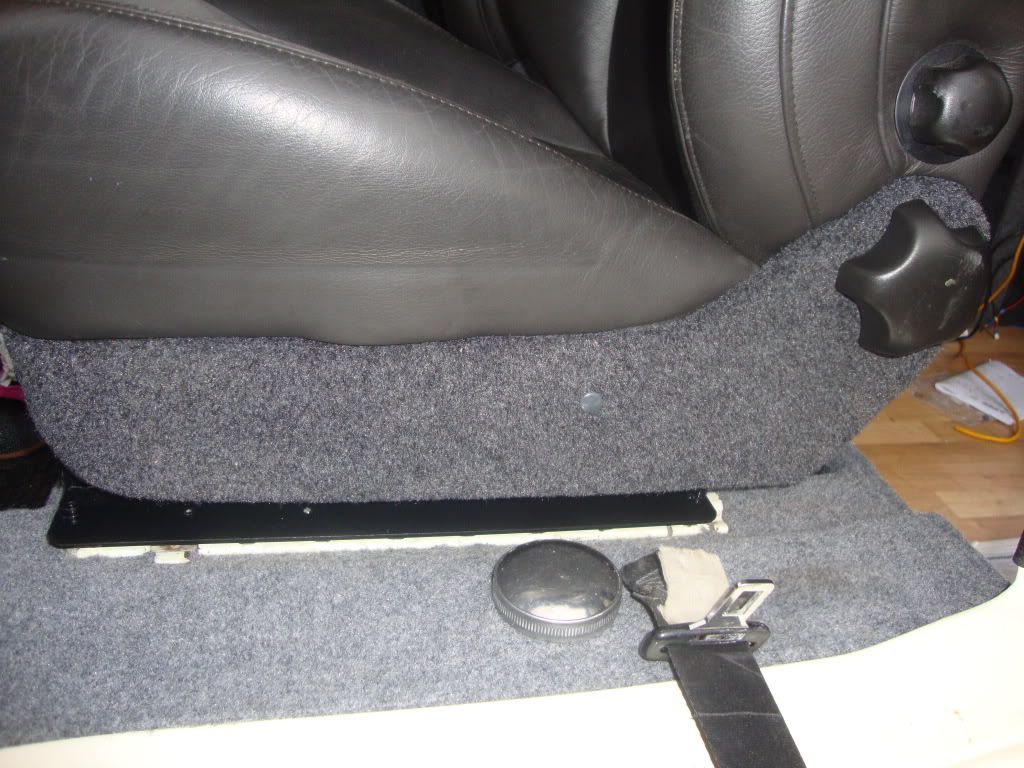
Pleased with how the curved front corners ended up.
gotta get cracking on with the electrics this weekend, i managed to get the hook up cable wired in last weekend .
Im putting it through the engine bay and using the numberplate hatch as its exit. I didnt want to cut into the body for a socket. Lights are all in just need connecting to the dist' unit.