A little bit of air-cooled fun..
]

Well here we are last week end in the dying moments of the French school Summer holidays..
My new school bus, the latest Renault, with ecodrive,Adblue, .....and air conditioning..
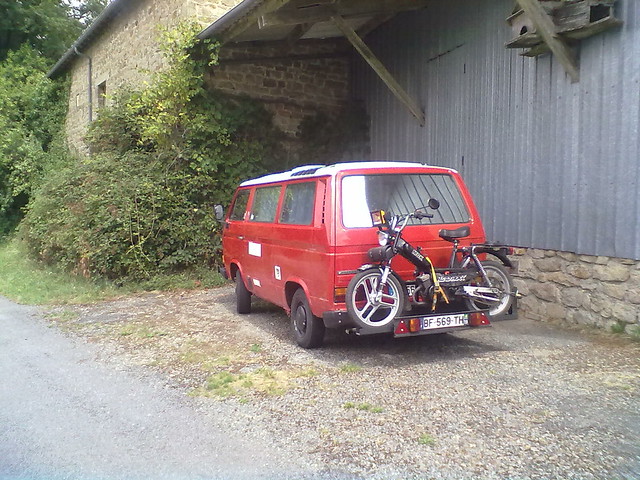
My red 1700 T3 is going very well, better performance, 26mpg perhaps 65 bhp, and not a drop of oil..
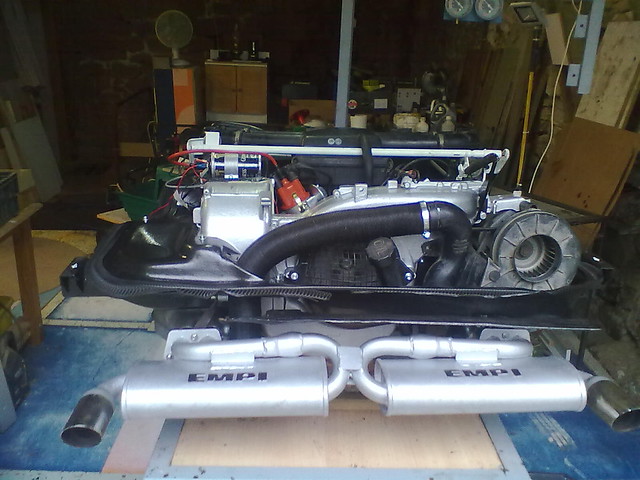
and peeping out shyly from behind is 'Pop Eau' with a 70's Cu motor in a CT chassis, owned by Maxime, a local club member..
]

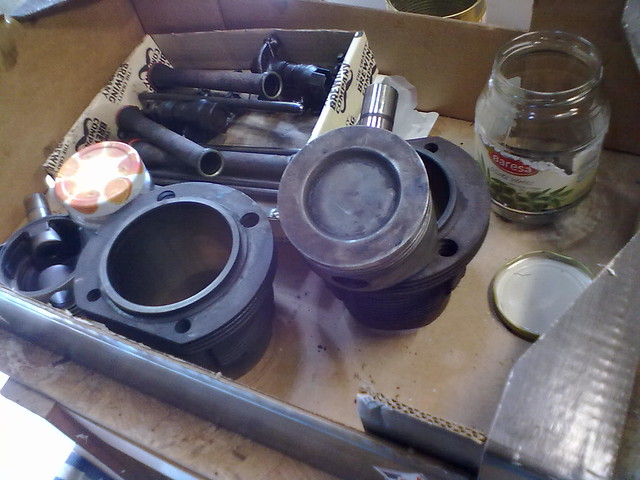
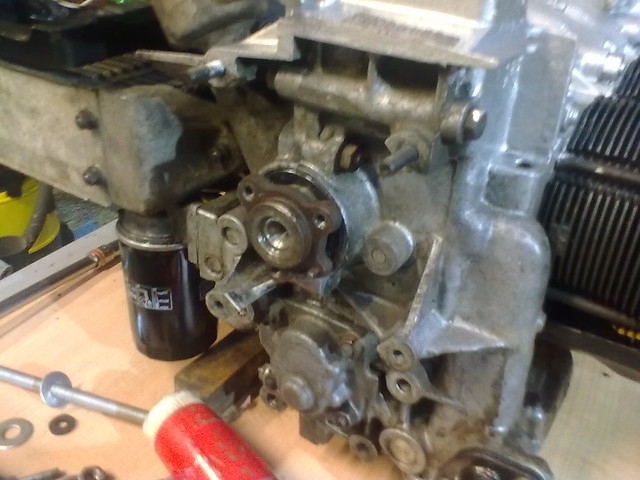
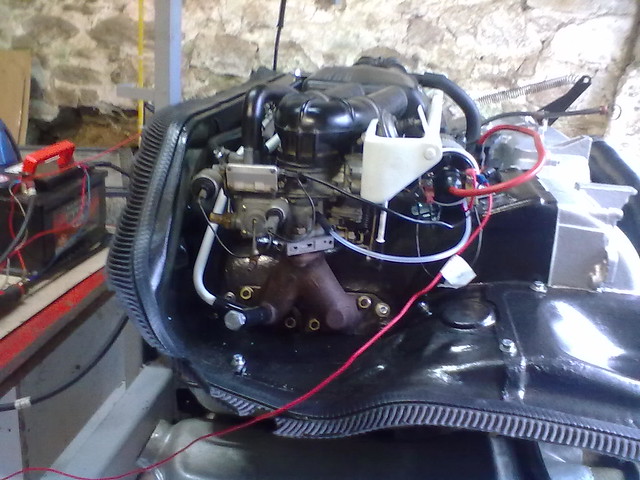
The motor displays all the classic symptoms, oil leaks every where, smoke from the crankcase breather, down to 85 psi on 3 and 4...
but plenty of oil pressure and a reasonable budget..
So the deal is : he does the donkey work and pays for parts, I do the twiddly bits, and then we do the same thing on the next CT that I have in line..
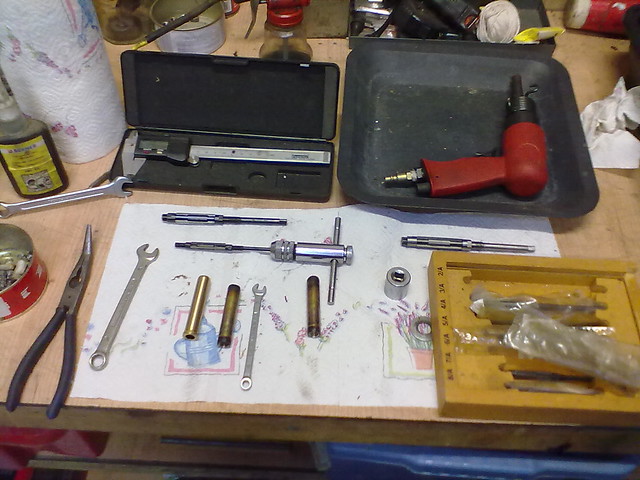
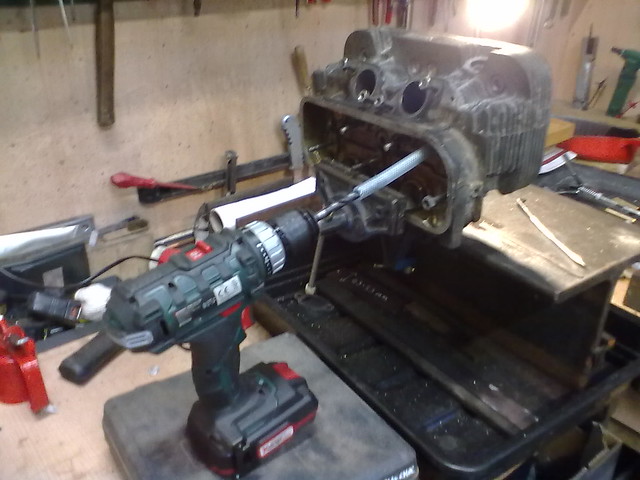
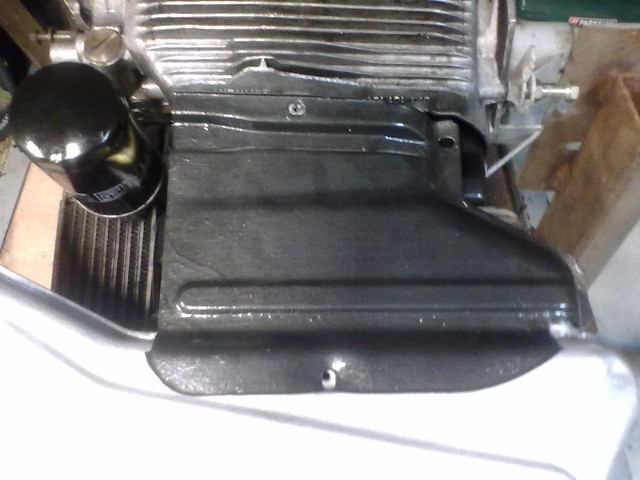
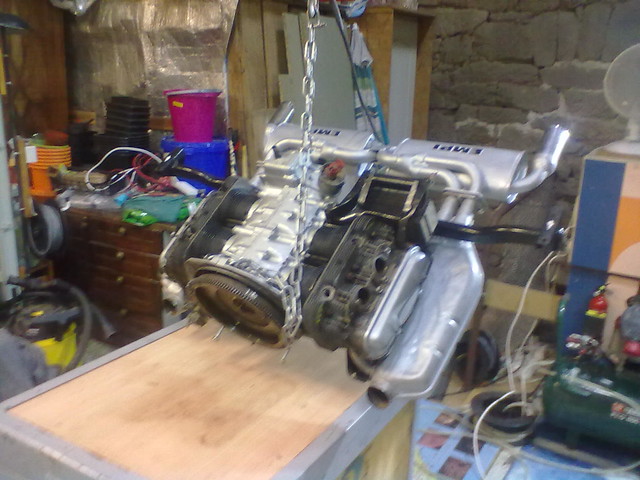
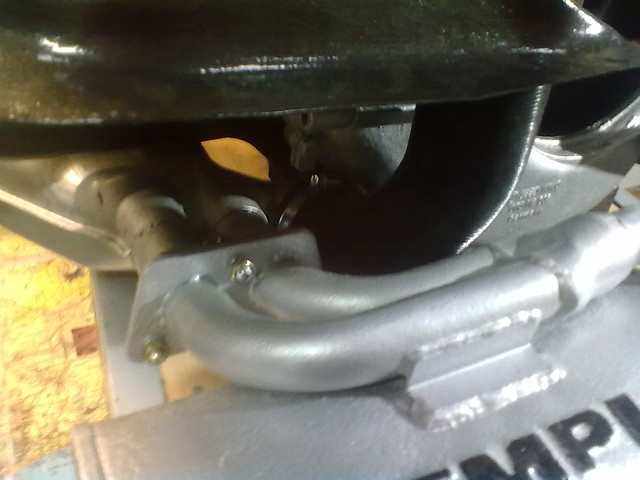
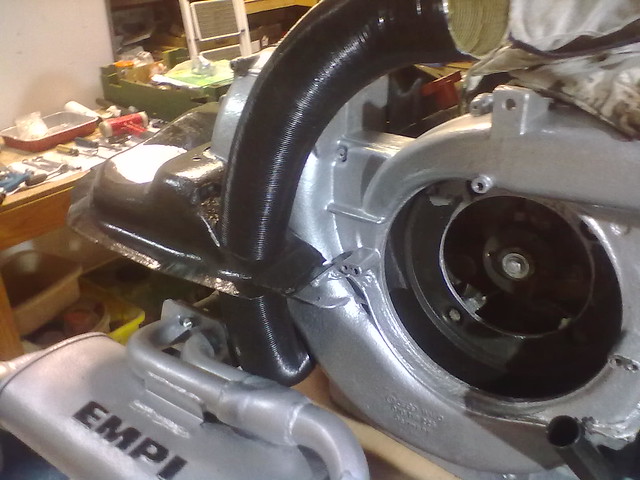
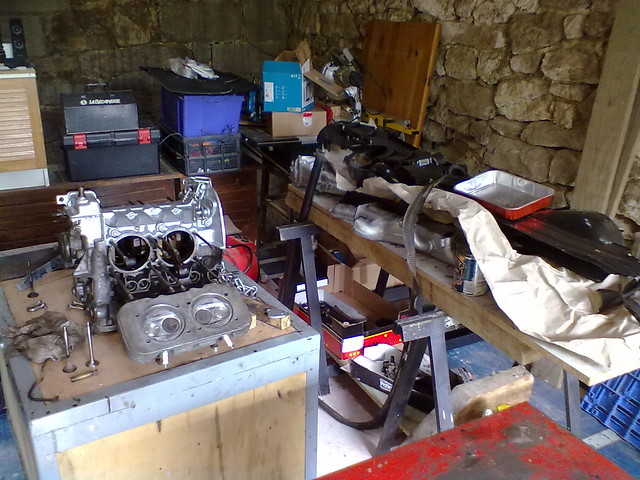
Here we are in the shop with most of the preparation done..
So essentially the job consists of:
crankcase front oil seal
]

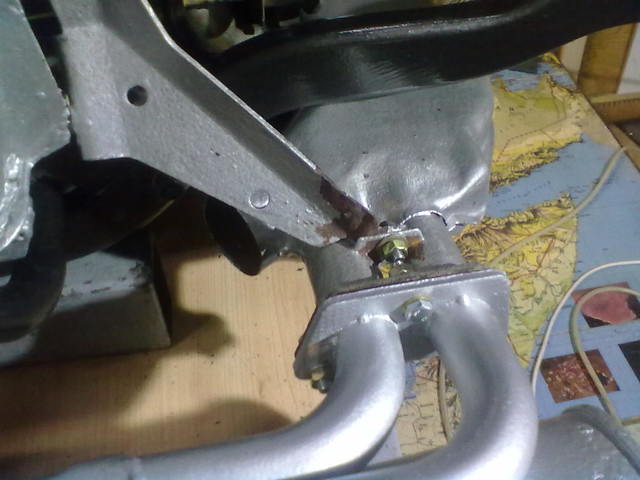
crankcase rear oil seal
]

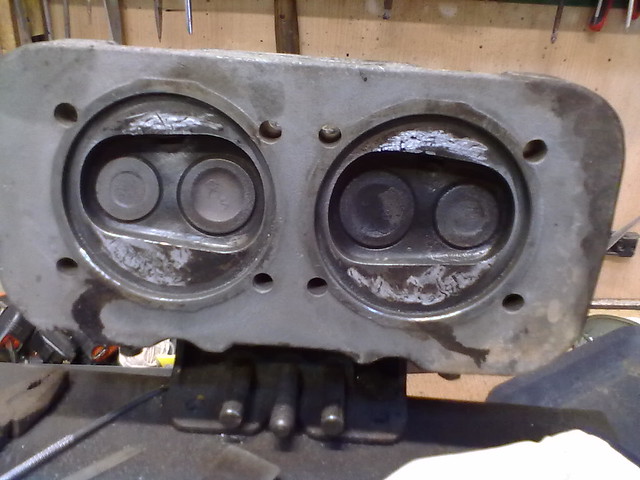
Cylinder head
]
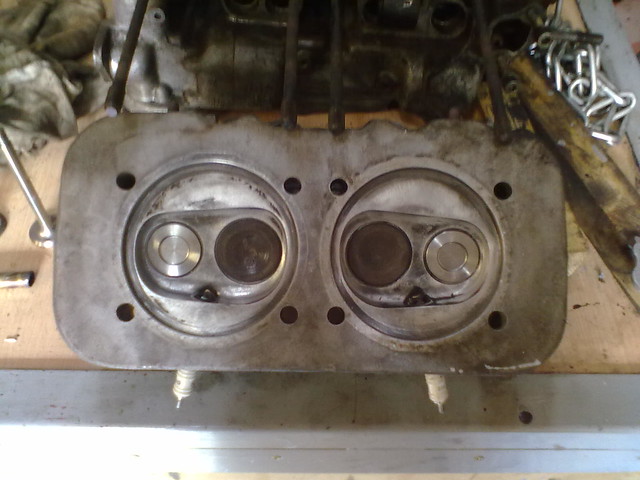
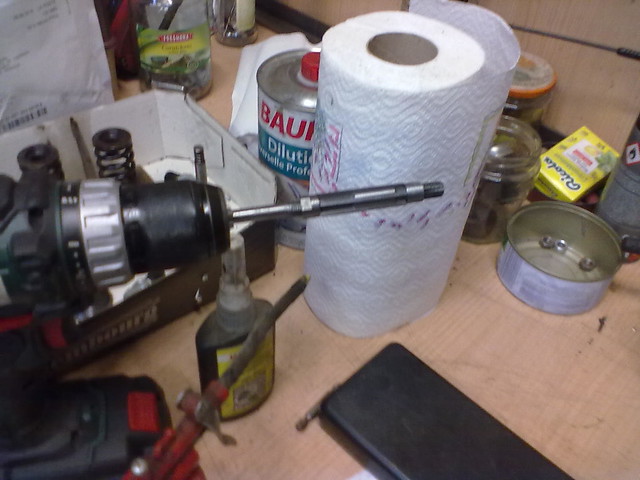
with new valve guides:
]

and stainless exhaust valves:
]

So far, so good....
Air-Cooled Bliss..
Cordialement,