2.0 CU Air Cooled Exhaust Studs

Big lumps of metals and spanners. Including servicing and fluids.

Moderators: User administrators, Moderators

Post Reply
User avatar
jaybeeonline
Registered user
Posts: 40
Joined: 09 Apr 2007, 09:40
80-90 Mem No: 10194
Location: Glasgow

2.0 CU Air Cooled Exhaust Studs

Post by jaybeeonline »

When I bought my van, it was a tad noisy and put it down to a rotten exhaust, but after much investigation, found the right hand heat exchanger to be bust and after removing all related exhaust bits, I am left with a couple of snapped stud stems that my stud extractor won’t work on; therefore, is there an easy way to remove them without pulling out the engine?

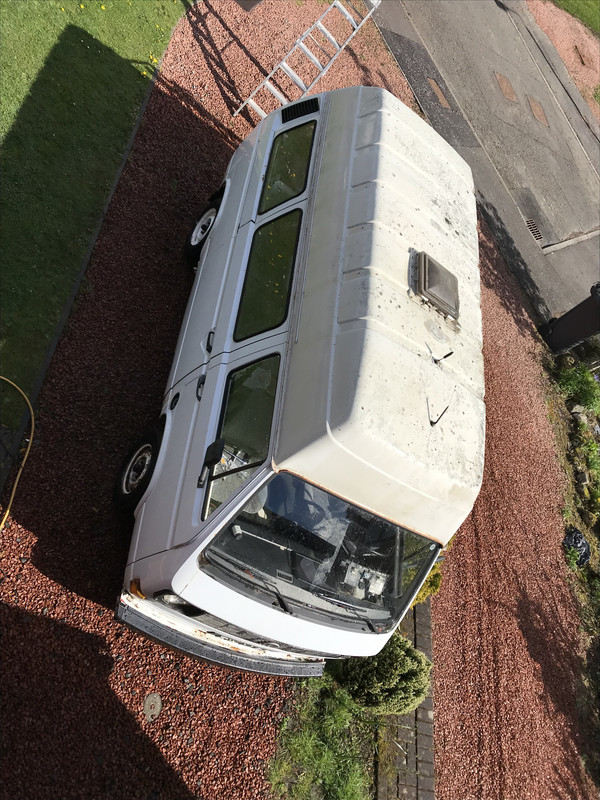
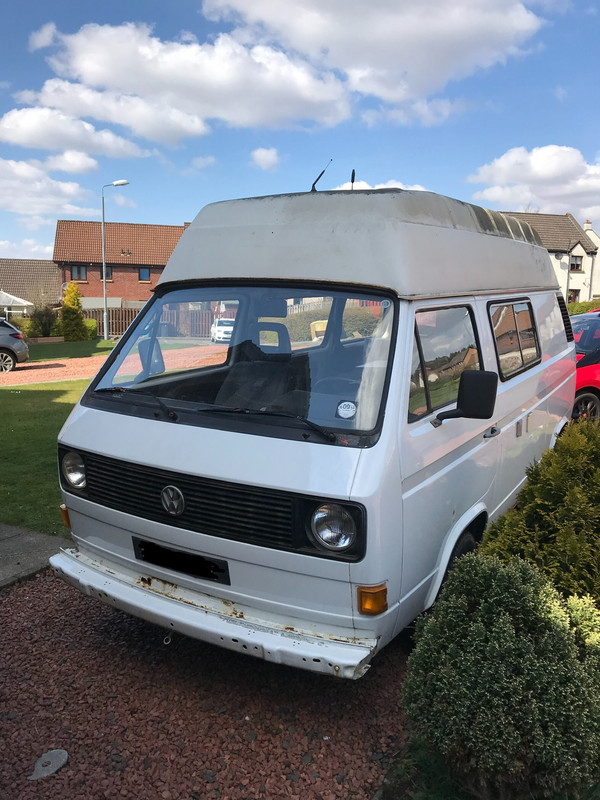
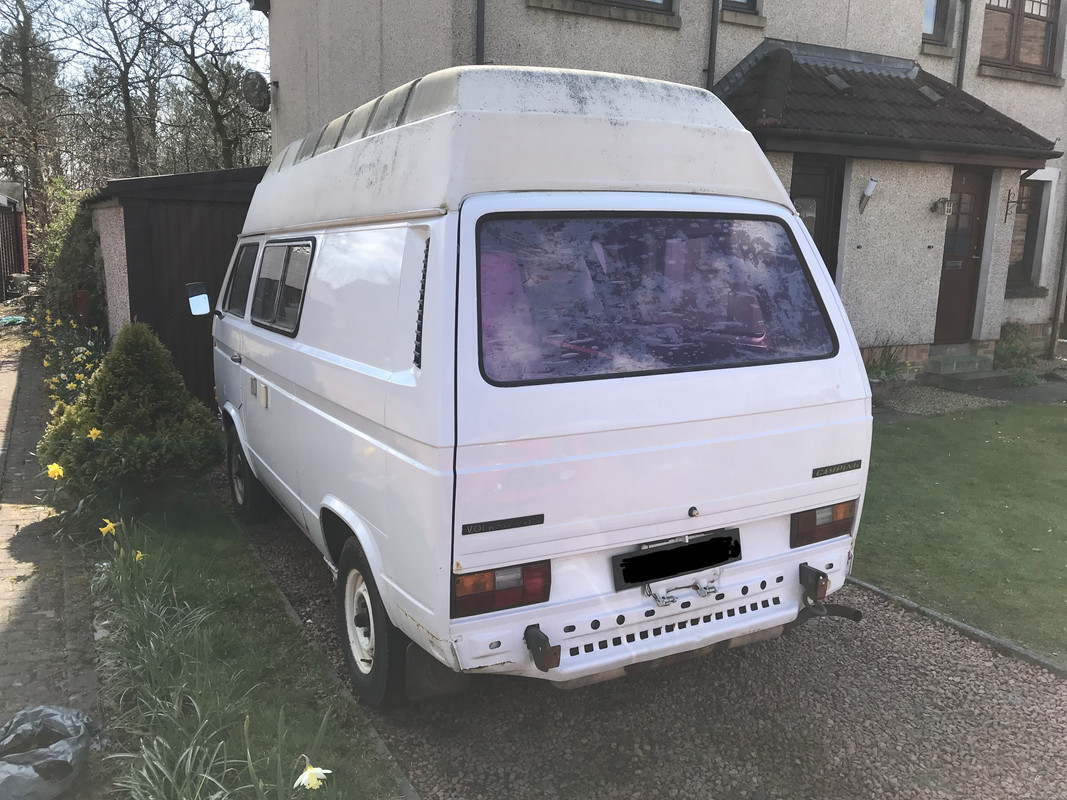
Sadly, I don’t have a big ramp, engine hoist or other means other than a decent set of tools and a gravel drive, so will hopefully have to do it upside down under the van!!

Image
Image
Image
Image

Thanks in advance

User avatar
937carrera
Registered user
Posts: 3599
Joined: 05 Apr 2015, 19:29
80-90 Mem No: 16333
Location: N Yorks.

Re: 2.0 CU Air Cooled Exhaust Studs

Post by 937carrera »

I have done a fair bit of stud remnant removal recently. (but not on an air cooled head)

If you can get a drill in, then it is possible. To make life easier, get yourself some cobalt drills. They make a huge difference, start at 3mm and move up, expanding the hole until you can pick out the remnants of the stud or use a tap to clean the original threads up.

I suggest you source the replacement studs first to measure how deep you need to go :wink:

Slow and steady does it

Be careful with stud extractors, if you break one in you are in for a heap of misery
1981 RHD 2.0 Aircooled Leisuredrive project, CU engine
1990 RHD 1.9 Auto Sleeper with DF/DG engine

User avatar
jaybeeonline
Registered user
Posts: 40
Joined: 09 Apr 2007, 09:40
80-90 Mem No: 10194
Location: Glasgow

Re: 2.0 CU Air Cooled Exhaust Studs

Post by jaybeeonline »

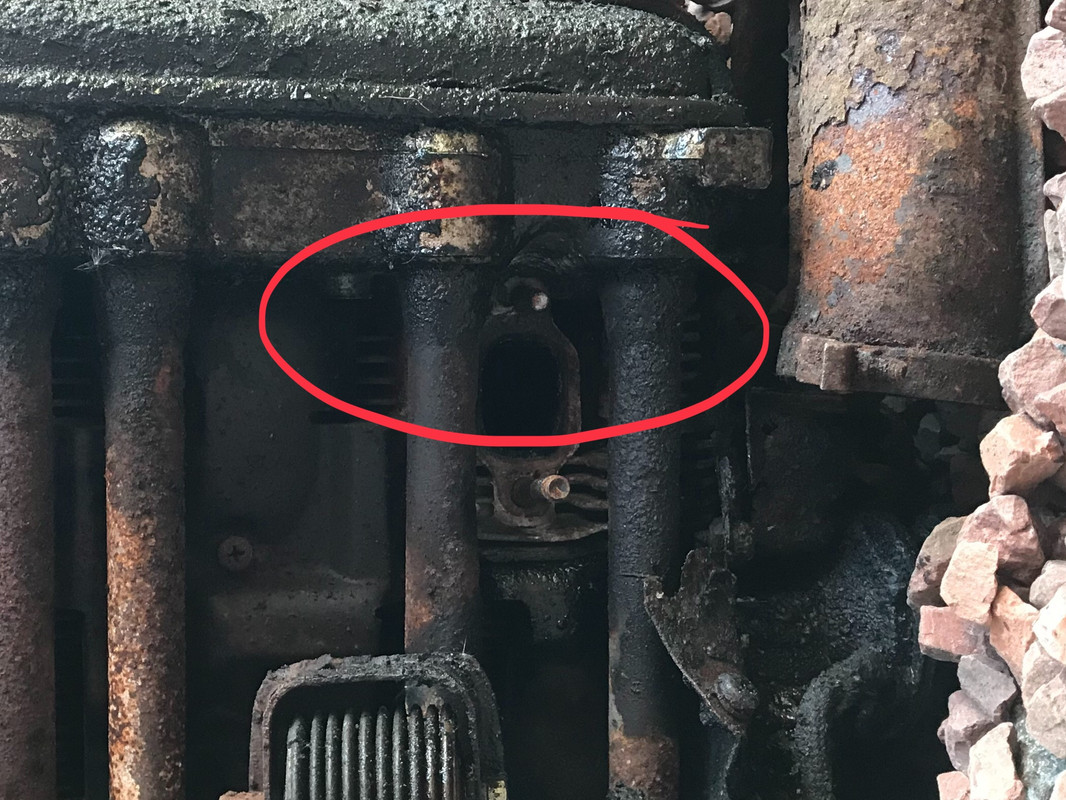
937carrera wrote:I have done a fair bit of stud remnant removal recently. (but not on an air cooled head)

If you can get a drill in, then it is possible. To make life easier, get yourself some cobalt drills. They make a huge difference, start at 3mm and move up, expanding the hole until you can pick out the remnants of the stud or use a tap to clean the original threads up.

I suggest you source the replacement studs first to measure how deep you need to go :wink:

Slow and steady does it

Be careful with stud extractors, if you break one in you are in for a heap of misery

The stud is proud of the head by about 10-15mm and the extractor kit I have connects to a 3/8” drive ratchet but there is just not enough stud to engage the teeth to grip and there is not enough space to get a set of mole grips or similar in.


This is the kit I was using; https://www.eurocarparts.com/ecp/p/car- ... 7IQAvD_BwE" onclick="window.open(this.href);return false;

and this; https://www.ebay.co.uk/itm/Irwin-7-Piec ... 2749.l2649" onclick="window.open(this.href);return false;


J.

User avatar
937carrera
Registered user
Posts: 3599
Joined: 05 Apr 2015, 19:29
80-90 Mem No: 16333
Location: N Yorks.

Re: 2.0 CU Air Cooled Exhaust Studs

Post by 937carrera »

That's why I suggested drilling, it generally works even if it is slower.

The stud extractors I was thinking about were the classic "reverse drill" type, as you haven't got any you won't have that problem :wink:
1981 RHD 2.0 Aircooled Leisuredrive project, CU engine
1990 RHD 1.9 Auto Sleeper with DF/DG engine

Pinkythelabrat
Registered user
Posts: 125
Joined: 14 Apr 2018, 16:11
80-90 Mem No: 0
Location: Glasgow

Re: 2.0 CU Air Cooled Exhaust Studs

Post by Pinkythelabrat »

Could you maybe use a chisel to turn it? Or cut a slot and use a flat bit on a mini ratchet?

I have no idea what you’re seeing so can’t really give good advice - just guessing here.


Sent from my iPad using Tapatalk

User avatar
jaybeeonline
Registered user
Posts: 40
Joined: 09 Apr 2007, 09:40
80-90 Mem No: 10194
Location: Glasgow

Re: 2.0 CU Air Cooled Exhaust Studs

Post by jaybeeonline »

I finally got the engine out yesterday, with me swearing, huffing & puffing and the photo below shows the issue I have.

The stud is there, but because of the shape of the area around the exhaust port, my stud extractor is too wide and fouling as per the witness marks on the head :|

Image


J.

User avatar
937carrera
Registered user
Posts: 3599
Joined: 05 Apr 2015, 19:29
80-90 Mem No: 16333
Location: N Yorks.

Re: 2.0 CU Air Cooled Exhaust Studs

Post by 937carrera »

It's a CU engine...... if it's the same as the 412 type 4 engine the pushrod tubes can be removed without removing the head (not possible with WBX). Look into that.

......and try a drill
1981 RHD 2.0 Aircooled Leisuredrive project, CU engine
1990 RHD 1.9 Auto Sleeper with DF/DG engine

User avatar
bigherb
Registered user
Posts: 2579
Joined: 27 Mar 2008, 13:50
80-90 Mem No: 5789
Location: West Kent

Re: 2.0 CU Air Cooled Exhaust Studs

Post by bigherb »

If you have a welder? Weld a nut onto the remaining stud hopefully the heat will also break the bond with the stud in the head.
1982 Camper 1970 1500 Beetle Various Skoda's, Ariel Arrow

User avatar
sarran1955
Registered user
Posts: 1441
Joined: 11 Mar 2009, 18:51
80-90 Mem No: 6754
Location: 6, les Hauts de Sarran 19800, Sarran ,Limousin ,FRANCE

Re: 2.0 CU Air Cooled Exhaust Studs

Post by sarran1955 »

Hello,

A good clean would do no harm.. :roll:

When you remove the pushrod tubes, make sure the 'wongly' spring is there to hold the pushrods in place.
You will of course be fitting new black and green pushrod oil seals

Air-Cooled Bliss.. 8)

Cordialement,

:ok
Image

User avatar
jaybeeonline
Registered user
Posts: 40
Joined: 09 Apr 2007, 09:40
80-90 Mem No: 10194
Location: Glasgow

Re: 2.0 CU Air Cooled Exhaust Studs

Post by jaybeeonline »

sarran1955 wrote:Hello,

A good clean would do no harm.. :roll:

When you remove the pushrod tubes, make sure the 'wongly' spring is there to hold the pushrods in place.
You will of course be fitting new black and green pushrod oil seals

Air-Cooled Bliss.. 8)

Cordialement,

:ok

I can’t be blamed for the very manky and oily engine, I have only driven it a couple of miles since I bought it :run

The engine will be fully cleaned and degreased, new seals fitted where needed, then new tinware will be fitted after powder coating once I find the bits that I am missing due to corrosion. Refurbished carbs will be added and lastly the NOS VW heat exchangers I sourced will be added before bolting it back into the cleaned engine bay - it sounds so simple saying in comparison to actually doing it!

Then it’s onto the brakes and then replace the sill opposite the sliding door, as it is a bit threadbare.


Oh, why did I bother buying the bloody van :rofl


J.

Post Reply