almost certain that this is turning into an engine rebuild thread now
WBX-Unknown
Moderators: User administrators, Moderators
-
937carrera

- Registered user
- Posts: 3599
- Joined: 05 Apr 2015, 19:29
- 80-90 Mem No: 16333
- Location: N Yorks.
Re: WBX-Unknown
http://forum.club8090.co.uk/viewtopic.php?f=37&t=165346
almost certain that this is turning into an engine rebuild thread now
almost certain that this is turning into an engine rebuild thread now
1981 RHD 2.0 Aircooled Leisuredrive project, CU engine
1990 RHD 1.9 Auto Sleeper with DF/DG engine
1990 RHD 1.9 Auto Sleeper with DF/DG engine
-
itchyfeet

- Registered user
- Posts: 12427
- Joined: 23 Jul 2007, 17:24
- 80-90 Mem No: 12733
- Location: South Hampshire
Re: WBX-Unknown
Too late it's already one 
Give yourself a slap for not driving your van in 6 months
Give yourself a slap for not driving your van in 6 months
-
937carrera
- Registered user
- Posts: 3599
- Joined: 05 Apr 2015, 19:29
- 80-90 Mem No: 16333
- Location: N Yorks.
Re: WBX-Unknown
I have other wheels so have no need to use the camper in the winter months... and most importantly incur the additional road tax. It does get started and moved about every month or so, never failed to start.
Back onto the engine
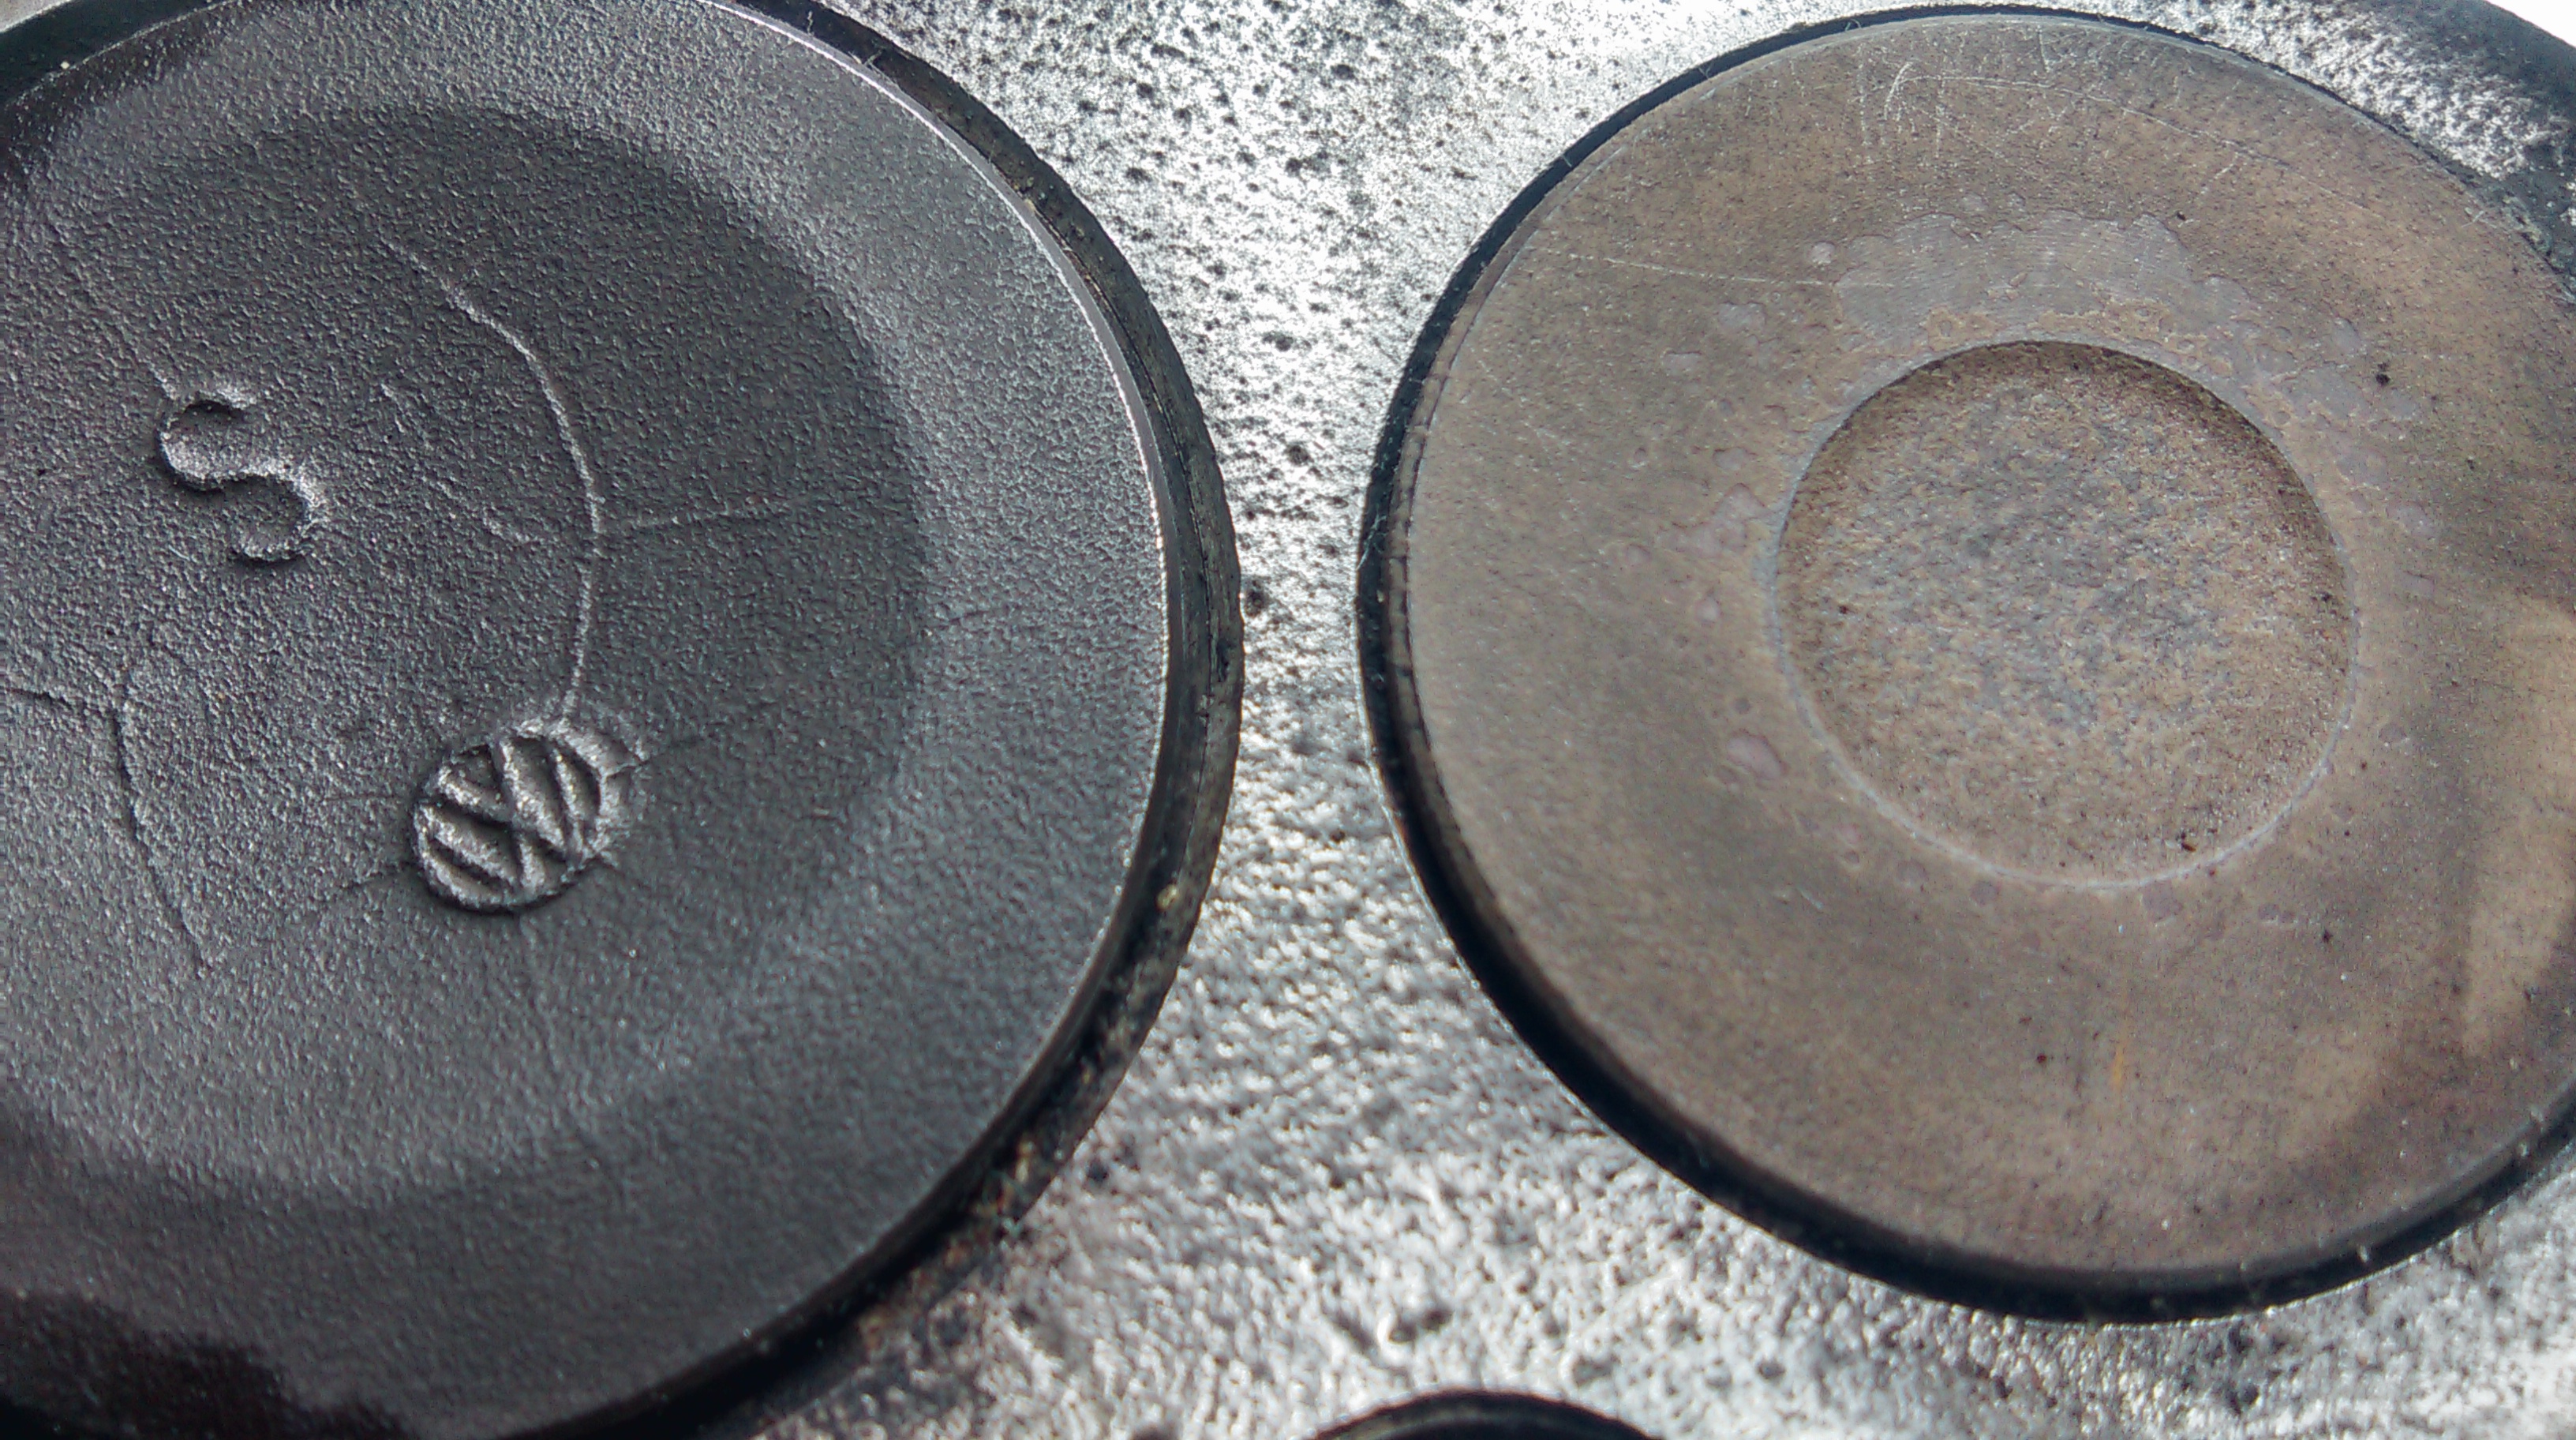
Piston number 4 has been cleaned up and so I have a full set clean and ready for new rings
Today I decided to do a little work on the crank. I measured up the journal on rod 3 to make sure it was flat and not tapered in case that was what had caused the uneven wear on the big end. I took readings at 3 points across the journal and at 2 points around. It doesn't seem to be ovaled or tapered, so that's good.
Next I moved on to polishing the crank. Just a little tickle, primarily to clean up the little marks on rod journal 2, and after that went onto the other journals. I simply used some 800 grade wet'n dry and cut a strip to go around the journal, well lubricated with WD40 and gently moved the strip back and forwards as I also rotated around the bearing. Less than a minutes work for each journal and no great pressure exerted.
Here's what it looked like before

...and after. I'm happy enough with that, no need to take it to the engineers, the crank is in spec and remains standard size.

holding the strip one handed while I took the photo

What next do you think, barrels ?
Back onto the engine
Piston number 4 has been cleaned up and so I have a full set clean and ready for new rings
Today I decided to do a little work on the crank. I measured up the journal on rod 3 to make sure it was flat and not tapered in case that was what had caused the uneven wear on the big end. I took readings at 3 points across the journal and at 2 points around. It doesn't seem to be ovaled or tapered, so that's good.
Next I moved on to polishing the crank. Just a little tickle, primarily to clean up the little marks on rod journal 2, and after that went onto the other journals. I simply used some 800 grade wet'n dry and cut a strip to go around the journal, well lubricated with WD40 and gently moved the strip back and forwards as I also rotated around the bearing. Less than a minutes work for each journal and no great pressure exerted.
Here's what it looked like before
...and after. I'm happy enough with that, no need to take it to the engineers, the crank is in spec and remains standard size.
holding the strip one handed while I took the photo
What next do you think, barrels ?
1981 RHD 2.0 Aircooled Leisuredrive project, CU engine
1990 RHD 1.9 Auto Sleeper with DF/DG engine
1990 RHD 1.9 Auto Sleeper with DF/DG engine
-
937carrera
- Registered user
- Posts: 3599
- Joined: 05 Apr 2015, 19:29
- 80-90 Mem No: 16333
- Location: N Yorks.
Re: WBX-Unknown
Well, nearly two months on it wasn't barrels next, it was cylinder heads. I cleaned up the combustion chamber area of the right hand head this afternoon, and removed some of the gasket sealant. Looks pretty good.
I understand that in many cases there are small fractures between the valve seats. I can't see that issue here, unless you can, they didn't take much cleaning either. They'll have another clean when the valves are removed, this was just a quick look see.
Cylinder 1

Cylinder 2

I understand that in many cases there are small fractures between the valve seats. I can't see that issue here, unless you can, they didn't take much cleaning either. They'll have another clean when the valves are removed, this was just a quick look see.
Cylinder 1
Cylinder 2
1981 RHD 2.0 Aircooled Leisuredrive project, CU engine
1990 RHD 1.9 Auto Sleeper with DF/DG engine
1990 RHD 1.9 Auto Sleeper with DF/DG engine
-
itchyfeet
- Registered user
- Posts: 12427
- Joined: 23 Jul 2007, 17:24
- 80-90 Mem No: 12733
- Location: South Hampshire
Re: WBX-Unknown
crack starting on 1 but of no concern
I have read 0.5mm as a limit but in reality a crack can be smaller than that but deep enough to hit the coolant channels.
the limit is really saying any big crack scrap it but a small crack is no guarantee.
I have read 0.5mm as a limit but in reality a crack can be smaller than that but deep enough to hit the coolant channels.
the limit is really saying any big crack scrap it but a small crack is no guarantee.
-
tobydog

- Registered user
- Posts: 1382
- Joined: 07 Mar 2009, 21:03
- 80-90 Mem No: 6484
- Location: Near Saarfend, Essex
Re: WBX-Unknown
Dye penetrant test........
https://www.demon-tweeks.com/uk/flawtek ... src=aw.ds/" onclick="window.open(this.href);return false;
https://www.demon-tweeks.com/uk/flawtek ... src=aw.ds/" onclick="window.open(this.href);return false;
Knowledge is power
1970 CU
1970 CU
-
937carrera
- Registered user
- Posts: 3599
- Joined: 05 Apr 2015, 19:29
- 80-90 Mem No: 16333
- Location: N Yorks.
Re: WBX-Unknown
tobydog wrote:Dye penetrant test........
I should know about that stuff as a company I did some work for makes all sorts of NDT stuff, some very exotic
I had another look, cleaned the area a bit more and have taken another photo
Can you still see something worth investigating or does it just look like another of the many imperfections when you get in close - I am at the limits of my phone here ?
1981 RHD 2.0 Aircooled Leisuredrive project, CU engine
1990 RHD 1.9 Auto Sleeper with DF/DG engine
1990 RHD 1.9 Auto Sleeper with DF/DG engine
-
itchyfeet
- Registered user
- Posts: 12427
- Joined: 23 Jul 2007, 17:24
- 80-90 Mem No: 12733
- Location: South Hampshire
Re: WBX-Unknown
looks fine, carry on.
-
937carrera
- Registered user
- Posts: 3599
- Joined: 05 Apr 2015, 19:29
- 80-90 Mem No: 16333
- Location: N Yorks.
Re: WBX-Unknown
Thanks
This afternoon I carried on by removing the broken stud from the right hand cylinder head.
My usual technique of leveling off the broken stud if necessary, centre punching the centre then drilling a pilot hole by eye. This steel appeared to be really hard, tried a few different drill bits, in the end a resharpened 4mm bit was the one that worked, the smaller ones were not biting. Then opened up the hole using progressively larger bits. All done by hand with a battery drill. Though I have a decent range of tools I don't even possess a pillar drill
I think another 0.5mm on this and the existing steel thread will be sufficiently well destroyed that running a tap down will clean the existing threads up for
re-use. At least it usually works that way.
Both studs on the other port are missing so I assume they came out when the exhaust was removed
1981 RHD 2.0 Aircooled Leisuredrive project, CU engine
1990 RHD 1.9 Auto Sleeper with DF/DG engine
1990 RHD 1.9 Auto Sleeper with DF/DG engine
-
itchyfeet
- Registered user
- Posts: 12427
- Joined: 23 Jul 2007, 17:24
- 80-90 Mem No: 12733
- Location: South Hampshire
Re: WBX-Unknown
pillar drills are no use for this IMO get better results by eye, no easy way to get it square in a pillar drill
-
937carrera
- Registered user
- Posts: 3599
- Joined: 05 Apr 2015, 19:29
- 80-90 Mem No: 16333
- Location: N Yorks.
Re: WBX-Unknown
Ran down the hole today with my 6.8mm drill bit that came with the tap and die set.
Dead easy re-cutting of the thread, M8 bolt screwed in nicely, so one head done, bar the removal of valves etc.
I moved onto cleaning the other head and the outside of the barrels. No camera with me so no pictures yet, I'll try & take some tomorrow.
Dead easy re-cutting of the thread, M8 bolt screwed in nicely, so one head done, bar the removal of valves etc.
I moved onto cleaning the other head and the outside of the barrels. No camera with me so no pictures yet, I'll try & take some tomorrow.
1981 RHD 2.0 Aircooled Leisuredrive project, CU engine
1990 RHD 1.9 Auto Sleeper with DF/DG engine
1990 RHD 1.9 Auto Sleeper with DF/DG engine
-
itchyfeet
- Registered user
- Posts: 12427
- Joined: 23 Jul 2007, 17:24
- 80-90 Mem No: 12733
- Location: South Hampshire
Re: WBX-Unknown
wot no smartphone?
-
937carrera
- Registered user
- Posts: 3599
- Joined: 05 Apr 2015, 19:29
- 80-90 Mem No: 16333
- Location: N Yorks.
Re: WBX-Unknown
Not with me, what some people call a smartphone I use as a camera
I cleaned the outside of the barrels up and took some pictures yesterday. They seem in decent external condition, no significant signs of corrosion on the outside or the sealing faces.
Some signs of combustion gases at the base of the barrels and a residue lip at the top of the bore. Bores themselves seem OK if not in spectacular condition with a bit of scuffing on the bottom of each barell. you can see this on the right hand side of the second picture. Interestingly there's little sign of scuffing on the pistons
I'm expecting to do a bit of light honing later today
1981 RHD 2.0 Aircooled Leisuredrive project, CU engine
1990 RHD 1.9 Auto Sleeper with DF/DG engine
1990 RHD 1.9 Auto Sleeper with DF/DG engine
-
937carrera
- Registered user
- Posts: 3599
- Joined: 05 Apr 2015, 19:29
- 80-90 Mem No: 16333
- Location: N Yorks.
Re: WBX-Unknown
Little point honing knackered barrels so I decided to do some measuring before I did the honing. 
The tolerances stated in Bentley don't seem to mathematically work against the dimensions, so I have gone with the maths that says new pistons & barels should have a clearance of 0.025mm to 0.036mm. Bentley says 0.03 - 0.06mm
I measured at three points on the barrels, top, middle, bottom, across the barrel and vertically, as if installed. Though the manual doesn't say so I took the middle vertical dimension as the barrell size when comparing to the piston, as that is the plane that the piston is measured in.
Long story short, if new measurement is 0.03mm, mine range from 0.04-0.06mm, against a wear limit of 0.20mm. They're good, just one caveat
Measuring at the middle point

What's the scores on the doors Brucie !

Hmm, what's that mark. I can't feel anything with my nail, but it won't clean off with a bit of brake cleaner either. Wrong direction for a crack, I hope.

The tolerances stated in Bentley don't seem to mathematically work against the dimensions, so I have gone with the maths that says new pistons & barels should have a clearance of 0.025mm to 0.036mm. Bentley says 0.03 - 0.06mm
I measured at three points on the barrels, top, middle, bottom, across the barrel and vertically, as if installed. Though the manual doesn't say so I took the middle vertical dimension as the barrell size when comparing to the piston, as that is the plane that the piston is measured in.
Long story short, if new measurement is 0.03mm, mine range from 0.04-0.06mm, against a wear limit of 0.20mm. They're good, just one caveat
Measuring at the middle point
What's the scores on the doors Brucie !
Hmm, what's that mark. I can't feel anything with my nail, but it won't clean off with a bit of brake cleaner either. Wrong direction for a crack, I hope.
1981 RHD 2.0 Aircooled Leisuredrive project, CU engine
1990 RHD 1.9 Auto Sleeper with DF/DG engine
1990 RHD 1.9 Auto Sleeper with DF/DG engine
-
937carrera
- Registered user
- Posts: 3599
- Joined: 05 Apr 2015, 19:29
- 80-90 Mem No: 16333
- Location: N Yorks.
Re: WBX-Unknown
Given all the barrels a hone now. Number 3 is still smiling viciously at me and I don't like it 
Some of the original piston scuffs are still visible so I could hone it a bit more
Regular readers with a good memory will remember that one of the rings was broken when I removed the barrels, which surprised me as I have never broken a ring on disassembly before. It was this one.
Any views ?

Some of the original piston scuffs are still visible so I could hone it a bit more
Regular readers with a good memory will remember that one of the rings was broken when I removed the barrels, which surprised me as I have never broken a ring on disassembly before. It was this one.
Any views ?
1981 RHD 2.0 Aircooled Leisuredrive project, CU engine
1990 RHD 1.9 Auto Sleeper with DF/DG engine
1990 RHD 1.9 Auto Sleeper with DF/DG engine