Page 3 of 6
Re: WBXOily
Posted: 28 Nov 2017, 19:09
by itchyfeet
Thanks I use this which is far easier because it's illustrated and more trustworthy because it's a VW publication.
I haven't checked valve diameters, just the play page 15.18
http://syncrosport.com/info/manual/VW_T ... hanics.pdf" onclick="window.open(this.href);return false;
Re: WBXOily
Posted: 28 Nov 2017, 19:21
by 937carrera
That's a seriously useful link. Downloaded & saved


Thank you
Re: WBXOily
Posted: 28 Nov 2017, 19:57
by itchyfeet
937carrera wrote:That's a seriously useful link. Downloaded & saved
Thank you
To be fair most of it is in Bentley too, but thats free.
Re: WBXOily
Posted: 04 Dec 2017, 16:35
by itchyfeet
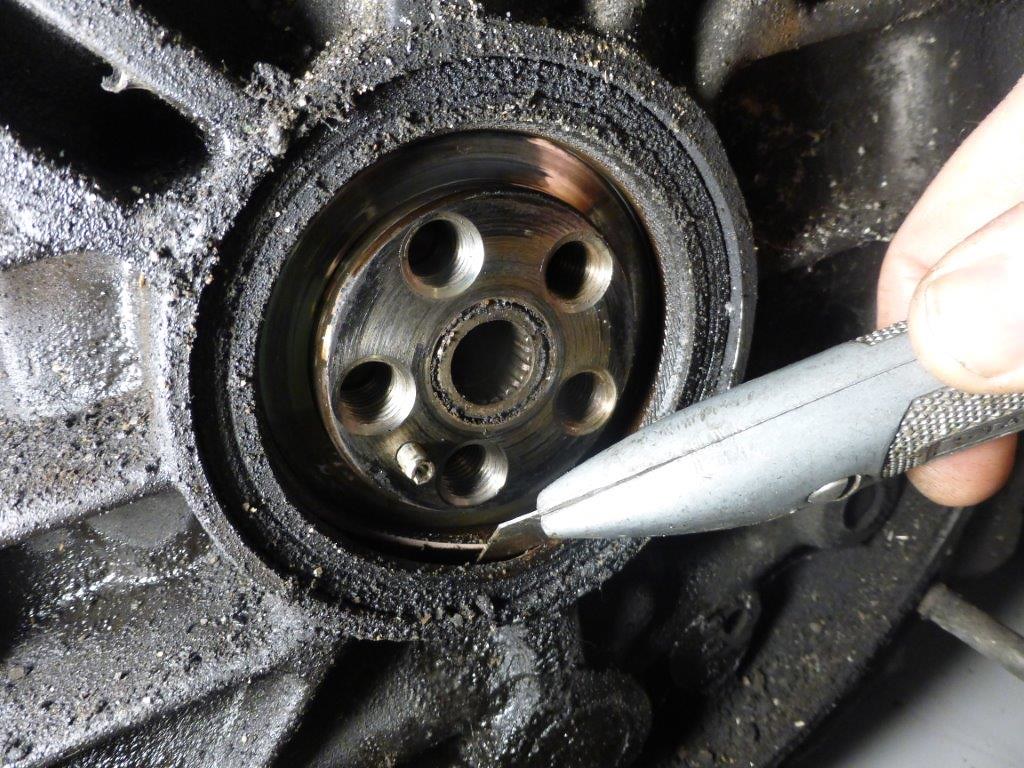
Has anybody got and tried and trusted way of removing compression seals / fire rings without resorting to a screwdriver, I have scratched too many heads before?
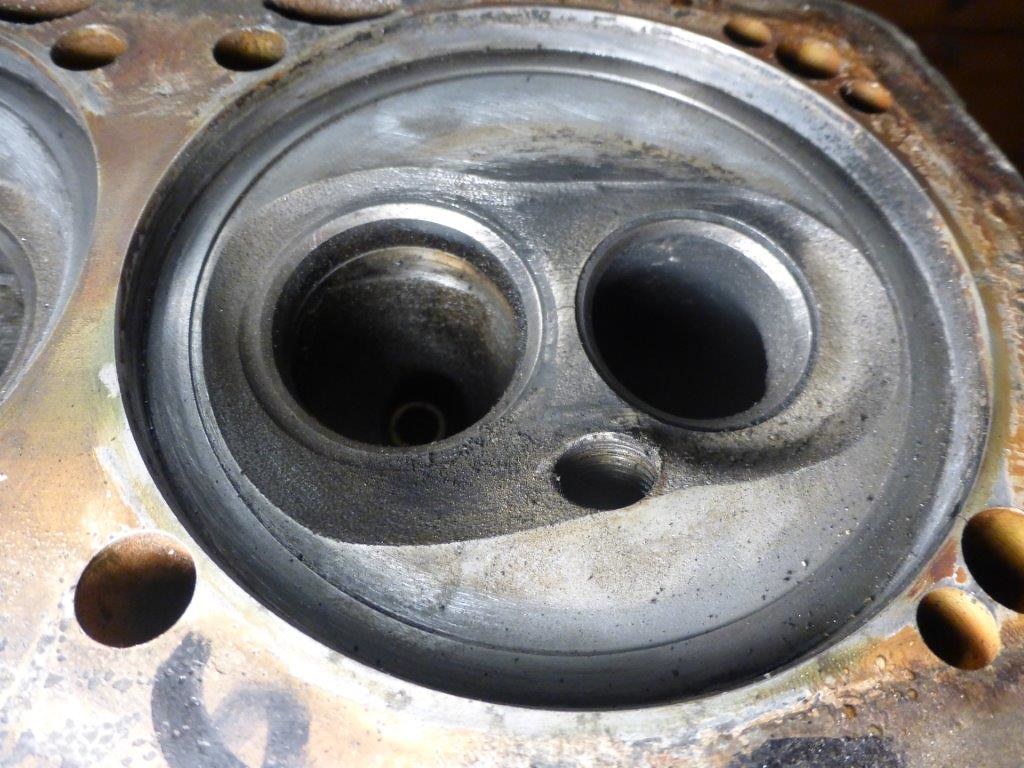 P1080844
 by
Paul_Barr, on Flickr
Re: WBXOily
Posted: 04 Dec 2017, 17:13
by weimarbus
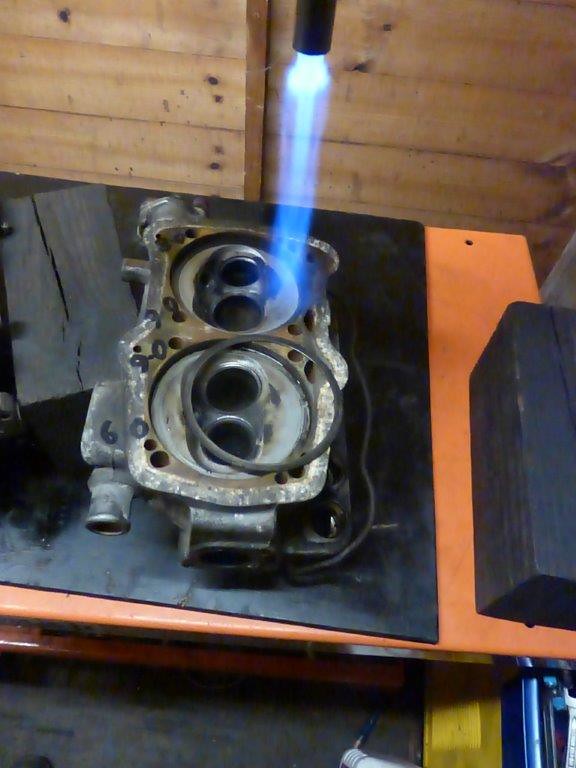
Yep just tried this on an old head, gently heat combustion chamber with blow lamp to expand the bore squirt wd 40 through the tube onto the fire ring to shrink and out it will pop, well mine did and it was stuck before, good luck.
Re: WBXOily
Posted: 04 Dec 2017, 20:01
by 937carrera
That should work - you can also try a feeler gauge instead of a screwdriver.
Re: WBXOily
Posted: 05 Dec 2017, 17:58
by itchyfeet
weimarbus wrote:Yep just tried this on an old head, gently heat combustion chamber with blow lamp to expand the bore squirt wd 40 through the tube onto the fire ring to shrink and out it will pop, well mine did and it was stuck before, good luck.
Thanks weimarbus heat worked but I didn't need to spray it.
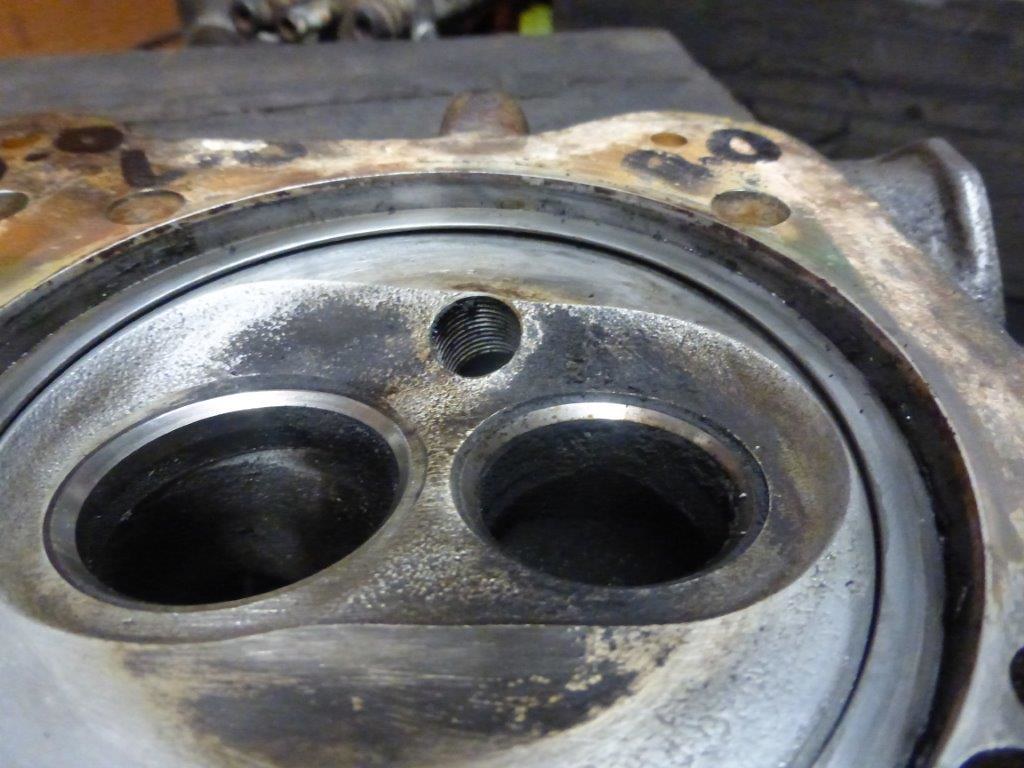
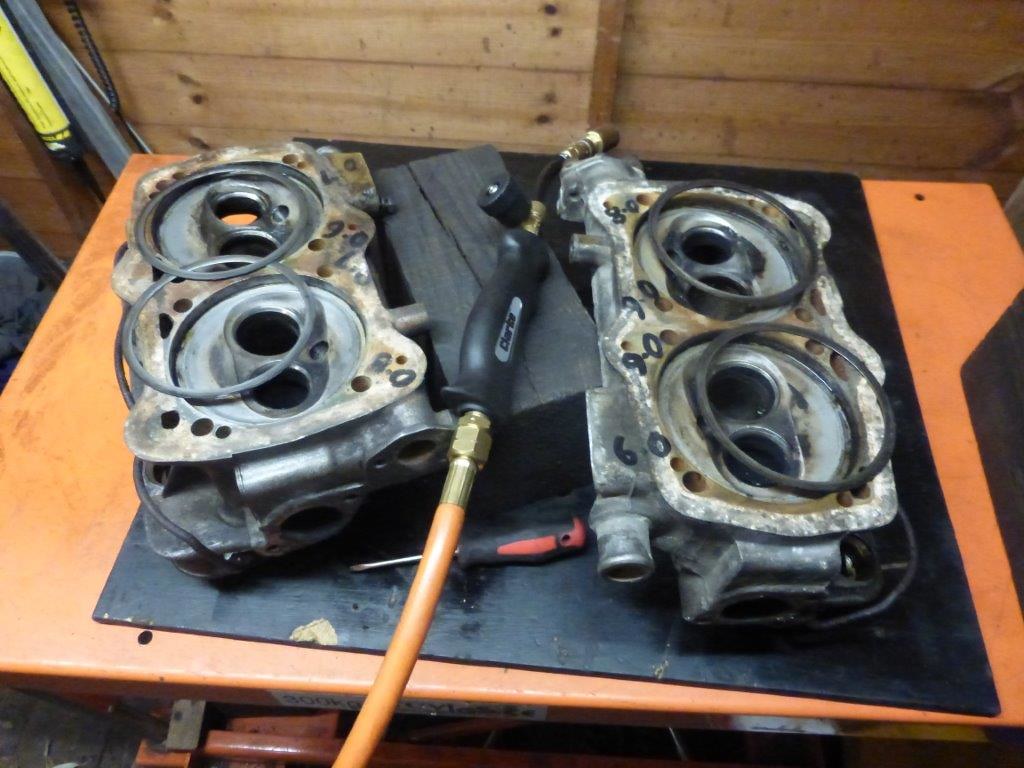
I heated the ring by going round in circles with the torch, the ring expanded and buckled lifting in one place than easy to lift out

Not a scratch in sight.
 P1080852
 by
Paul_Barr, on Flickr
 P1080851
 by
Paul_Barr, on Flickr
 P1080853
 by
Paul_Barr, on Flickr
Re: WBXOily
Posted: 05 Dec 2017, 22:18
by 300CE
Watching with interest Paul, looks like a nice easy job getting those out
Re: WBXOily
Posted: 06 Dec 2017, 07:57
by itchyfeet
300CE wrote:Watching with interest Paul, looks like a nice easy job getting those out
Everything is easy when you know how, it wasn't immediately obvious to me and I have done quite a few head seals in the past.
Its why I try to share what I have learned, I bet others have strugged with this too.
Re: WBXOily
Posted: 06 Dec 2017, 09:24
by weimarbus
There's not much point in getting older if you don't hopefully get a little wiser. The last time I thought 'it's only a little scratch' it led to pressurising the coolant around 10,000 miles later and scrapped heads.
Re: WBXOily
Posted: 17 Dec 2017, 17:36
by itchyfeet
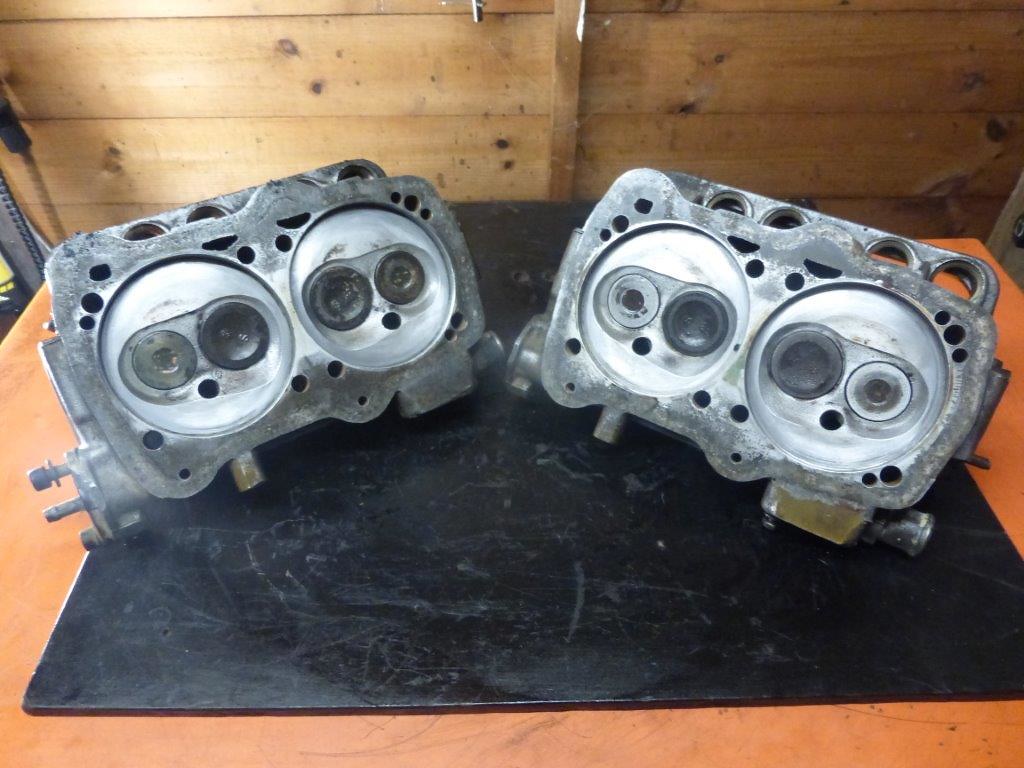
Cleaned up head 1&2 today and ground valves, inlet for No2 would not grind it's had it, burnt by the looks, maybe lean the deposits were rock hard, found a good valve from a scrap head and swapped it over.
so that explains low compression on No2
No1 10 bar ( leaking oil out of plug hole)
No2 8,75 bar ( worn inlet valve)
No3 9 bar ( broken rings)
No4 11 bar
 P1090029
 by
Paul_Barr, on Flickr
Re: WBXOily
Posted: 17 Dec 2017, 20:11
by what2do
Have you any pics of the worn valve and seat?
Re: WBXOily
Posted: 17 Dec 2017, 20:40
by itchyfeet
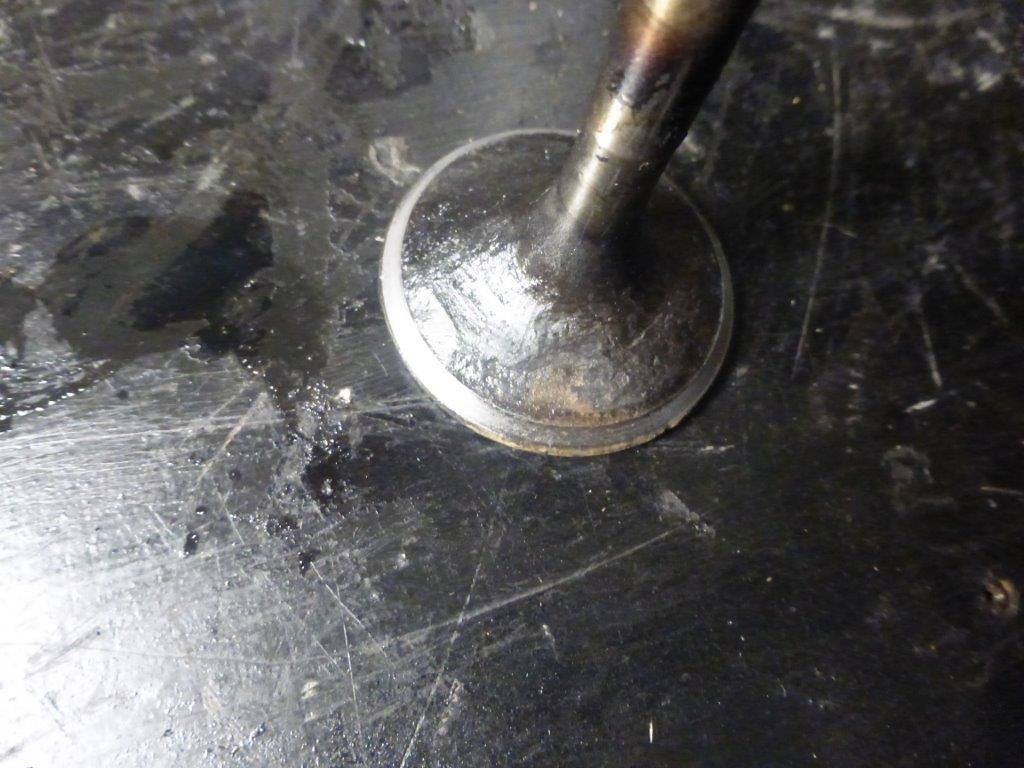
what2do wrote:Have you any pics of the worn valve and seat?
hard to photograph, seat is fine the valve is degraded so a 10-15mm section is not ground.
 P1090032
 by
Paul_Barr, on Flickr
Re: WBXOily
Posted: 18 Dec 2017, 19:39
by itchyfeet
I decided to swap both inlet valves as I wasn't happy with the other either.
Valves refitted.
 P1090033
 by
Paul_Barr, on Flickr
The inlet valves on the other are just as bad so I didin't even bother trying to grind them, I just swapped them with some from another head.
 P1090034
 by
Paul_Barr, on Flickr
 P1090040
 by
Paul_Barr, on Flickr
Re: WBXOily
Posted: 09 Feb 2018, 18:08
by itchyfeet
I really want this out of the shed before the camping season starts so need to crack on.
I need a parts list as it's not my engine so I want all the bits ordered
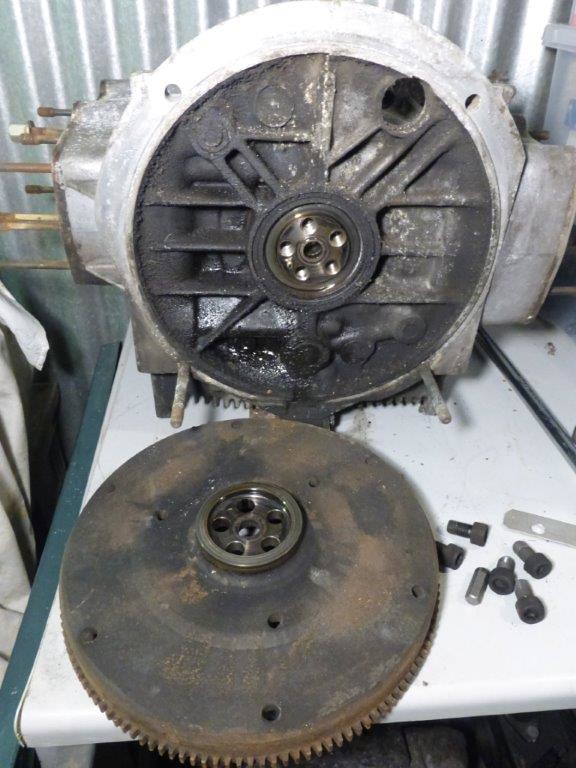
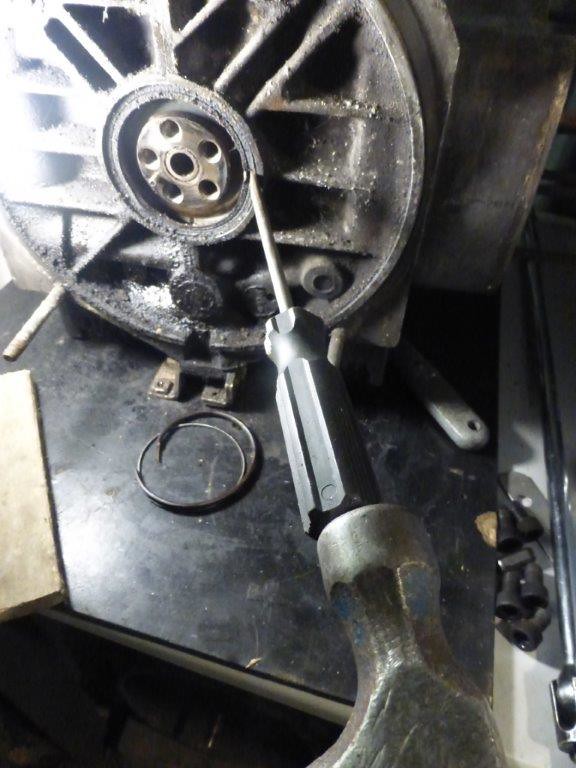
End float is way too much so removed the flywheel to see whats happening
 P1090517
 by
Paul_Barr, on Flickr
quite oily not helped by the usual groove in the flywheel
 P1090518
 by
Paul_Barr, on Flickr
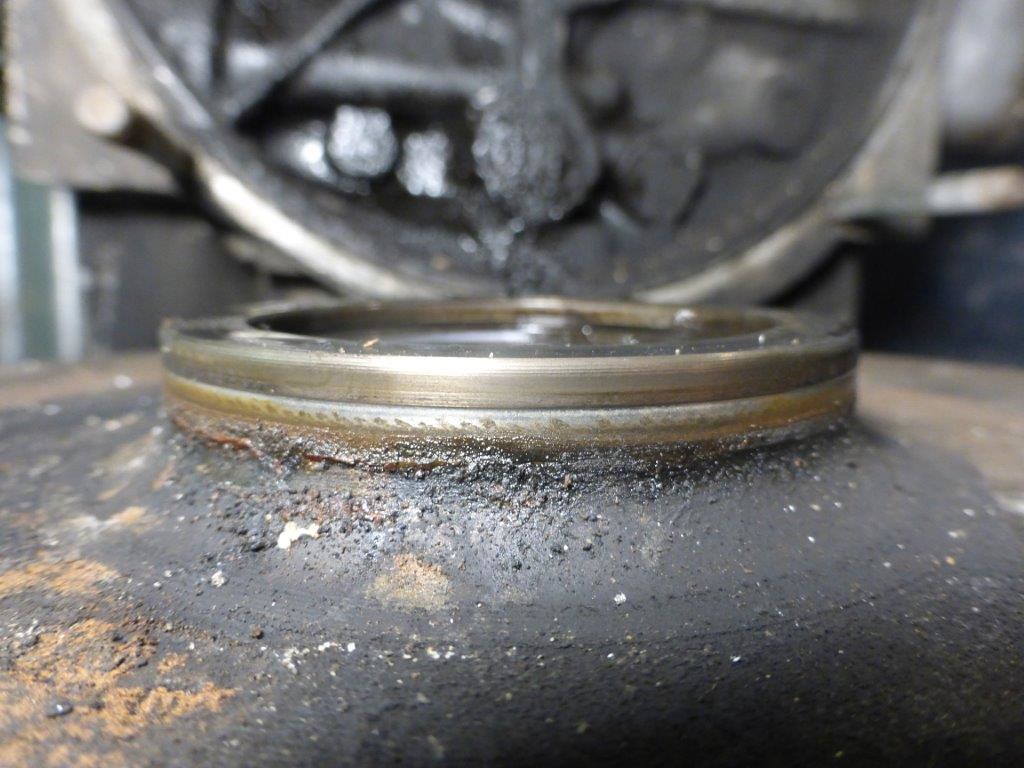
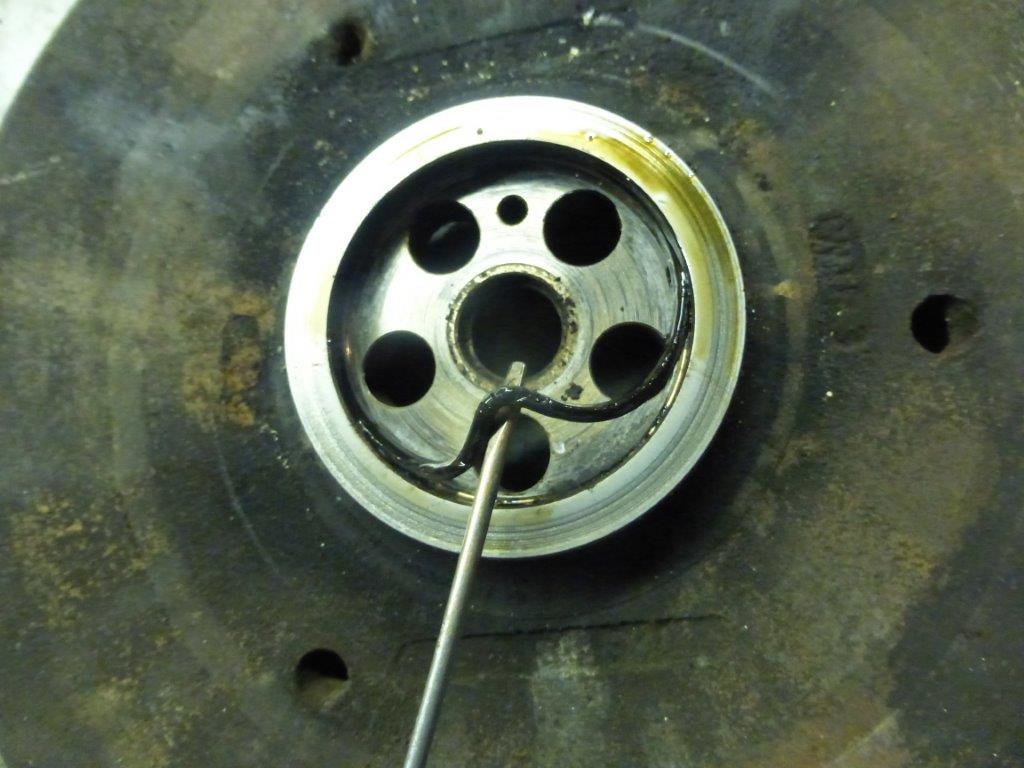
I like to cut the lip off the seal so I can see what I'm doing
 P1090519
 by
Paul_Barr, on Flickr
punch the seal in a few places taking care not to slip off, it releases it
 P1090521
 by
Paul_Barr, on Flickr
lever it out
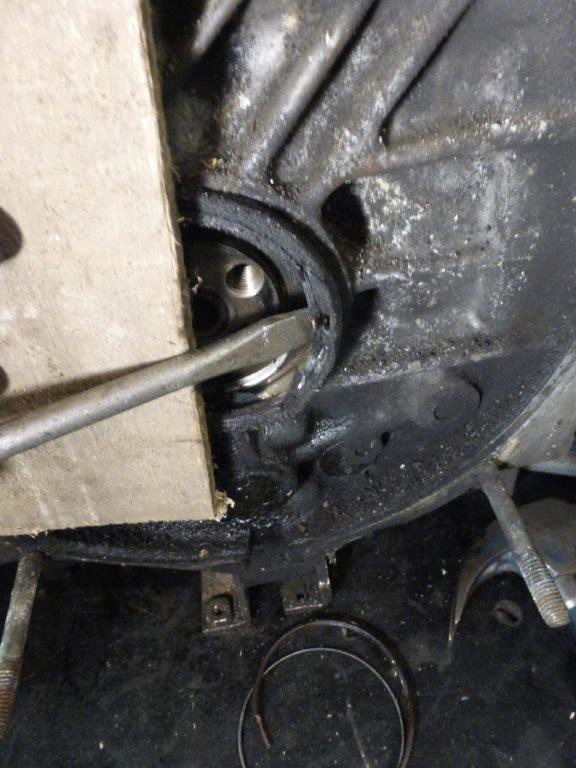 P1090523
 by
Paul_Barr, on Flickr
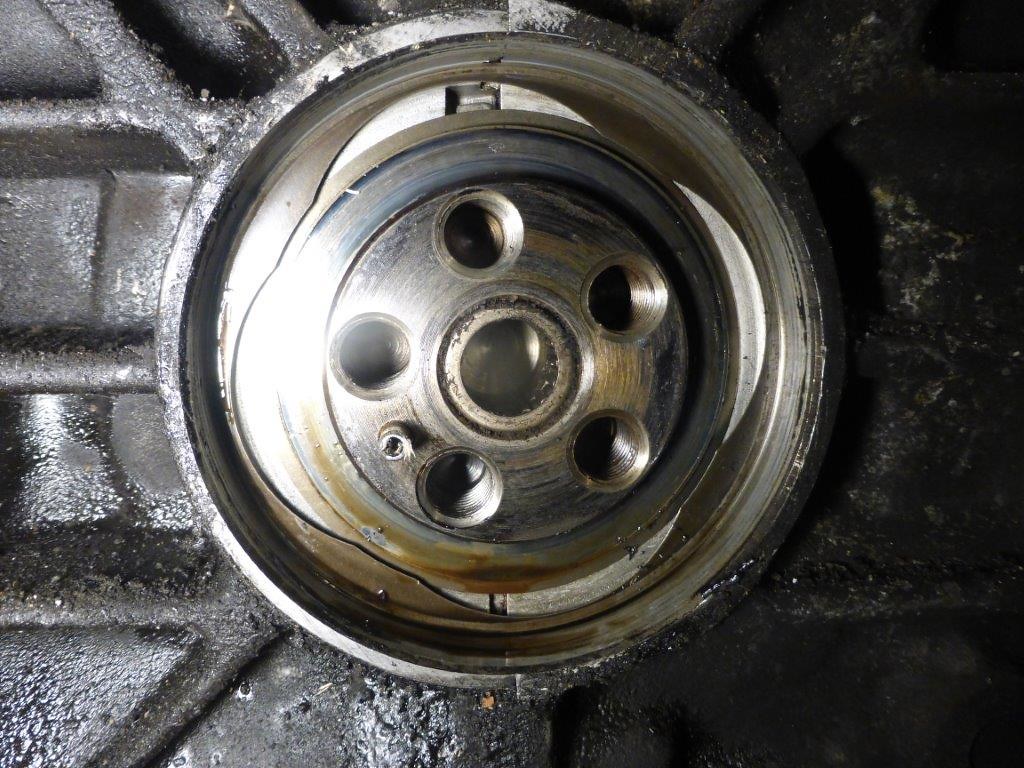
looks reasonable, no disasters
 P1090524
 by
Paul_Barr, on Flickr
large shim should be 0.4mm this is where most of the wear is
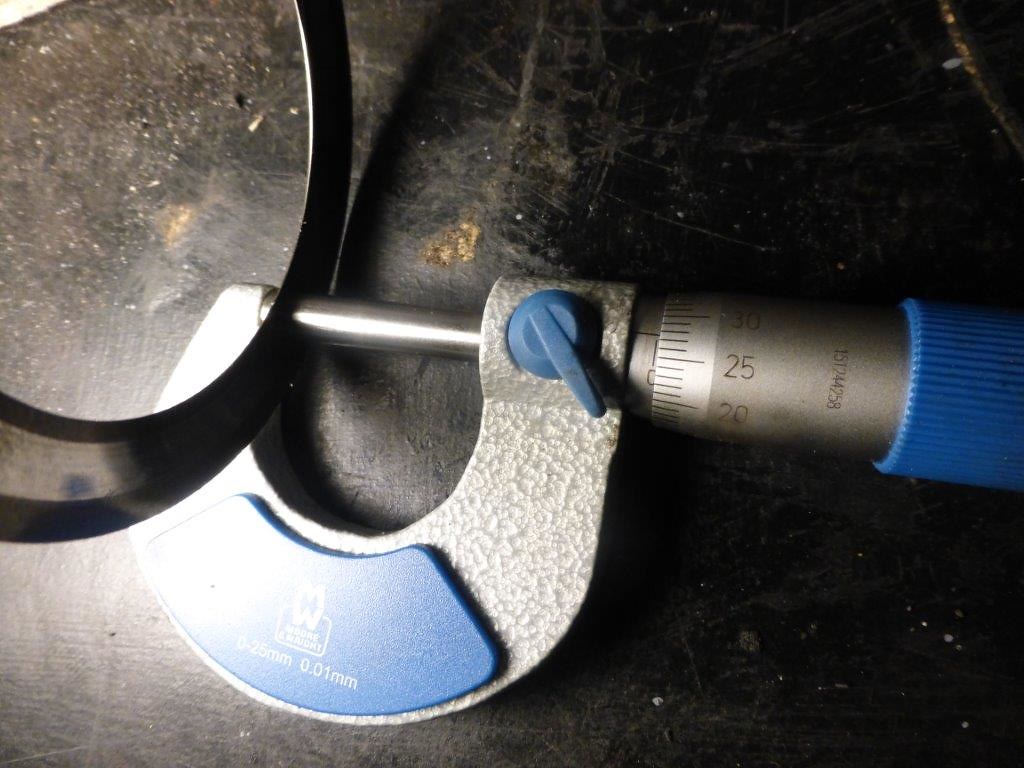 P1090526
 by
Paul_Barr, on Flickr
other two are both 0.37mm
I had a new 0.4 'in stock' so tried it
o ring out first
 P1090525
 by
Paul_Barr, on Flickr
gone too far 0.02mm ( want 0.07 to 0.1mm ideally, lower end of the range)
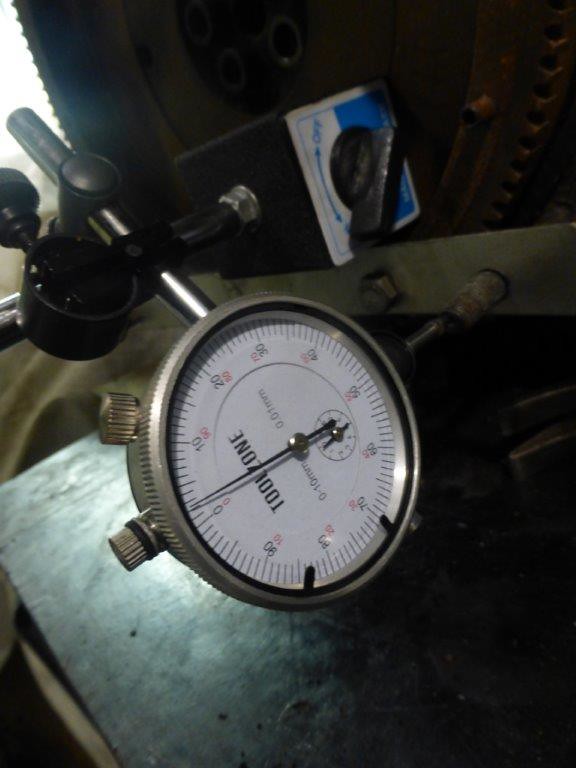 P1090529
 by
Paul_Barr, on Flickr
swapped a 0.37 with a 0.32 I had 'in stock'
thats good
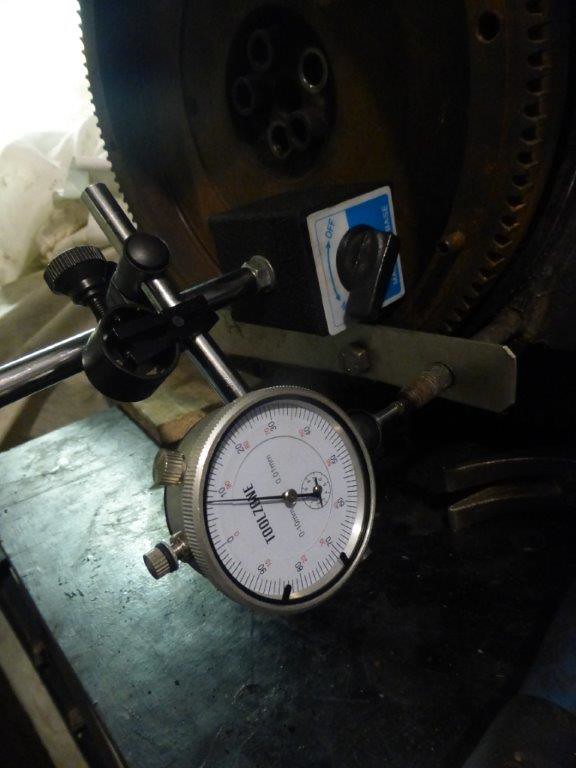 P1090530
 by
Paul_Barr, on Flickr