Page 13 of 15
Re: WBXmayo
Posted: 25 Jan 2018, 19:06
by itchyfeet
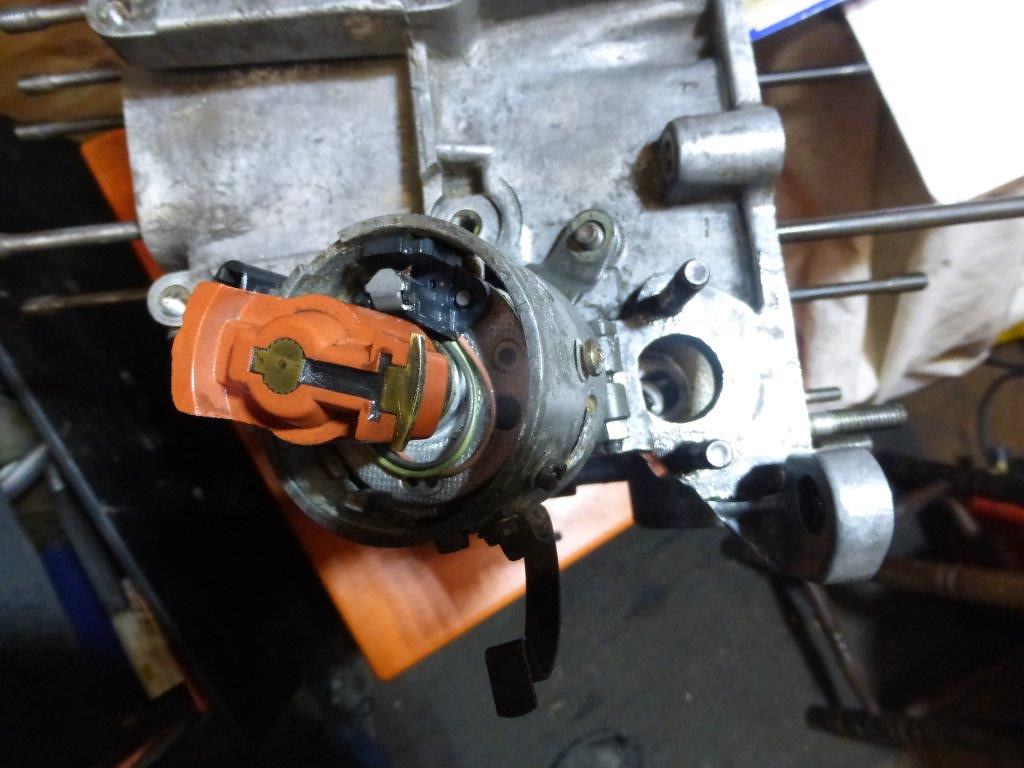
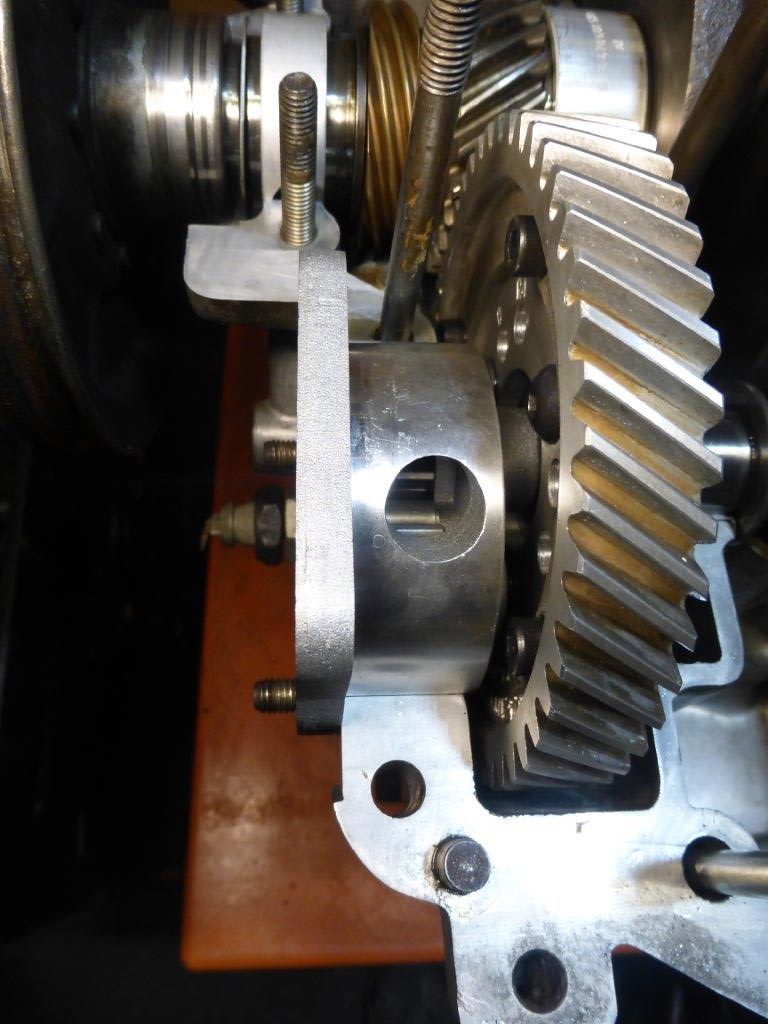
Its clear that the problem is a little wear in the case which has made a small step, so I used some 1200 grit wet and dry to take the edge off and now it slides in and out much better.
 P1090293
 by
Paul_Barr, on Flickr
next is to work out where it should be set, Haynes and VW seem to disagree, I think the confusion is because when you insert it with crank in place it rotates so there is a start position and a final position.
 P1090295
 by
Paul_Barr, on Flickr
Hays says
 P1090296
 by
Paul_Barr, on Flickr
VW says
 P1090303
 by
Paul_Barr, on Flickr
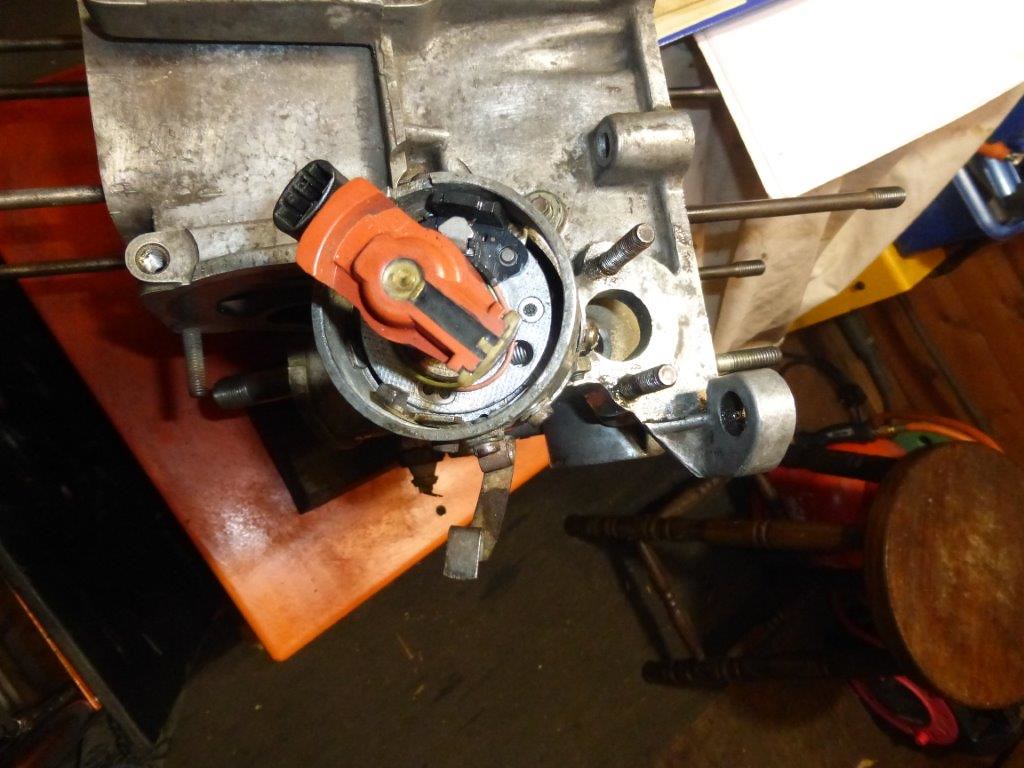
it's really not important other than clearance of the vac can so I checked the DJ setup which is more busy and I opted for the Haynes as a final position.
 P1090307
 by
Paul_Barr, on Flickr
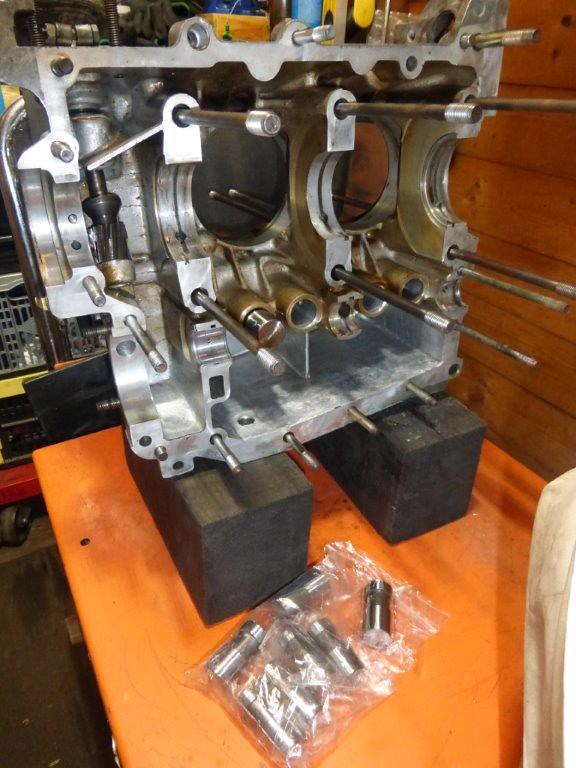
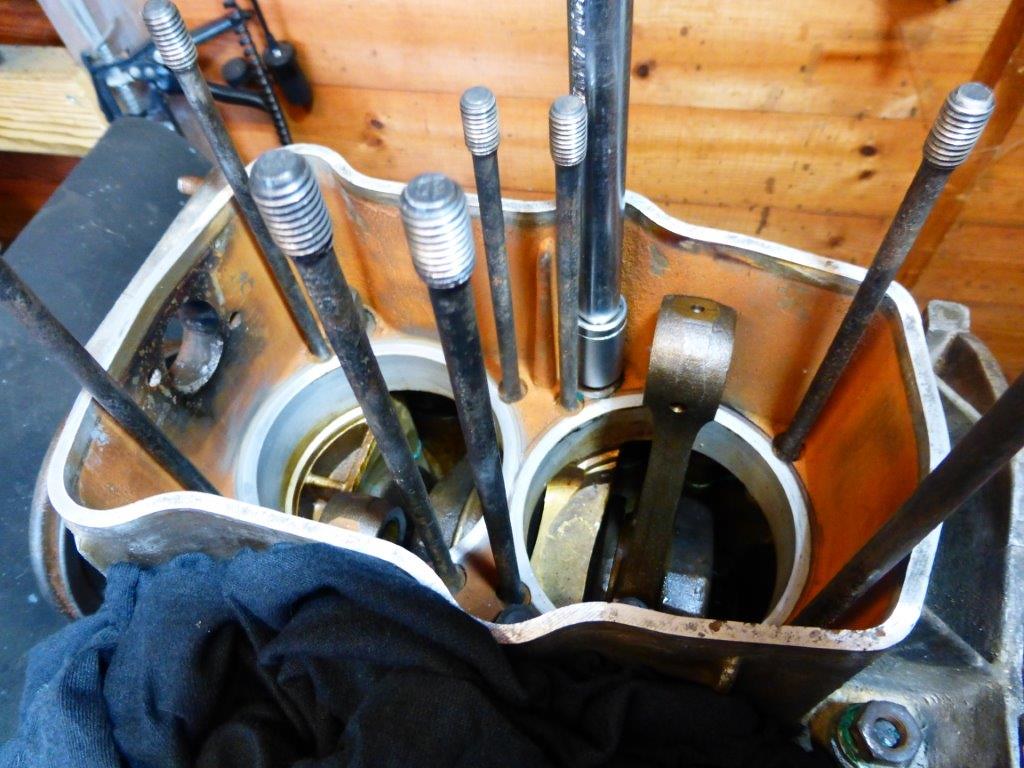
checked the new KS tappets slid easily through the bores
 P1090308
 by
Paul_Barr, on Flickr
dropped the crank in and aligned the dizzy gear
 P1090318
 by
Paul_Barr, on Flickr
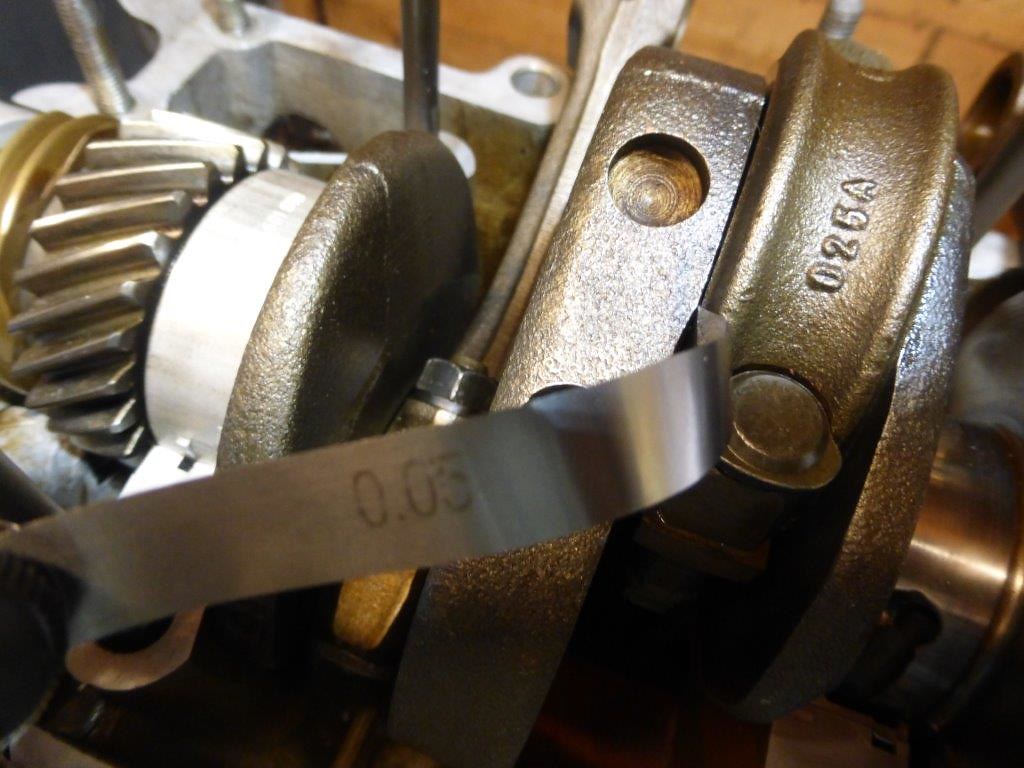
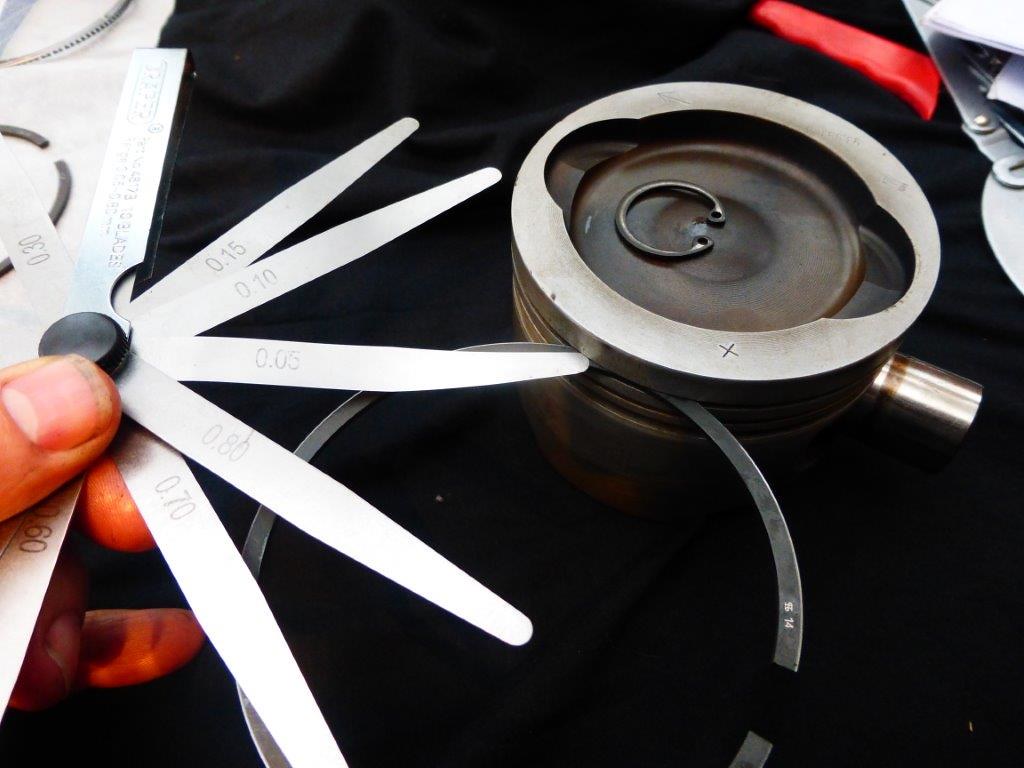
didn't check this earlier because it was clearly good can't even get a 0.05 in
 P1090313
 by
Paul_Barr, on Flickr
cam in
 P1090319
 by
Paul_Barr, on Flickr
amazing how close some parts are

 P1090321
 by
Paul_Barr, on Flickr
Air cooled oil pump to match the 3 bolt cam, all looks good ( this will get o ringed)
 P1090324
 by
Paul_Barr, on Flickr
 P1090317
 by
Paul_Barr, on Flickr
Re: WBXmayo
Posted: 25 Jan 2018, 19:14
by Oldiebut goodie
Patience of Job!

Re: WBXmayo
Posted: 26 Jan 2018, 16:57
by itchyfeet
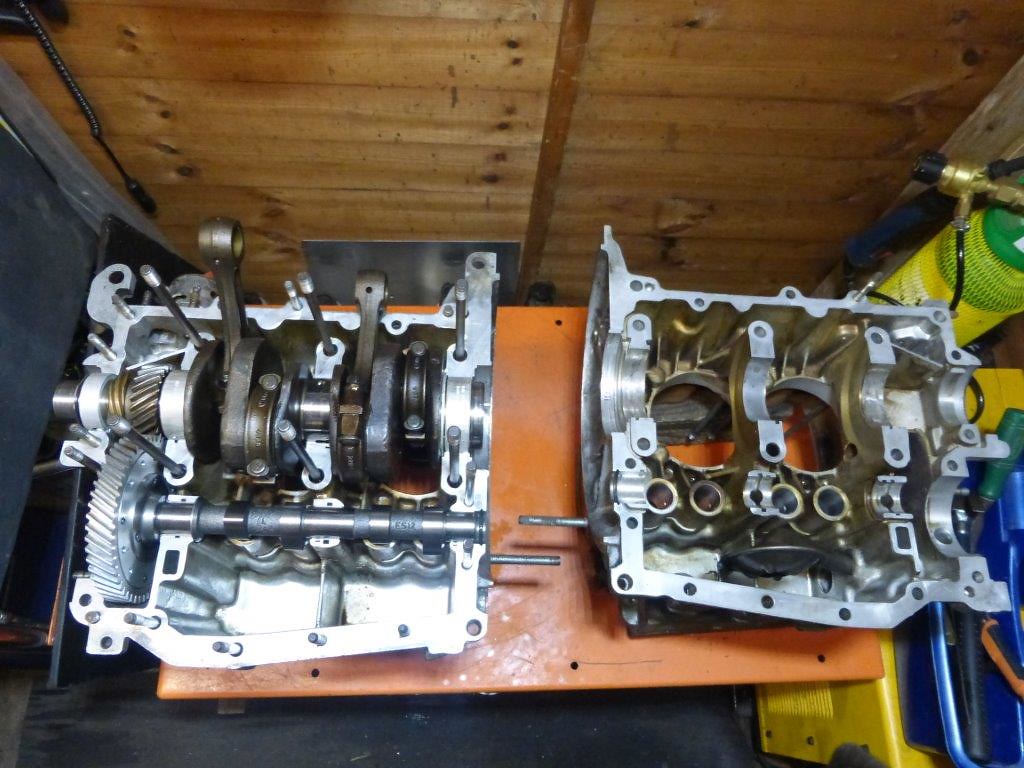
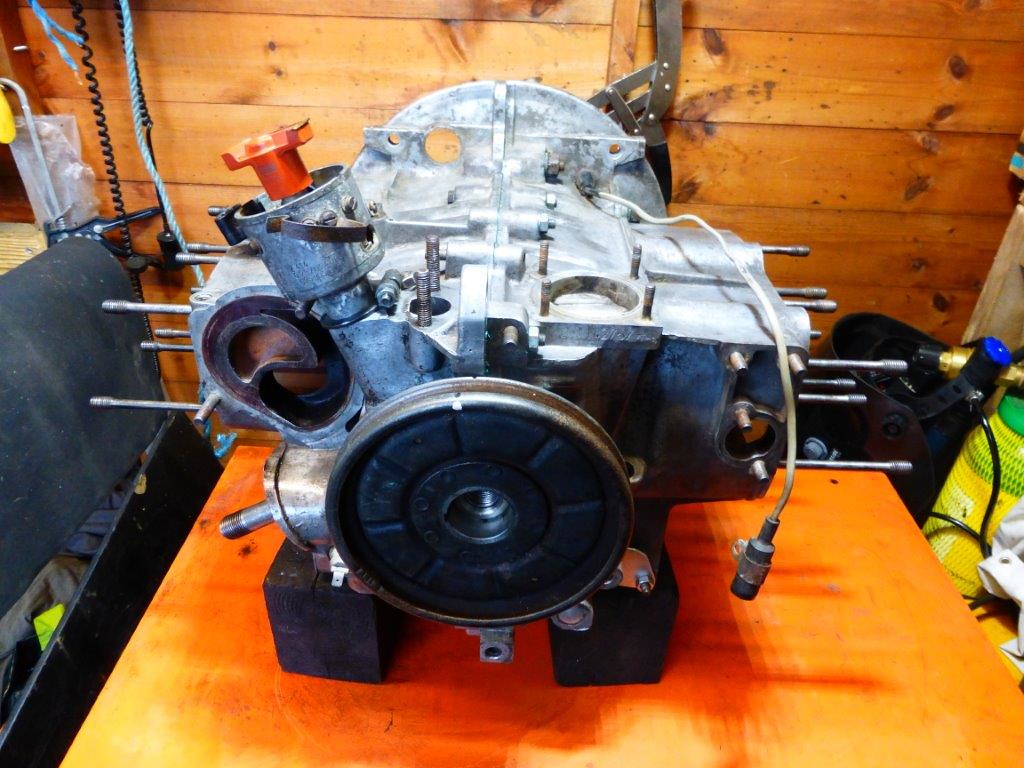
Assembled the case to make sure it turns and nothing is wrong.
Yes I remembered to fit the cam bearings and the shells of crank bearing 2
 P1090327
 by
Paul_Barr, on Flickr
At the recommendation of Marco Mansi I have opted for some molybdenum disulfide on the main high tensile studs, I have gone for dry spray.
 P1090334
 by
Paul_Barr, on Flickr
all mating surfaces, nuts and washers and cam cap degreased with meths ready for closing the case.
 P1090333
 by
Paul_Barr, on Flickr
Re: WBXmayo
Posted: 27 Jan 2018, 13:32
by itchyfeet
Curil T on, I don't like this stuff much it's hard to get a thin layer, you get thick or patchy.
 P1090335
 by
Paul_Barr, on Flickr
first nut
 P1090344
 by
Paul_Barr, on Flickr
The the M10s and then the rest of the M8s
 P1090345
 by
Paul_Barr, on Flickr
 P1090347
 by
Paul_Barr, on Flickr
 P1090346
 by
Paul_Barr, on Flickr
Re: WBXmayo
Posted: 28 Jan 2018, 17:18
by itchyfeet
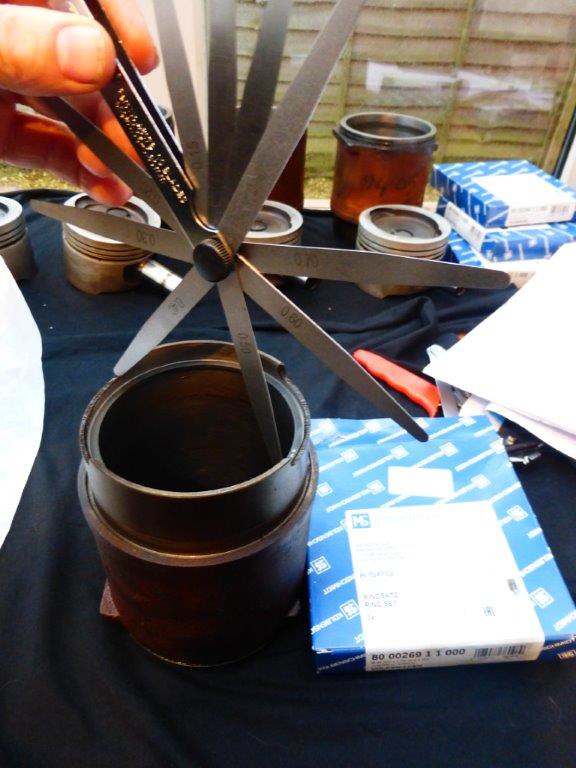
checked ring gaps
 P1090348
 by
Paul_Barr, on Flickr
 P1090349
 by
Paul_Barr, on Flickr
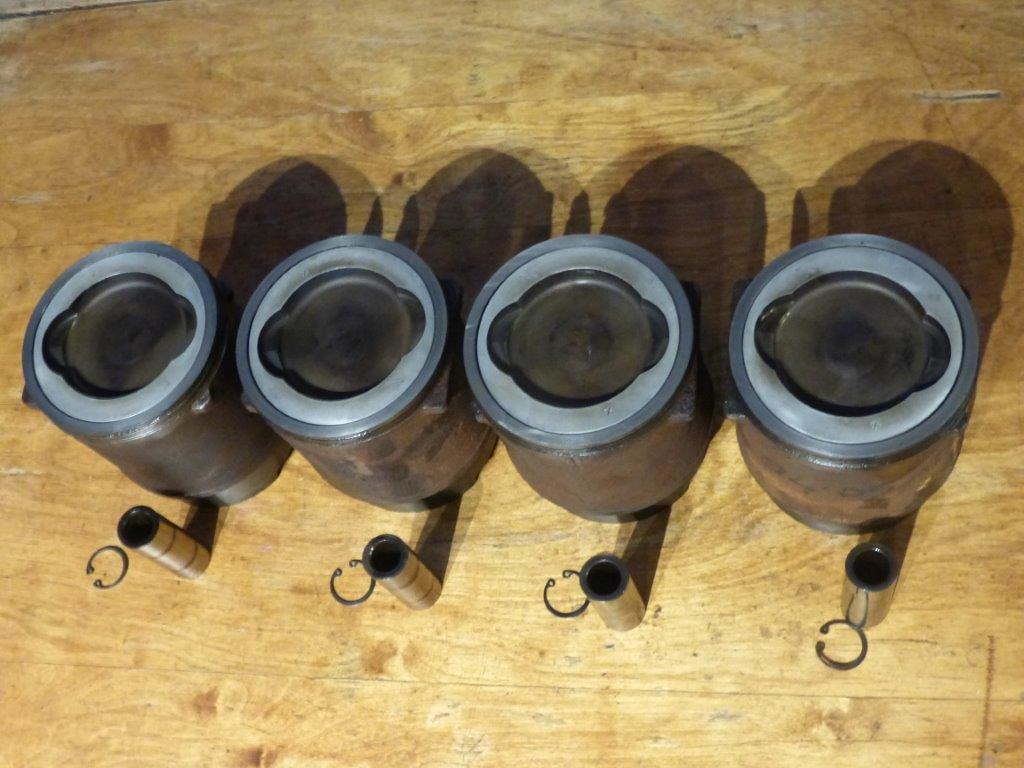
rings on ( top one needs a tool as its strong)
 P1090350
 by
Paul_Barr, on Flickr
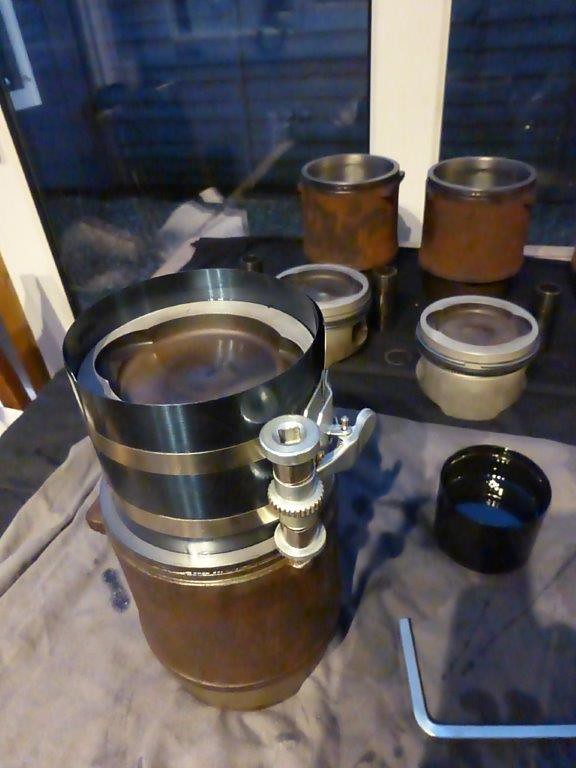
ring compressior on tight, oiled barrel
 P1090362
 by
Paul_Barr, on Flickr
 P1090363
 by
Paul_Barr, on Flickr
Re: WBXmayo
Posted: 29 Jan 2018, 08:44
by ajsimmo
Interesting that you put pistons in from the top. I have tried it, but it's not easy to do smoothly. Ialways put them in from the bottom, as per VW manuals. There is a chamfer to help the rings transition (or is it implementation?) into the bore. The cut outs seem to help too.

Sent from my ONEPLUS A3003 using Tapatalk
Re: WBXmayo
Posted: 29 Jan 2018, 10:36
by colinthefox
Oh I do love a good engine rebuild thread. Thanks Itchy!
ajsimmo wrote:..................... transition (or is it implementation?)............
Classsic.

Re: WBXmayo
Posted: 29 Jan 2018, 11:53
by itchyfeet
ajsimmo wrote:Interesting that you put pistons in from the top. I have tried it, but it's not easy to do smoothly. Ialways put them in from the bottom, as per VW manuals. There is a chamfer to help the rings transition (or is it implementation?) into the bore. The cut outs seem to help too.
Sent from my ONEPLUS A3003 using Tapatalk
Not tried going in the bottom myself

Another case of me not reading the maual

as long as the co pressor is tight they go in ok but you need to go in quick
Re: WBXmayo
Posted: 29 Jan 2018, 15:48
by 937carrera
Reminds me of the first 412 engine rebuild I did (many moons ago). In my case I assembled the pistons first then slid the barrels onto the pistons using a big, well lubricated, jubilee clip as a piston ring compressor. My toolkit was nowhere near as extensive back in those days
Always more than one way to skin a cat, and as I have a CU engine to rebuild this is great prep
Re: WBXmayo
Posted: 29 Jan 2018, 16:05
by itchyfeet
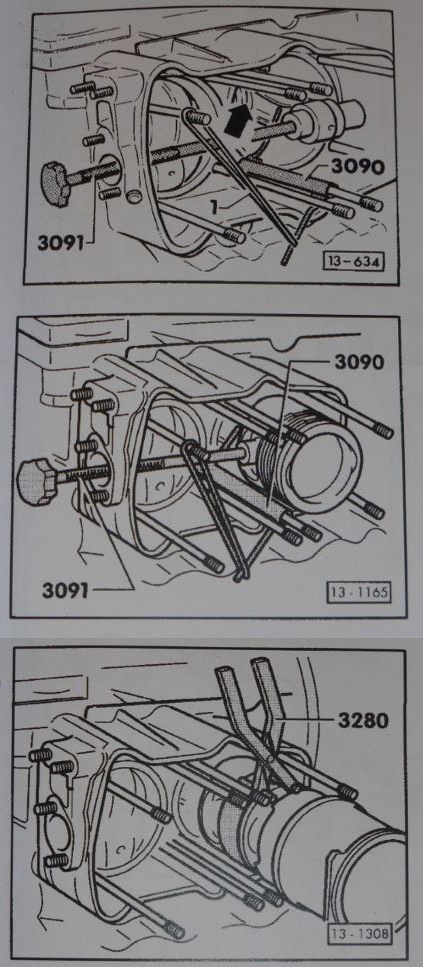
VW manual says put pistons on con rods then barrels on so maybe that's why they go in from the bottom.
 Piston install
 by
Paul_Barr, on Flickr
Re: WBXmayo
Posted: 29 Jan 2018, 18:50
by itchyfeet
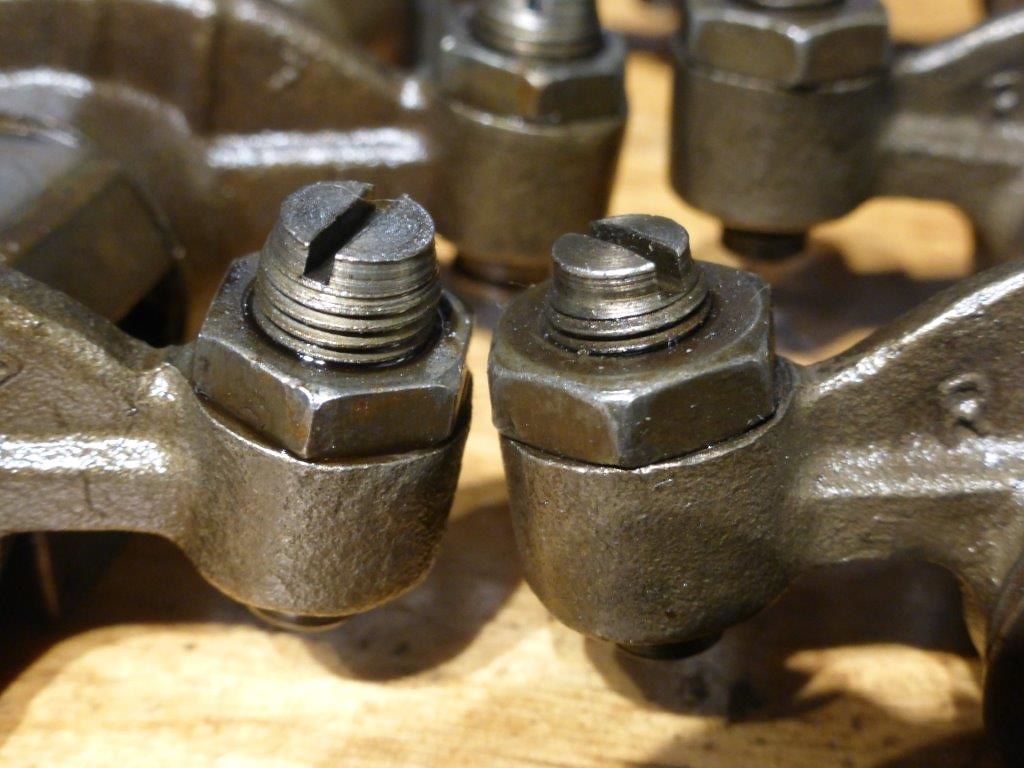
Well you learn something everyday, it seems 2.1s always had 10mm tappet screws, been through the collection and I have a set of rocker shafts with 10mm screws
I'm sure there must be 2.1's out there with 9mm screws after rebuilds, I have certainly stripped a DJ with 9mm rocker screws.
 P1090372
 by
Paul_Barr, on Flickr
just looked back at WBXlog DJ build pics which had the heads from Mayo engine and they are 10mm
 P1060791
 by
Paul_Barr, on Flickr
Re: WBXmayo
Posted: 30 Jan 2018, 22:03
by itchyfeet
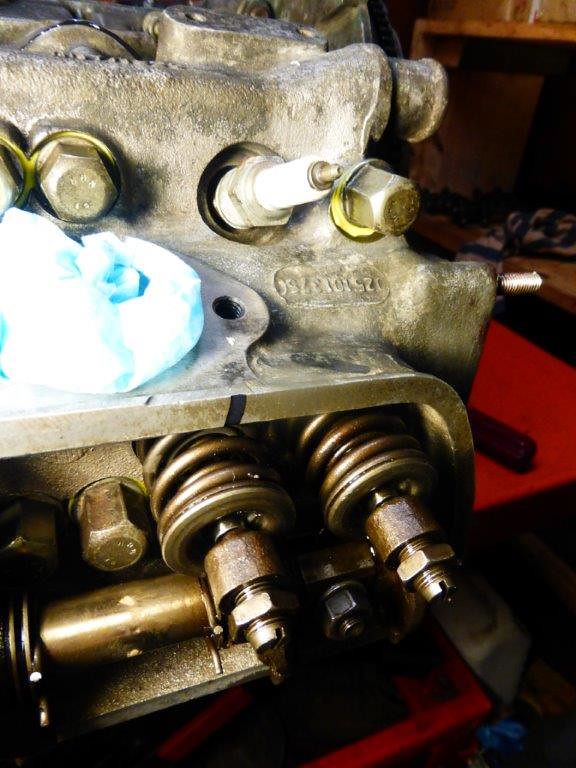
I wanted to O ring the pump but the 3 bolt cam needs an Aircooled pump and not only does it have a bigger port but it's not so deep.
No chance of getting an o ring groove in just over 3mm
 P1090404
 by
Paul_Barr, on Flickr
 P1090405
 by
Paul_Barr, on Flickr
Re: WBXmayo
Posted: 31 Jan 2018, 19:41
by itchyfeet
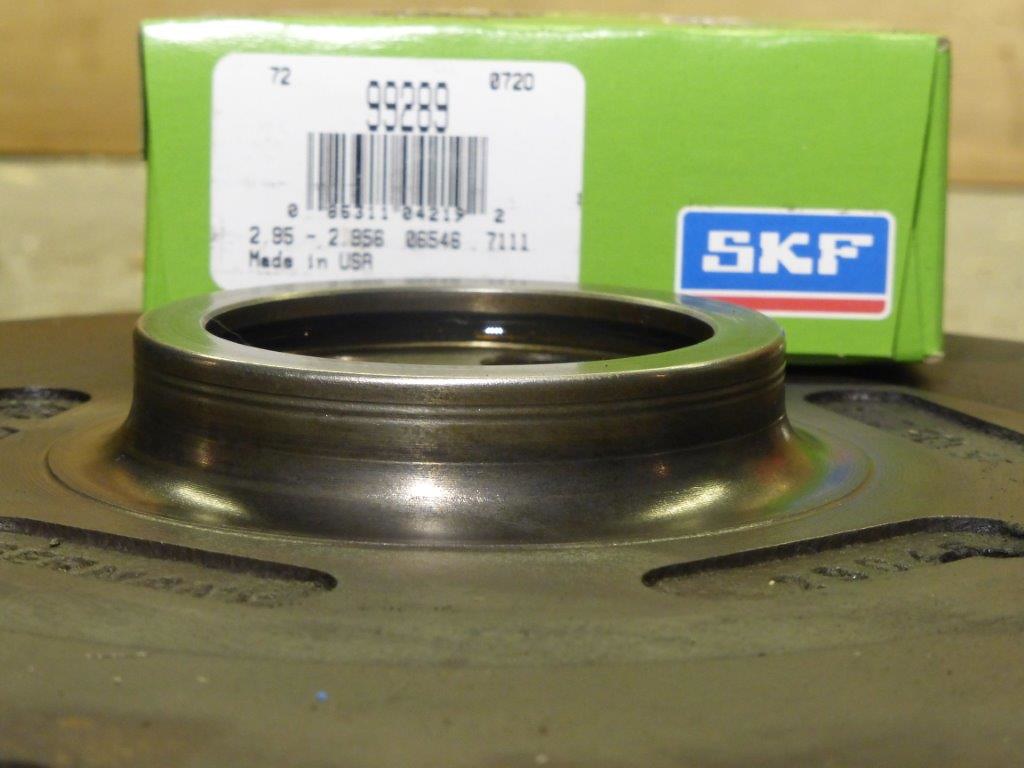
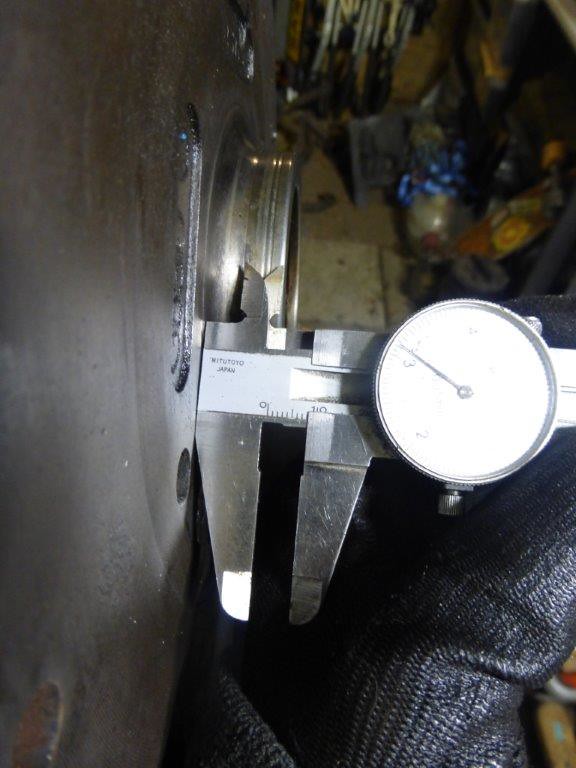
Not so speedi sleeve fitted tonight, Most flywheels are now grooved and will leak oil past seals if not sleeved.
 P1090408
 by
Paul_Barr, on Flickr
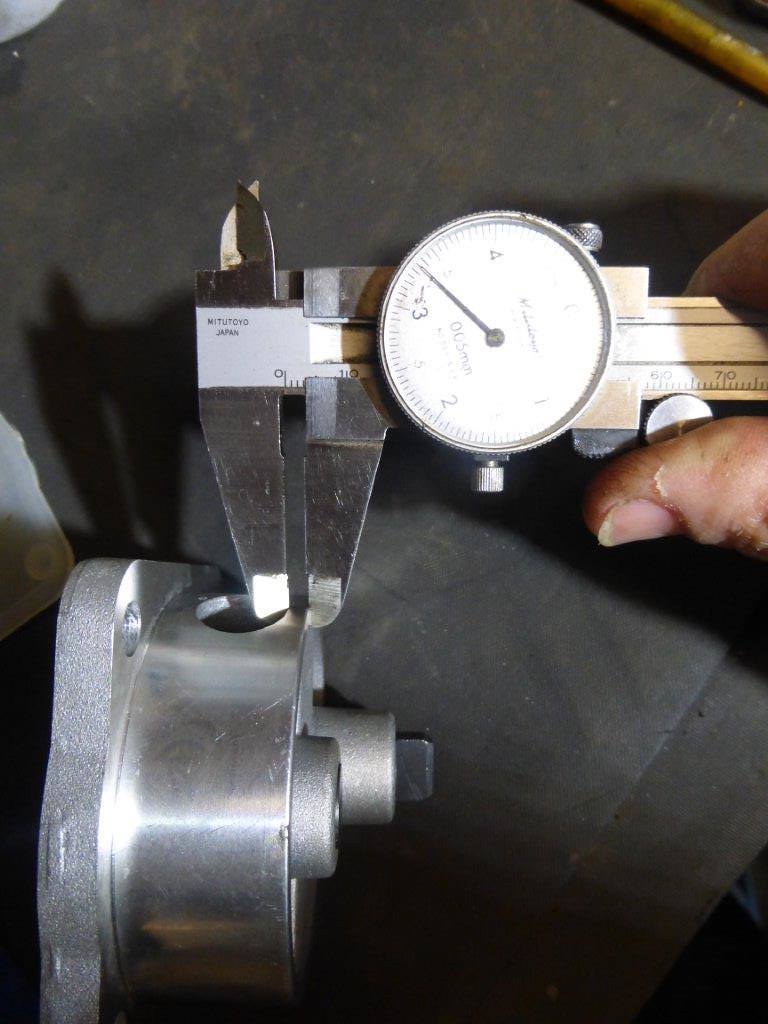
measure up
 P1090410
 by
Paul_Barr, on Flickr
Engineers blue ( or a marker pen) and scribe the depth
 P1090412
 by
Paul_Barr, on Flickr
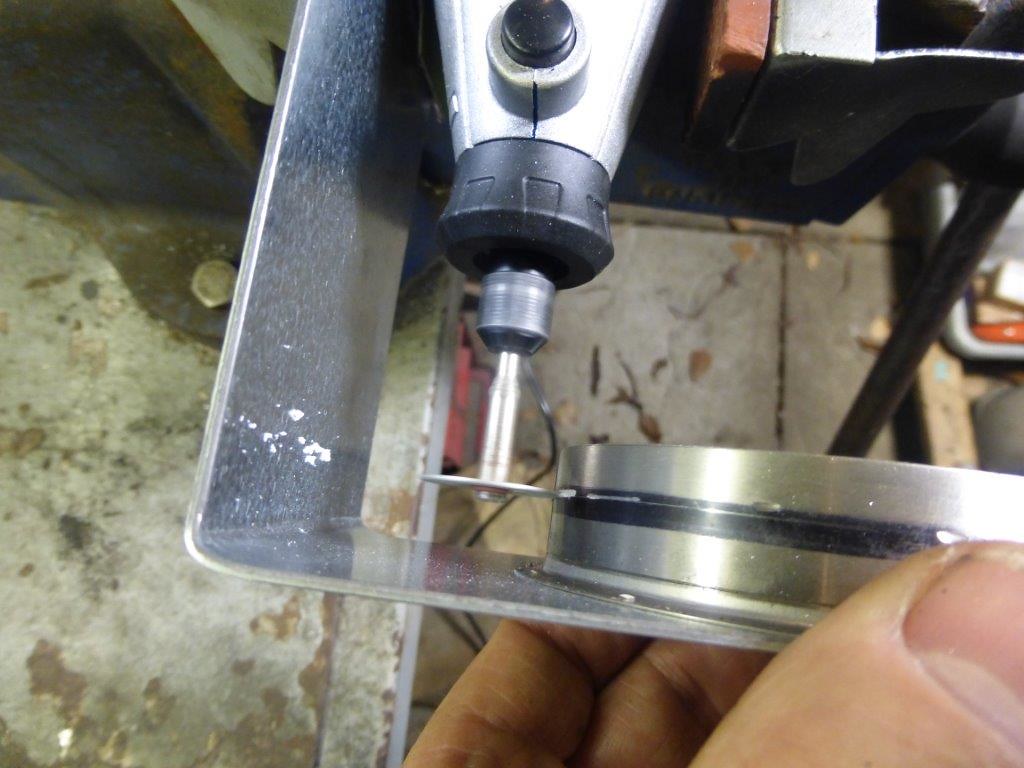
dermel in a vice with a crude depth gauge and cutting disk
 P1090416
 by
Paul_Barr, on Flickr
clean up the burr
 P1090419
 by
Paul_Barr, on Flickr
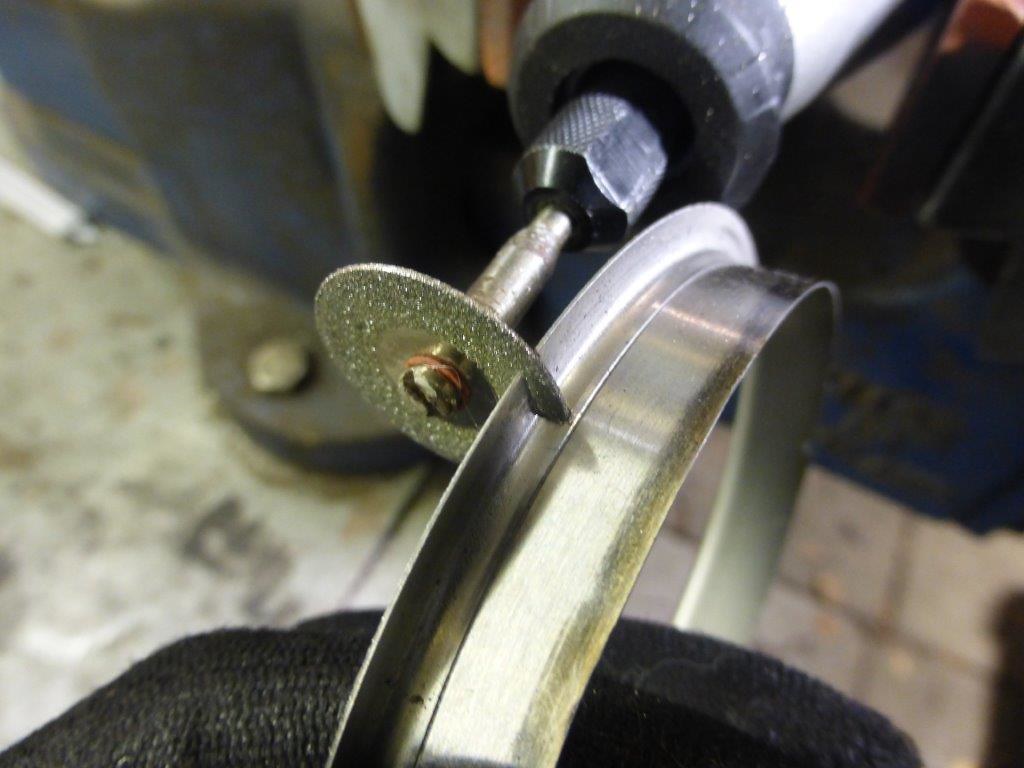
cut the rim
 P1090420
 by
Paul_Barr, on Flickr
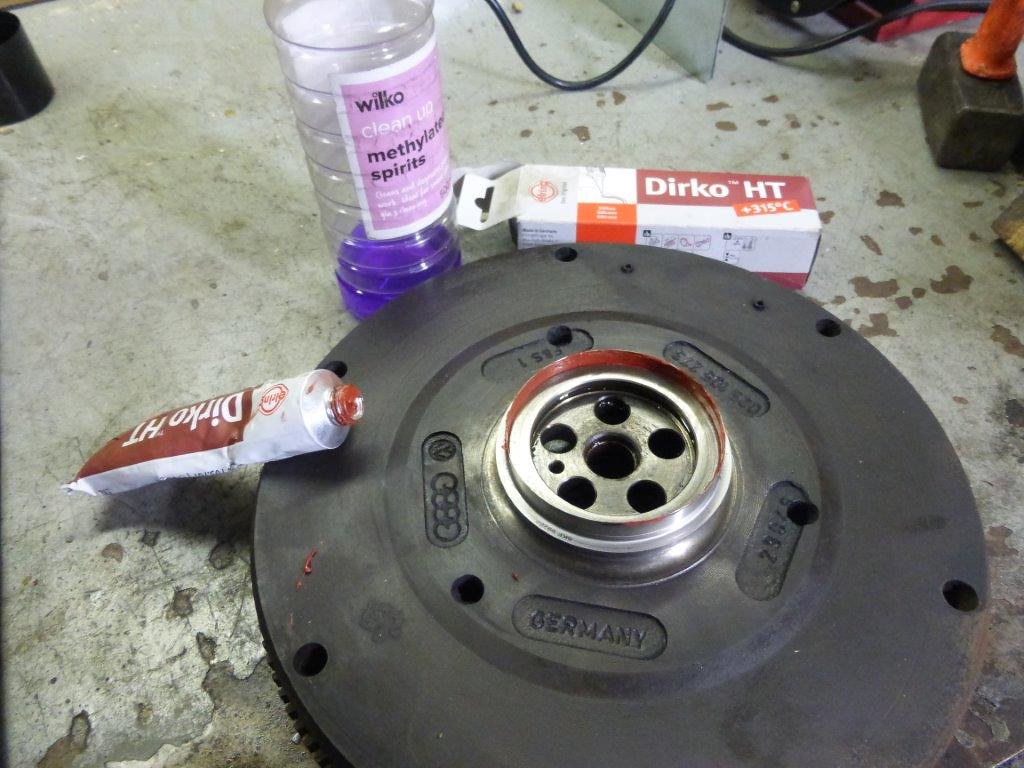
clean with meths, some oil resistant high temp Dirko
 P1090425
 by
Paul_Barr, on Flickr
hammer it on
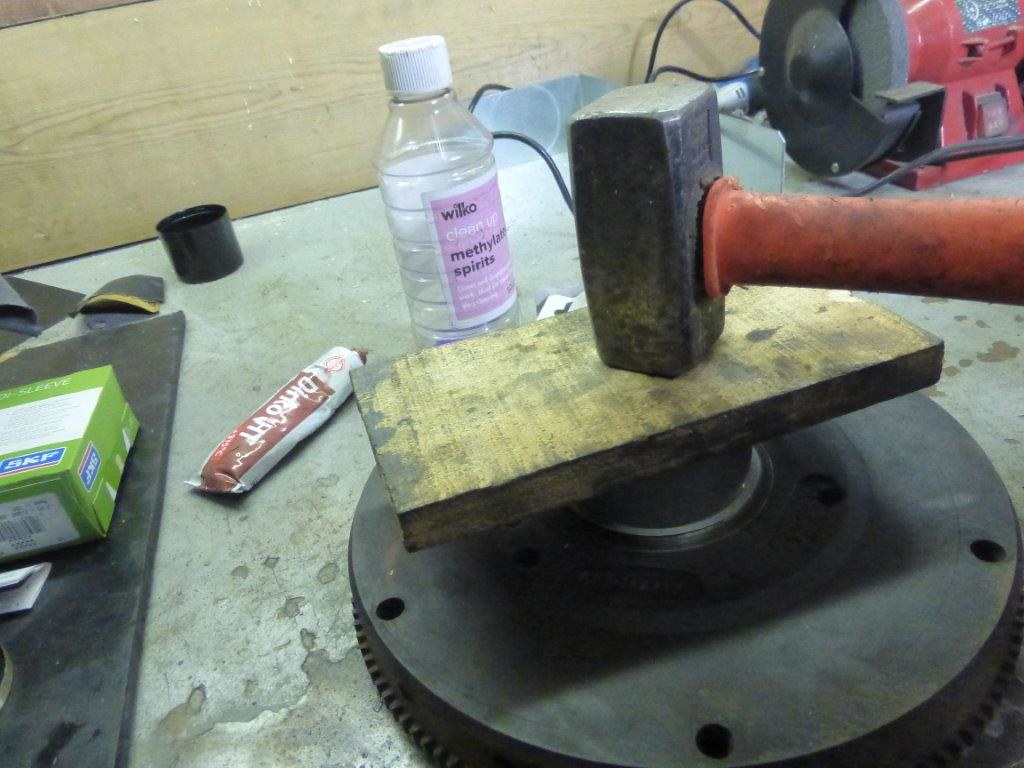 P1090426
 by
Paul_Barr, on Flickr
peel off the rim
 P1090430
 by
Paul_Barr, on Flickr
file the edge off carefully making sure it's under flush
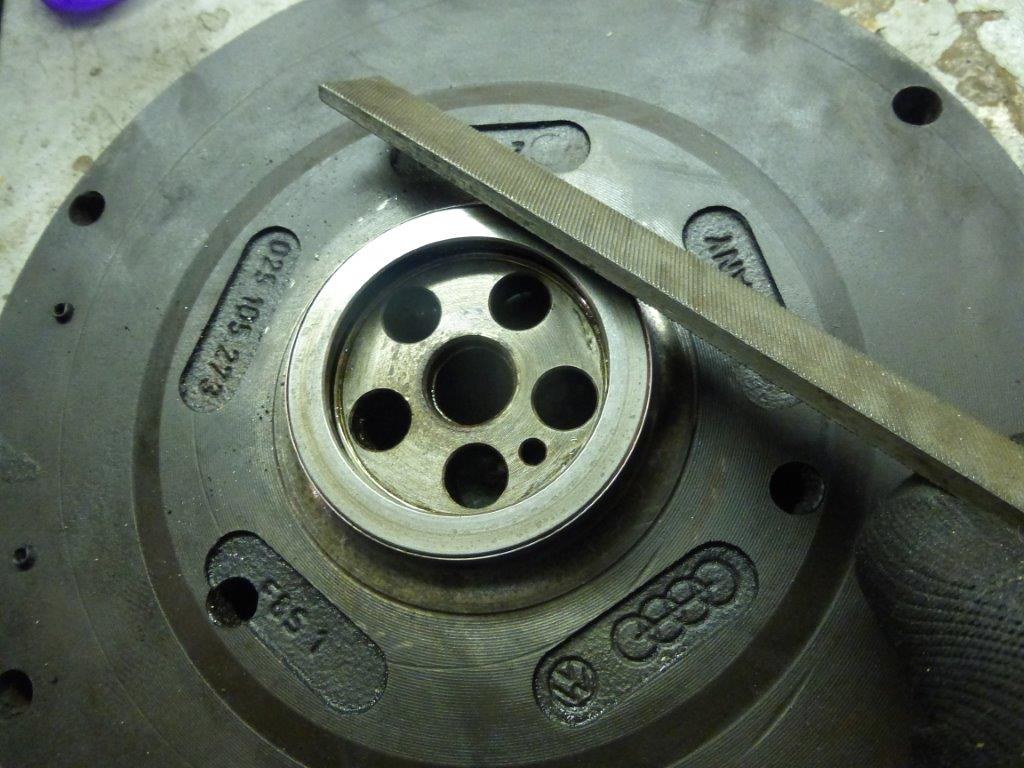 P1090431
 by
Paul_Barr, on Flickr
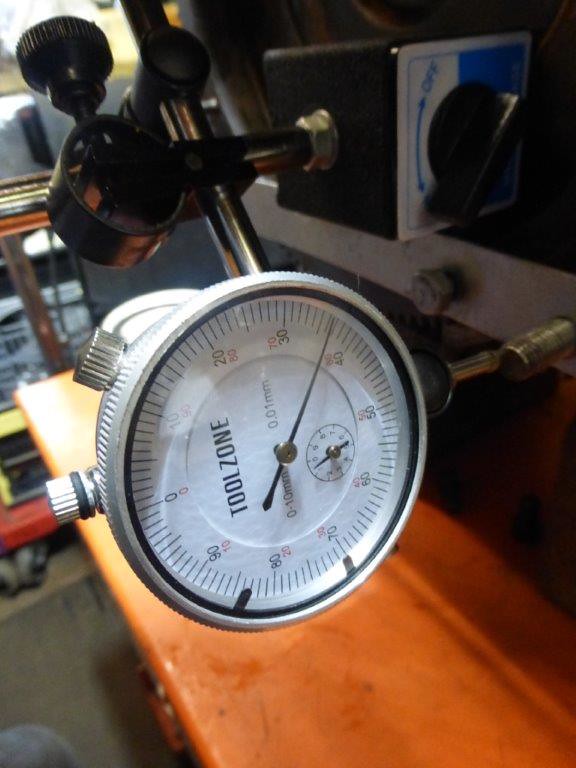
ready to set end float

 P1090439
 by
Paul_Barr, on Flickr
Re: WBXmayo
Posted: 01 Feb 2018, 18:58
by itchyfeet
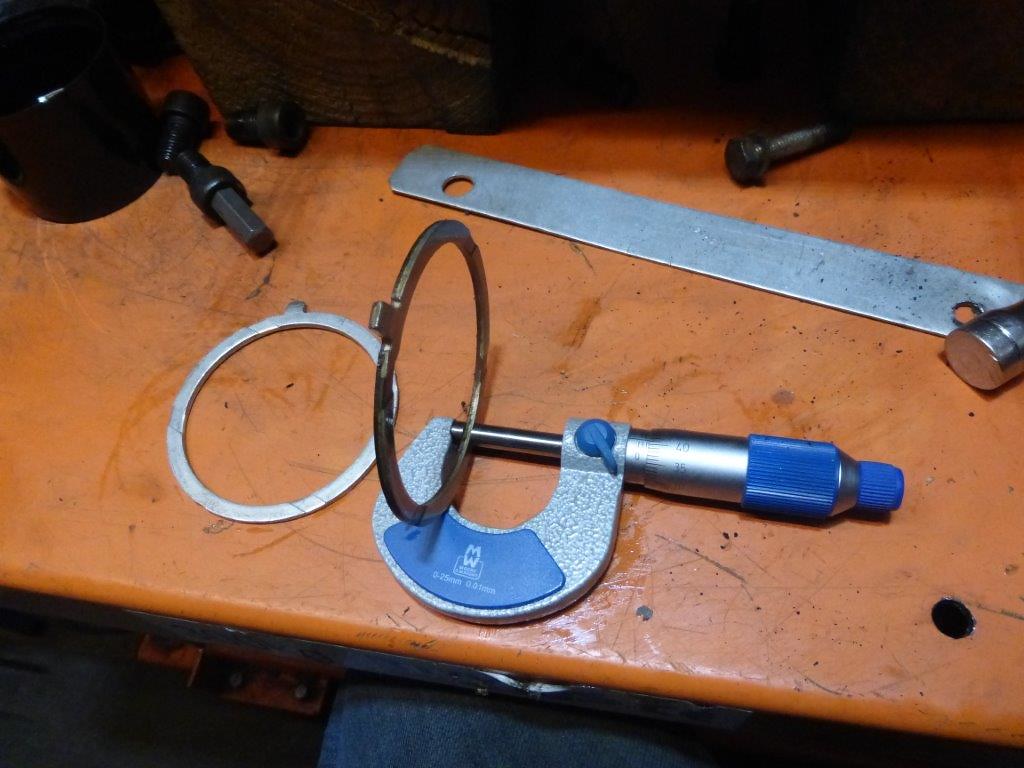
Started with a new thrust washer ( they come as a pair so one new on inside already) a 0.4mm large diameter shim and one 0.32mm shim
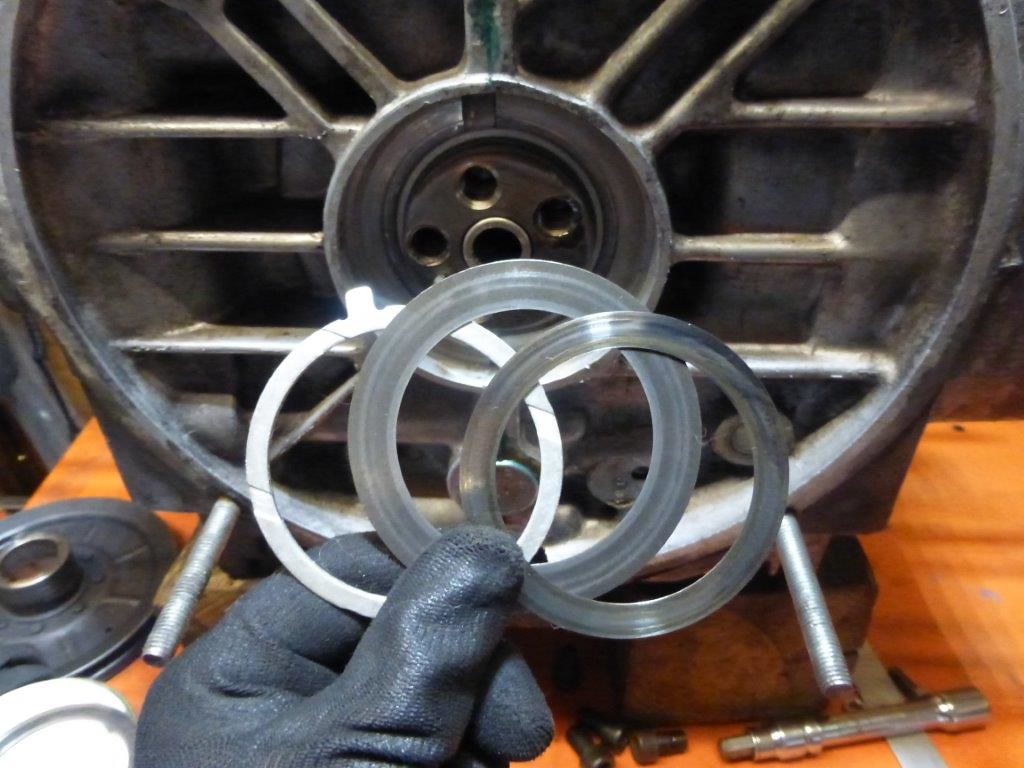 P1090441
 by
Paul_Barr, on Flickr
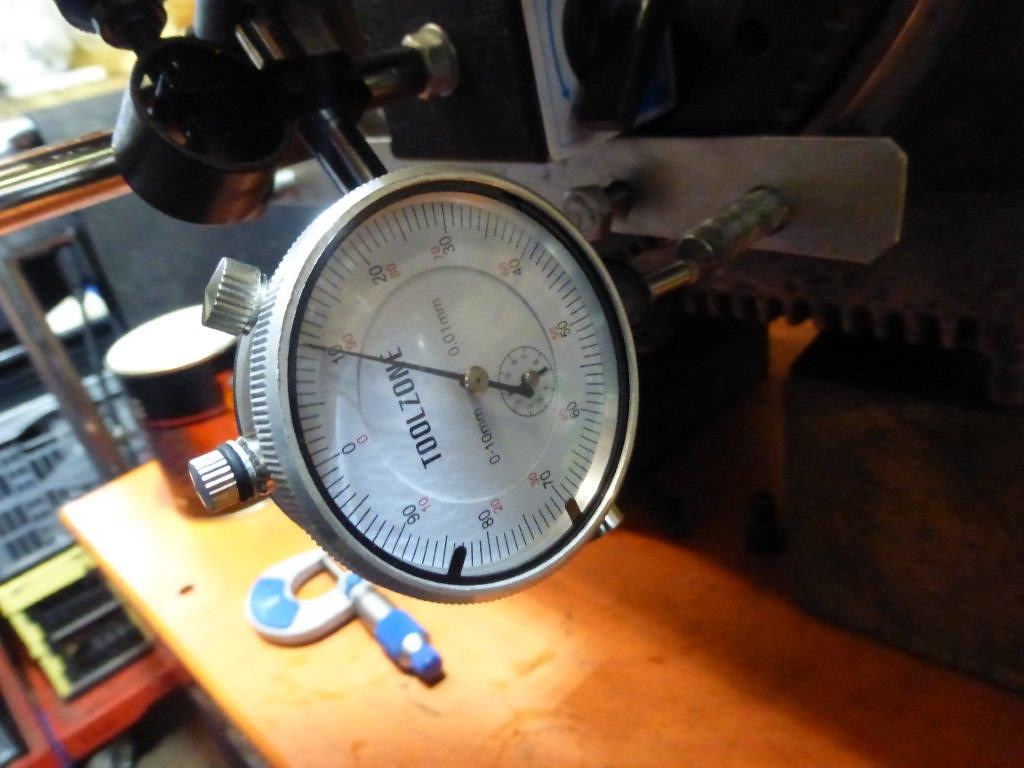
this plate stops the flywheel rotating when you do the measurement which makes it inaccurate.
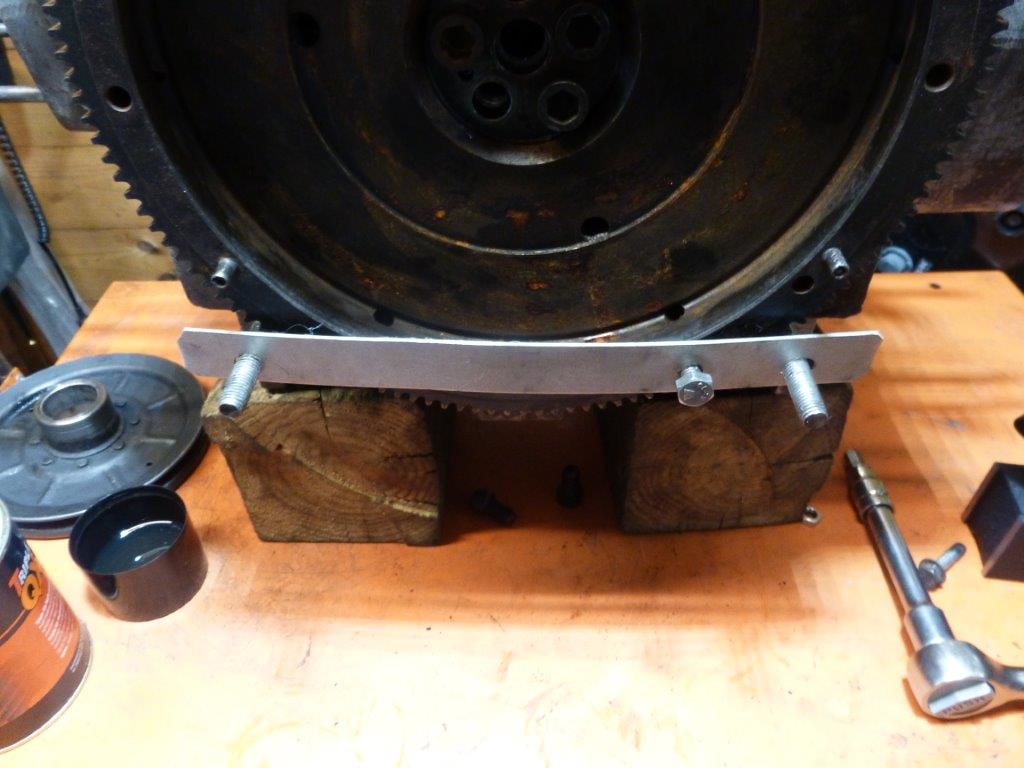 P1090448
 by
Paul_Barr, on Flickr
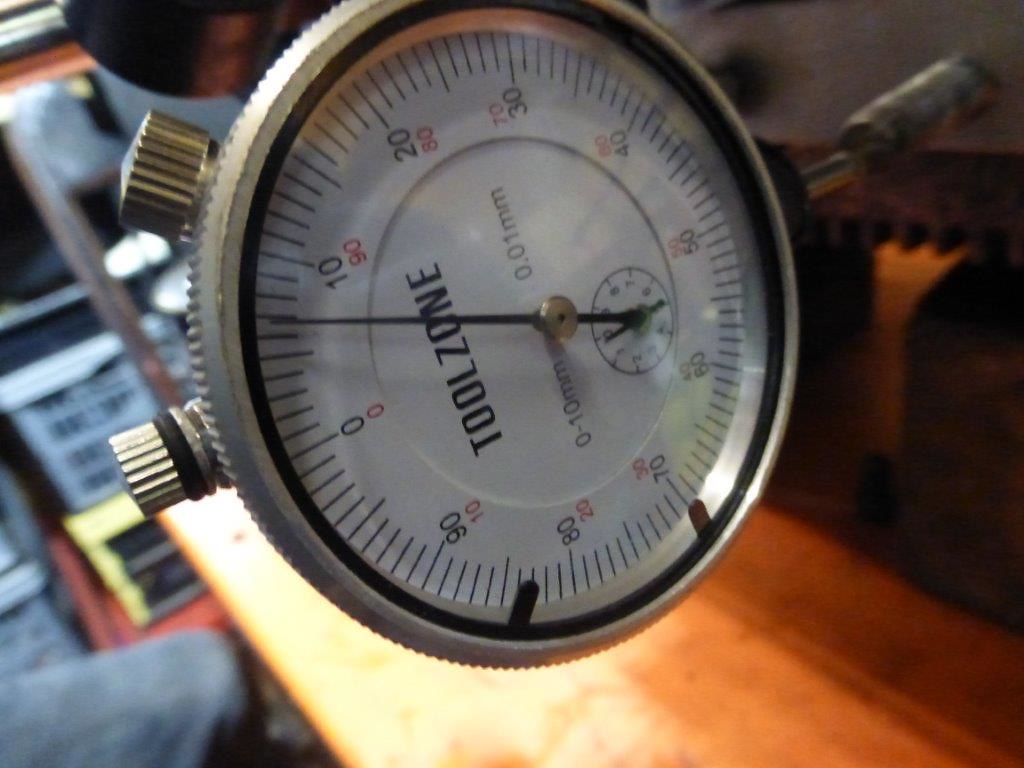
about 0.35mm so I'm aiming for minimum float which is 0.07mm so I need a 0.28mm shim which I don't have ( all my shims are larger)
 P1090444
 by
Paul_Barr, on Flickr
removed new thrust washer and replaced with a used one which give me some and then fitted some other shims to get the 0.07mm
 P1090445
 by
Paul_Barr, on Flickr
not spot on 0.1mm
 P1090446
 by
Paul_Barr, on Flickr
remeasure and swapped the smaller shims for very slightly bigger ones
 P1090447
 by
Paul_Barr, on Flickr
spot on
 P1090449
 by
Paul_Barr, on Flickr
Re: WBXmayo
Posted: 01 Feb 2018, 19:03
by itchyfeet
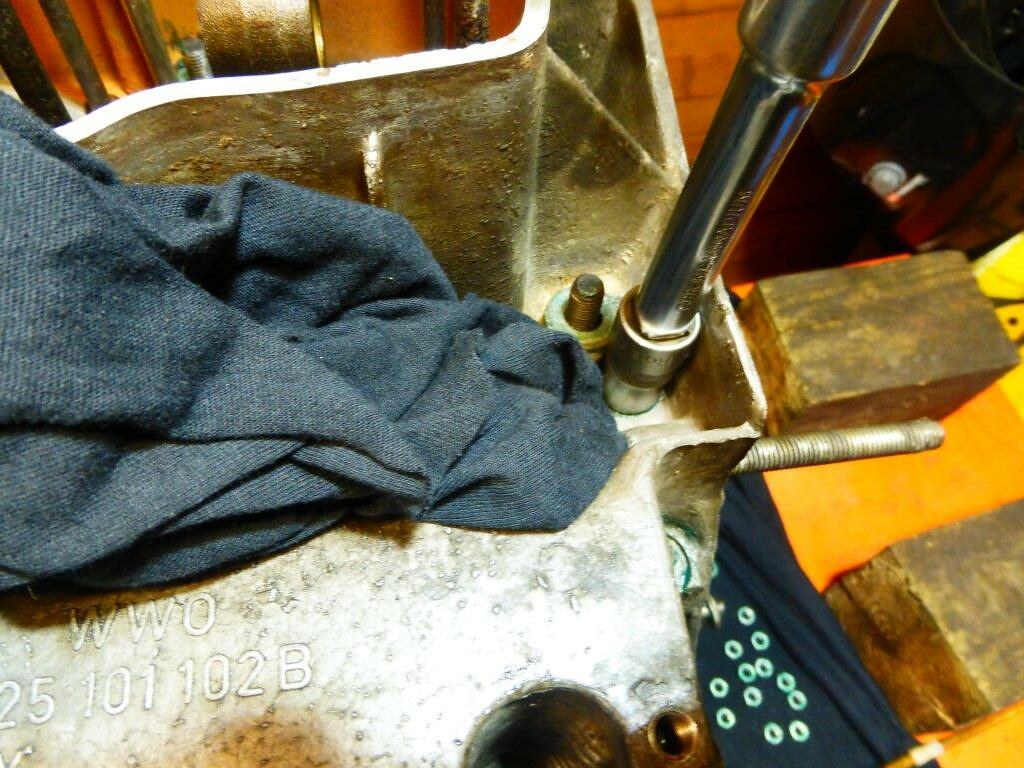
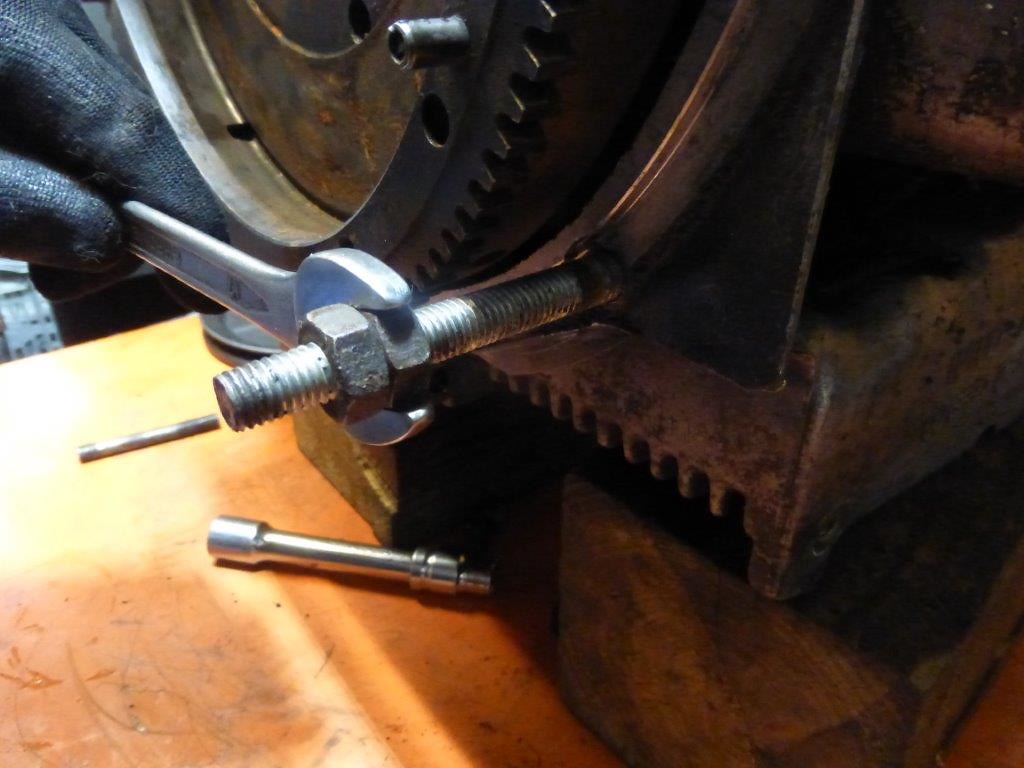
I guess this was once on an auto, studs are not VW they are a bit of studding cut to length and threads in poor condition
pulled them out and replaced with studs from another spare case I had
 P1090452
 by
Paul_Barr, on Flickr
Thread locked in to 75mm for a manual gearbox.
 P1090454
 by
Paul_Barr, on Flickr
