Page 12 of 15
Re: WBXmayo
Posted: 20 Jan 2018, 12:27
by itchyfeet
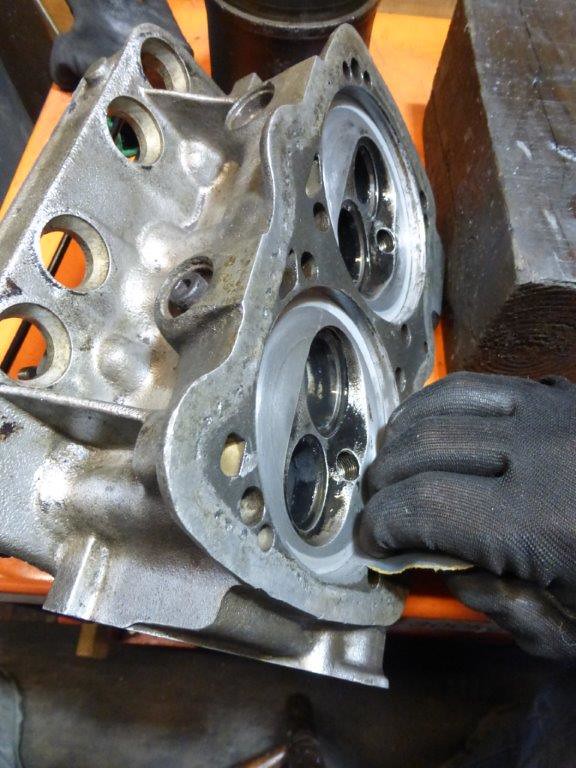
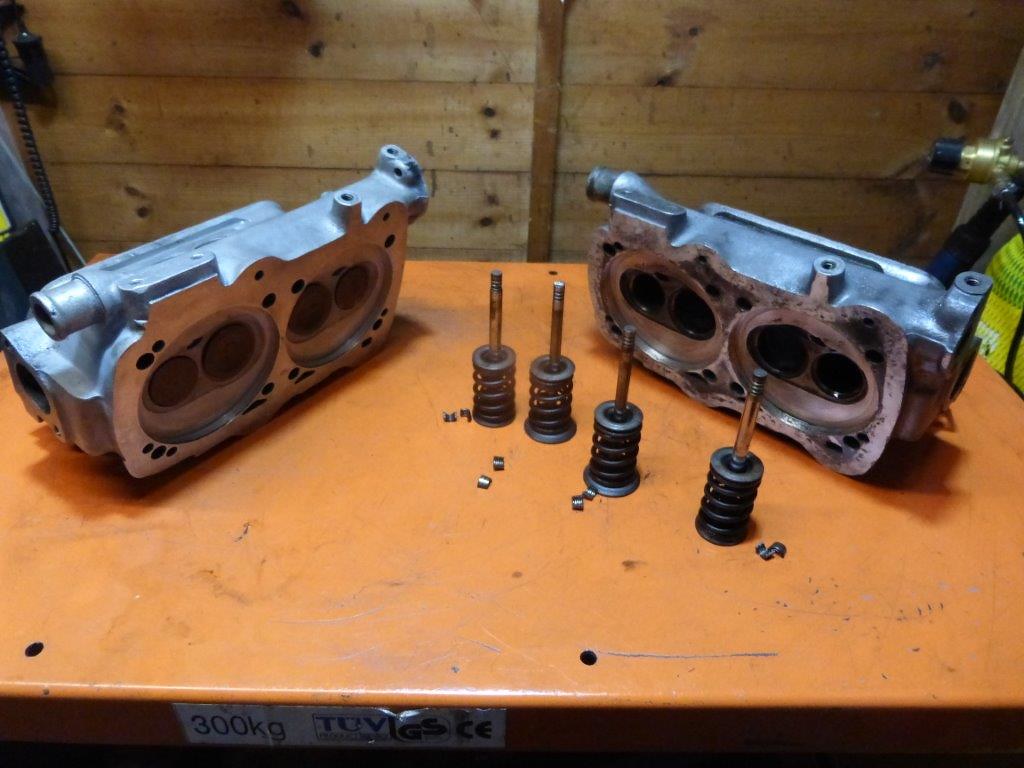
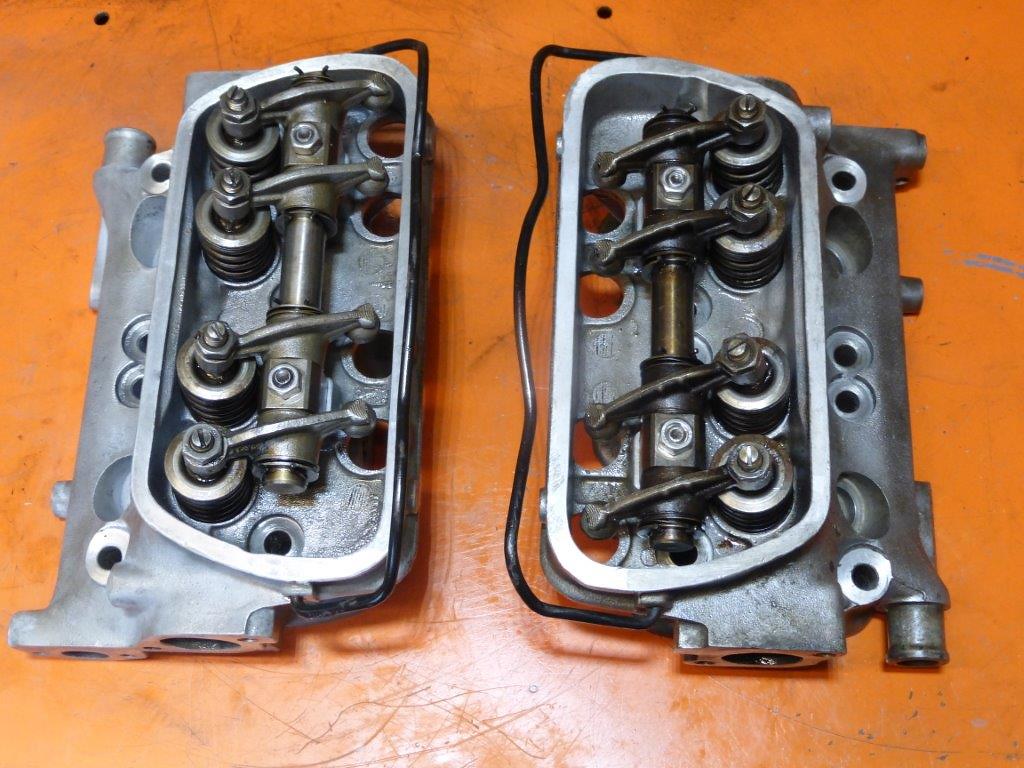
Heads next
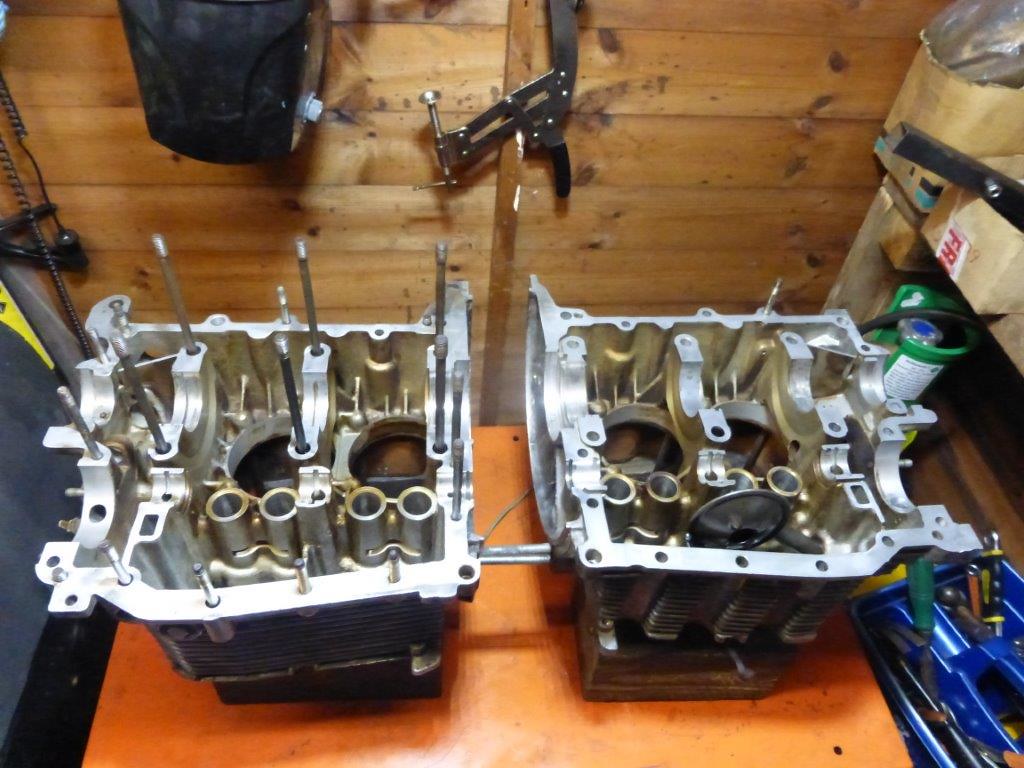
These are two used AMC heads that I bought and bartered, the valves on one are not in great condition and so they are going to get swapped out with valves from some old scrap heads I have, the other, valves look OK and with some replaced guides so I doubt AMC cheese valves.
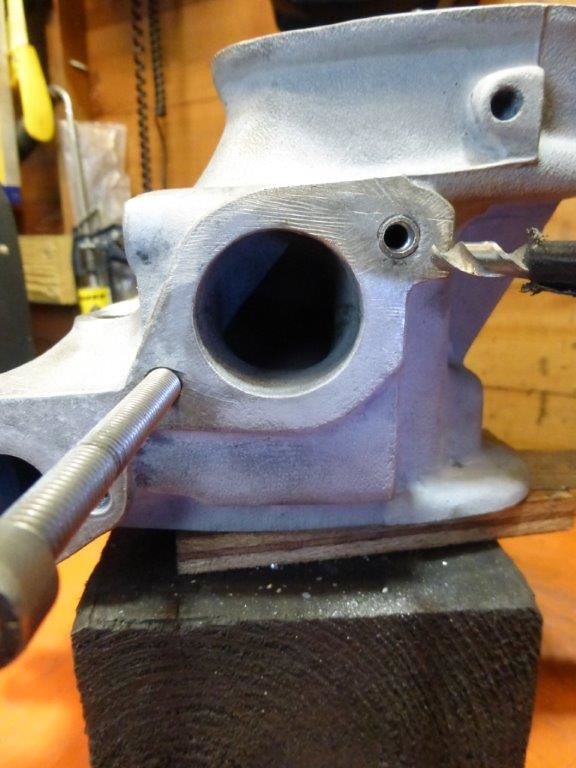
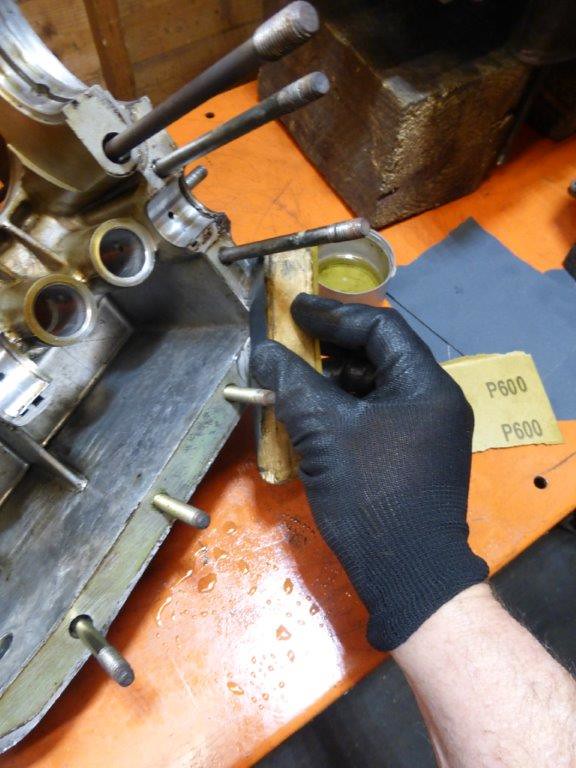
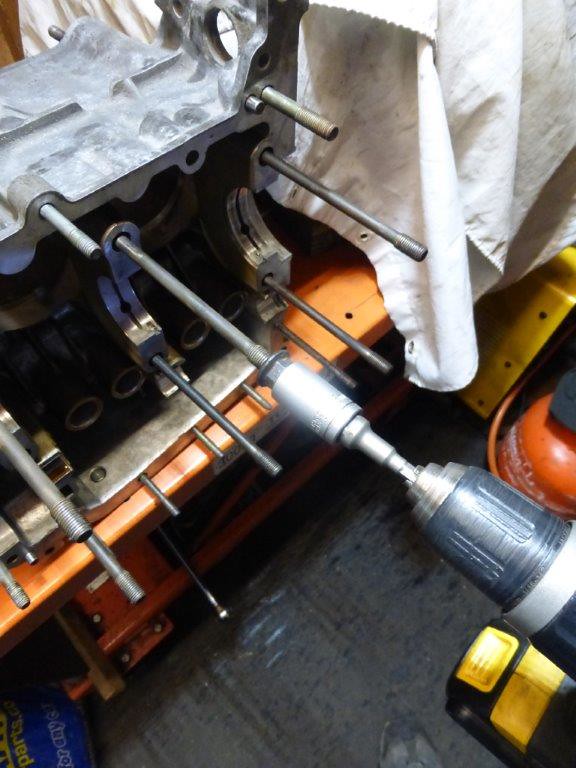
first job was to remove two steel studs, one snapped so had to drill it out and helicoil.
I then cleaned all other threads to find that six more exhaust threads were either striped or very worn so helicoiled those too, perhaps the AMC aluminium is softer than VW?
 P1090210
 by
Paul_Barr, on Flickr
 P1090211
 by
Paul_Barr, on Flickr
 P1090212
 by
Paul_Barr, on Flickr
 P1090215
 by
Paul_Barr, on Flickr
 P1090213
 by
Paul_Barr, on Flickr
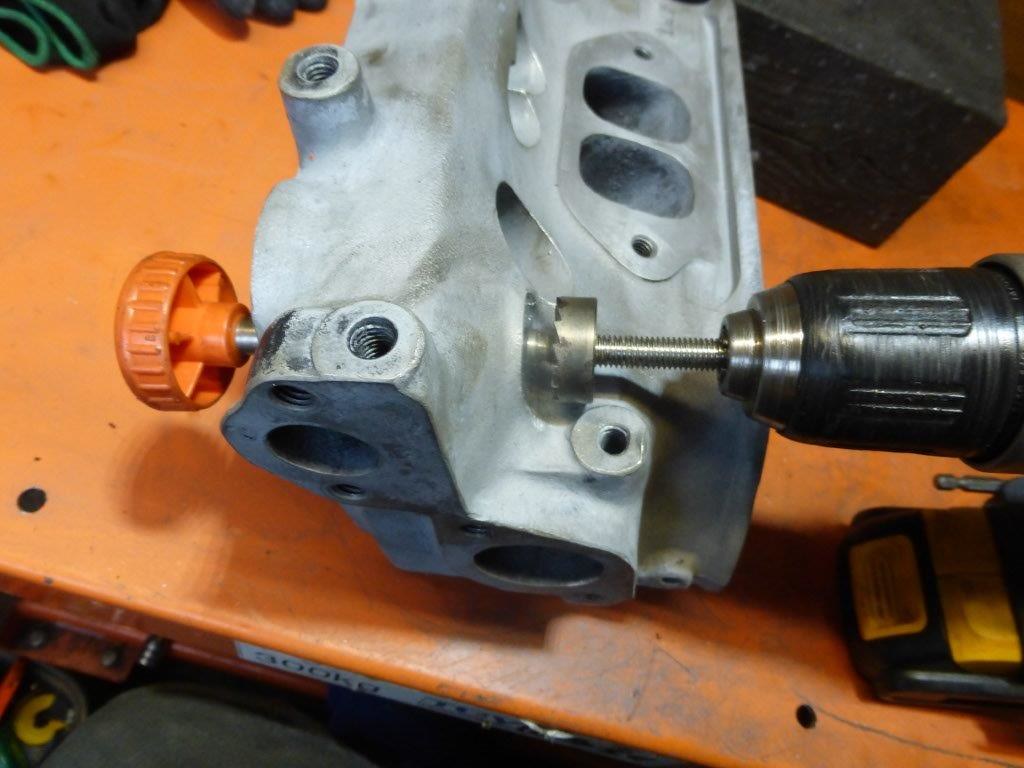
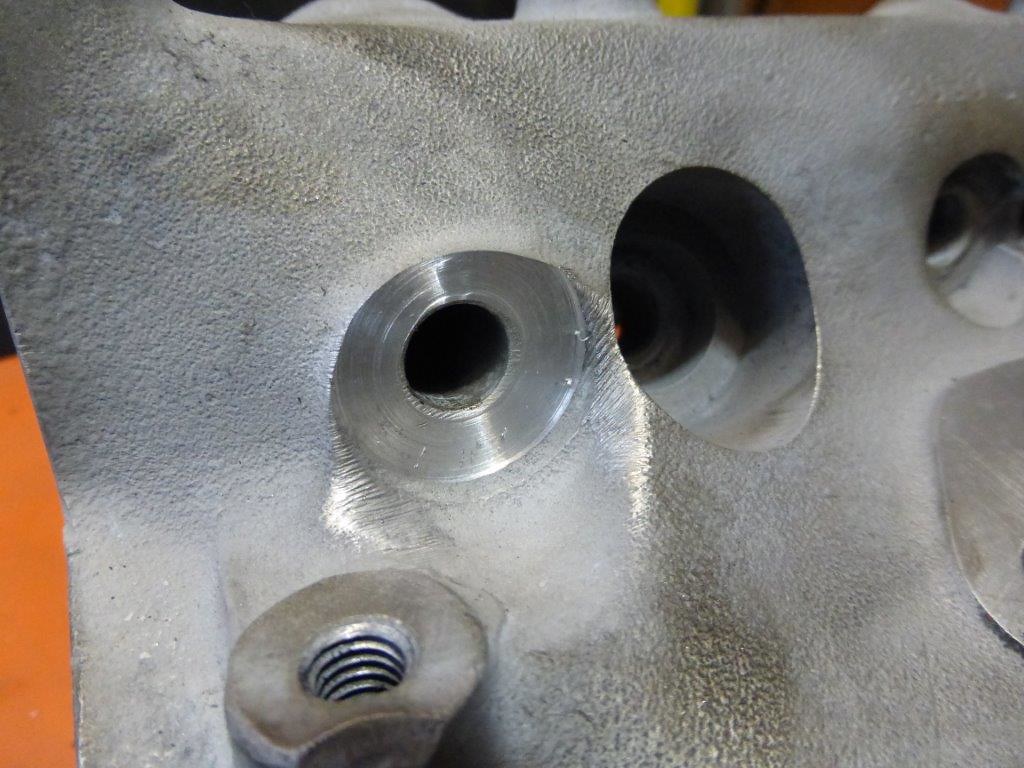
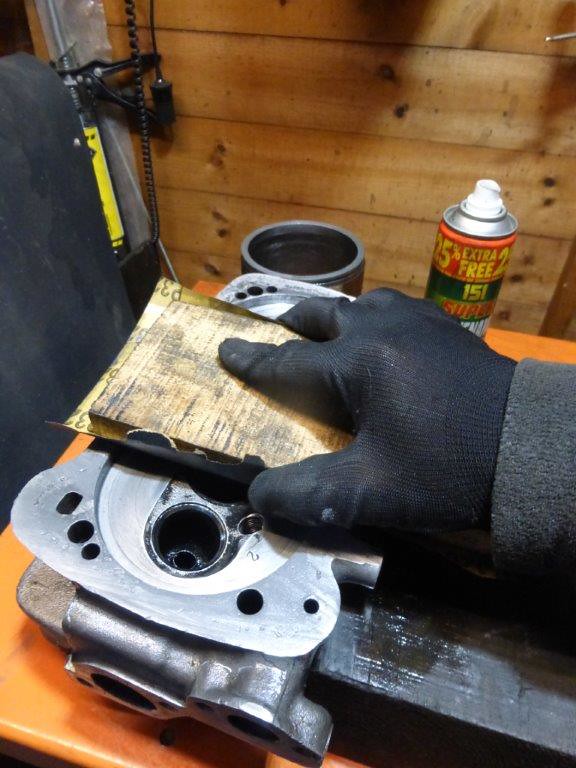
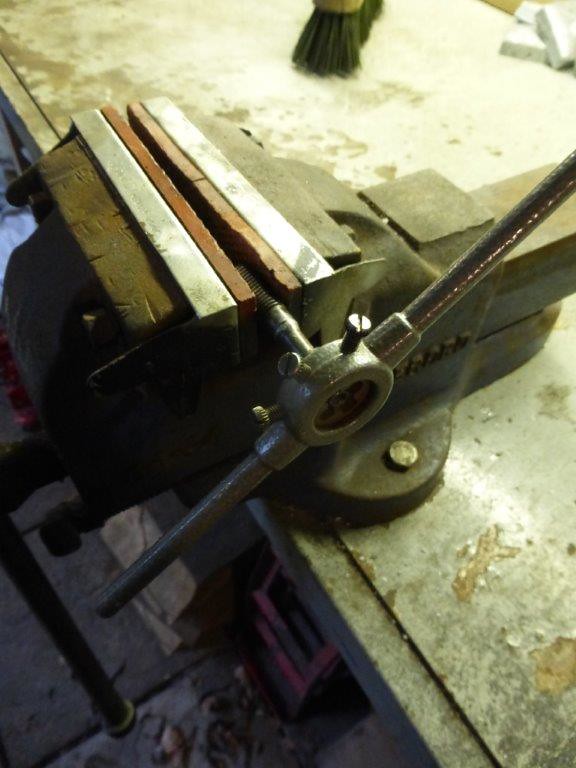
some of the outer head stud seats were badly indented and scored so improvised a cutter from a tap seat cutter. It looks like somebody tightened them far too much or the AMC aluminium is softer than VW, not seen this before.
 P1090206
 by
Paul_Barr, on Flickr
 P1090208
 by
Paul_Barr, on Flickr
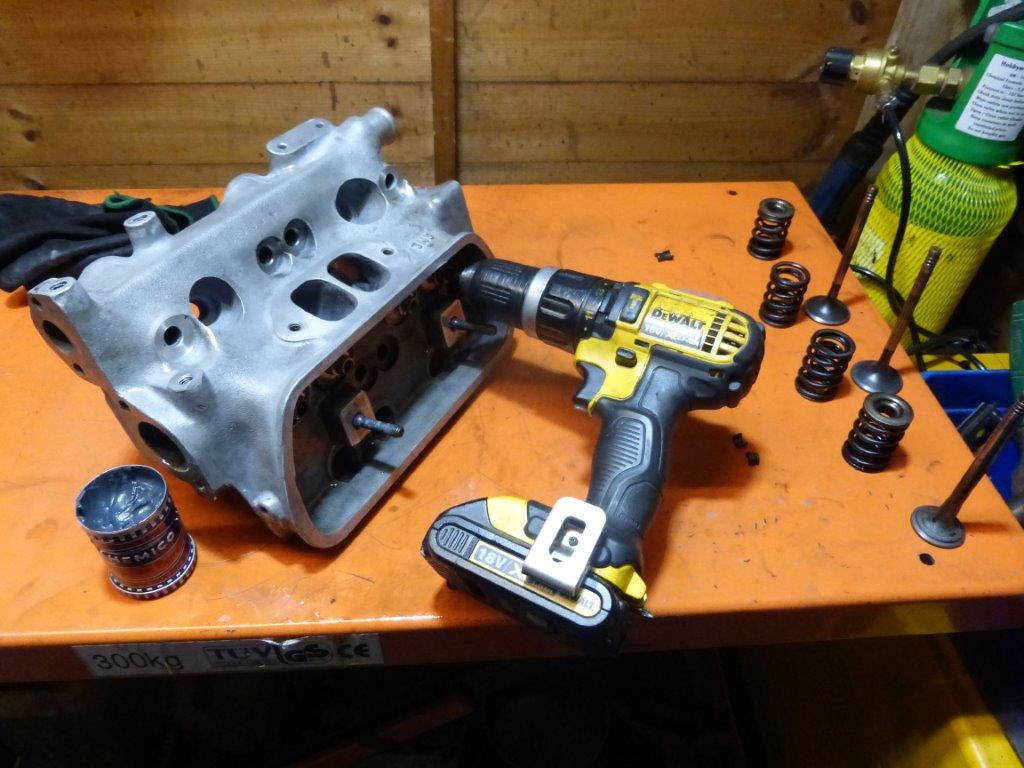
valves next
 P1090218
 by
Paul_Barr, on Flickr
Re: WBXmayo
Posted: 20 Jan 2018, 17:49
by itchyfeet
Fine grinding paste & wd40 as a lubricant on an old barrel helps to remove and find any imperfections, always the same number of turns on both chambers of each head.
 P1090223
 by
Paul_Barr, on Flickr
 P1090224
 by
Paul_Barr, on Flickr
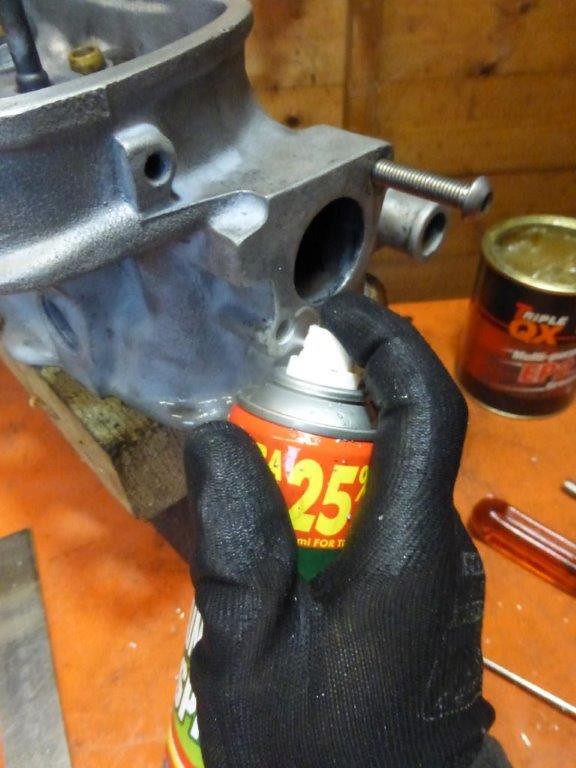
clean up the green o ring seal surface
 P1090226
 by
Paul_Barr, on Flickr
water jacket surface, again paraffin or wd40 as a lubricant
 P1090227
 by
Paul_Barr, on Flickr
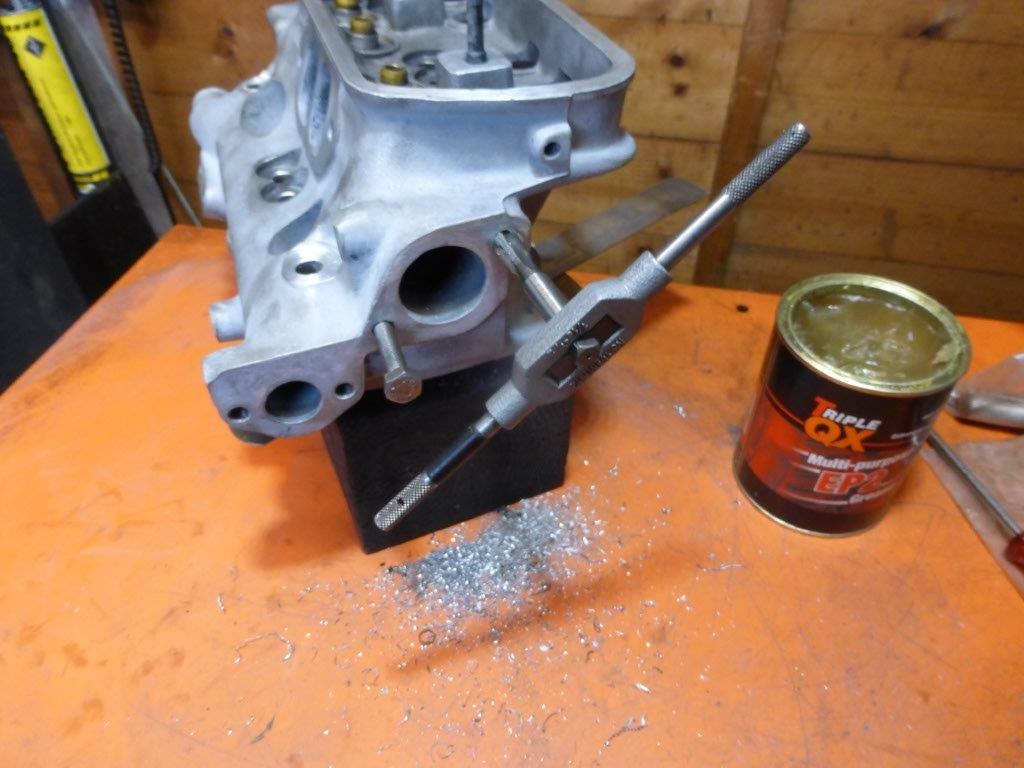
grinding valves the easy way, clean guides with lots of parrafin/wd40, then oil stems, when removing the valve never touch the paste onto the stem.
This is a a set from a VW head that was toast but the valves are good.
 P1090228
 by
Paul_Barr, on Flickr
reassembled
 P1090229
 by
Paul_Barr, on Flickr
I decided not to use the old valves on either in case they are AMC valves, I pulled appart my last duff head and recovered the valves,
ran out of time tonight to grind and fit job for tomorrow...
 P1090230
 by
Paul_Barr, on Flickr
Re: WBXmayo
Posted: 20 Jan 2018, 18:48
by itchyfeet
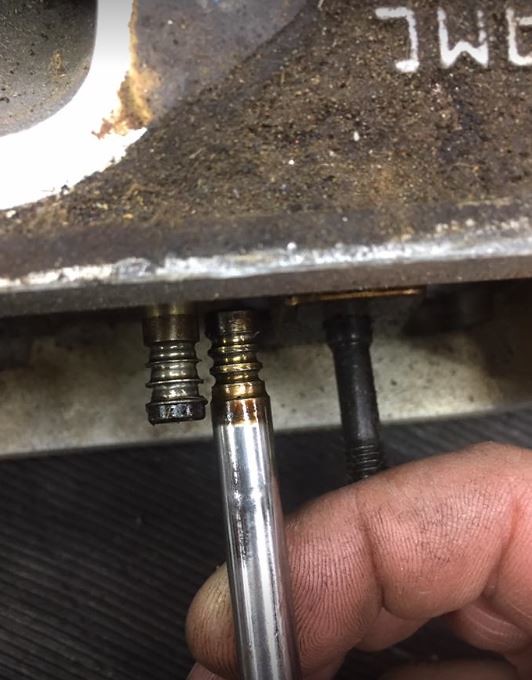
I have Not used AMC heads before but the reason for removing the valves is that they could be AMC. The end of AMC valves (where the collets hold it) fail in time ( picture from Marco Mansi) good but worn valve on the right for comparison
 AMC Valves
 by
Paul_Barr, on Flickr
Re: WBXmayo
Posted: 21 Jan 2018, 10:11
by ajsimmo
I hear that AMC have addressed the problem of the poor quality valves, and the new ones I buy now look to have different valves to the older ones (I bought a pair of NOS AMC heads so could compare old-new with new-new). I hope the change has cured the problem. The only way to find out is to fit the new-new straight out of the box, but it might be a few years before we know the results.
Sent from my ONEPLUS A3003 using Tapatalk
Re: WBXmayo
Posted: 21 Jan 2018, 10:39
by itchyfeet
Thanks Andrew, lets hope so although I suspect most people will take a while to trust them again.
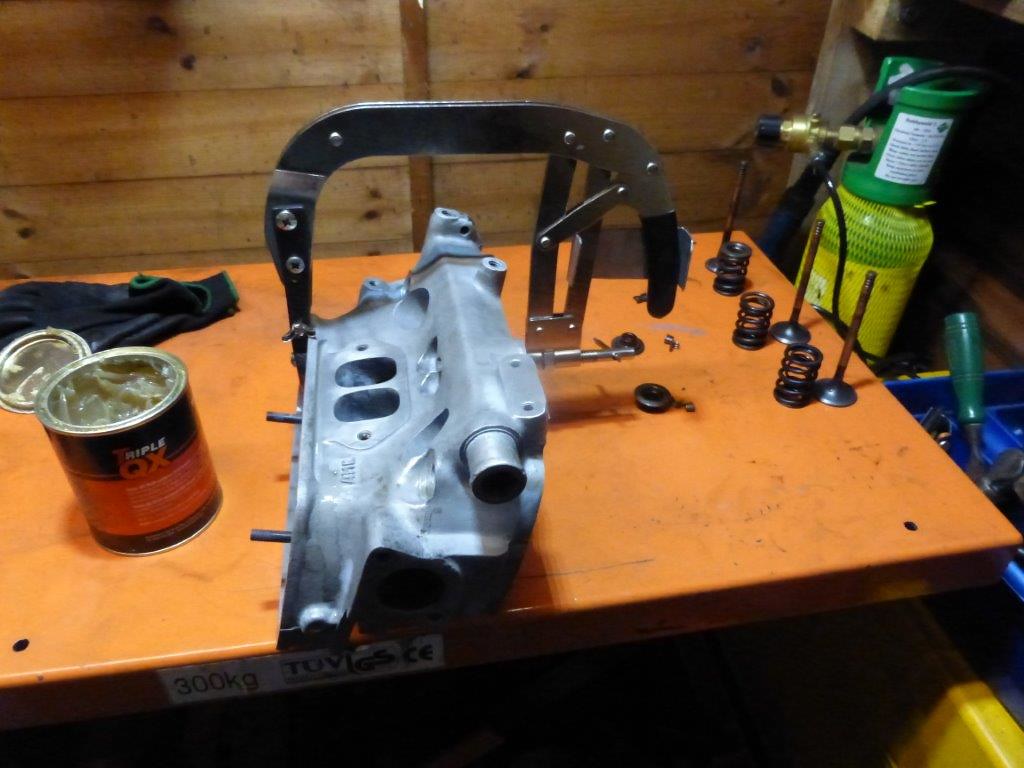
finished the other head off this morning, get lots more done when it's raining outside.
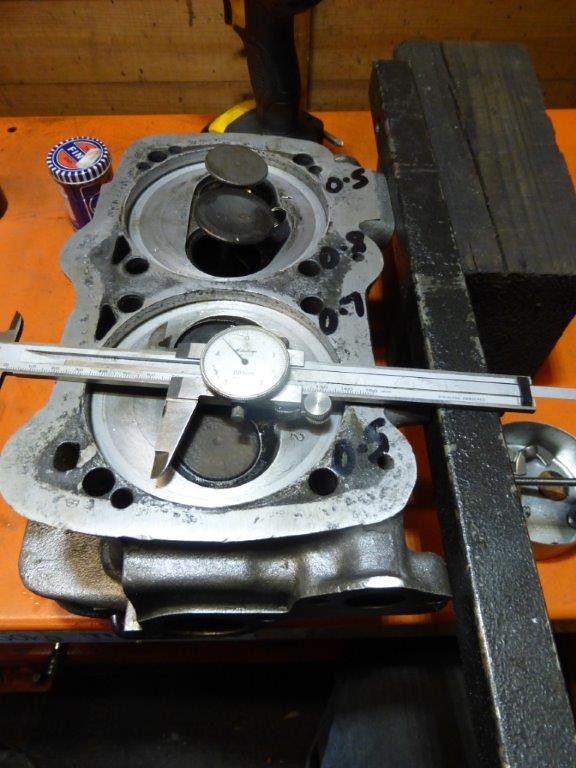
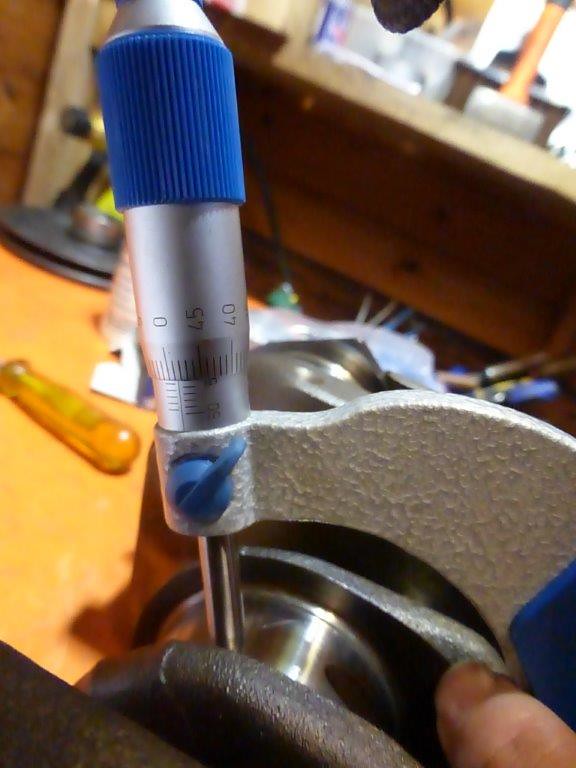
checked valve guide play on this one as it was more worn, still well within limits
 P1090232
 by
Paul_Barr, on Flickr
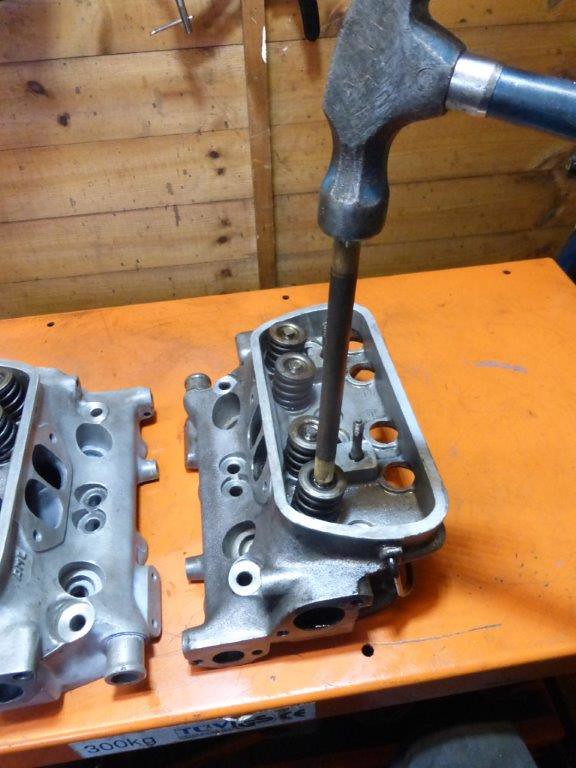
ground and assembled, then gave them all a whack to make sure they are seated.
 P1090235
 by
Paul_Barr, on Flickr
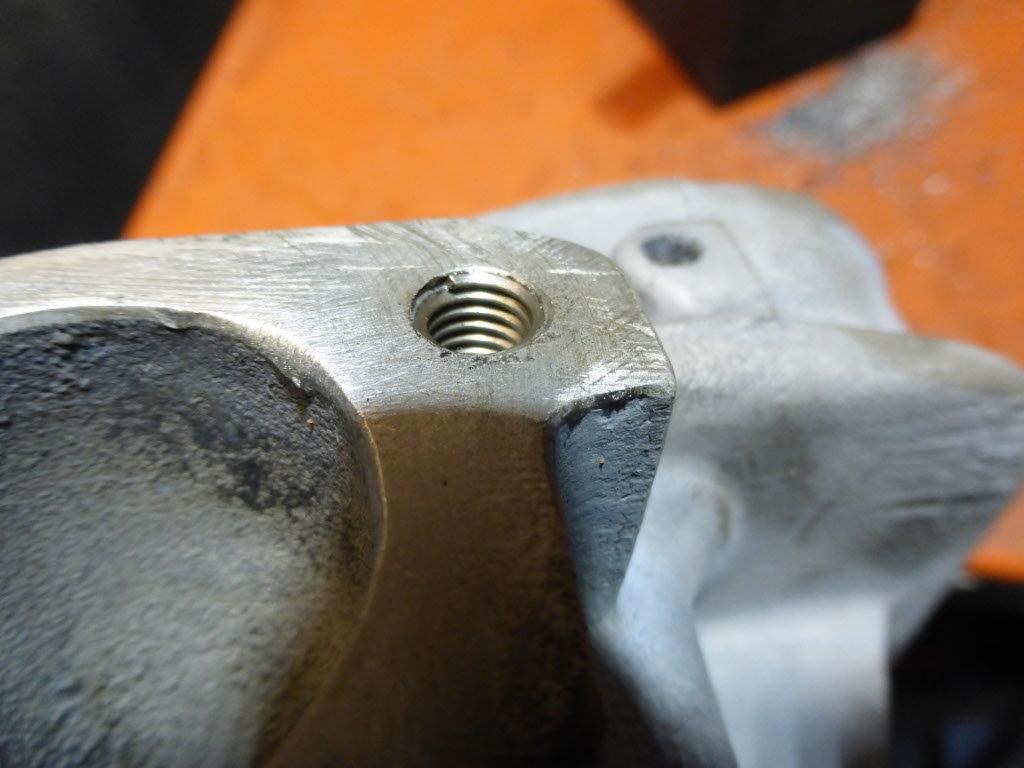
one rocker stud thread was damaged so came out when I tried to fit a nut, removed it and cleaned it up and threadlocked it back in
 P1090233
 by
Paul_Barr, on Flickr
rocker gear from the VW scrap heads....finished
 P1090237
 by
Paul_Barr, on Flickr
Re: WBXmayo
Posted: 21 Jan 2018, 17:55
by itchyfeet
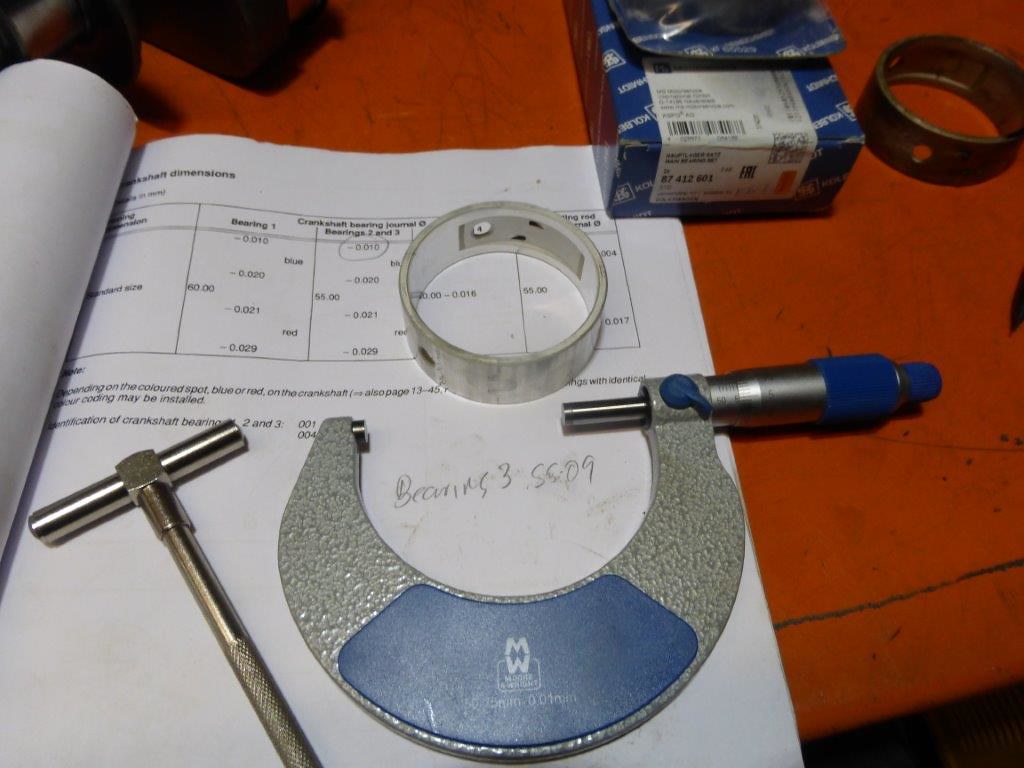
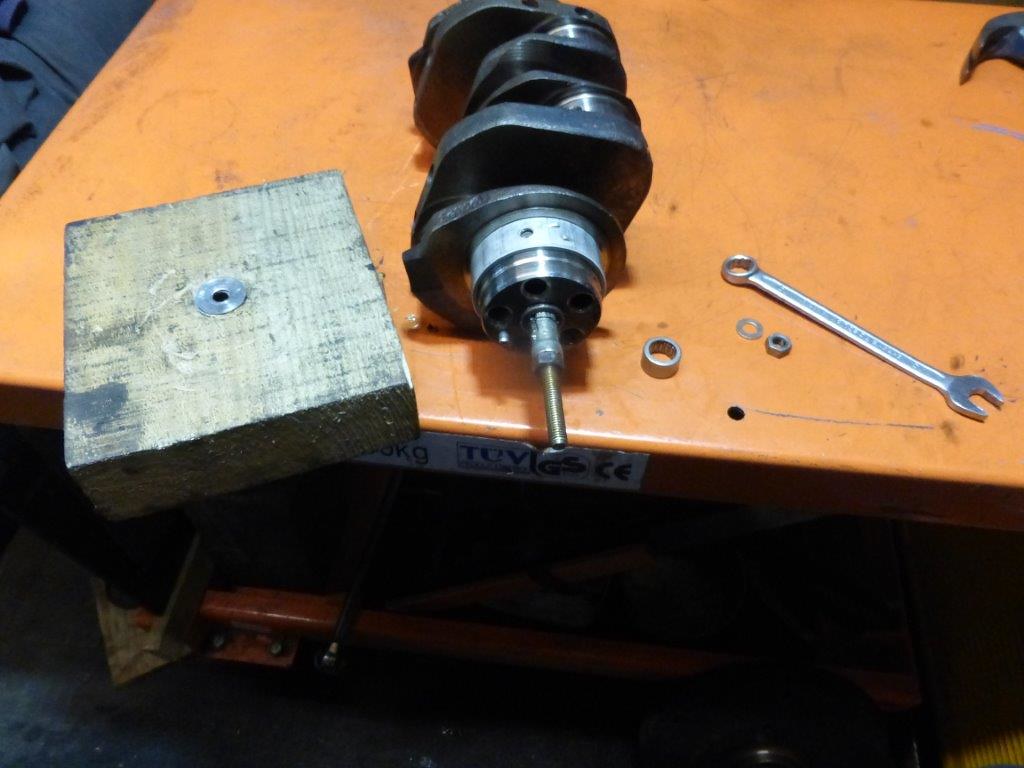
Crank bearings this afternoon
woodruff key out with a screwdriver and hammer
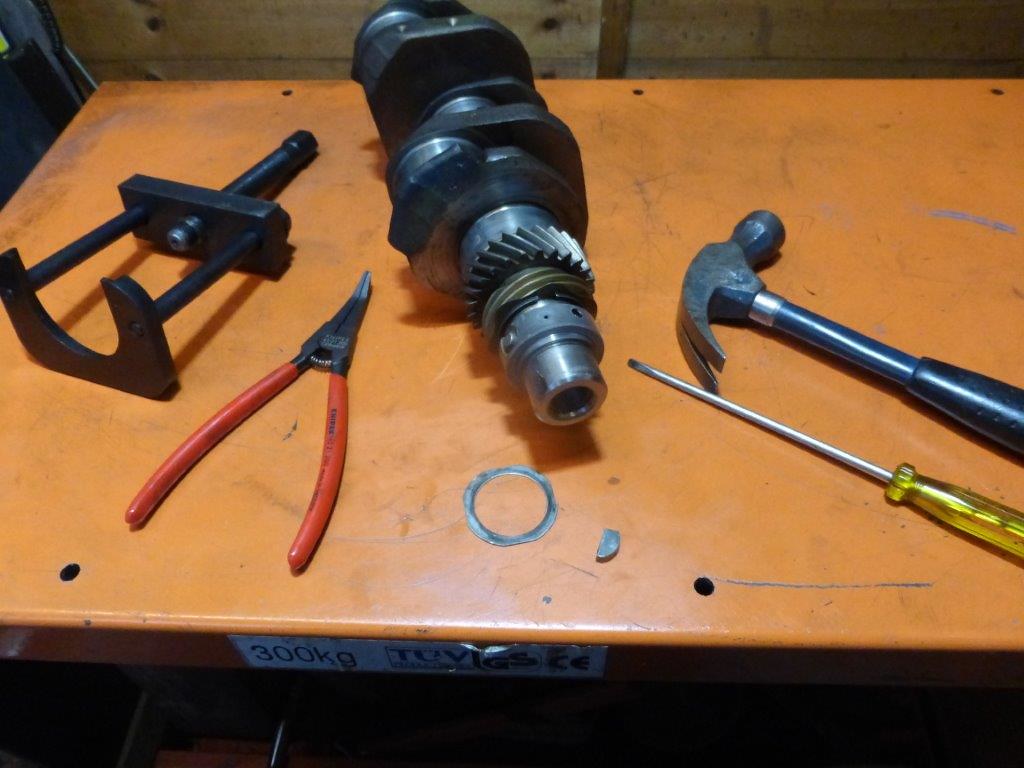 P1090239
 by
Paul_Barr, on Flickr
clip off ( needs the right tool)
 P1090240
 by
Paul_Barr, on Flickr
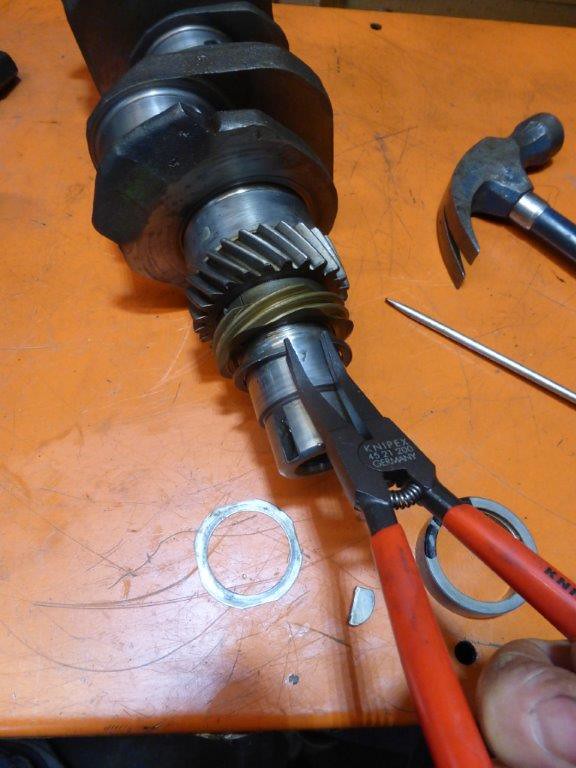
crank gear puller on and some heat on gears and it comes off
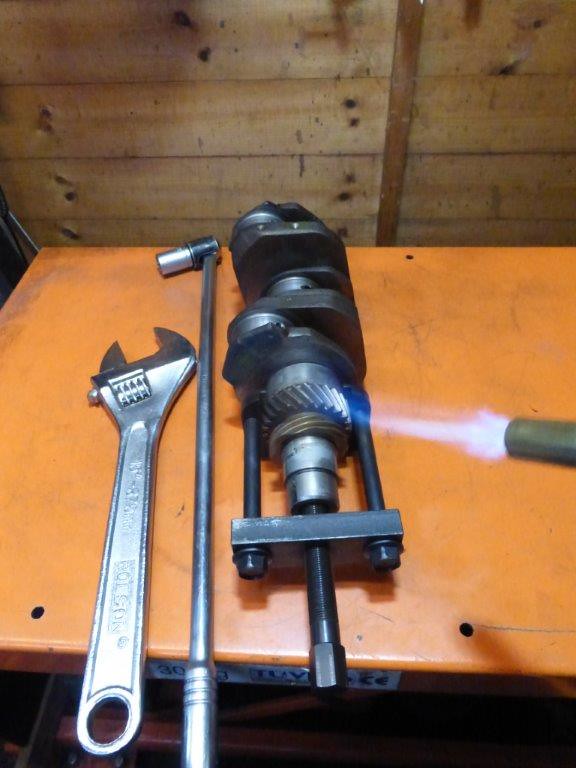 P1090241
 by
Paul_Barr, on Flickr
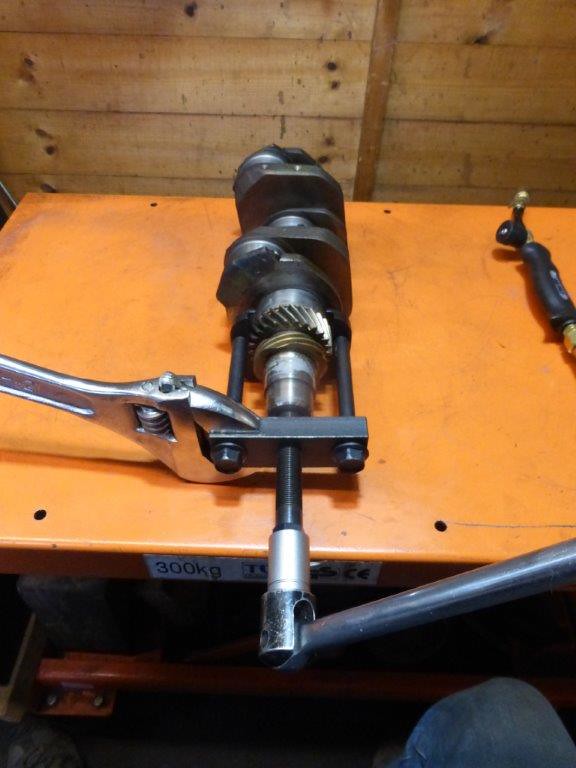 P1090242
 by
Paul_Barr, on Flickr
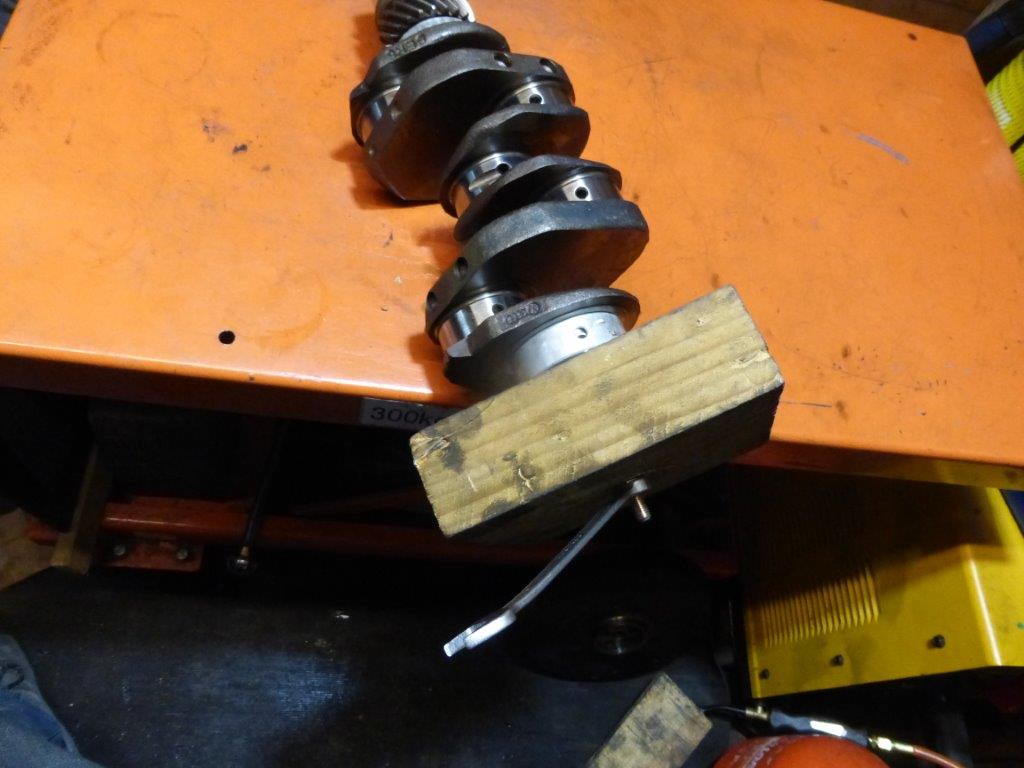
mark the parts so its easy to reassemble
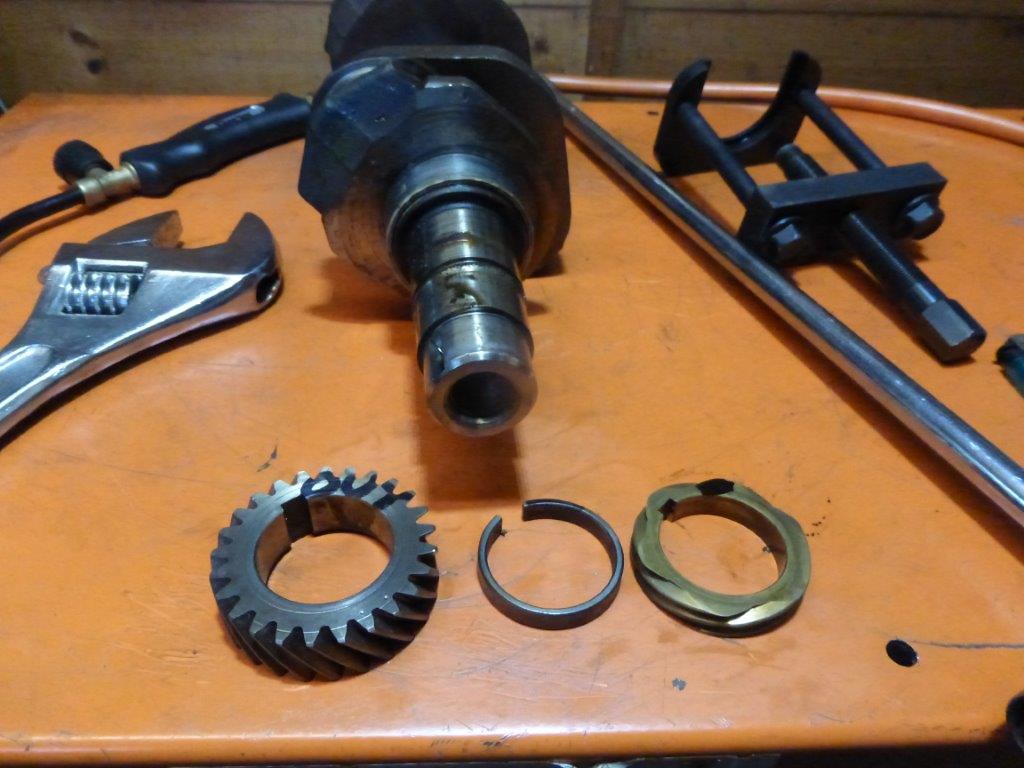 P1090244
 by
Paul_Barr, on Flickr
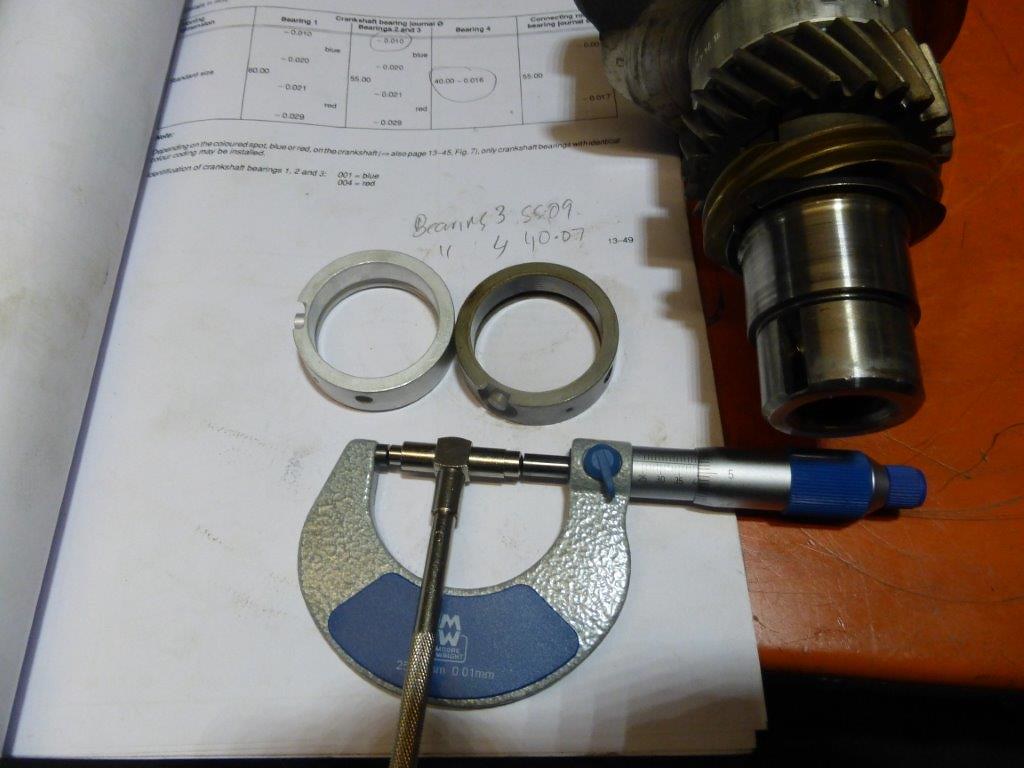
measure journal it's spot on blue
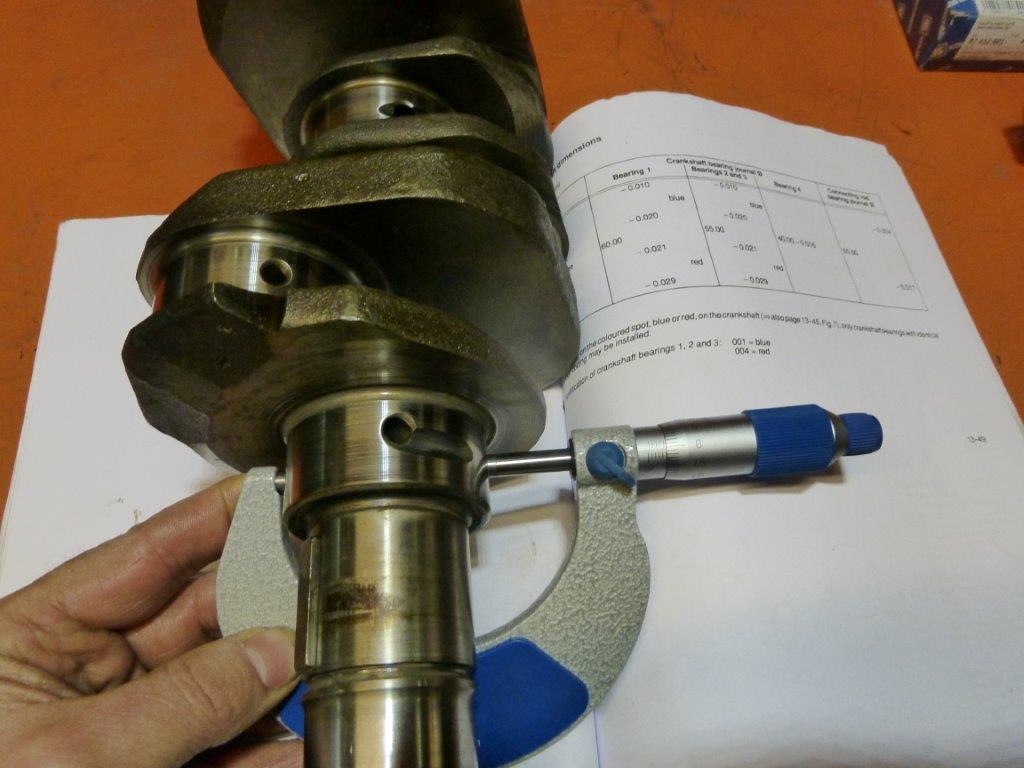 P1090247
 by
Paul_Barr, on Flickr
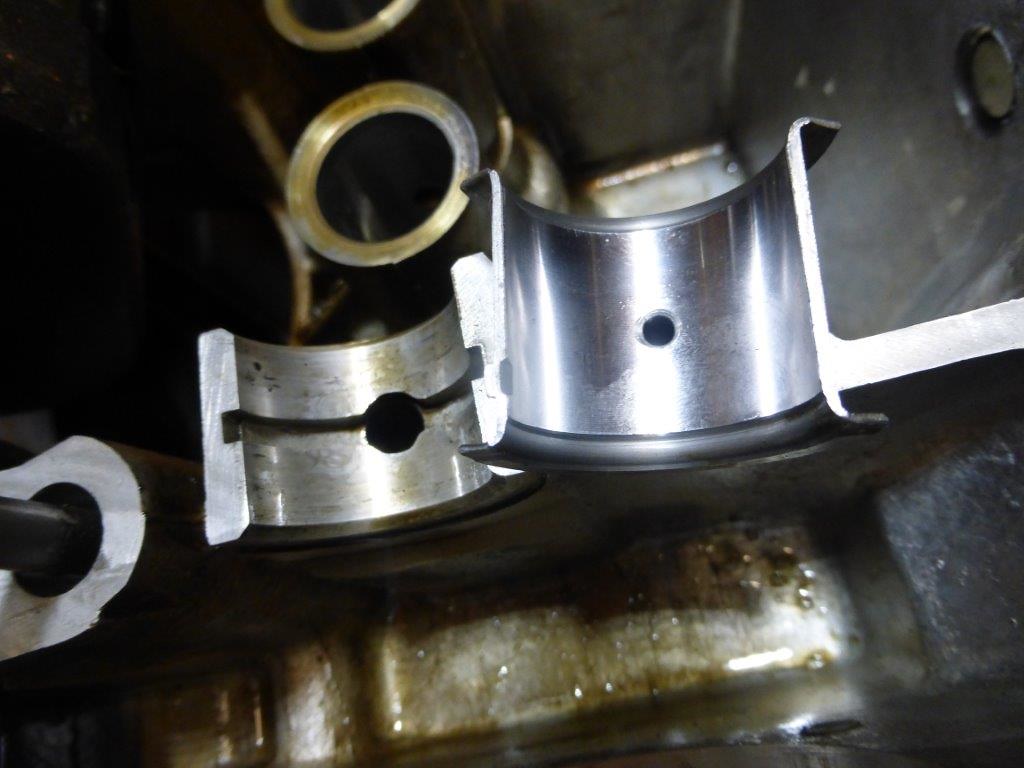
measure old and new bearings and they are the same, seldom any major wear in the main bearings but I'm changing them anyway.
About 0.1mm difference between bearings and journals is normal although I have never seen a spec.
 P1090249
 by
Paul_Barr, on Flickr
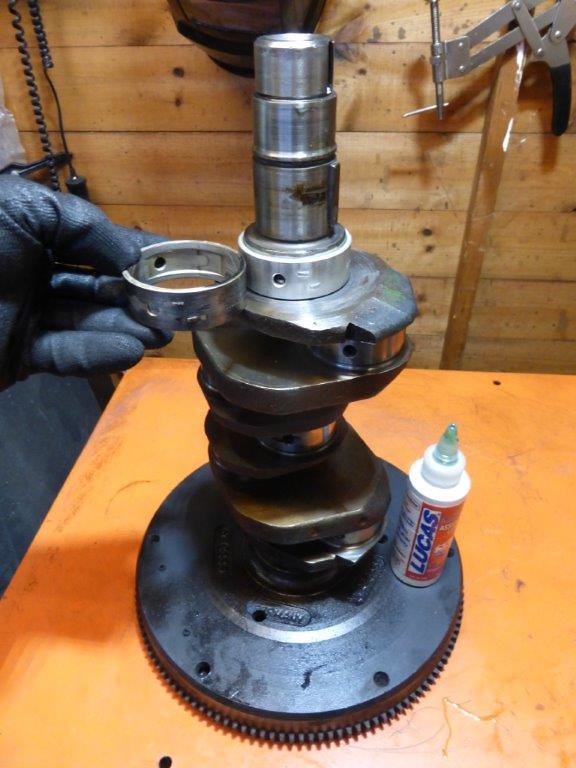
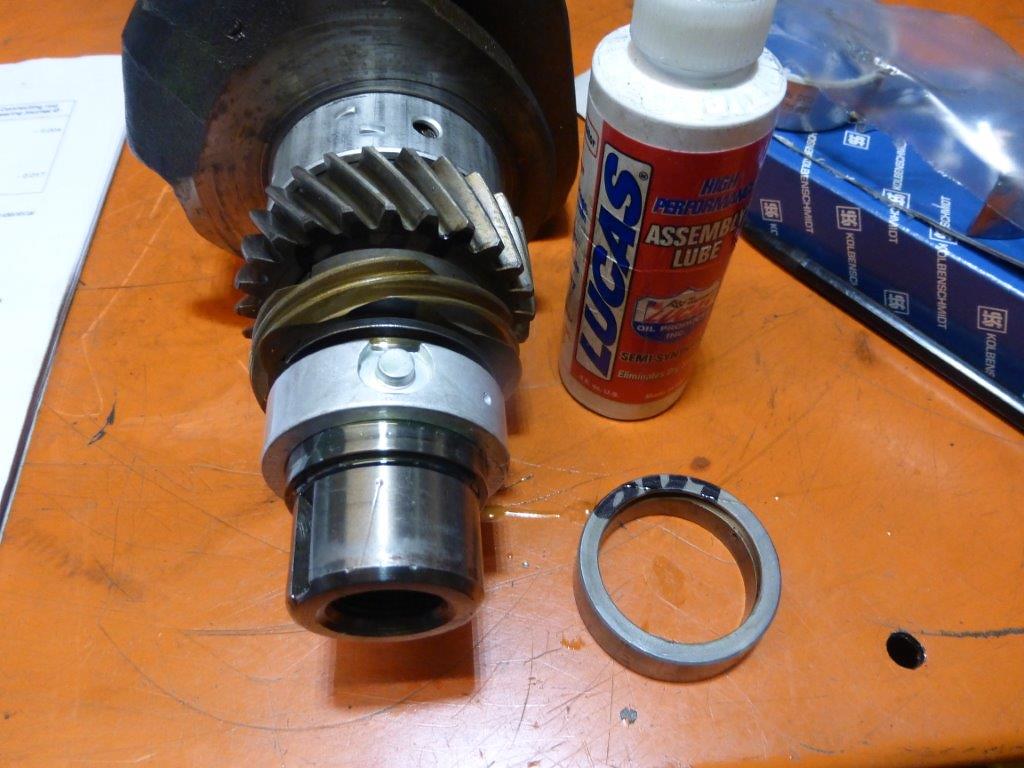
flywheel on temporarily makes it easier to refit gears, bearing on with assembly lube making sure it the right way ( I photographed and marked the old one)
 P1090250
 by
Paul_Barr, on Flickr
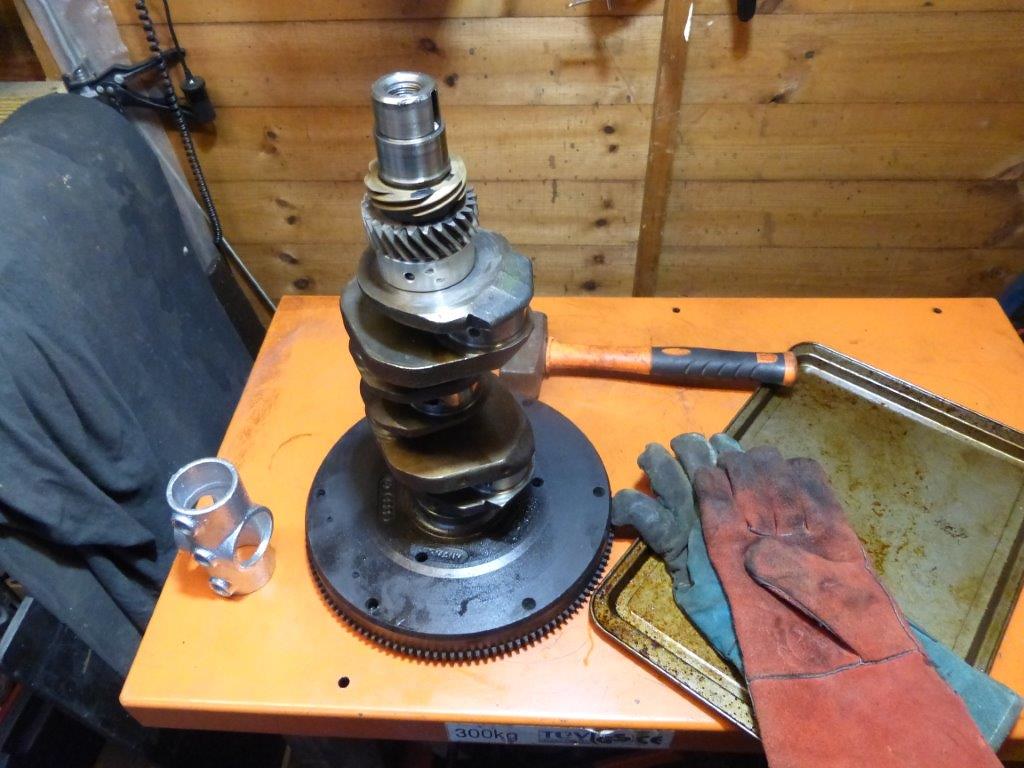
heated the gears in the oven for about 20 mins on high then they just drop on, I have a sleeve ( a scaffold joiner) and hammer ready in case I need it but I didn't.
 P1090251
 by
Paul_Barr, on Flickr
Re: WBXmayo
Posted: 21 Jan 2018, 18:00
by itchyfeet
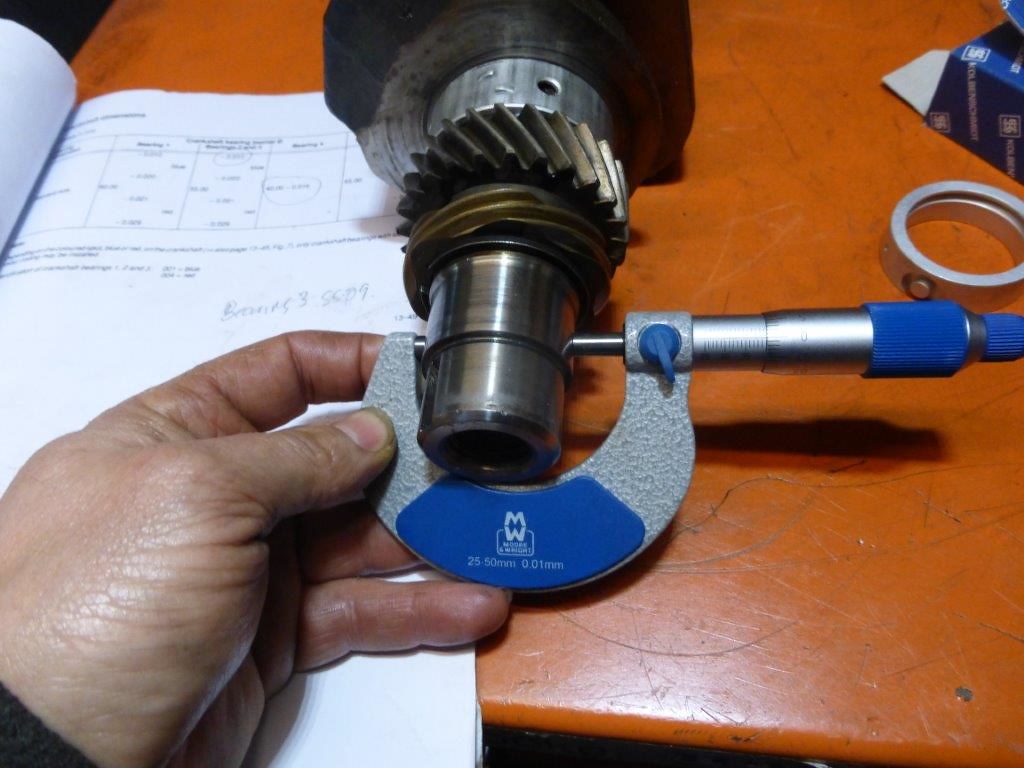
measure up, check and fit bearing 4
 P1090252
 by
Paul_Barr, on Flickr
 P1090253
 by
Paul_Barr, on Flickr
 P1090254
 by
Paul_Barr, on Flickr
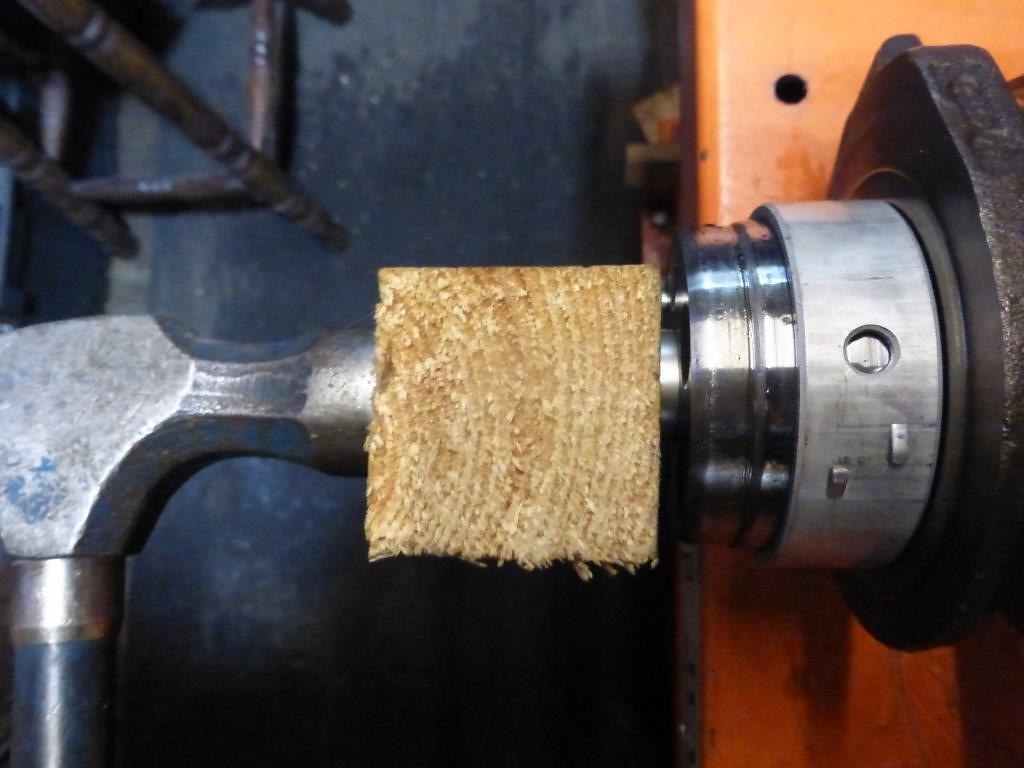
woodruff key hammered back in with block of wood and check pulley fits
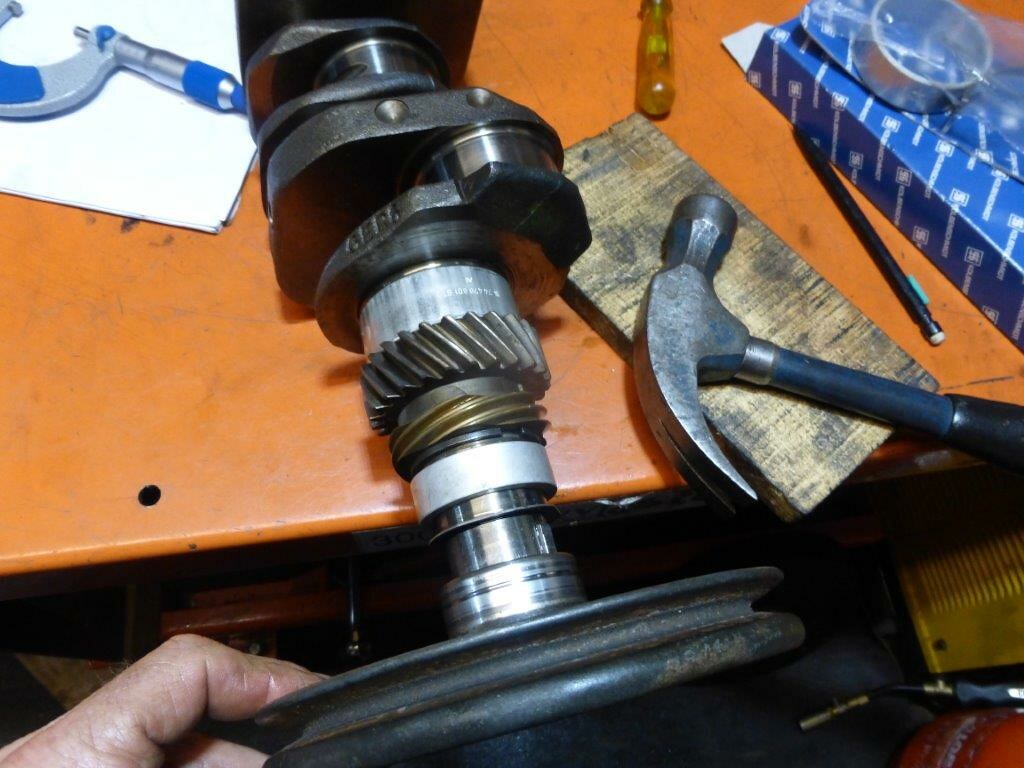 P1090255
 by
Paul_Barr, on Flickr
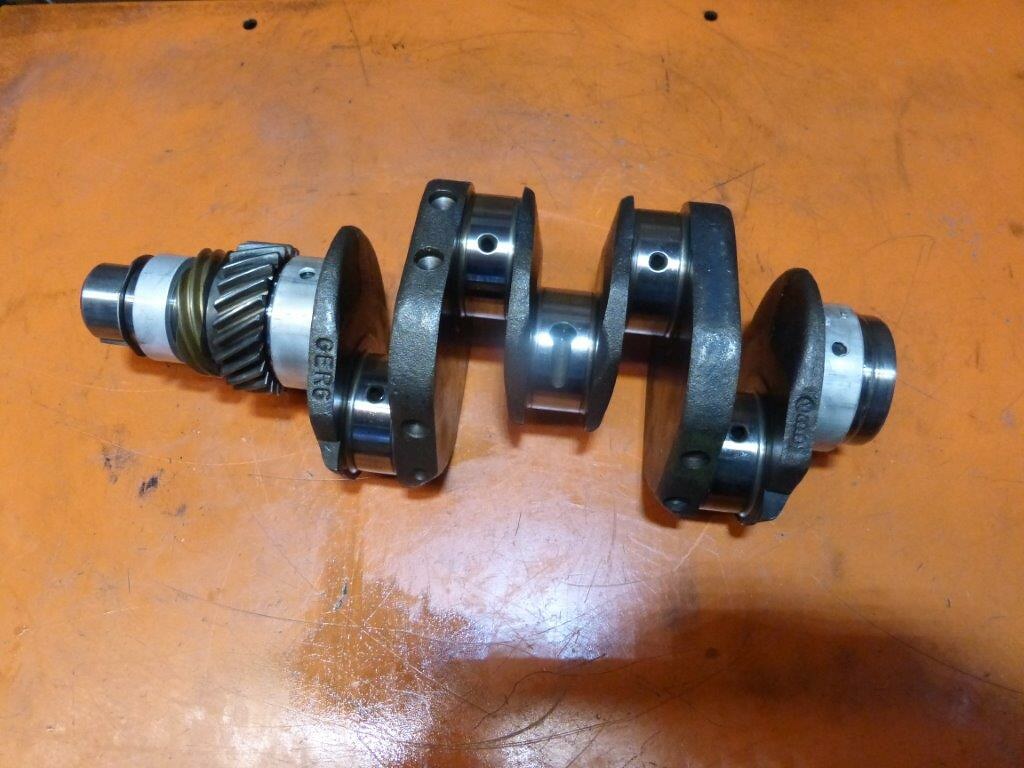
checked all other journals all spot on blue crank dims, excellent condition.
 P1090256
 by
Paul_Barr, on Flickr
removed old spigot shaft bearing with a M8 Rawlolt
 P1090264
 by
Paul_Barr, on Flickr
 P1090263
 by
Paul_Barr, on Flickr
fitted new one
 P1090269
 by
Paul_Barr, on Flickr
that's it for now con rods on later after I have checked cam shaft play.
 P1090270
 by
Paul_Barr, on Flickr
Re: WBXmayo
Posted: 22 Jan 2018, 19:31
by itchyfeet
Finished cleaning up the case mating surfaces tonight with some wet and dry and paraffin taking care to clean up as I went and not to contaminate any oilways.
 P1090274
 by
Paul_Barr, on Flickr
took the razor sharp edge of the oil pump inlet and outlets, I will be O ringing pump and this can damage the o ring on insertion, rag in the oil way to catch any grit off the wet and dry.
 P1090273
 by
Paul_Barr, on Flickr
ran nuts down all threads to make sure they are free and remove any dirt on both threads.
 P1090278
 by
Paul_Barr, on Flickr
ready to drop the crank in and start rebuilding

 P1090277
 by
Paul_Barr, on Flickr
Re: WBXmayo
Posted: 22 Jan 2018, 20:56
by T25Convert
Looking good, lots of attention to detail!
Makes me want to build another one. Just done a 1600 Aircooled lump, its so similar it really does show how crude the water jacket is.
Re: WBXmayo
Posted: 23 Jan 2018, 20:42
by itchyfeet
^^^ Thanks, you know you want to build another
Cam bearings need modifying as usual as there is an extra tab, filed it off
 P1090279
 by
Paul_Barr, on Flickr
cleaned up all the cam screws and threads with meths, let it dry then threadlocked them in, this is high strength, high temperature and suitable for engine oil......I hope

did the screws hand tight then tried to centralize the gear, it would not move but backlash was under 0.05 at worst and zero at best point so it's OK.
 P1090281
 by
Paul_Barr, on Flickr
tightened to max torque on the data sheet
 P1090282
 by
Paul_Barr, on Flickr
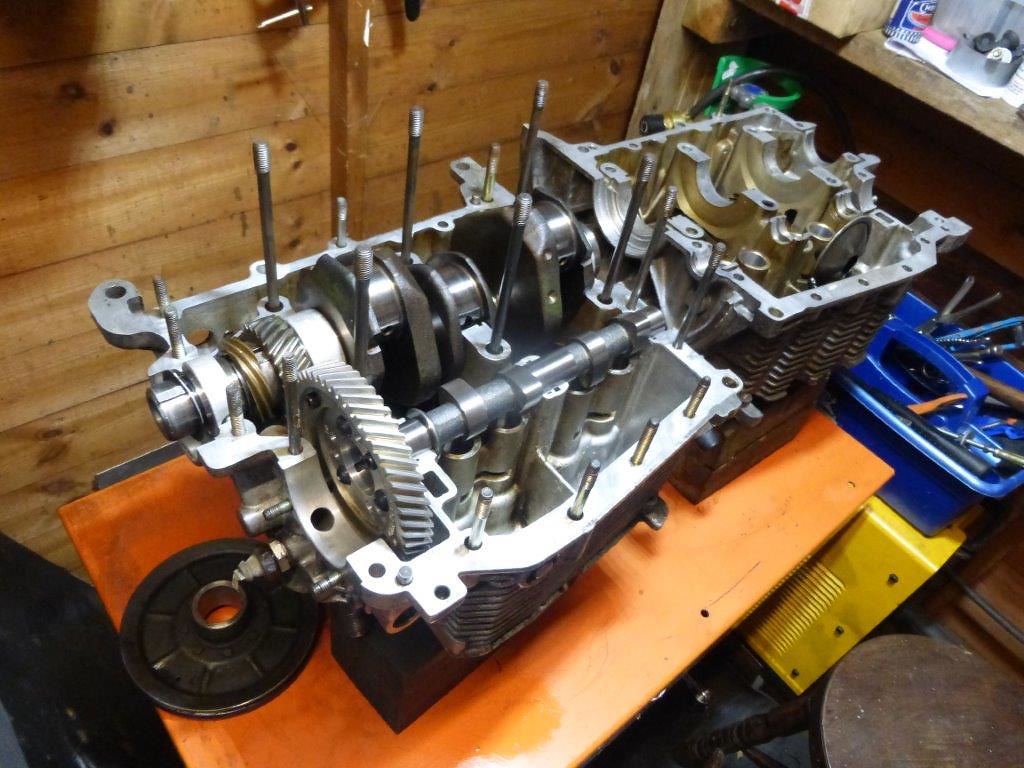 P1090283
 by
Paul_Barr, on Flickr
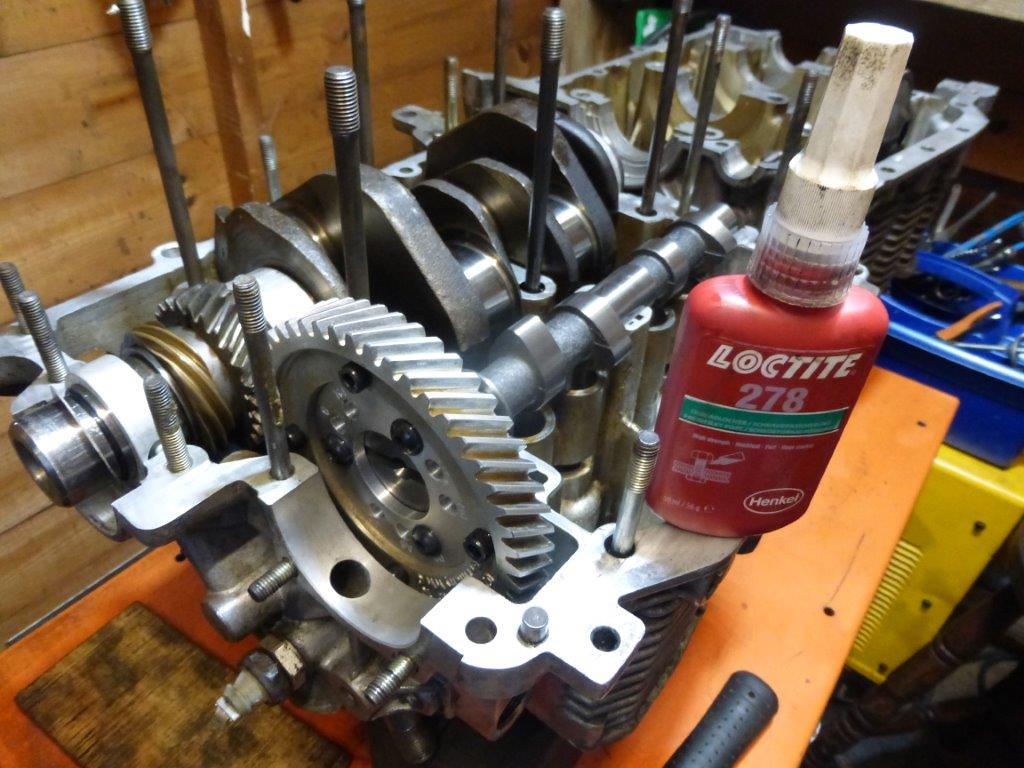
Re: WBXmayo
Posted: 23 Jan 2018, 22:15
by T25Convert
Now don't do what I did and leave the other halves of the cam bearing shells out. It's a right pain when you find them after you've sealed the case!!
Find myself looking at a van on eBay with a blown water jacket, it's only a matter of time before I'm swearing at head studs again!
Re: WBXmayo
Posted: 23 Jan 2018, 22:37
by CJH
itchyfeet wrote:
tightened to max torque on the data sheet
P1090282 by
Paul_Barr, on Flickr
I see cap heads there. Did you try grinding the tip of your 4mm hex bit flat (that's the same advice he gave me), or did you just go straight for the cap heads with their 5mm hex head? I still find it odd that he (and presumably all his other customers) can get the 4mm dome heads up to torque without rounding the slots, and I was a long way short.
Re: WBXmayo
Posted: 24 Jan 2018, 07:37
by itchyfeet
yep ground a allen key off and got much higher torque but I still rounded it out at 19Nm so fitted cap heads, I borrowed a calibrated torque wrench so do doubt there.
Re: WBXmayo
Posted: 24 Jan 2018, 07:41
by itchyfeet
T25Convert wrote:Now don't do what I did and leave the other halves of the cam bearing shells out. It's a right pain when you find them after you've sealed the case!!
Find myself looking at a van on eBay with a blown water jacket, it's only a matter of time before I'm swearing at head studs again!
As you have the skills it's a good way to pick up a cheap van, my Pop top was a bargain because it had mayo engine.
Re: WBXmayo
Posted: 24 Jan 2018, 19:37
by itchyfeet
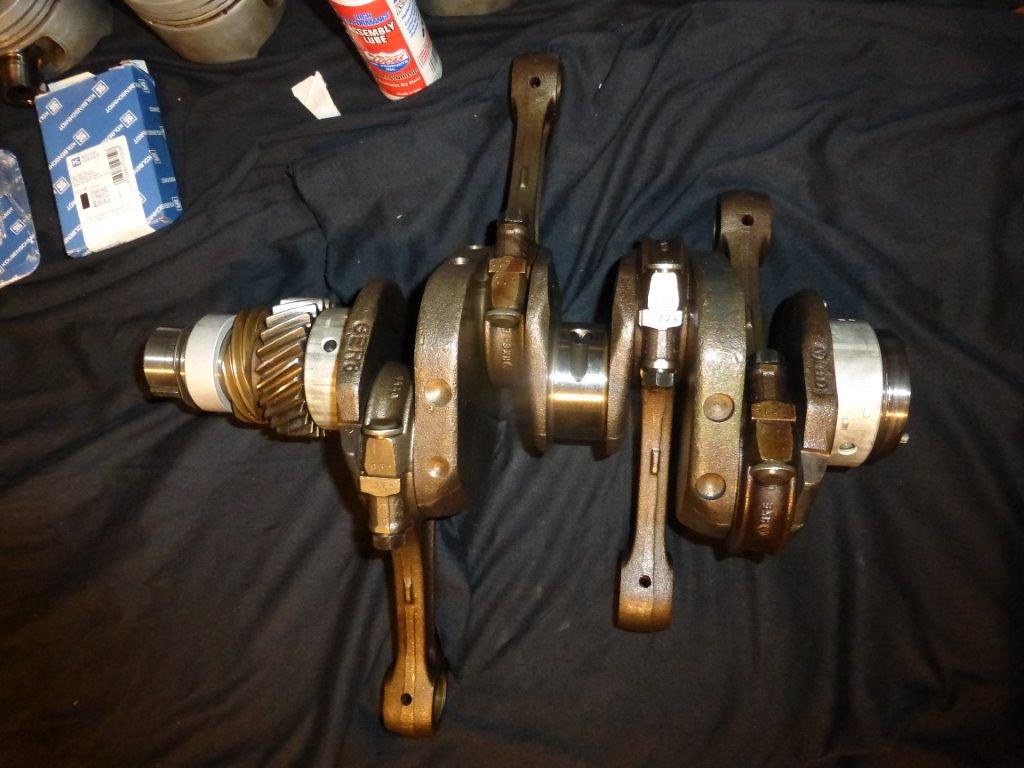
Refitted con rods to crank tonight, looked back at the pictures I took last year of the numbers stamped in so they are in the same place.
Fitted new big end shells and torqued up to 45Nm these are non stretch bolts 113105425B that I swapped and binned the old stretch bolts.
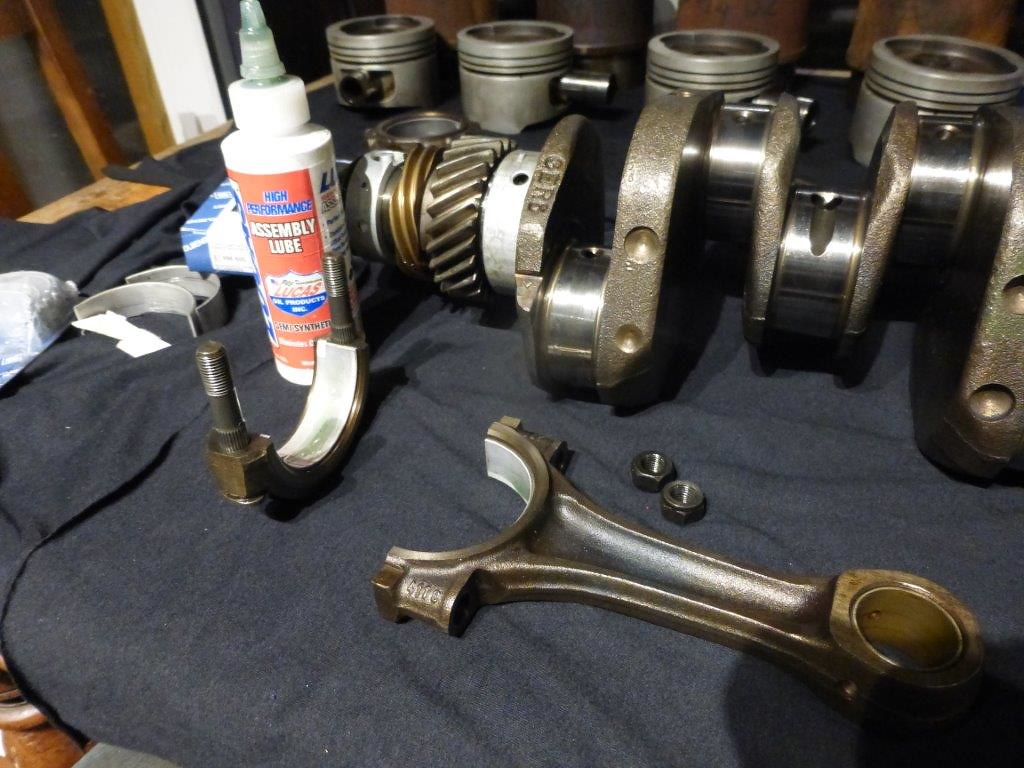 P1090284
 by
Paul_Barr, on Flickr
 P1090287
 by
Paul_Barr, on Flickr
note all pips on the con rods facing upwards...
 P1090290
 by
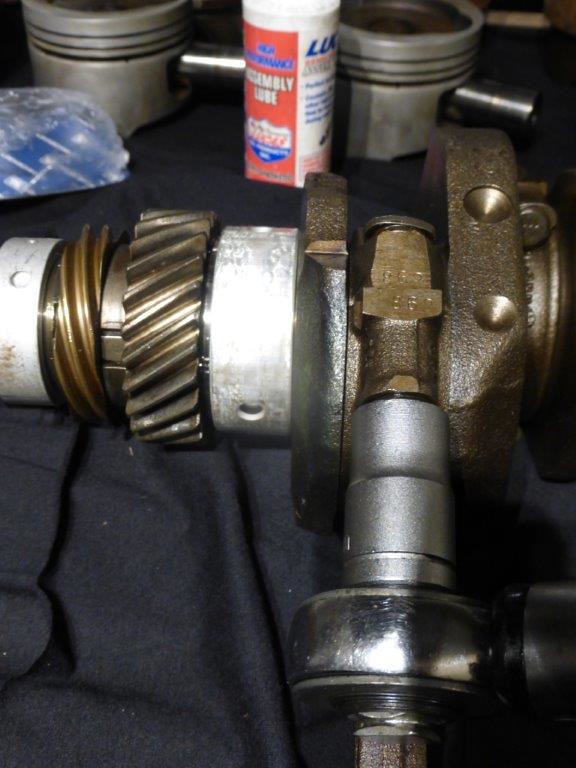
Paul_Barr, on Flickr
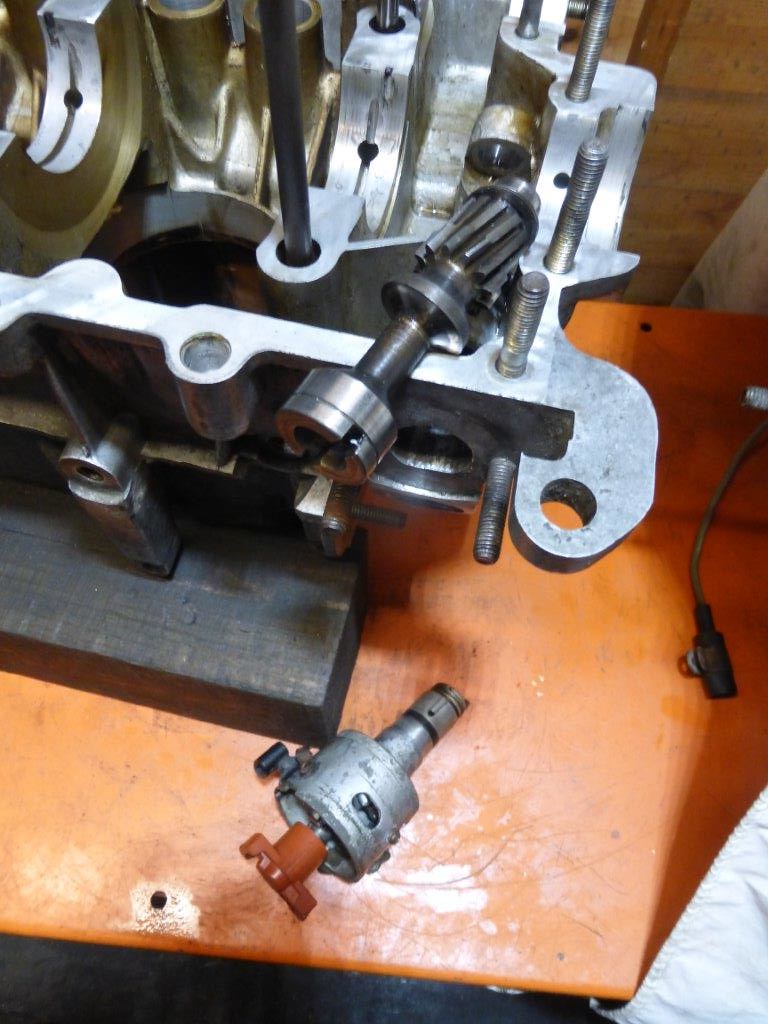
then what should have been a 5 minute job turned into an hour, popped the dizzy drive gear in and it jammed, took me an hour to coax it out with an old dizzy, I think it must have a burr and shaved a bit of aluminium off as it went in, there was some swarf on the way out, I think I will try a different one tomorrow, no more time tonight.
 P1090292
 by
Paul_Barr, on Flickr