I don't think that is the problem.ian prior wrote:Hello all
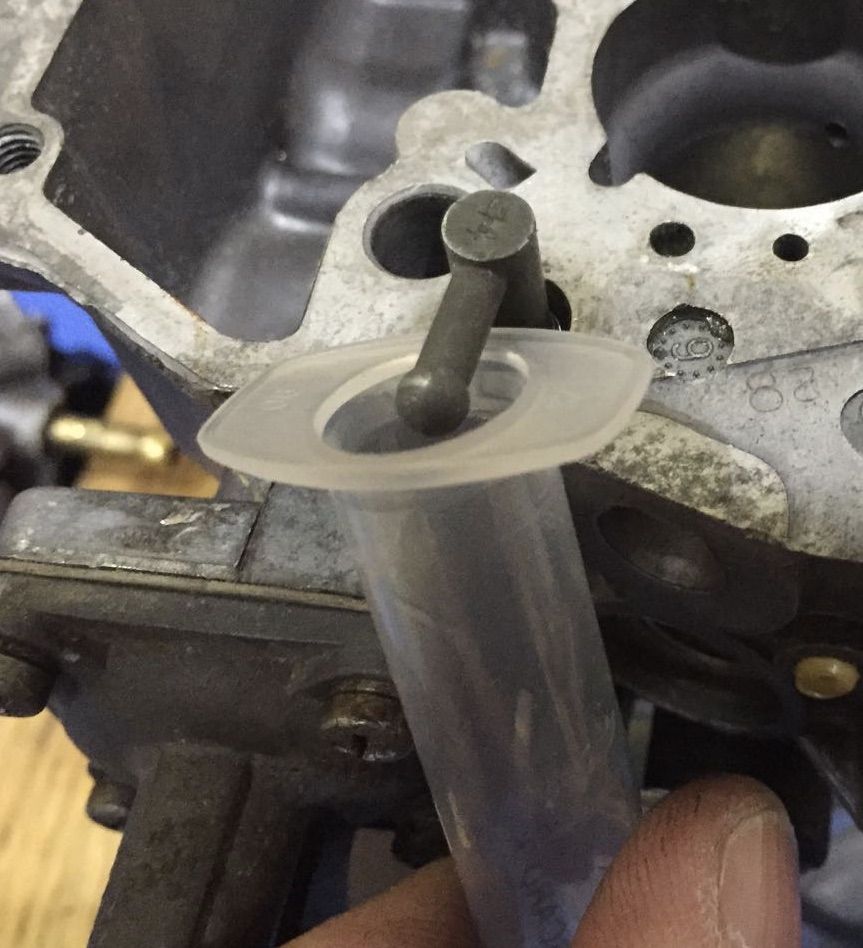
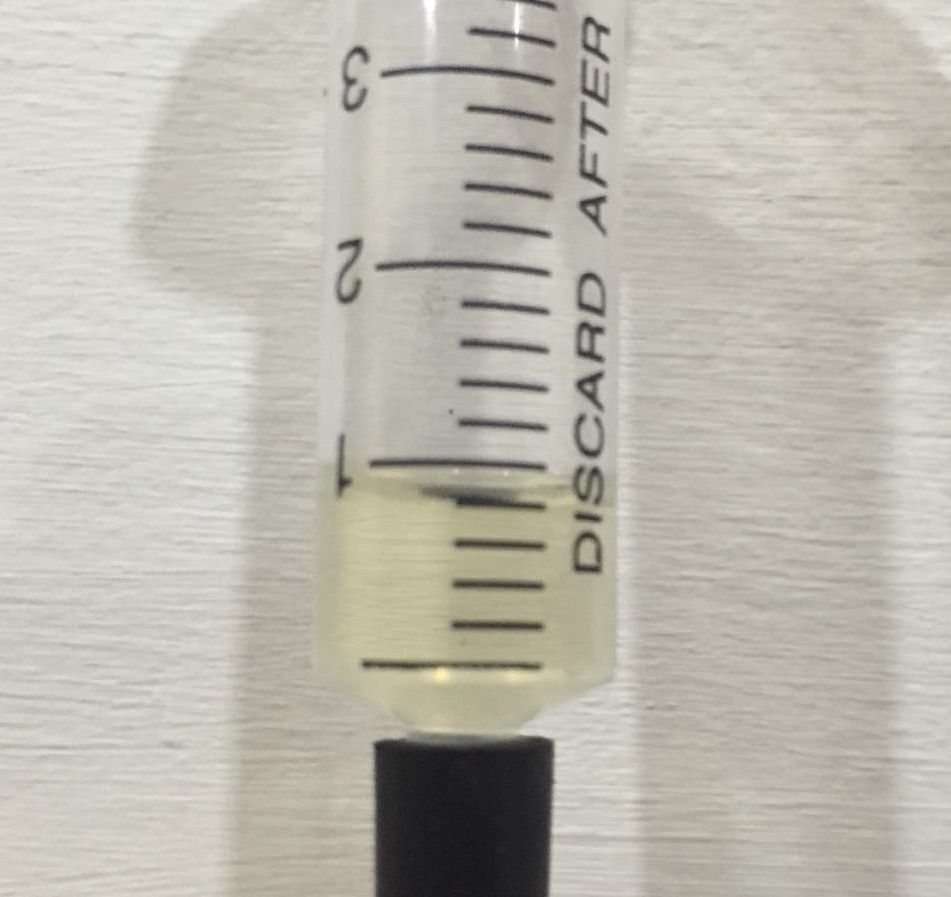
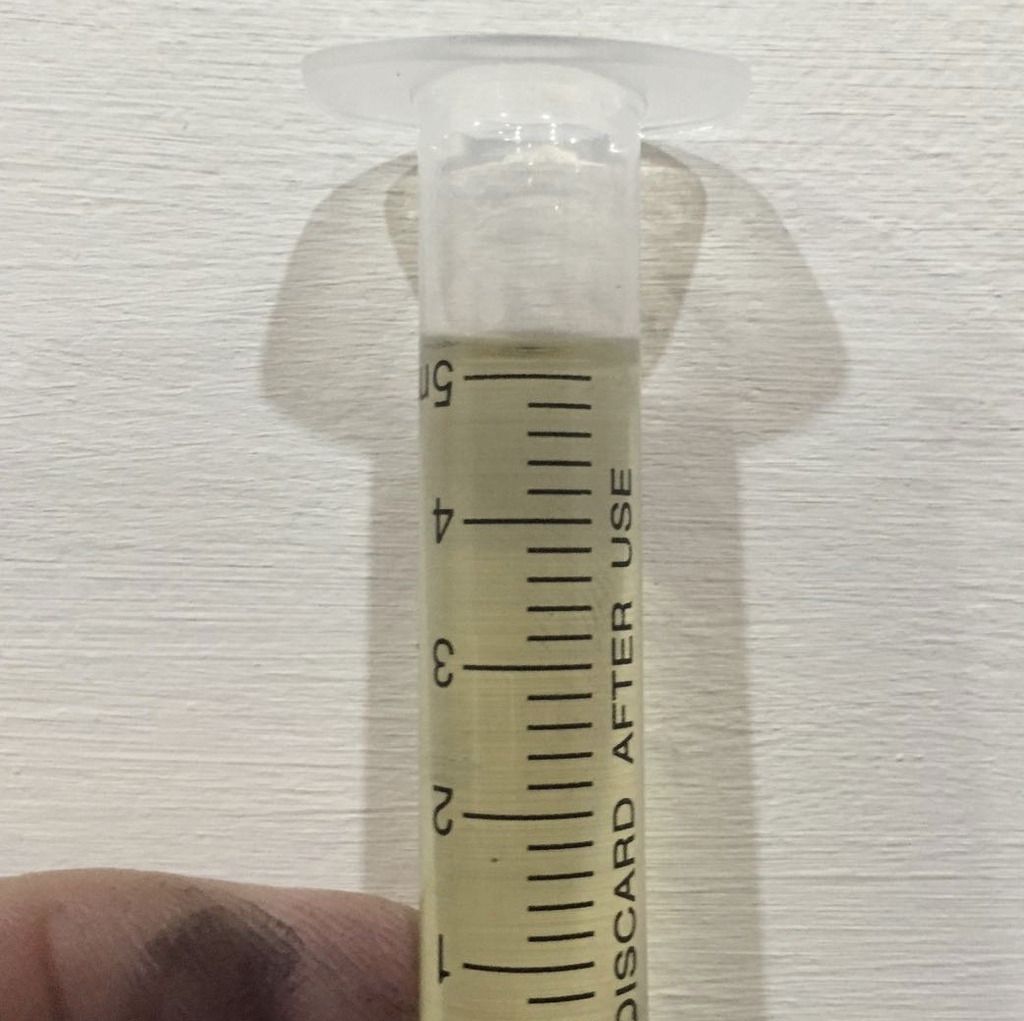
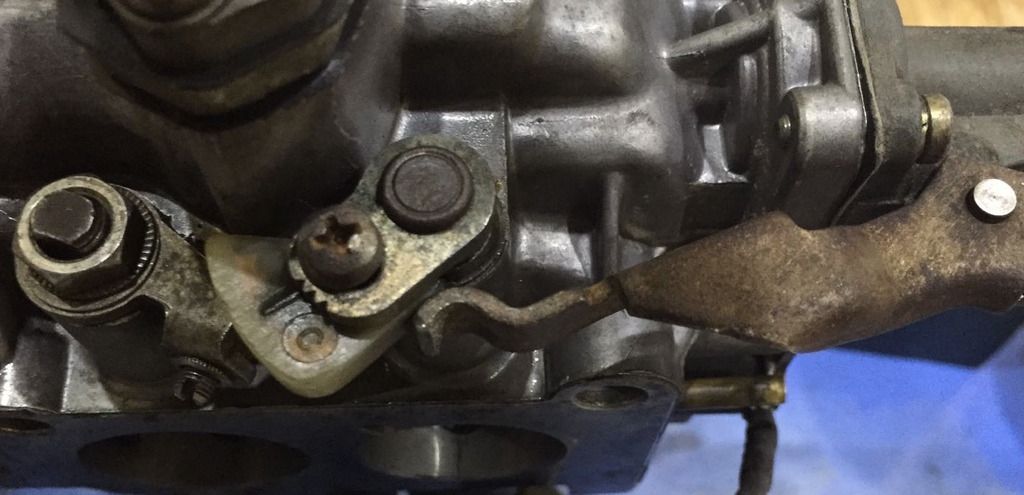
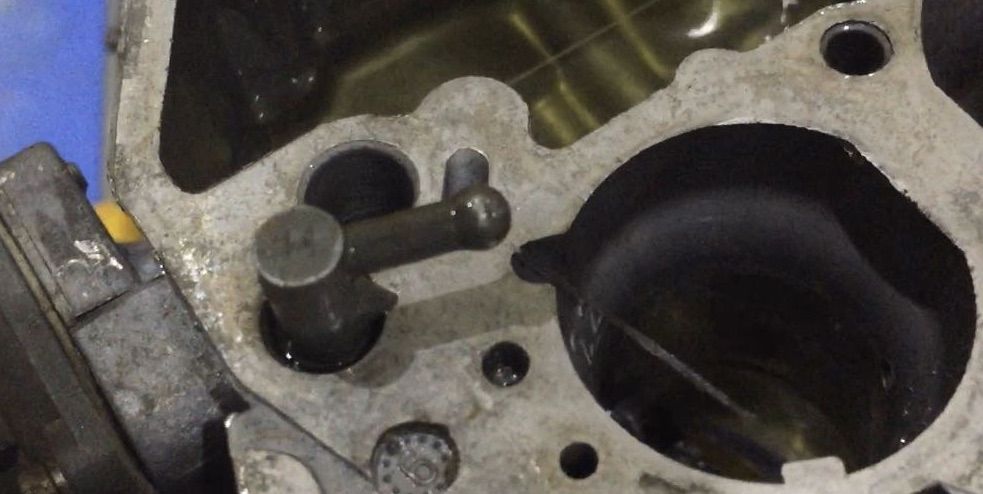
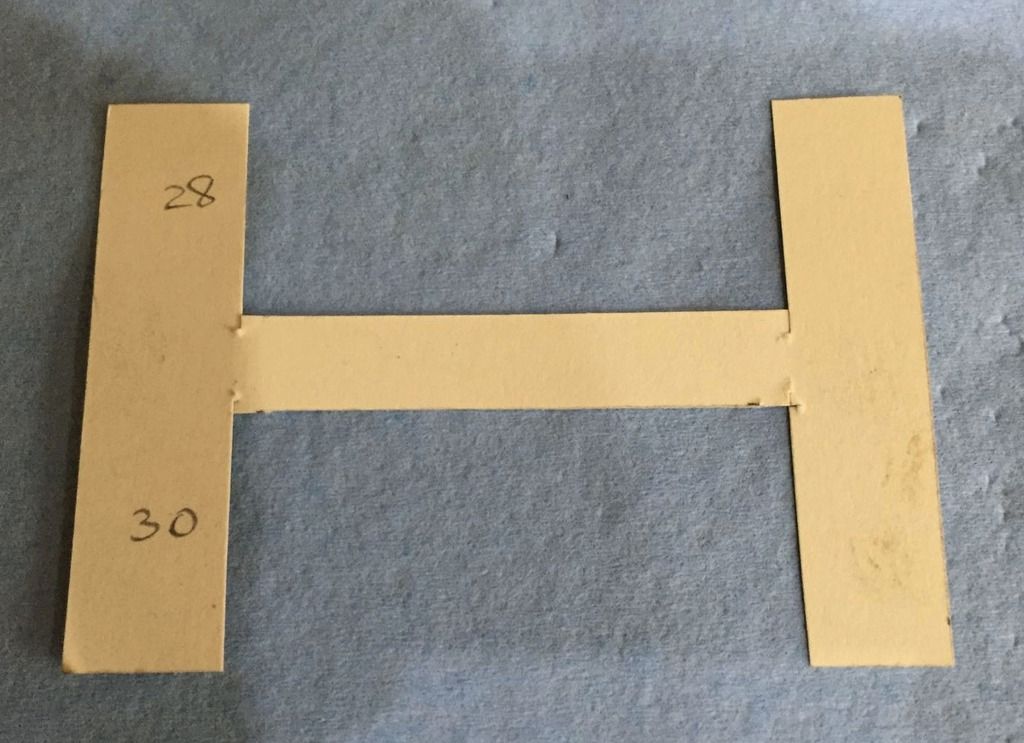
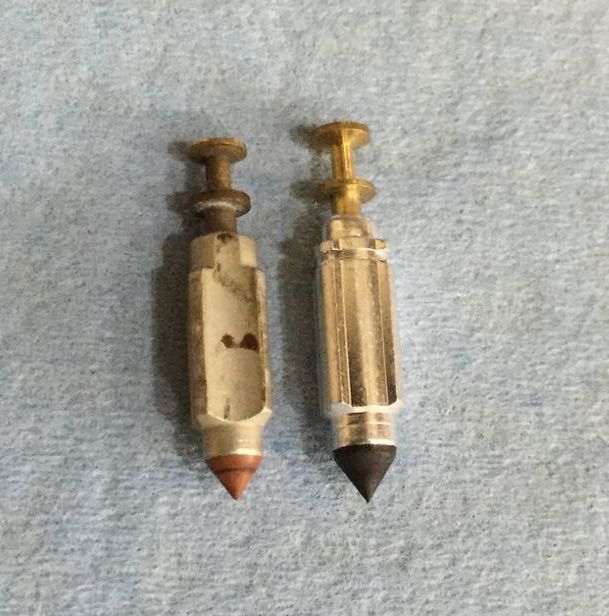
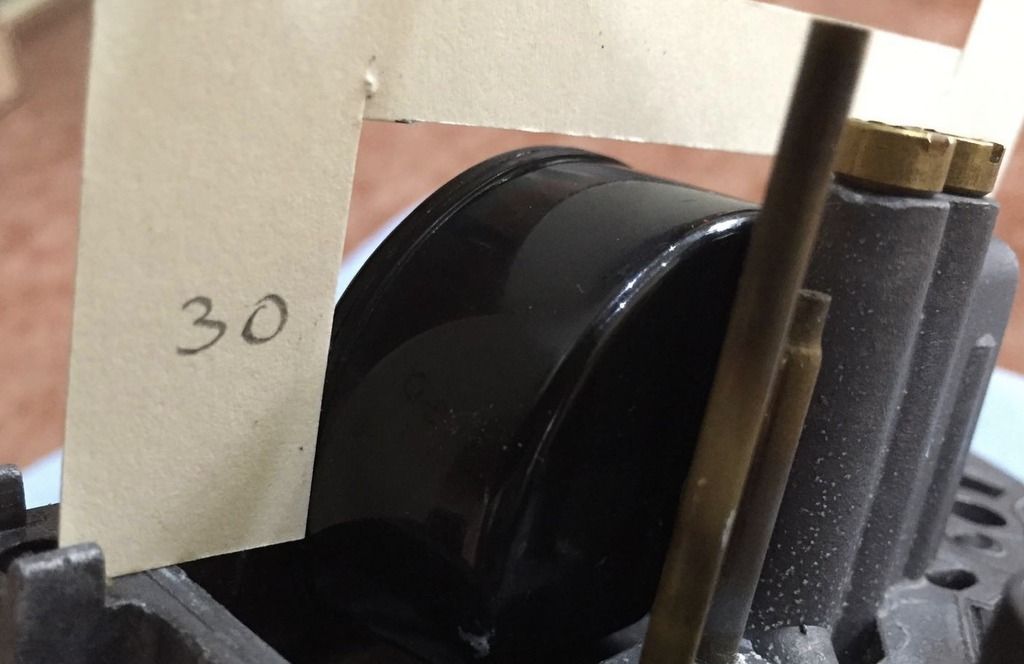
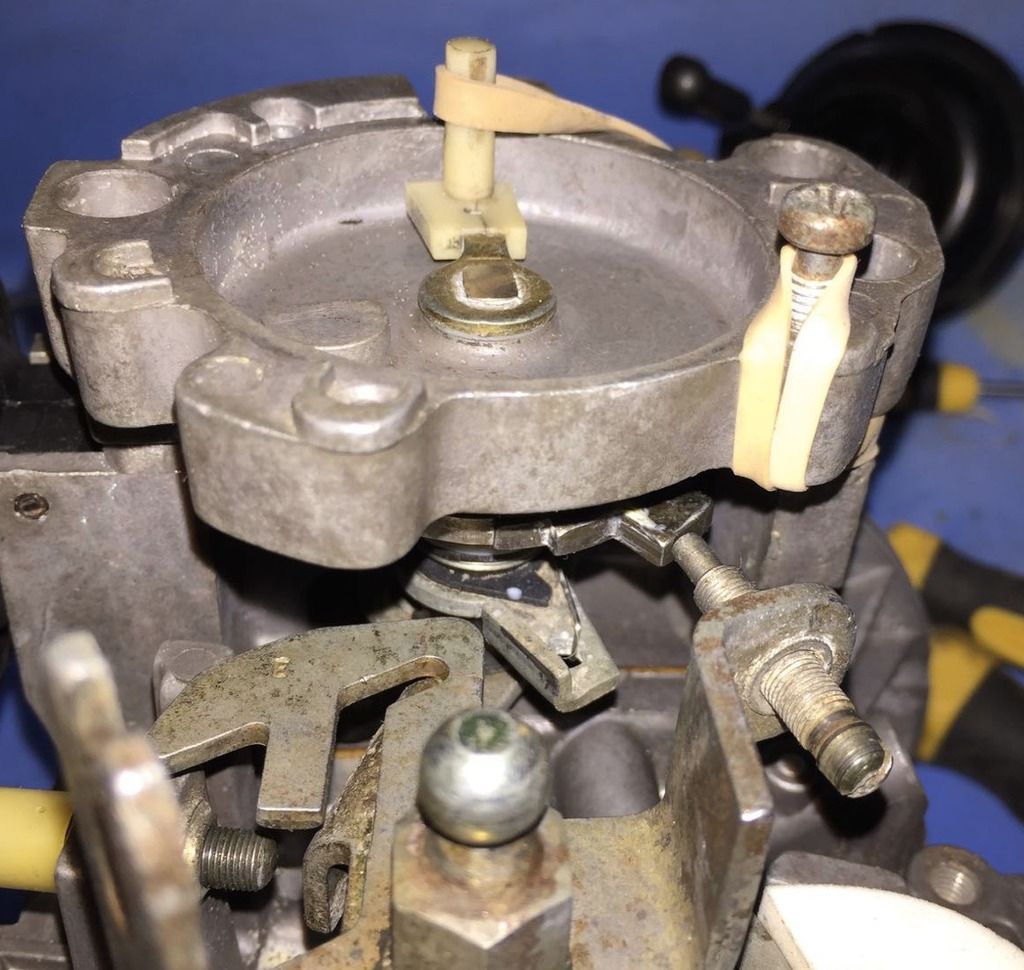
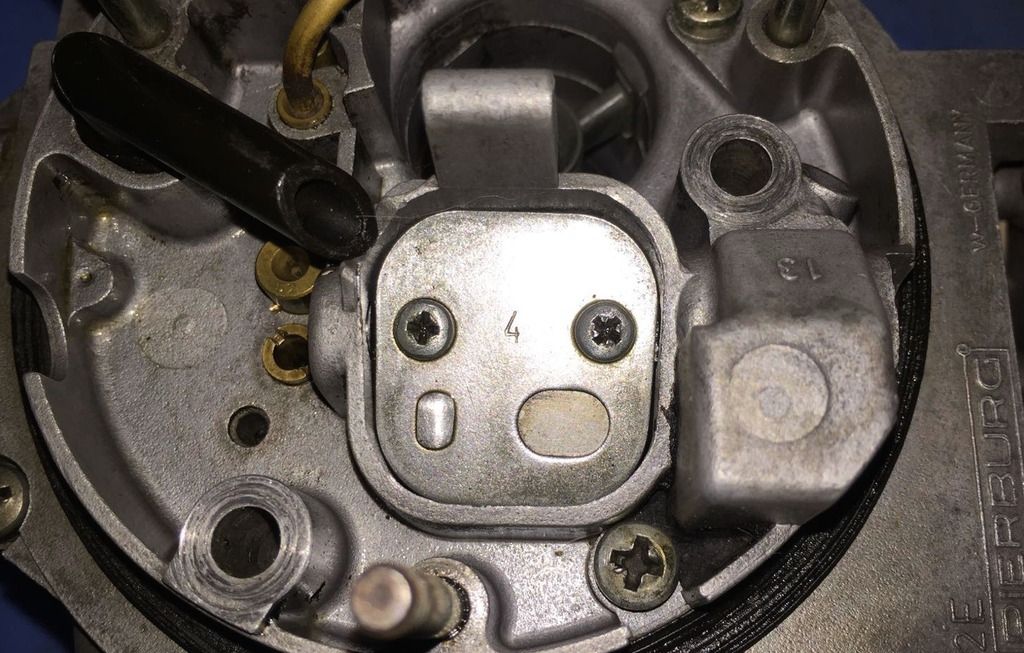
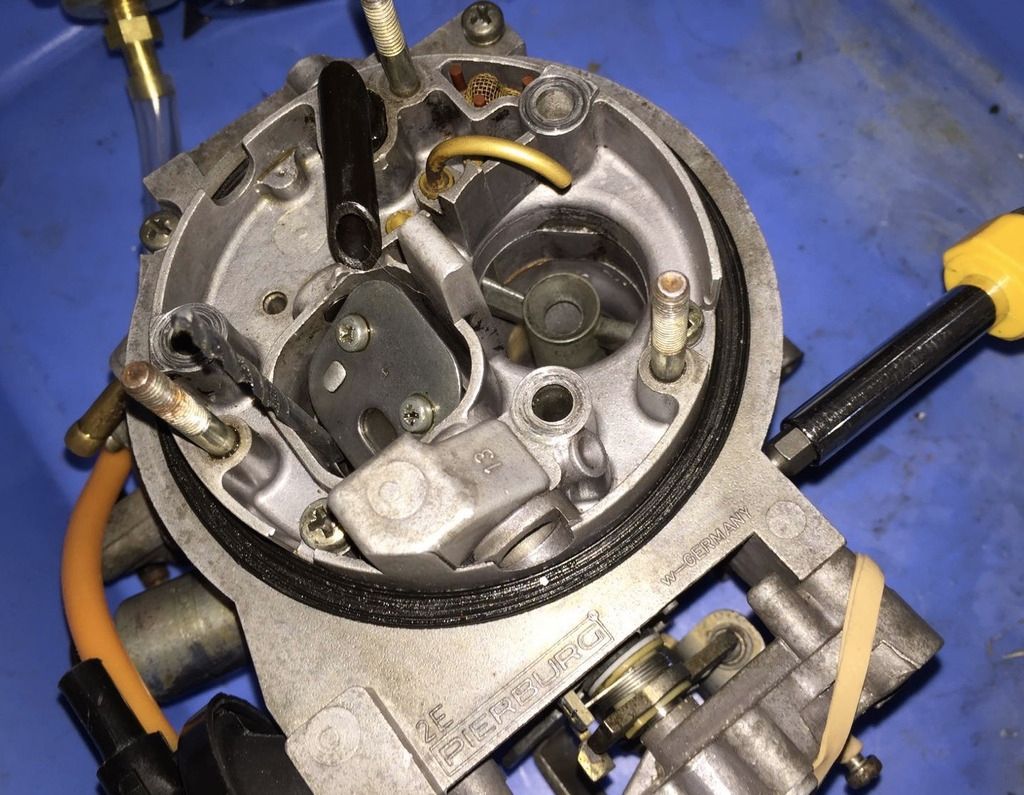
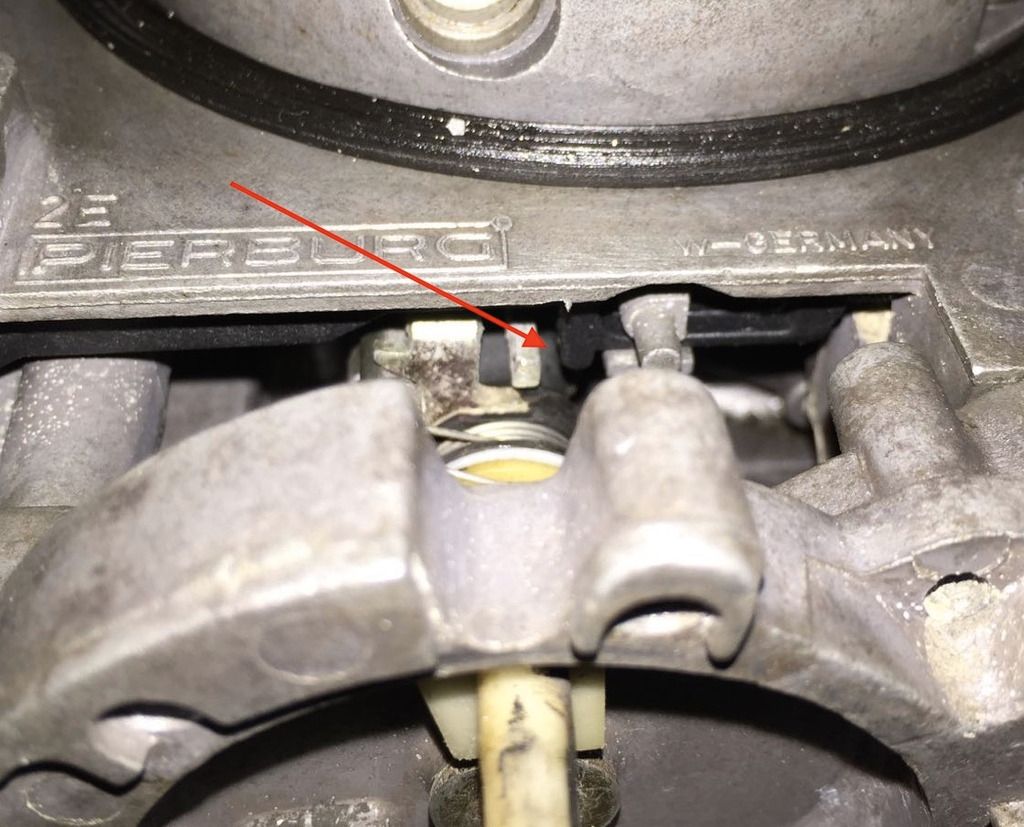
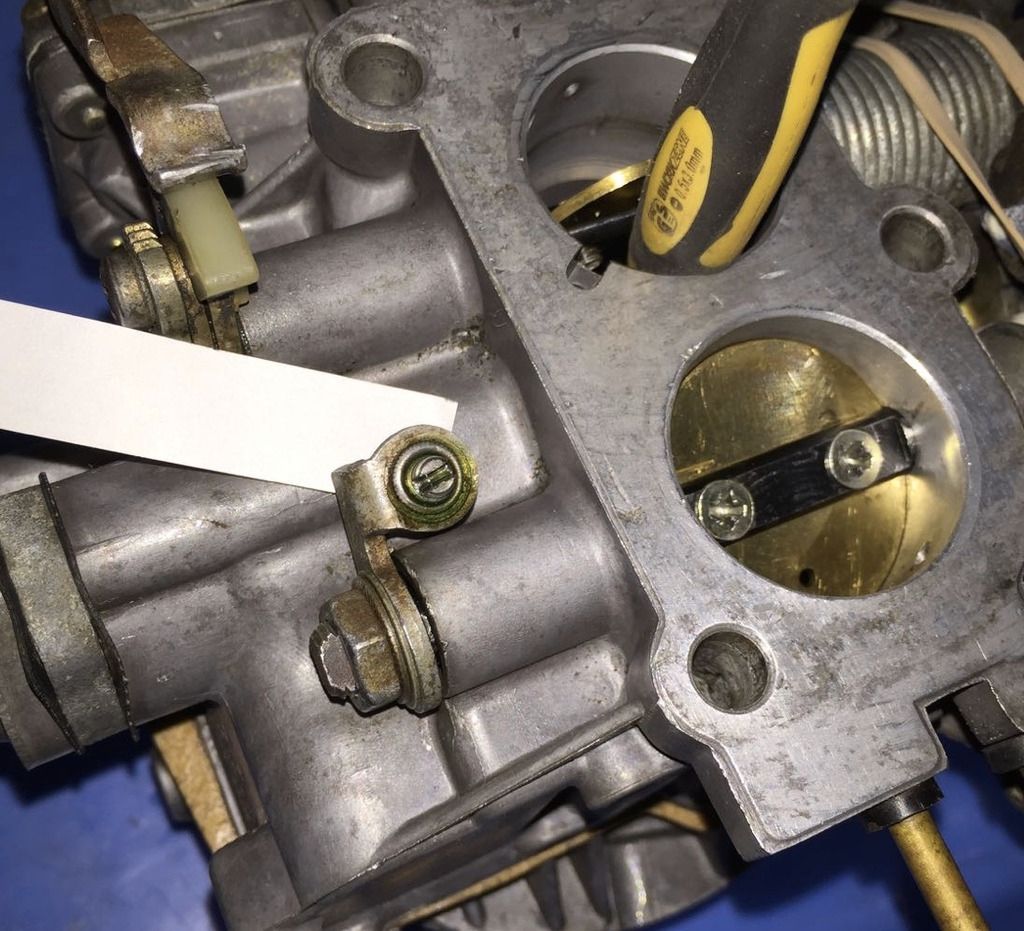
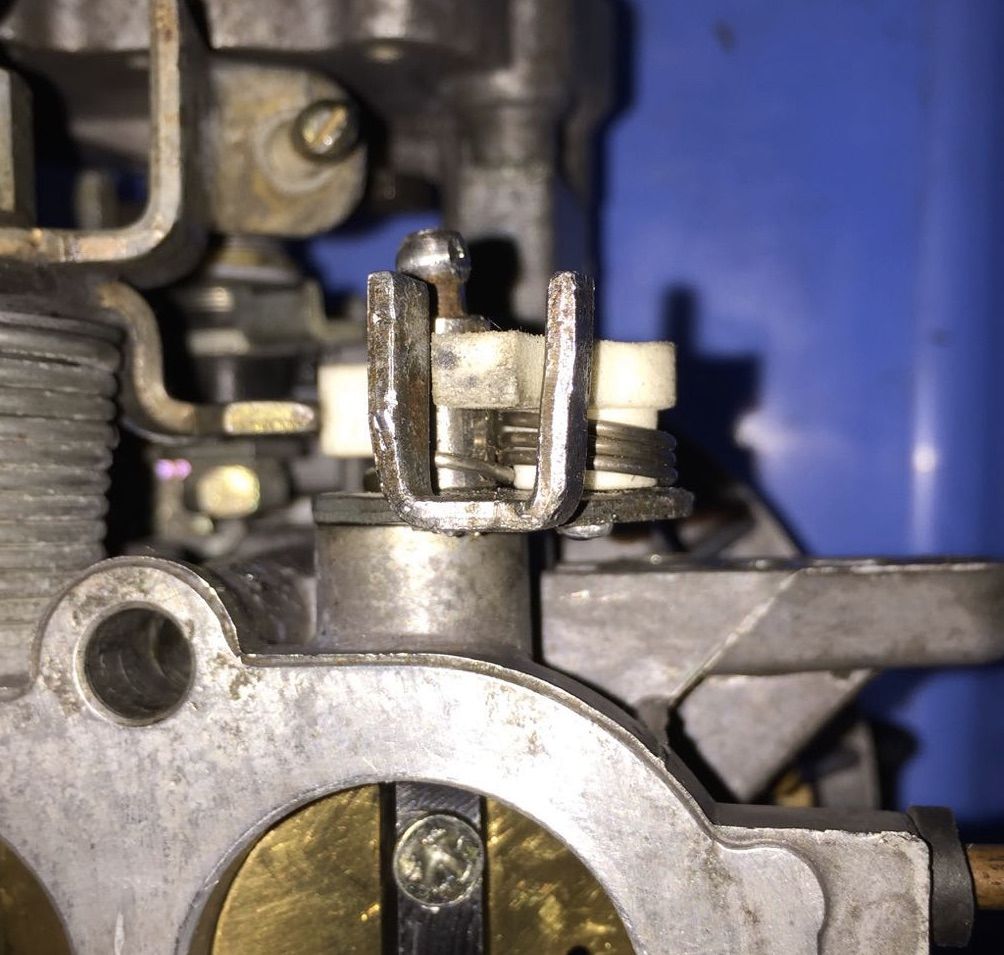
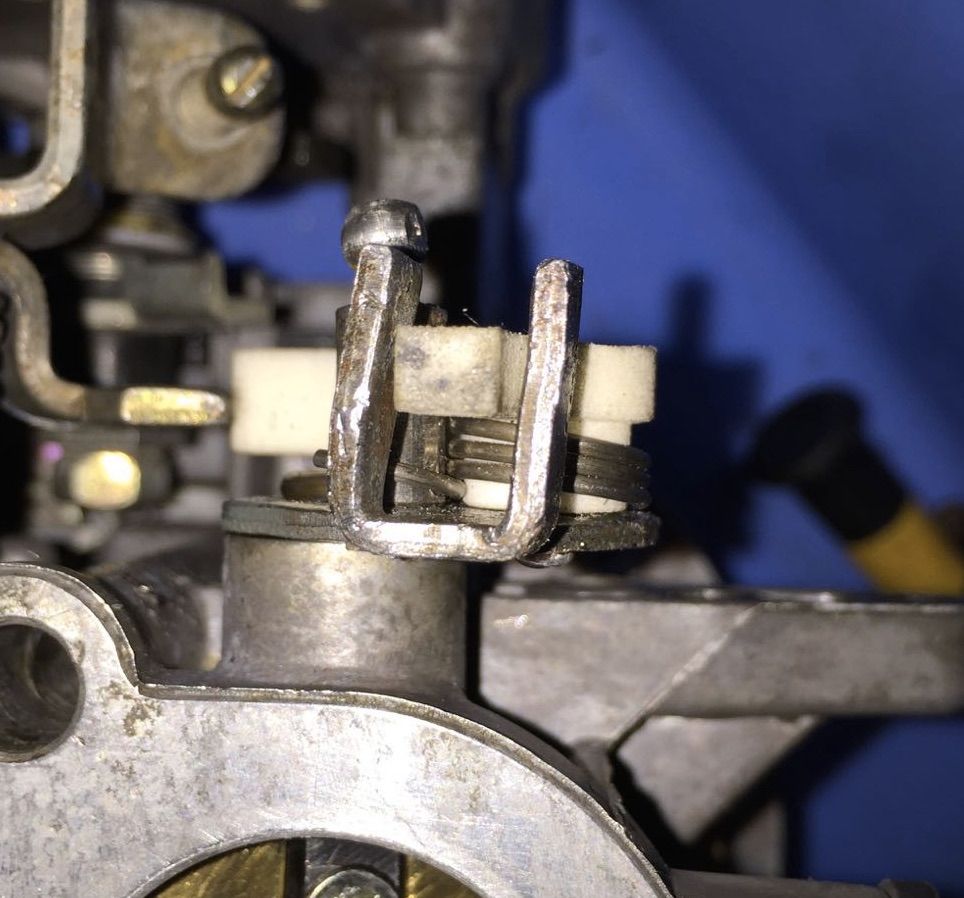
Well, the garage is half way there with our van’s choke problem! The lever that CJH kindly supplied fitted and works just fine (thanks again, CJH) – now it looks like the Bi-metal choke isn’t working correctly. The engine starts on choke without any problem, and happily sits on fast idle, right up until the moment that the throttle is touched – at which point, the choke shuts off completely, and the engine stalls. Gowers and Lee can’t supply the Bi-metal choke, as it’s no longer manufactured, so I’m looking for one second hand. Does anyone have one, or know a good source, please? Three pictures attached; Gowers and Lee say the Pierburg part number is 4.07262.54.0. Thanks again!
Ian.
If the choke comes on and goes off then bimetal coil it is working and it wouldn't cause it to stall when it comes off. Have they connected the electrical cables up correctly.