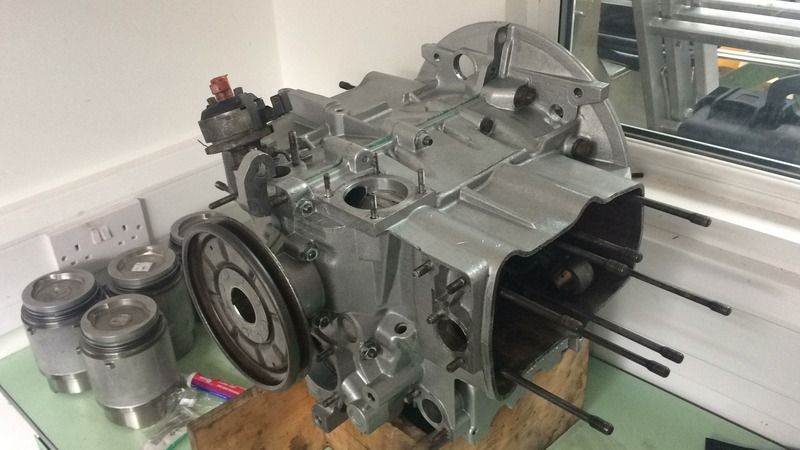
2.1 WBX engine rebuild noob....

Big lumps of metals and spanners. Including servicing and fluids.

Moderators: User administrators, Moderators

sherlylock
Registered user
Posts: 104
Joined: 19 Nov 2013, 18:41
80-90 Mem No: 14562
Location: Saaa'fend, Essex

Re: 2.1 WBX engine rebuild noob....

Post by sherlylock »

So.....6 weeks after my last post and I'm back on getting the engine sorted. I have been concentrating on getting the rest of the van finished in the meantime though (no point having a lovely rebuilt engine and an unfinished van to put it in right?).

Part of the reason for the delay is a wait for new crank main bearings to arrive from VW Classic.

When I first started the rebuild I took the crank/case/liners to an engineering machine shop (recommended to me by a few people) to get them to check everything over. When I returned a week later I was greeted with the line "yeah mate, they're all in tolerance, should accept new standard bearings ok"......no dimensional report and a tenner handed over put initial doubts in mind about how much effort had gone into checking stuff.

So I naively rushed off to Brickwerks and bought a set of "std" mains bearings and started to build.

Those words played on my mind though so I decided to buy some mics and get measuring. After comparing my journal sizes to those shown in the Bentley manual it turned out they are in tolerance to a standard size......but there are 2 standard sizes, known as blue cranks and red cranks (marked up with paint dots originally).....and my journals were mic'ing up at the smaller red-dot size. No sign of the paint on my crank now though......

So feeling a bit silly that I hadn't checked stuff myself I ordered a set of red-dot bearings.....luckily still available from VW classic, albeit with a 3 week wait (and not cheap).

They arrived a couple of weeks ago so earlier this week I broke out the mics and telescopic bore gauges and measured stuff up to see what clearances I'd now be running. If I'd run with the "std" size bearings I'd be looking at over 5thou clearance....with the proper red-dot bearings I'm looking at around 4thou.....which is a relatively large clearance for crank mains(?) but what the wbx engine runs as standard (according to a few other sources on t'internet).

Anyways - here's what I measured (as accurate as I could measure using mics and telescopic bore gauges) - thought it might be good for reference.

Image

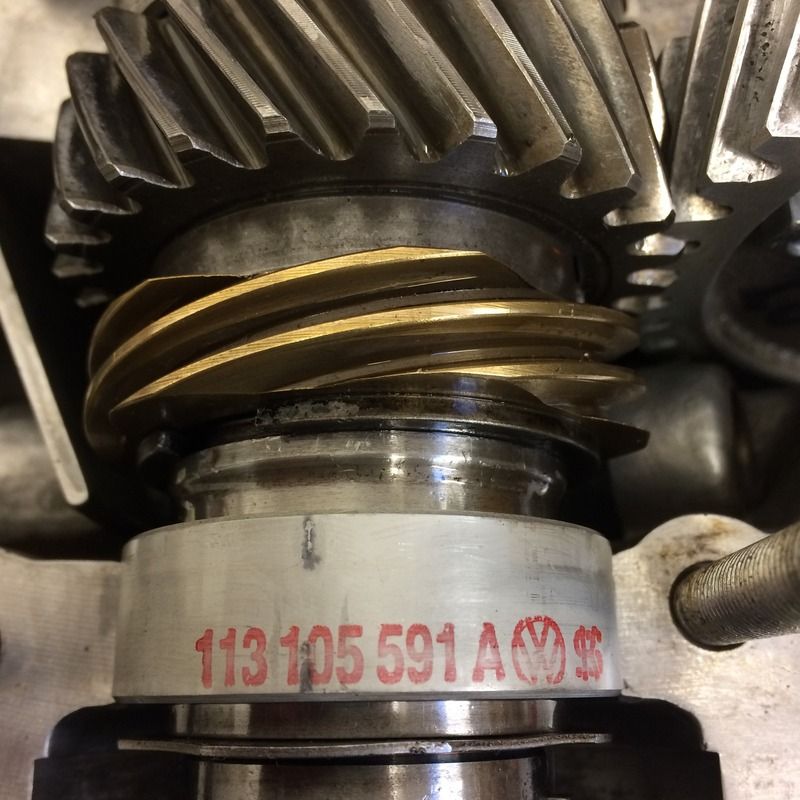
So after an hour or so of stripping the crank down again to remove the std bearings and replace with the new red-dot bearings I'm back to where I was 6 weeks ago!
Image

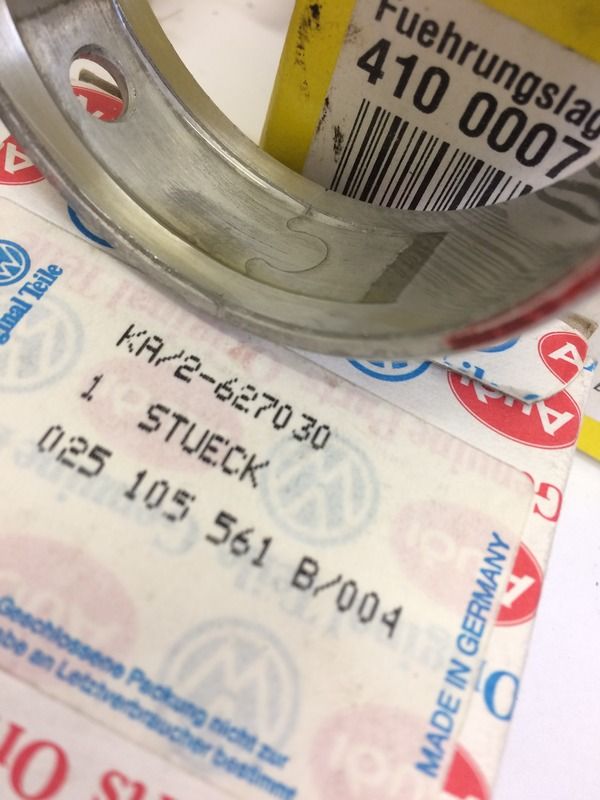
Red-dot bearing notified by the /004 suffix (and the red paint) ;)
Image

sherlylock
Registered user
Posts: 104
Joined: 19 Nov 2013, 18:41
80-90 Mem No: 14562
Location: Saaa'fend, Essex

Re: 2.1 WBX engine rebuild noob....

Post by sherlylock »

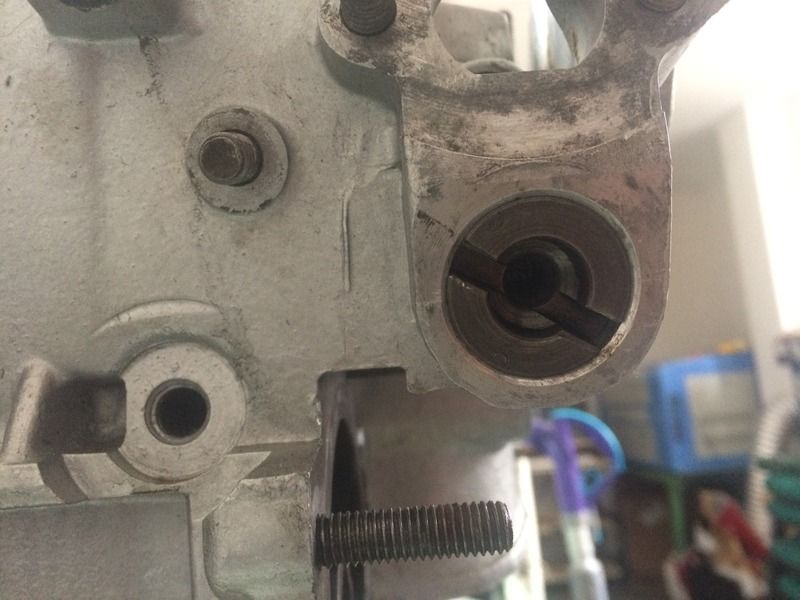
One job on the crank I needed to do was to replace the needle roller bearing for the gearbox input shaft.

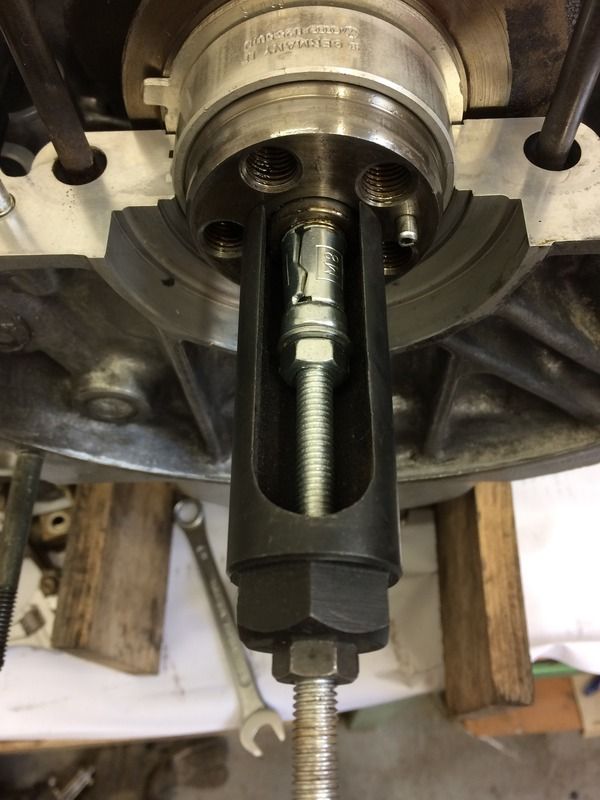
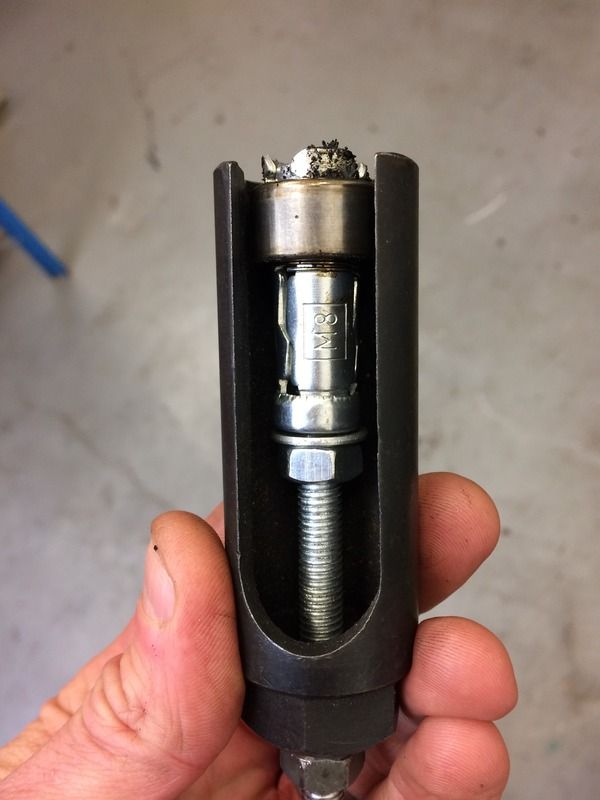
I don't have any internal pullers so I created one using an expandable concrete bolt (same theory as piston pin removal) and a lambda sensor socket that I have. The socket allowed me to tighten the concrete bolt against the end of the crank and pull the bearing out of the crank - the cutout in the socket allowed me to see what was going on too.

Image

Worked a treat!

Image

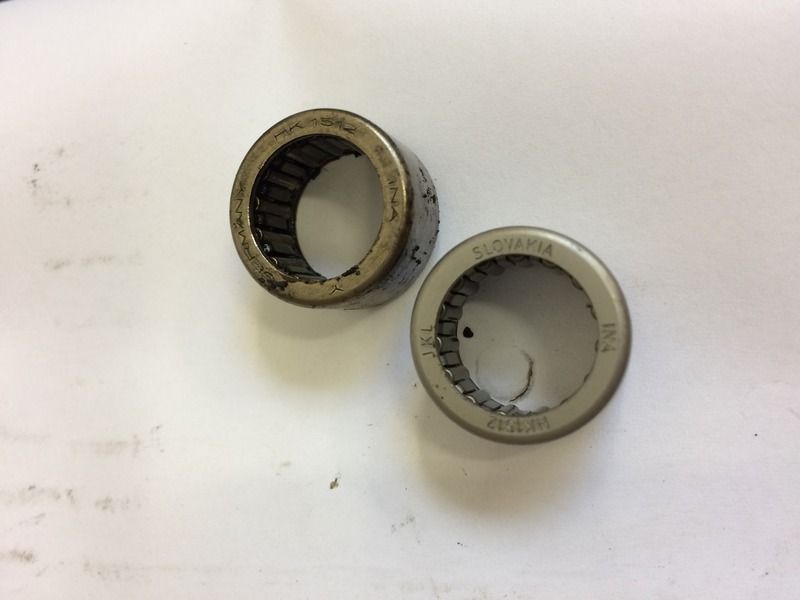
New versus old....

Image

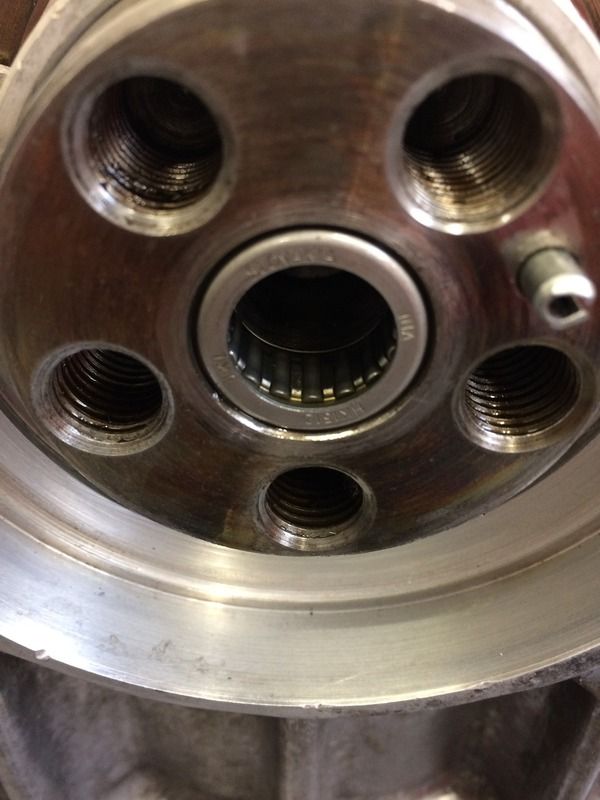
Bore cleaned out and new bearing carefully tapped into place - with the lettering facing outwards as per VW engine build manual instruction....

Image

User avatar
itchyfeet
Registered user
Posts: 12427
Joined: 23 Jul 2007, 17:24
80-90 Mem No: 12733
Location: South Hampshire

Re: 2.1 WBX engine rebuild noob....

Post by itchyfeet »

:wink: page down
http://wiki.club8090.co.uk/index.php/Pe ... ft_bearing" onclick="window.open(this.href);return false;
1988 DG WBX LPG Tin Top
1989 DJ digijet WBX Holdsworth Villa 3 Pop Top
itchylinks

sherlylock
Registered user
Posts: 104
Joined: 19 Nov 2013, 18:41
80-90 Mem No: 14562
Location: Saaa'fend, Essex

Re: 2.1 WBX engine rebuild noob....

Post by sherlylock »

itchyfeet wrote::wink: page down
http://wiki.club8090.co.uk/index.php/Pe ... ft_bearing" onclick="window.open(this.href);return false;

Nah....not as elegant as using a lambda sensor socket :lol:

Seriously though - it was probably one of your earlier rebuild threads that suggested using a rawlbolt to remove the gudeon pins that I saw in the first place. Inspired idea.

User avatar
itchyfeet
Registered user
Posts: 12427
Joined: 23 Jul 2007, 17:24
80-90 Mem No: 12733
Location: South Hampshire

Re: 2.1 WBX engine rebuild noob....

Post by itchyfeet »

:D
http://archive.club8090.co.uk/viewtopic.php?p=7957340" onclick="window.open(this.href);return false;
1988 DG WBX LPG Tin Top
1989 DJ digijet WBX Holdsworth Villa 3 Pop Top
itchylinks

sherlylock
Registered user
Posts: 104
Joined: 19 Nov 2013, 18:41
80-90 Mem No: 14562
Location: Saaa'fend, Essex

Re: 2.1 WBX engine rebuild noob....

Post by sherlylock »

itchyfeet wrote::D
http://archive.club8090.co.uk/viewtopic.php?p=7957340" onclick="window.open(this.href);return false;

That's the one! :)

User avatar
itchyfeet
Registered user
Posts: 12427
Joined: 23 Jul 2007, 17:24
80-90 Mem No: 12733
Location: South Hampshire

Re: 2.1 WBX engine rebuild noob....

Post by itchyfeet »

It's good to share, great thread, keep it coming :ok
I have to admit I got the Rawlbolt tip on the spigot bearing from Ian Hulley some years ago and applied it to the gudgeon pin.
1988 DG WBX LPG Tin Top
1989 DJ digijet WBX Holdsworth Villa 3 Pop Top
itchylinks

sherlylock
Registered user
Posts: 104
Joined: 19 Nov 2013, 18:41
80-90 Mem No: 14562
Location: Saaa'fend, Essex

Re: 2.1 WBX engine rebuild noob....

Post by sherlylock »

Bit more progress last night....

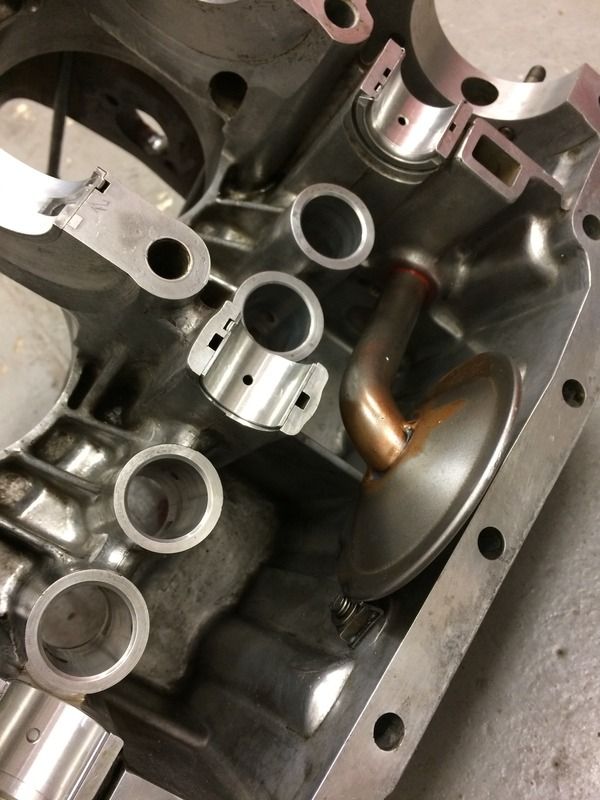
Refitted the oil pickup - previously backflushed and cleaned through. Was pretty clean though to be fair - didn't spew out too much detritus. Also fitted the cam and crank shells for a trial case fitting.....

Image

Trial fitted the case halves together to make sure everything spins OK. All felt good....getting exciting now.

Image

Image

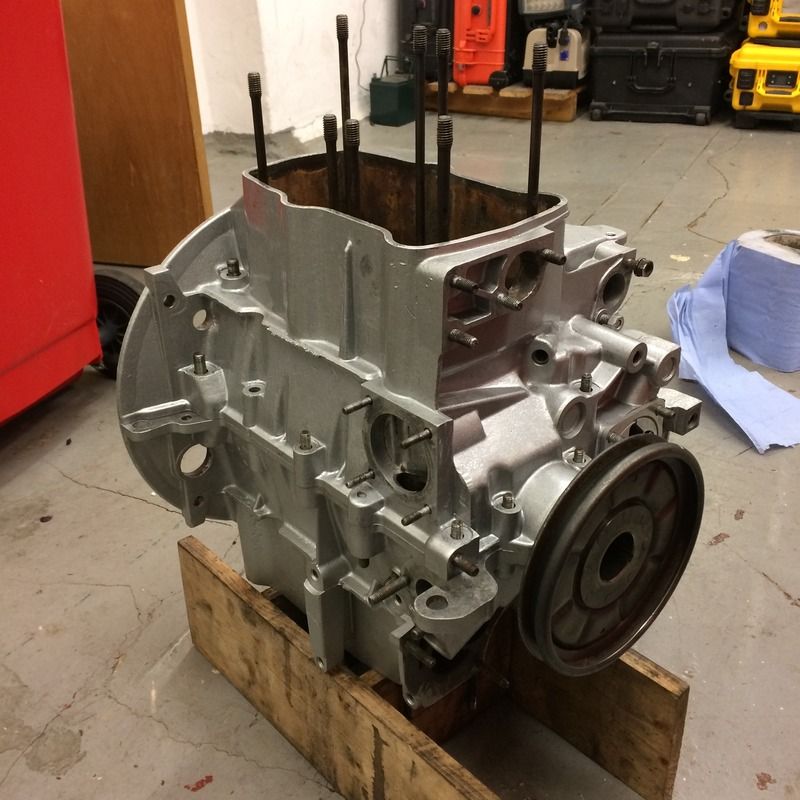
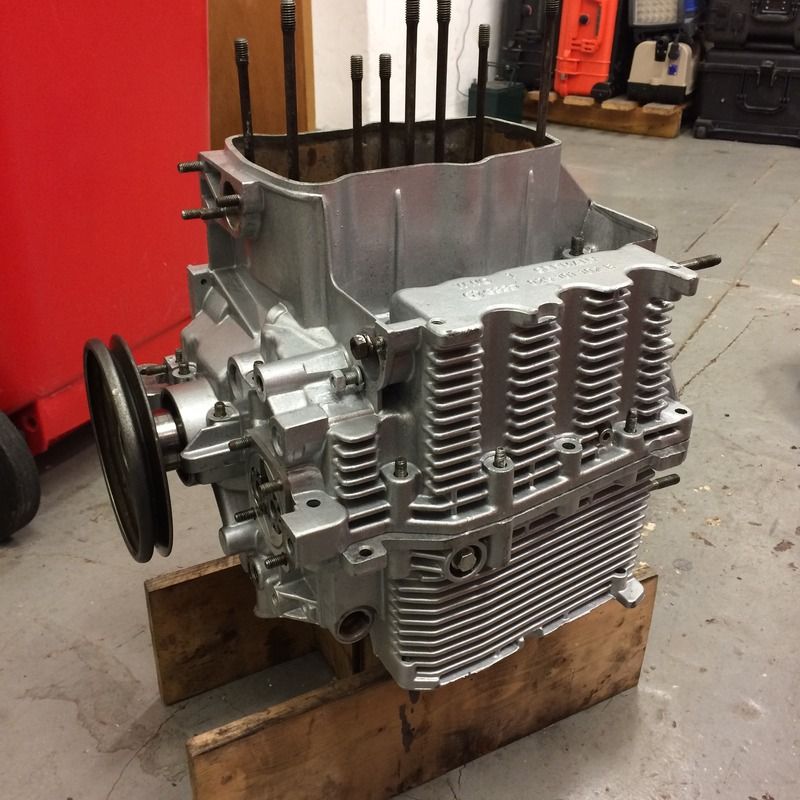
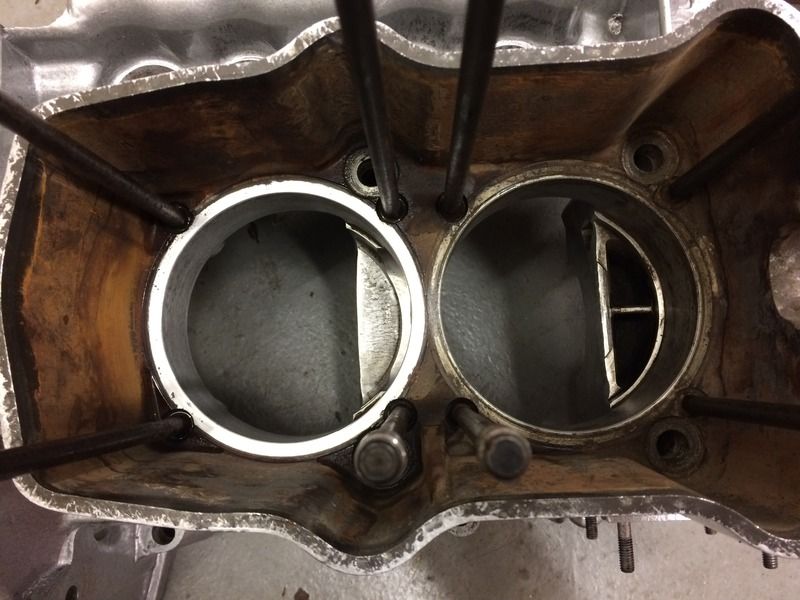
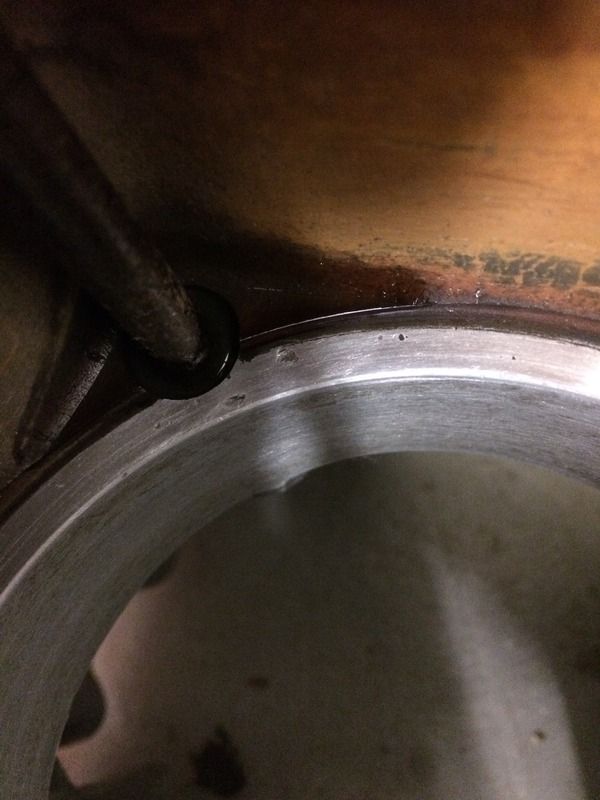
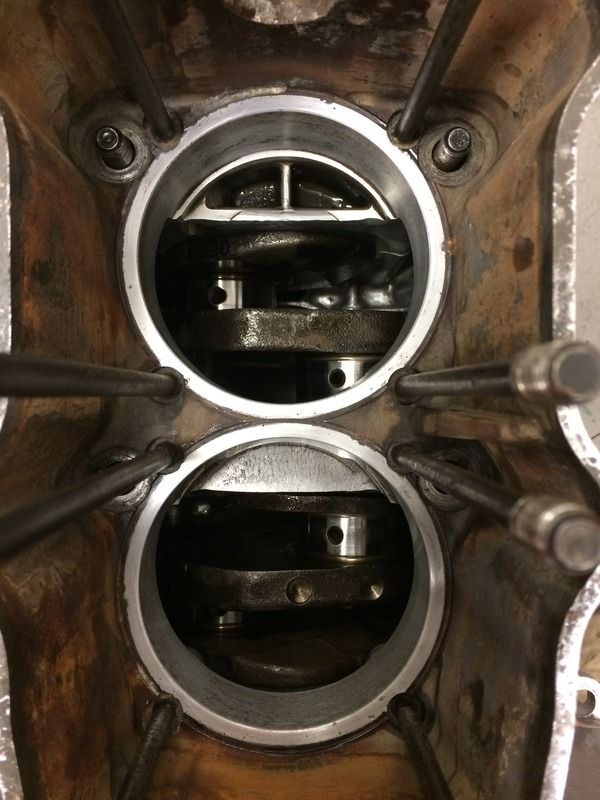
Spent some time doing some final prep to the case halves. Seal mounting faces for the piston liners needed some attention.

One done, one to go....800 grit wet and dry and some oil - making sure to keep any contaminants out of the case internals.

Image

Most of the sealing surface that the seal sits on look good, apart from this little blemish. Not sure how close to where the seal sits it is and how much of an issue it'll be. Will investigate further.

Image

Both cleaned up (on one side at least).....

Image

User avatar
ajsimmo
Trader
Posts: 2701
Joined: 23 Mar 2009, 14:06
80-90 Mem No: 6542
Location: Isle of Arran
Contact:

Re: 2.1 WBX engine rebuild noob....

Post by ajsimmo »

Nice.
That blemish is well outside of the sealing surface.
The Campershack - (website paused)
WBX Rebuilds & Upgrades from the beautiful Isle of Arran

User avatar
itchyfeet
Registered user
Posts: 12427
Joined: 23 Jul 2007, 17:24
80-90 Mem No: 12733
Location: South Hampshire

Re: 2.1 WBX engine rebuild noob....

Post by itchyfeet »

Most of the sealing surface that the seal sits on look good, apart from this little blemish. Not sure how close to where the seal sits it is and how much of an issue it'll be. Will investigate further. 


Yes pitting can be an issue, blemishes should disappear with wet and dry.
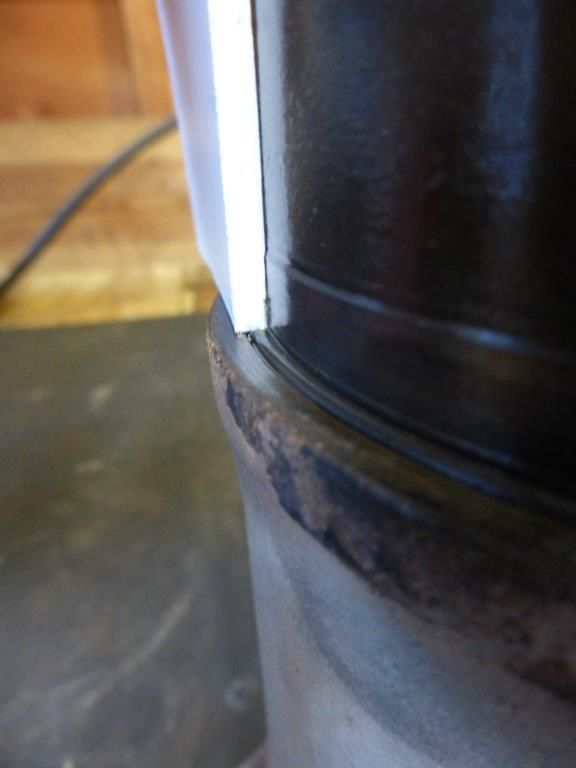
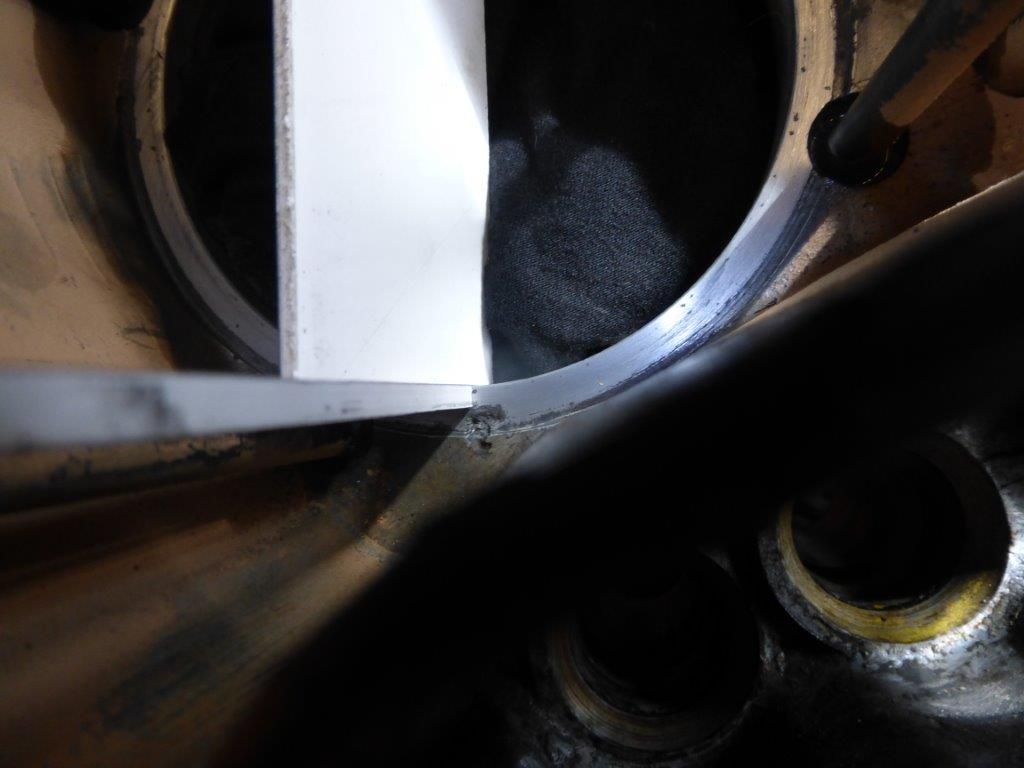
you can check with a basic measurement, I used a piece of plastic as a comparison as it was easier than measuring, as you can see the seal is very close to the edge.

ImageImage
1988 DG WBX LPG Tin Top
1989 DJ digijet WBX Holdsworth Villa 3 Pop Top
itchylinks

User avatar
itchyfeet
Registered user
Posts: 12427
Joined: 23 Jul 2007, 17:24
80-90 Mem No: 12733
Location: South Hampshire

Re: 2.1 WBX engine rebuild noob....

Post by itchyfeet »

If I had a deep pit by the seal I think I'd be tempted to fill with jb weld high heat.

http://www.jb-weld.co.uk/j-b-weld-epoxy ... poxy-putty" onclick="window.open(this.href);return false;
1988 DG WBX LPG Tin Top
1989 DJ digijet WBX Holdsworth Villa 3 Pop Top
itchylinks

sherlylock
Registered user
Posts: 104
Joined: 19 Nov 2013, 18:41
80-90 Mem No: 14562
Location: Saaa'fend, Essex

Re: 2.1 WBX engine rebuild noob....

Post by sherlylock »

Bit of a slow burner this one. I recently lost some storage space at work so spent most of the weekends in May having a bit of a life laundry, shifting stuff to my workshop in Norfolk and spending time with family. Anyway.......June has come along and I'm back on it.

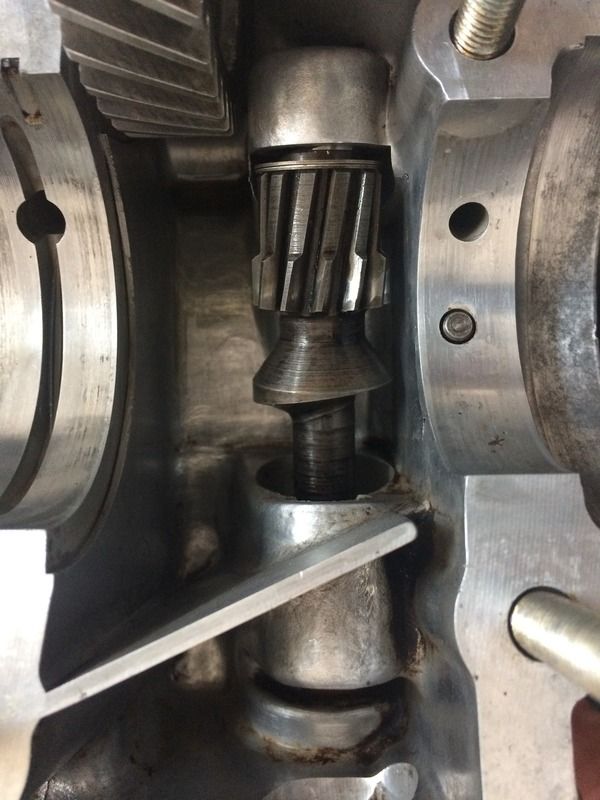
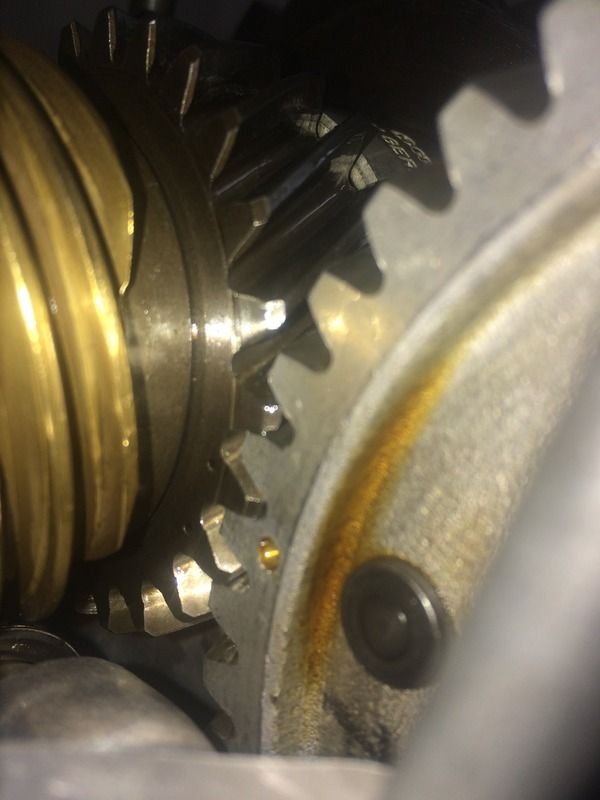
Change of plan with the camshaft......managed to get hold of another 2.1 cam (been looking around for bits as some of this stuff is getting hard to get hold of). It's NOS and a +7 gearwheel on it. It was a decent price so I bought it - dropped it in against my crank out of interest (thinking a +7 would be way too big) and it's spot on! No lifting out of the bearings when rotating backwards and under 0.05 clearance between the teeth. Whether the +7 is inaccurate or my crank cog is really worn....who knows?

So I'm running with it.

Gave the case halves, crank and cam a final blast through with the paraffin gun and a blow through with the airline.......surprising how much more dirt was lurking.

Image

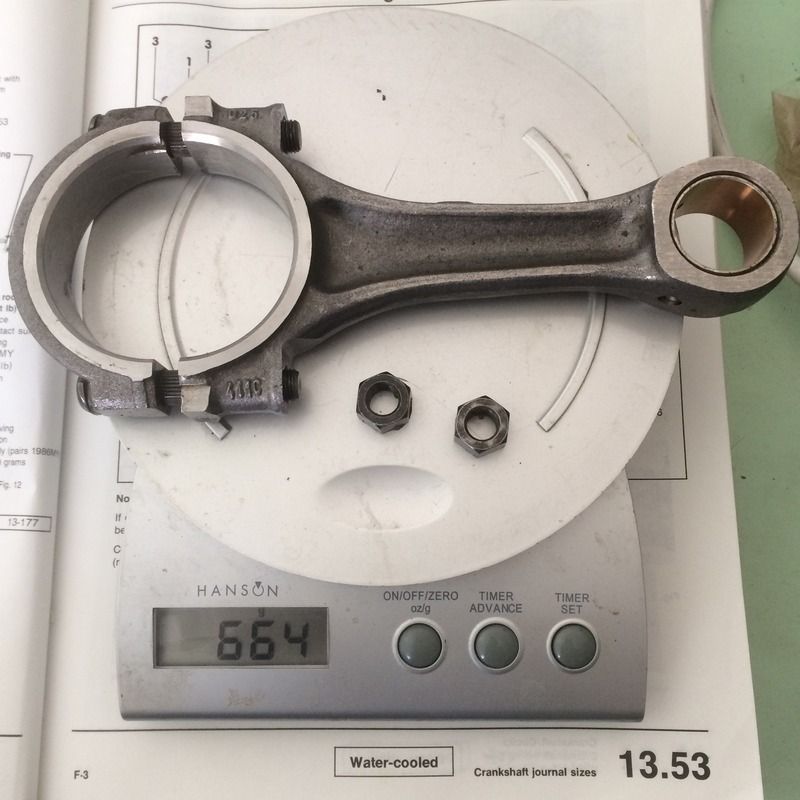
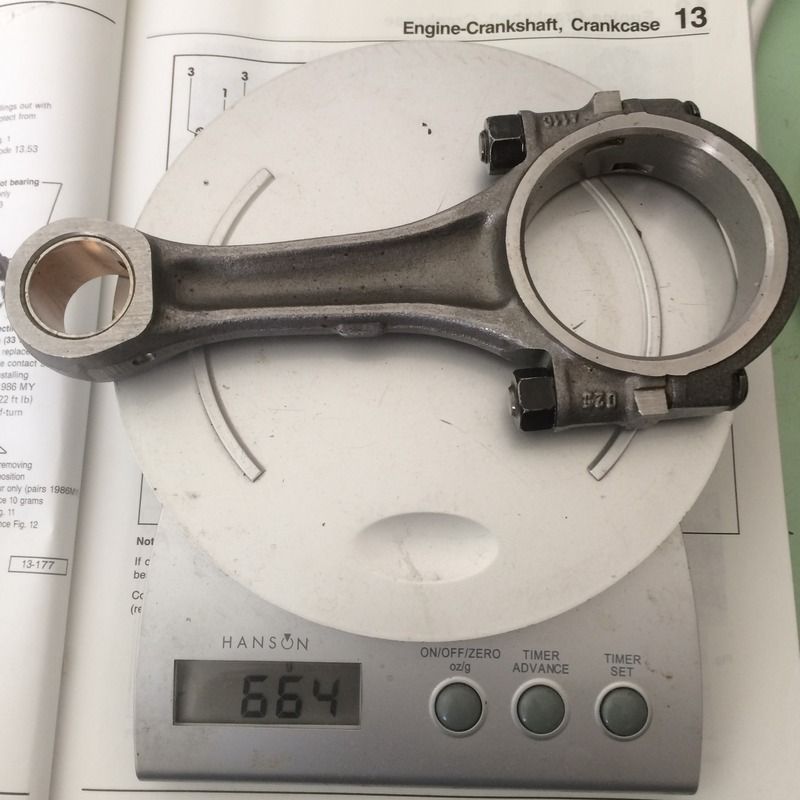
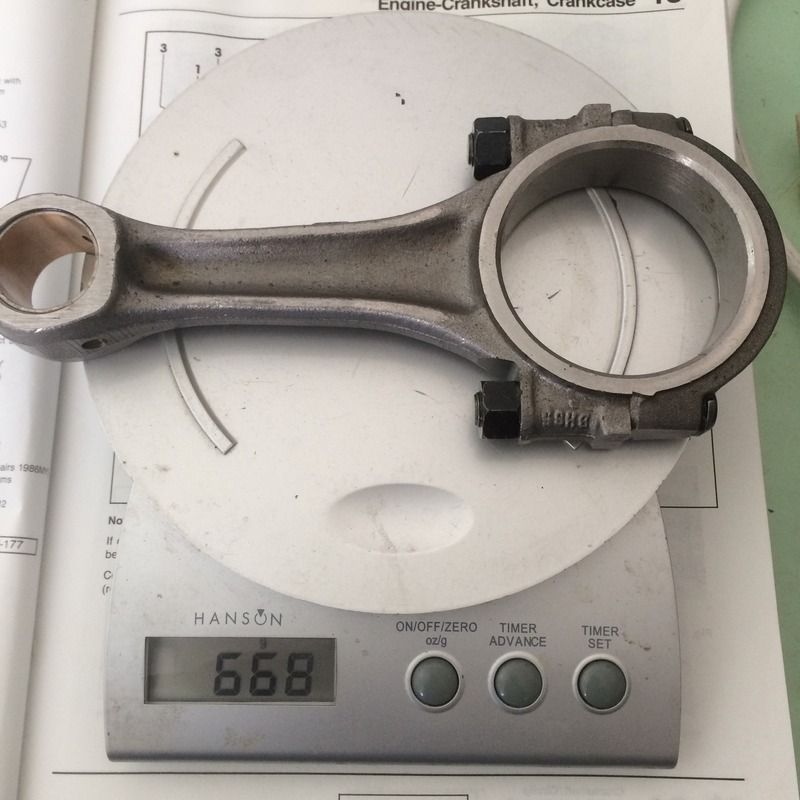
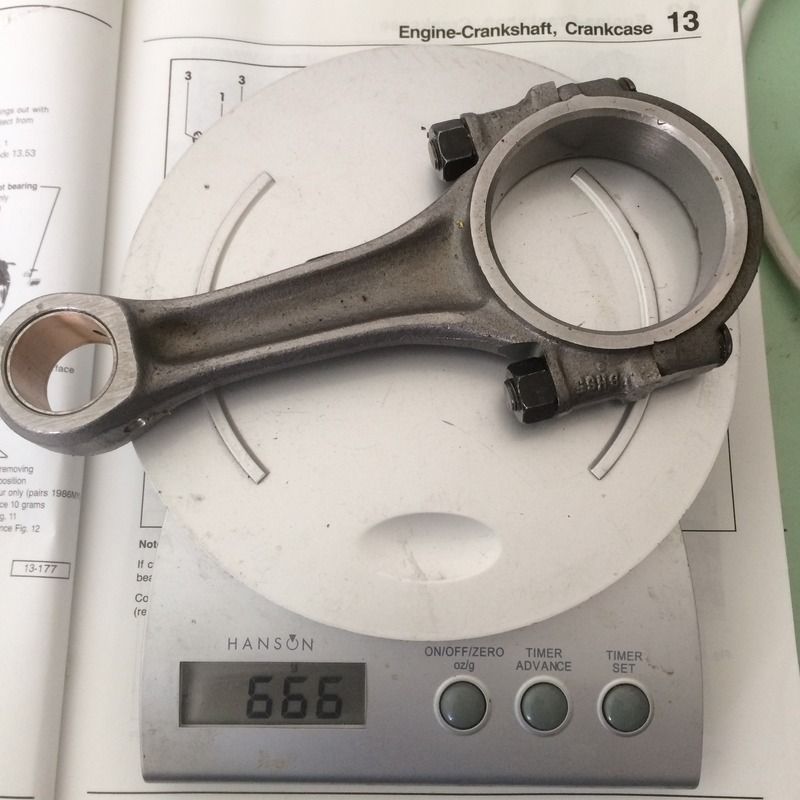
Dug the conrods out (had been previously cleaned of all the production gunk that protects them from corrosion. Weighed them all to see if they were all within 10g of each other. Not sure where I was going to go if they weren't......but checked anyway. Presumably these would be machined as part of the balancing process to bring them closer together in weight if need be?

Image

Image

Image

The Devil's con-rod!

Image

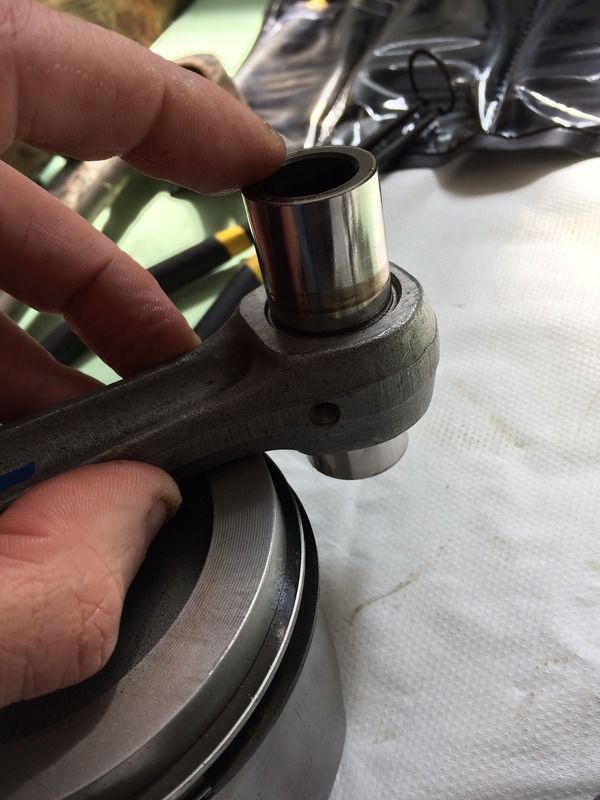
Checked the fit of the gudgeon pins into each little end.....making sure the pin rotates in the little end bearing and doesn't stick......but isn't so loose that it drops through under it's own weight.

Image

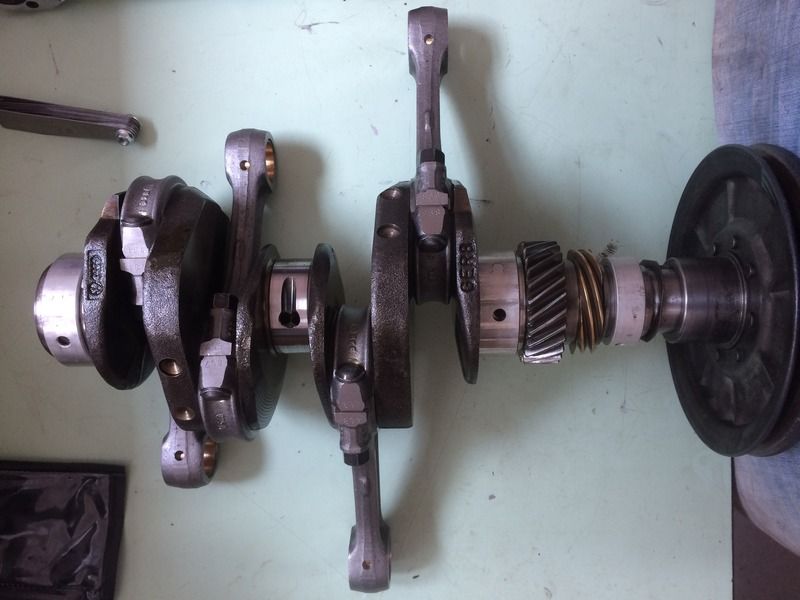
One pin was a tight fit so I spun it in the bearing (using a rawl-bolt, drill and with a little bit of Autosol) to relieve the fit a little. All rods were assembled in the correct positions to the pistons (previously marked up 1 to 4), with the forging mark uppermost as per Bentley manual instruction. Torqued the rod nuts to 30Nm

Image

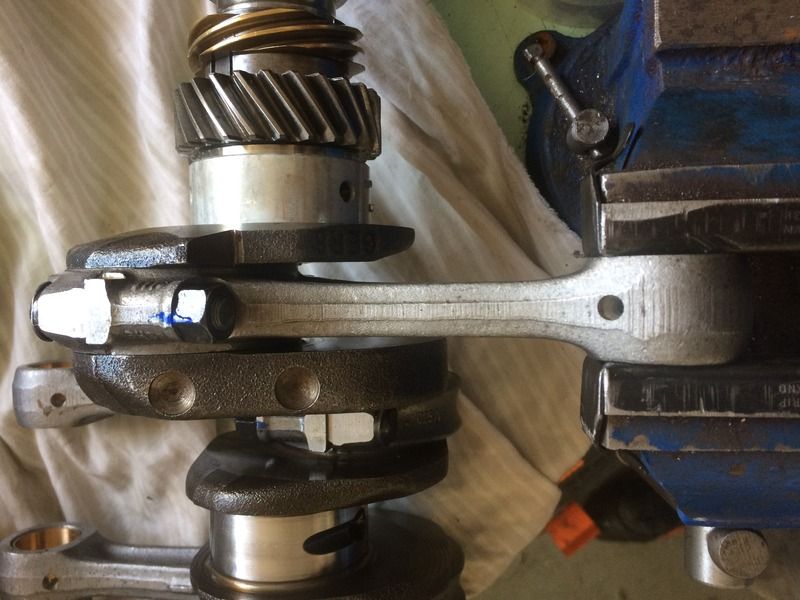
Because these bolts are the stretch variety they then need an additional half turn.....so I marked a paint line between nut and rod so I could check that I had got a half turn done on each bolt. Crank on the bench, little end clamped in vice to support to allow me to apply the additional half turn to stretch the bolts.....

Image

Fitted the dizzy drive at this point.....including the two washers

Image

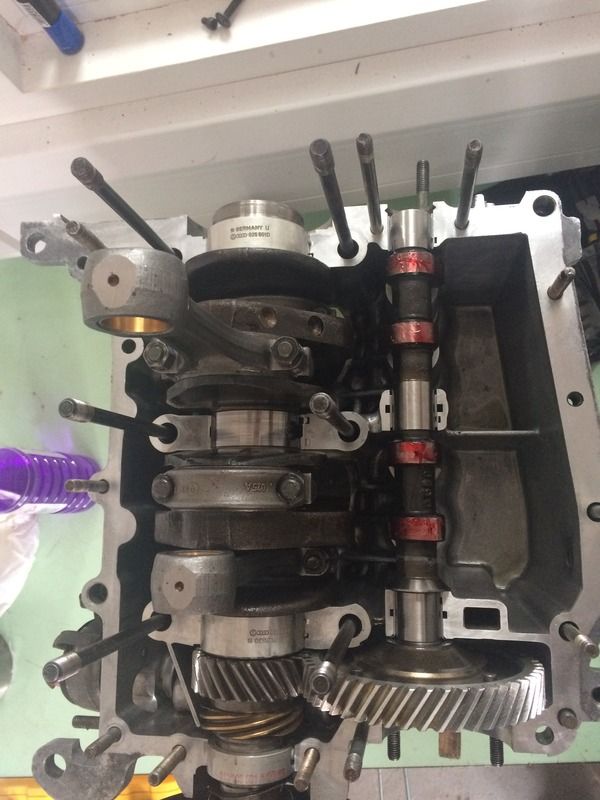
To get the timing set up correctly, firstly aligned the 2x dots on the crank with the single dot on the cam when installing both items

Image

To set the timing of the dizzy drive relative to the crank Bentley suggests when con-rod No1 is at TDC the offset slot of the dizzy drive needs to point towards the dizzy clamp fixing (with the smallest half-moon section towards the water pump location. Bolted the dizzy in place to make sure it doesn't drop out.

Image

All set - ready for the Curil T case sealant (sealing surfaces wiped down with Meths first to degrease). I applied some engine lube to the cam lobes too at this point. In hinsight I probably could've just applied to the tappets when I fit them

Image

Applied Curil T, left for 10mins and assembled the case halves - not forgetting the cam/crank shells in the other half and the camshaft cap.

Image

Sat back and had a cup of tea to celebrate......wondering nervously if there is anything I've missed.

Image

User avatar
itchyfeet
Registered user
Posts: 12427
Joined: 23 Jul 2007, 17:24
80-90 Mem No: 12733
Location: South Hampshire

Re: 2.1 WBX engine rebuild noob....

Post by itchyfeet »

Crankshaft thrust washer?
go on what did you forget?
1988 DG WBX LPG Tin Top
1989 DJ digijet WBX Holdsworth Villa 3 Pop Top
itchylinks

sherlylock
Registered user
Posts: 104
Joined: 19 Nov 2013, 18:41
80-90 Mem No: 14562
Location: Saaa'fend, Essex

Re: 2.1 WBX engine rebuild noob....

Post by sherlylock »

itchyfeet wrote:Crankshaft thrust washer?
go on what did you forget?

Nope, that's def. gone in. I remember seeing a build thread where the guy fitted the case together and then noticed a set of 3 cam bearing half shells sitting on the bench. Must've been annoying.....

User avatar
ajsimmo
Trader
Posts: 2701
Joined: 23 Mar 2009, 14:06
80-90 Mem No: 6542
Location: Isle of Arran
Contact:

Re: 2.1 WBX engine rebuild noob....

Post by ajsimmo »

Now don't get too excited and go banging the rear main crank seal in before you've set the endfloat!
And good job on the assembly lube. I use it on everything that moves (sparingly), including shell bearings, cam gear, rockers and valve tips, cam followers etc. Basically if it needs oil, it gets assembly lube (for that first start up moment). Since using it, engines sound much quieter and smoother more quickly from 1st start. That's gotta be a good thing!
The Campershack - (website paused)
WBX Rebuilds & Upgrades from the beautiful Isle of Arran

Post Reply